Showing posts with label ink blending. Show all posts

Retro Rubber Challenge - Tic Tac Toe

Tuesday, July 28, 2026

 Hello everyone!


I am here with Retro Rubber Challenge blog and we have a new challenge, which is to make a card with fruit related staamps or paper. Be sure to stop over on the Retro Rubber Challenge blog to get more inspiration, the design team has some wonderful creations!

The rules to play along with Retro Rubber Challenge is very simple, make sure the stamp you use on your project is at least one year or older. For more details on the rules, you can find them over on Retro Rubber Challenge blog.


Here is my take on the tic tac toe, I did Stencil, your choice (add shimmer to your card), and embossing.

D. Idlet, Gina K. Designs, Dellicate Butterflies 3D embossing folder and stencil, Elegant Thoughts stamp set, Hello friend, ink blending


My card is a bright and cheerful butterfly card featuring the Gina K. Designs Delicate Butterflies 3D Embossing Folder (not available at this time). This embossing folder includes a coordinating stencil, making it so easy to add beautiful colors to each butterfly. I used soft blue and pink inks to ink blend the wings, creating a delicate, airy look.

To add dimension, I die cut the butterfly bodies from black cardstock and adhered them over the embossed butterflies. A touch of Clear Wink of Stella gives the wings a beautiful shimmer that catches the light perfectly.

To finish the card, I added the elegant “Hello Friend” sentiment from the Gina K. Designs Elegant Thoughts stamp set which was released in January 2025. The clean white background allows the colorful butterflies to take center stage, making this a perfect card to brighten someone’s day.

Are you ready to play along? Be sure to stop over on the Retro Rubber Challenge blog to get some more inspiration! Thank you for stopping by, you have untilAugust 7th to join the fun!

Thanks so much for stopping by! I hope this project inspires you to create something beautiful with your embossing folders and stencils.


RETRO RUBBER CHALLENGE BLOG - COLOR CHALLENGE

Tuesday, March 26, 2024

Hello everyone!

I am here with Retro Rubber Challenge blog and we have a new challenge, which is a Color Challenge. Be sure to stop over on the Retro Rubber Challenge blog to get more inspiration, the design team has some wonderful creations!

The rules to play along with Retro Rubber Challenge is very simple, make sure the stamp you use on your project is at least one year or older. For more details on the rules, you can find them over on Retro Rubber Challenge blog.


Here is my card for your inspiration:

D Idlet, Retro Rubber Challenge blog, Whimsy Stamps Wonky Window 3 Die, Whimsy Stamps Panda Peekers, copic, ink blending


I've created an A2 size card. The frame I die cut from Whimsy Stamps called Wonky Window 3 Die. The stamp set I am using is from Whimsy Stamps called "Panda Peekers" that was released in February 2022. I stamped, die cut and colored the images with copics. The background I inked with blue ink and stamped the sentiment from the Panda Peekers stamp set. I assembled the card and added some black enamel dots to finish off the card.

Are you ready to play along? Be sure to stop over on the Retro Rubber Challenge blog to get some more inspiration! Thank you for stopping by, you have until April 5th to join the fun!


Thank you for stopping by, please come back again soon.


Retro Rubber Challenge Blog - Color Challenge

Tuesday, January 30, 2024

Hello everyone!

I am here with Retro Rubber Challenge blog and we have a new challenge, which is a Color Challenge. Be sure to stop over on the Retro Rubber Challenge blog to get more inspiration, the design team has some wonderful creations!

The rules to play along with Retro Rubber Challenge is very simple, make sure the stamp you use on your project is at least one year or older. For more details on the rules, you can find them over on Retro Rubber Challenge blog.


Here is my card for your inspiration:


Here is my card for your inspiration. I've created an A2 size card. The stamp set I am using from Sunny Studios called "Snowman Kisses" that was released in October 2022. I stamped, die cut and colored the image with copics. The background paper I foiled and then ink blended the background. I finished off the card by stamping the sentiment from the Snowman Kisses stamp set.

Are you ready to play along? Be sure to stop over on the Retro Rubber Challenge blog to get some more inspiration! Thank you for stopping by, you have until February 9th to join the fun!

Thank you for stopping by, please come back again soon.

Newton's Nook Designs - October 2023 New Release Inspiration Day 2!

Wednesday, November 1, 2023


Hello everyone!

I am here with Newtons Nook Designs, featuring products from the new release! Today I am featuring the Cat Christmas Tree and Dog Christmas Tree stamp sets and coordinating dies, ALL products are available NOW. If you have not seen the whole release, you can find it here.  If you have not seen ALL the hot foil plates, you can find them here

Newton's Nook Designs, is having a sale through November 3, here are the details below, the more you spend the more you save!  Also, there is a blog hop with a chance to win prizes, details on the Newton's Nook Designs blog.


Here are my cards for your inspiration:

Donna Idlet, Newton's Nook Designs, Cat Christmas Tree Stamp Set, Dog Christmas Tree Stamp Set, copic coloring, ink blending, glitz glitter gel, dogs, cats

This card is an A2 card. The image is from the Cat Christmas Tree Stamp Set, I colored the images with alcohol markers and die cut the images using the coordinating Dies. I die cut the top layer using the Framework Die Set. I masked off the edges and ink blended the background. I then used the Petite Paw Prints stencil using glitz glitter gel. After everything was dried, I assembled the card. I then stamped and heat embossed the sentiment and die cut it using the Frames & Flag die set.

Donna Idlet, Newton's Nook Designs, Cat Christmas Tree Stamp Set, Dog Christmas Tree Stamp Set, copic coloring, ink blending, glitz glitter gel, dogs, cats

This card is an A2 card. The image is from the Dog Christmas Tree Stamp Set, I colored the images with alcohol markers and die cut the images using the coordinating Dies. I took a piece of white card stock and ink blended the background.  I die cut the bottom with the Land Border Die.  I assembled the card, stamped and heat embossed the sentiment and die cut it using the Speech Bubble Die Set.

Thank you so much for stopping by, please come back again tomorrow for more inspiration from the new release.

MERRY LITTLE CHRISTMAS CHALLENGE BLOG (MLCCB) - Christmas Wishes

Wednesday, November 1, 2023


Hello everyone!

I'm here with a new challenge with the Merry Little Christmas Challenge Blog. I hope you will come play along with the Christmas Challenge. It will run for six weeks, ending at 4:00 PM Mountain Time on the 15th of next month, so get out your crafty Christmas stash and come play with us!

Here is my card for your inspiration:

Donna Idlet, Merry Little Christmas Challenge, Scrapbook and Cards today, Merry Christmas Wishes, stencil, ink blending

I created this beautiful card that I created in an event with Scrapbook & Cards today.  It is a kit that was filled with lots of goodies to make many Christmas cards.  The event was called Merry Christmas Wishes.  

My card was created by stamping the poinsettia and leaves then ink blending it using a stencil.  I die cut the word "wishes", stamped and heat embossed the word "Christmas", cut several strips of paper to create the pattern in the middle of the card.  I assembled the card and love how it turned out.

Thank you so much for stopping g by, please come back again soon.  I hope you will play along with the challenge.


GINA K. DESIGNS AND THERMOWEB - Penguin Pals Kit

Tuesday, October 17, 2023

Hello everyone!

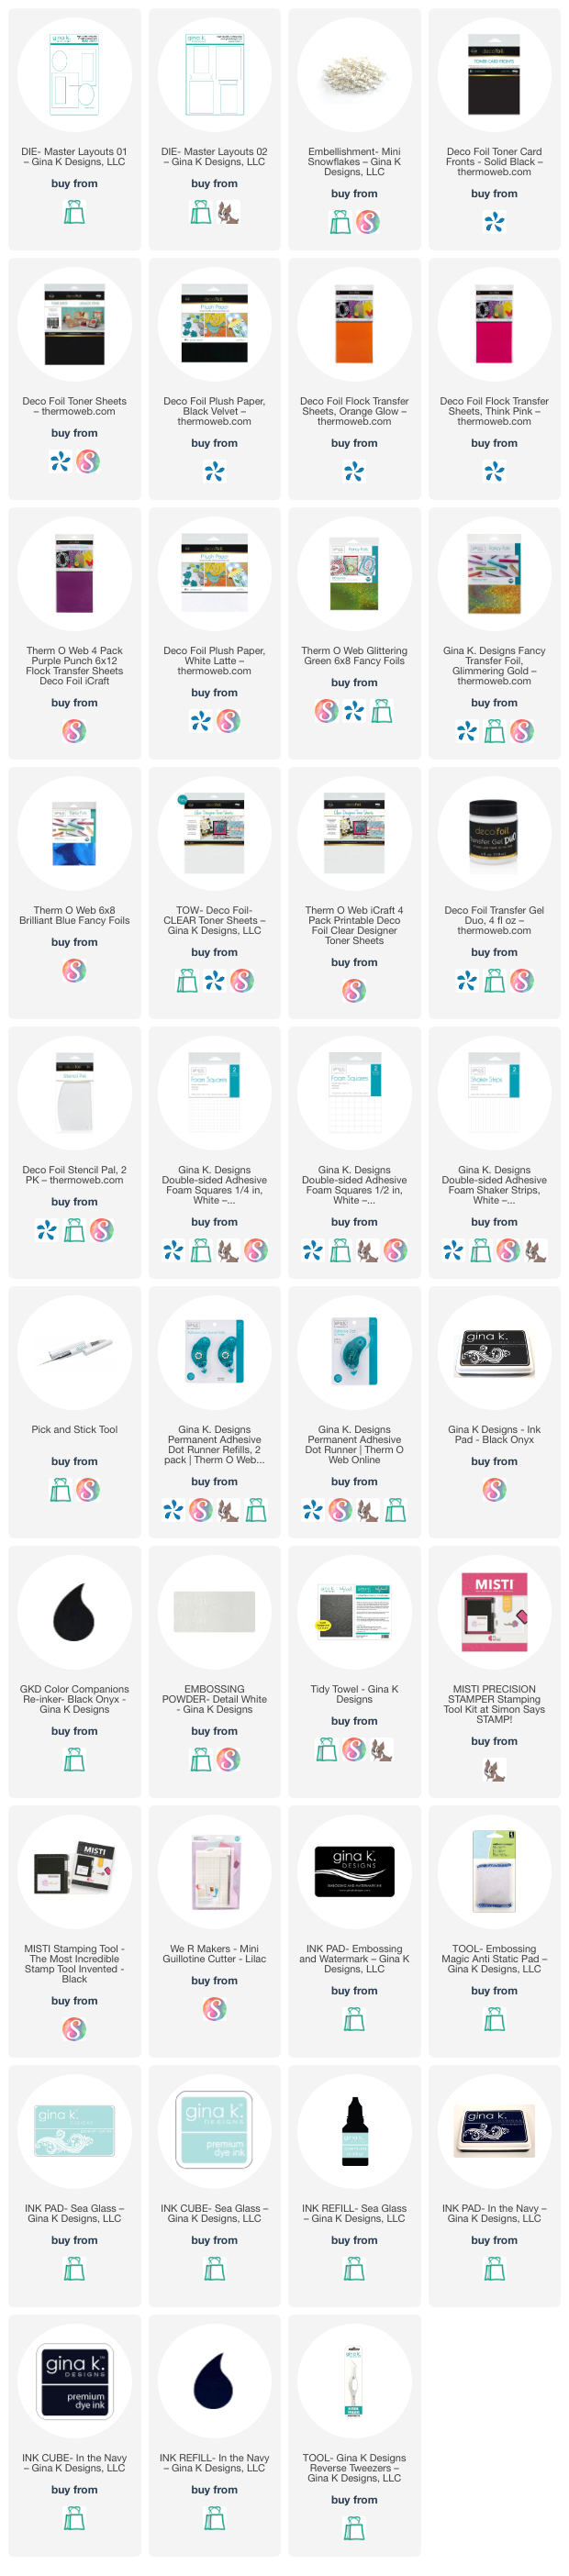
I am here with Gina K. Designs featuring the newly released "Penguin Pals Kit".  This kit is so adorable, it comes with a stamp set, a stencil and dies to create the penguin, and many die to help you create your project.  This is a one-time deal, once the kit is sold out it will not be available, so get it while you can.  The set is only available on ThermOWeb's website.  

I have created two cards for your inspiration:

Donna Idlet, Gina K. Designs, Thermoweb,  Penguin Pals Kit, ink blending, penguins, fancy foil,  Deco Foil Flock,  die cutting, Duo gel,

My first card is an A2 card (4 1/4 x 5 1/2), I used the GKD Master Layouts 1 to die cut the layers.  

I ink blended the background using GKD inks (Wild Lilac, with a little black on the edges) and used some white pigment ink to splatter the background.  

I die cut the snow hills using GKD Master Layouts 6.  I ink blended the hills using GKD ink Sea Glass.

I die cut the cut penguins using Deco Flock in black (for the body), white (for the body), orange glow (for the feet, beak, scarf and earmuff), think pink (for the scarf and bow), and purple punch (scarf and earmuff).  

The tree I die cut using GKD Fancy Foil Glittering Green using solid black toner paper.

I stamped the sentiment using the stamp set, which I heat embossed with clear embossing powder.

Assembled the card.

Donna Idlet, Gina K. Designs, Thermoweb,  Penguin Pals Kit, ink blending, penguins, fancy foil,  Deco Foil Flock,  die cutting, Duo gel,

My next card, I created an A2 shaker card. I cut the top panel at 4 x 5 1/4, I die cut the circle using GKD Circle Shadow Shakers die cuts.  

I inked blended the layer with GKD Sea Glass and Navy ink.  

I then die cut a circle in the center.  I  stenciled the background using the snowflake stencil from the kit with the Deco Foil Transfer Duo Gel.  After the Transfer Duo Gel dried, I added Fancy Foil Brilliant Blue foil to the circle and ran it through my minc.  I have the Fuse Foiling System on order!  I can't wait to get it Thursday!

I added some acetate in the back of the top layer, added GKD Double-sided Adhesive Foam Shaker Strips to the back layer of the panel, added some GKD Mini Snowflakes and attached the foiled circle to the panel, and finished the card off by adding the stitched circle die to the card.

I made a snowman from the body of the penguin and assembled the penguin.  I added these to the card panel.  

Stamped the sentiment and finished the card off by adding some snowflakes.   


Thank you so much for stopping by, I hope you have been inspired and will join the hop.


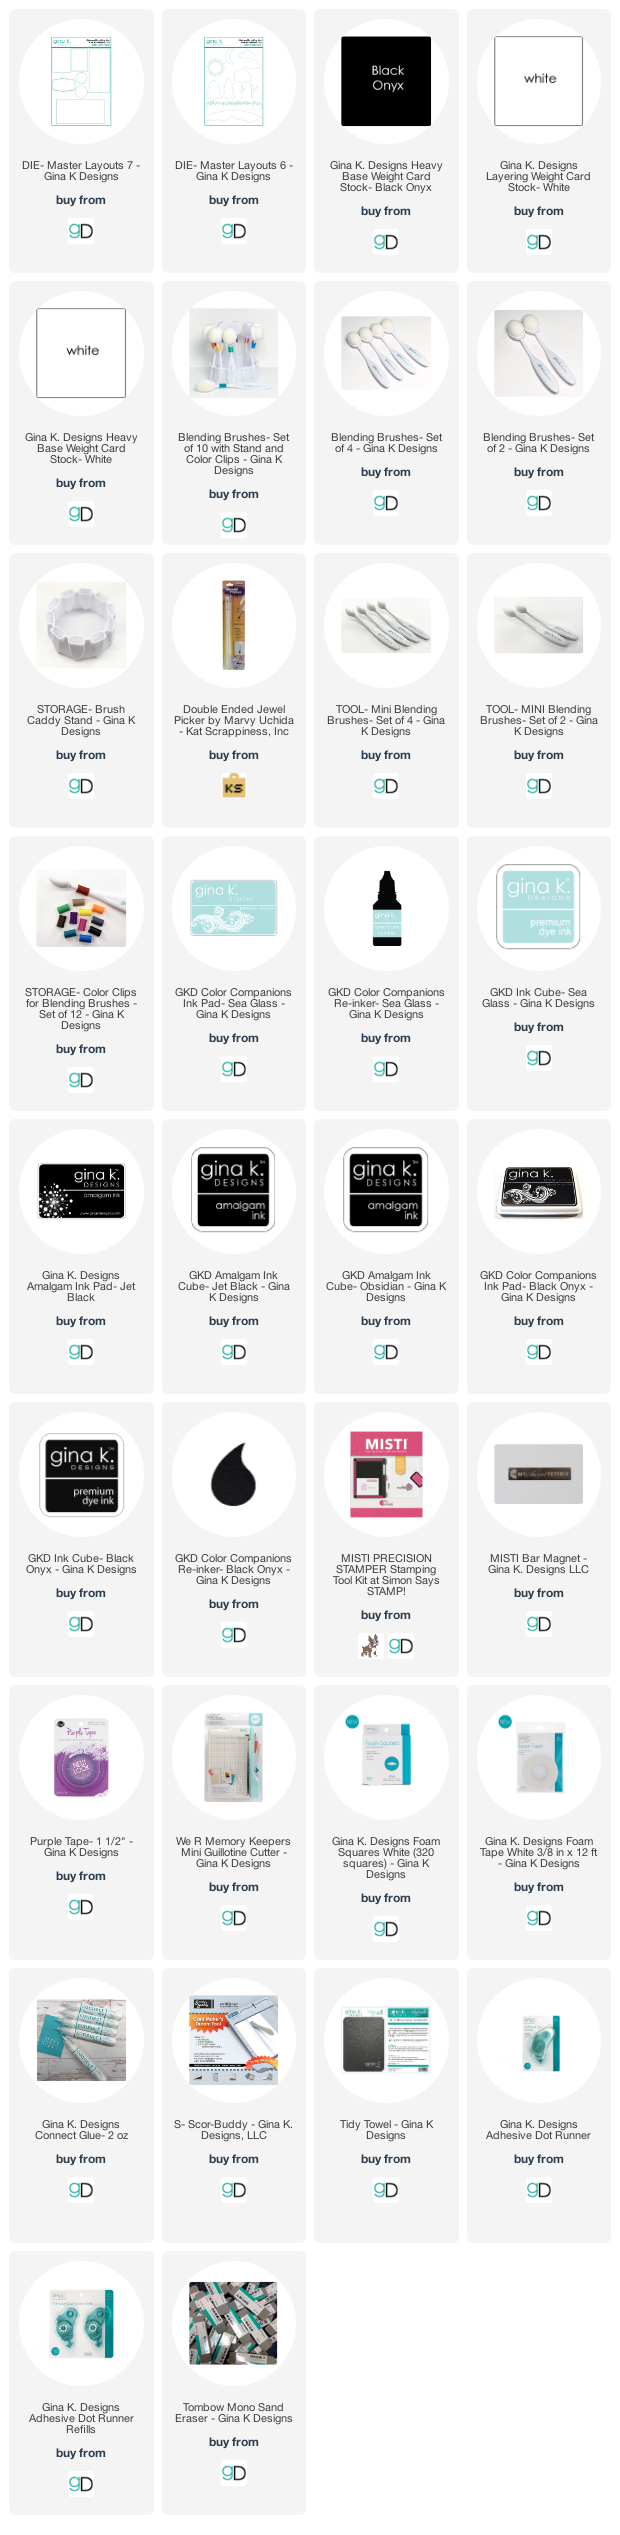
Here are the supplies I used for this card. Affiliate Links used at no cost to you.

Gina K. Designs - June 2023 Release

Tuesday, June 13, 2023

The Gina K. Designs June 2023 Release is NOW available and can be found HERE.

Hello everyone!

I am here today featuring the NEW Gina K. Designs "Decorative Dahlia" stamp set illustrated by Arjita Singh. This stamp set is so versitle, I love the large floral designs....you can create a background, create a slimline or stamp the image and color it.  

You can see more inspiration from the full release on the Gina K. Designs & StampTV Friends Facebook page. To see the full release, you can go HERE under the What's New section.

Here are my cards for your inspiration:

Donna Idlet, Gina K. Designs, Decorative Dahlia Stamp Set, Flowers Dahlia, New Release, Ink Blending, Create Friendship stamp set, Create Friendship Layering Bundle

I masked off the sides to ink blend the middle.  I used GKD medium and dark Lilac ink.  I then used GKD Black Onyx Ink to stamp the image and sentiment.  I added some black GKD pearls.

My second card.  I used the single dahlia stamp and stamped the background with rainbow colors.  The sentiment and word die is from the Create Friendship stamp set and the word die is from the Create Friendship Layering Bundle.  

Thank you for stopping by, I hope you have been inspired.

Here is a list of supplies I used on my cards. Affiliate Links used at no additional cost. Thank you for your support.

Sweet n' Sassy Stamps - Seashell Greetings

Thursday, June 1, 2023

 Hello everyone!

I am here with Sweet n' Sassy Stamps, I am featuring one of their new release stamps for the month of June called "Seashell Greetings".  You can find the whole release here.  

Here is my card for your inspiration.


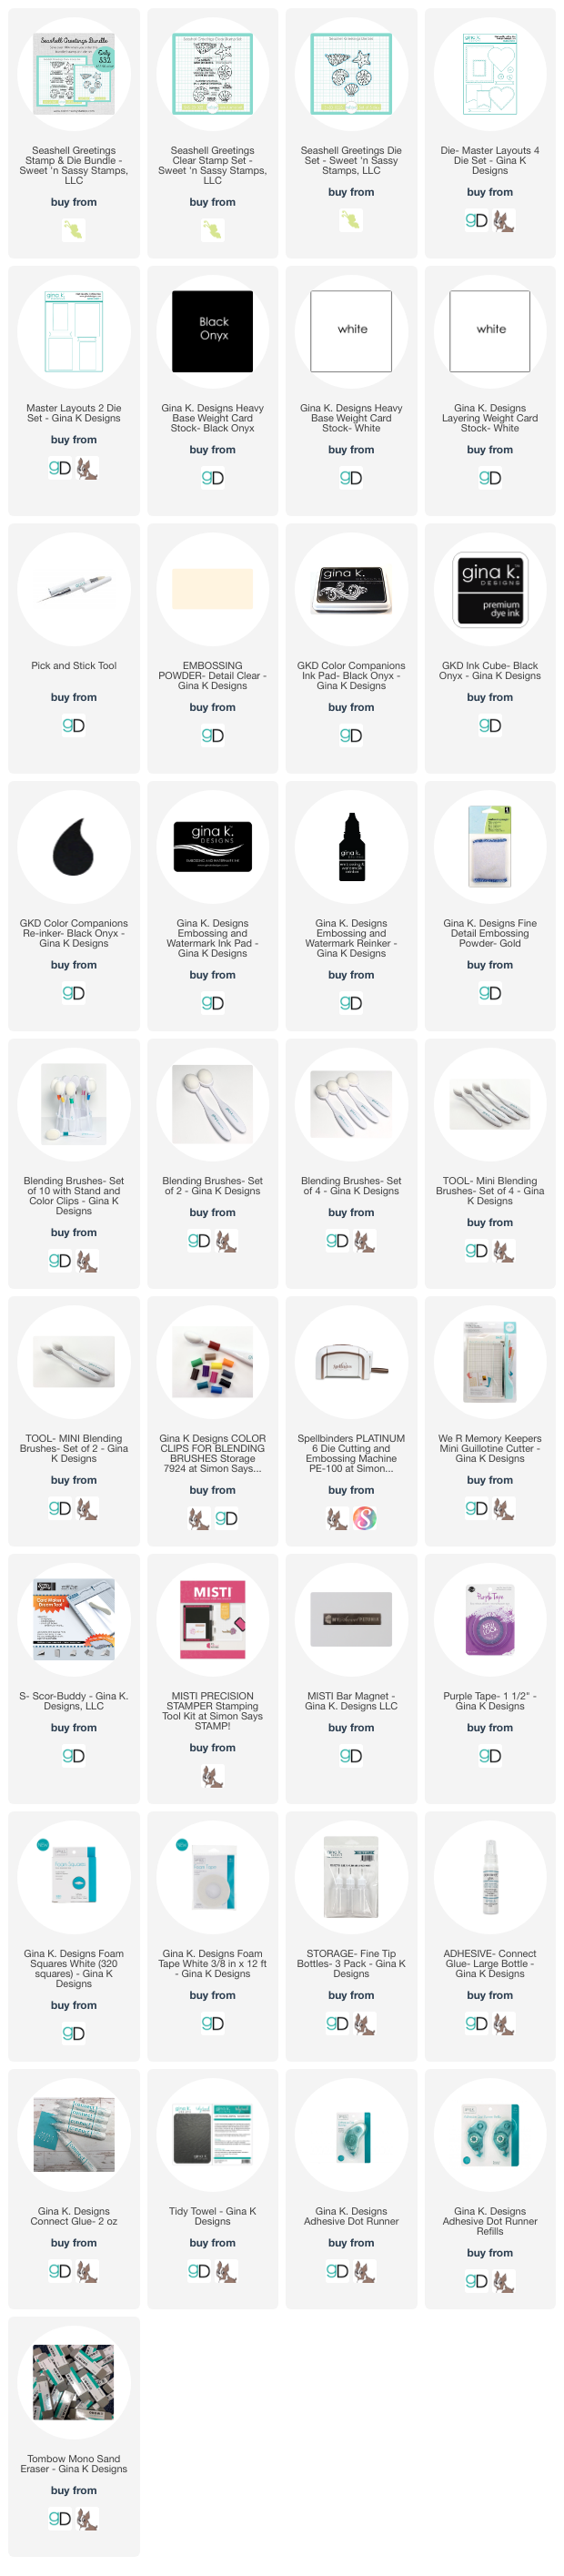
I created an A2 card, the background is ink blended.  I die cut the shells from the "Seashell Greetings" stamp set and colored them with copics.  I stamped the sentiment and heat embossed with white embossing powder.  I finished off the card, by adding some embellishments from my stash.

I am playing along with the monthly Sweet 'N Sassy Stamps VIP Group on Facebook.  The challenge this month is Under the Sea THEME! You just need to use at least one SNSS product for a chance to WIN a prize. You can find the challenge details HERE.

Thank you so much for stopping by.  

Here is a list of supplies I used on my cards. Affiliate Links used at no additional cost. Thank you for your support.


Newton's Nook Designs - Snowman Greetings

Wednesday, December 14, 2022

Hello everyone!

I am here with Newton's Nook Designs featuring the Snowman Greetings Stamp Set and coordinating dies. This is an adorable set, perfect to send someone a winter greeting!


My card is an A2 card, I stamped the image in black and colored with alcohol markers. The sentiment if also from the Snowman Greeting Stamp set. I stamped and embossed the sentiment in white. I die cut the image with the coordinating Snowman Greetings Die Set.
 
For the card background I ink blended a panel and then she added some sparkly snowflakes using the Petite Snow Stencil with glittery texture paste.


Thank you so much for stopping by, please stop by Newton's Nooks Blog for more inspiration!

Gina K. Designs - Magic Masking Strips

Thursday, September 1, 2022

Hello everyone!

Gina K. Designs and Therm O Web has created a new product called Masking Magic™ Strips. If you love the full sheets of Masking Magic™ you will love the new Masking Magic™ Strips! They are precut for us! No more measuring and having some wider or thinner strips....Gina K. has you covered. There are three sizes pre-cut at 1/8”, 1/4” and 1/2” widths.

I have created a card using the 1/8" strips.  Here is my card for your inspiration.
 

Here is how I created the card:

1. Card is an A2 card measuring 4 1/4 x 5 1/2.

2. Die cut the layers using GKD Master Layouts 1.

3. Using a lined piece of paper, I laid my top layer diagonally onto the paper and used the lines to lay the 1/8" strips along the panel.  

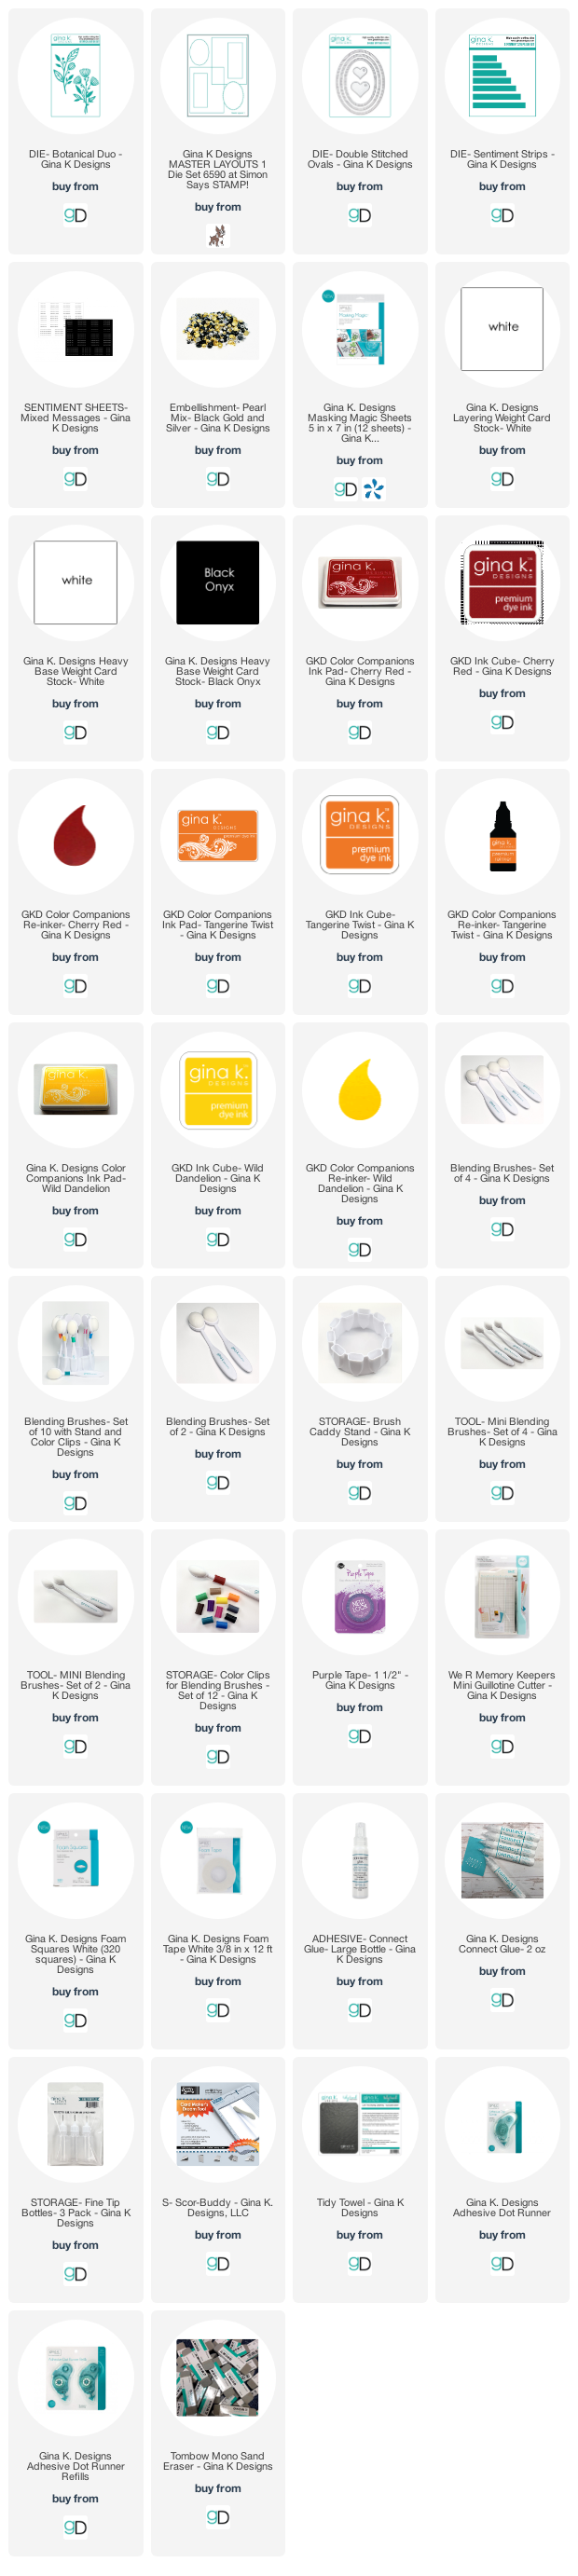
4. Used GKD Inks to ink blend the background.  I used my favorite colors Cherry Red, Tangerine Twist and Wild Dandelion. 

5. Die cut the oval using vellum from the Single Stitched Ovals.

6. Die cut floral die from GKD Botanical Duo die.

7.  Die cut the sentiment from the Sentiment Strip - Mixed messages using the sentiment strips.

8. Assembled the card and finished it off by adding some black pearls from the Pearl Mix.


Thank you for stopping by, I hope you have been inspired.

Here is a list of supplies I used on my cards. Affiliate Links used at no additional cost. Thank you for your support.

Newton's Nook Designs - Happy Surf Day!

Thursday, June 30, 2022

Hello everyone!

I am here with Newton's Nook Designs featuring Newton's Perfect Wave Stamp Set and Retro Sun & Palms Stencil Set.  I think this card is adorable with the beach scene of the kitty going surfing.  


Here is how I created my card:

My card is an A2 card measuring 4 1/4 x 5 1/2. I die cut the top panel with a stitched rectangle die and ink blended the background using the Retro Sun & Palms Stencil Set. I then die cut the bottom part of the card with the Land Borders die set. I used the rectangle die to die cut it so the edges would look the same. I used a alcohol marker to make dots on the panel to look like sand. I stamped and colored the image from the Newton's Perfect Wave with copic markers and die cut it with the Newton's Perfect Wave Die Set.


I hope you enjoyed my card, I really had fun creating it.  Please come back again soon!

Newton's Nook Design -JUNE 2022 RELEASE - REVEAL DAY 3

Wednesday, June 15, 2022

Hello everyone!

I am here with Newton's Nook Designs and today is Reveal Day 3 of the NEWLY released products that will be available on Friday, June 17th. The design team is featuring "Dog Park" which is a 3x4 Stamp Set and coordinating dies. For more inspiration please visit Newton's Nook Design Blog to see what the design team has created.


Here is my card I created today for your inspiration:

Donna Idlet, Newton's Nook Designs, Dog Park, die cutting, copic coloring, ink blending, fence die cut,

Here is how I created it:
  • A2 card measuring 4 1/4″ x 5 1/2.
  • Created the clouds by die cutting the Sky Borders Die Set and using them as a stencil.
  • Die cut the top grass layer of the card using the Land Border Die Set.
  • Used an ink cube to create the woodgrain on a piece of cardstock and die cut the Fence Die Set.
  • Stamped the images from the"Dog Park" Stamp Set, colored with alcohol markers and die cut it with the coordinating dies.
  • Stamped the sentiment from the "Dog Park" Stamp Set onto the card using black ink.
  • Assembled the card.


Would you like to win the “Dog Park” Stamp Set? This stamp set will be given away to ONE lucky winner!

Here's how to win: Comment on the NND blog and Design Team blogs (see list below)! The winner will be chosen at random from the collective reveal posts. Make sure to check out each of their blogs and comment for your chance to win. You will not know which blog has been chosen so the more you comment on the better your chances are of winning! You have until Thursday June 16th at 9pm ET to comment -- winners will be announced on the blog post on Friday June 17th.

Check out all the awesome Design Team Blogs below to enter:

Newton's Nook Designs -JUNE 2022 RELEASE - REVEAL DAY 1

Monday, June 13, 2022


Hello everyone!

I am here with Newton's Nook Designs and today is Reveal Day 1 of the NEWLY released products that will be available on Friday, June 17th. The design team is featuring "Beach Bound" stamp set and coordinating Die set, "Summertime Paper Pad" and "Palm Tree Line Stencil". For more inspiration please visit Newton's Nook Design Blog to see what the design team has created.


Here is my card I created today for your inspiration:

Donna Idlet, Newton's Nook, Beach Bound, die cutting, summer , palm tree line stencil, Summertime Paper Pad, copic coloring, ink blending, beach, jeep, cars

Here is how I created it:
  • Mini Slimline Card Base: 3 1/2" x 6" (7" x 6", scored at 3 1/2" on the 7" side).
  • Top layer measures 3 1/4 x 5 3/4
  • Masked off about an inch from the bottom and inked blended the sand and the sky.  Used a couple of alcohol markers to add details to the sand.
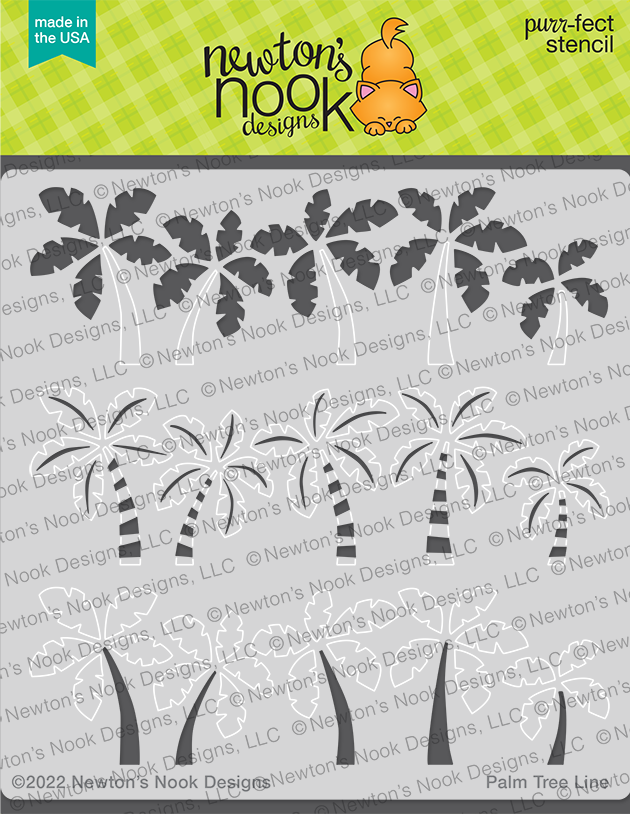
  • Created the trees with the Palm Tree Line Stencil.
  • Cut the water from the Summertime paper pad.
  • Stamped, colored the images with alcohol markers and die cut the vehicles from the "Beach Bound" stamp set and die cut with the coordinating dies.
  • Stamped the sentiment from the "Beach Bound" stamp set.
  • Assembled the card.

Would you like to win the “Beach Bound” Stamp Set? This stamp set will be given away to ONE lucky winner!

Here's how to win: Comment on the NND blog and Design Team blogs (see list below)! The winner will be chosen at random from the collective reveal posts. Make sure to check out each of their blogs and comment for your chance to win. You will not know which blog has been chosen so the more you comment on the better your chances are of winning! You have until Thursday June 16th at 9pm ET to comment -- winners will be announced on the blog post on Friday June 17th.

Check out all the awesome Design Team Blogs below to enter:

Sweet n' Sassy Stamps - You Are A Blessing!

Friday, April 8, 2022

Hello everyone!

I am with Sweet n' Sassy Stamps featuring this beautiful stamp set called "Precious Poppies". This is a beautiful set.  I have had this stamp set in my stash for a while, so happy I was able to get it inky!  This set is perfect to create a Mother's Day card or sending someone a card to let them know you are thinking of them.  

Here is my card for your inspiration:

Sweet n' Sassy Stamps, Precious Poppies, Script Stencil, copic coloring, ink blending, heat embossing
  • Mini Slimline card base measuring  3 1/2" x 6".
  • Black Panel: 3 1/8" x 5 7/8" and the white panel is 3" x 5 3/4".
  • Stamped the floral images from the "Precious Poppies" onto the white panel, masked the flowers and added the background with SNSS Script Stencil with a ink blending tool.  
  • Colored the flower images, then stamped the floral tops, fuzzy cut them and added them to the card with foam squares.
  • Stamped the sentiment from the "Precious Poppies" stamp set with versamark and heat embossed with white embossing powder.
  • Finished off the card by adding some embellishments.
Thank you so much for stopping by, please come back again soon.

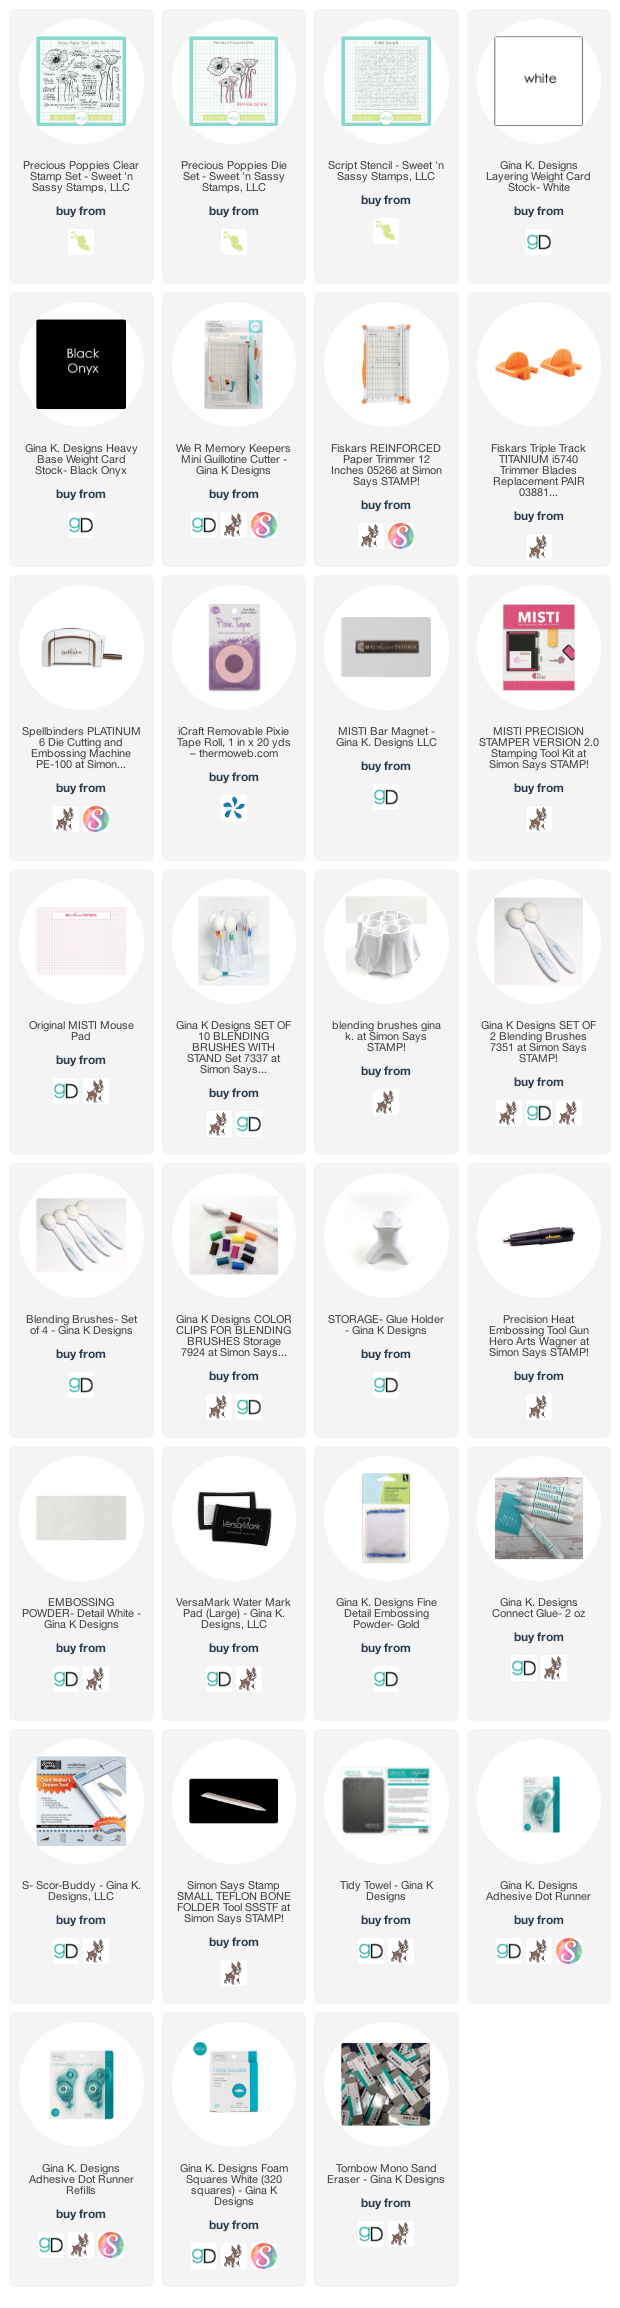
Here is a list of supplies I used on my card, Affiliate Links used at no additional cost. Thank you for your support.

RETRO RUBBER CHALLENGE BLOG #179 - Color Challenge

Tuesday, March 29, 2022

Hello everyone!

I am here with Retro Rubber Challenge blog and we have a new challenge which is a color challenge.  Be sure to stop over on the Retro Rubber Challenge blog to get more inspiration, the design team has some wonderful creations!

The rules to play along with Retro Rubber Challenge is very simple, make sure the stamp you use on your project is at least one year or older. For more details on the rules, you can find them over on Retro Rubber Challenge blog.


I am using a few stamp sets from Mama Elephant called Hello Friend Wishes Stamp.  The stamp set was released in June 2016. Love the bold sentiment that is perfect for a quick card to give to a friend.


Here is my card for your inspiration and how I put it together:

  • Created an A2 card measures 4 1/4 x 5 1/2
  • Die cut the top layer from Mama Elephants Mod Heart die set, I ink blended three of the five colors that should have been used for the challenge....they are bright orange, bright yellow and bright green.
  • Stamped the sentiment in black ink.
  • Assembled and added the heart and some sequence to finish off the card.
Thank you so much for stopping by, please come back again soon!

SWEET N' SASSY STAMPS - Begin Again

Wednesday, March 16, 2022

Hello everyone!

I am here again with Sweet n' Sassy Stamps featuring the beautiful stamp set called "Begin Again".  This is a beautiful set, I love the different sizes of the butterflies and the sentiments in this set are very nice and can be used for many occasions. 

Here is my card for your inspiration:


  • A2 Top Fold Card Base: 4 1/4" x 5 1/2" (4 1/4" x 11", scored at 5 1/2")
  • Black Panel:   4" x 5 1/4"Floral Panel:  3 7/8 x 5
  • Stamped the images with VersaFine Clair - Ink Pad Nocturne Ink and heat embossed with clear embossing powder.
  • Inked blended using the embossed resist technique.
  • Stamped the sentiment from the "Begin Again" stamp set.
  • Finished off the card by adding some pearl embellishments.
Thank you so much for stopping by, please come back again soon. 

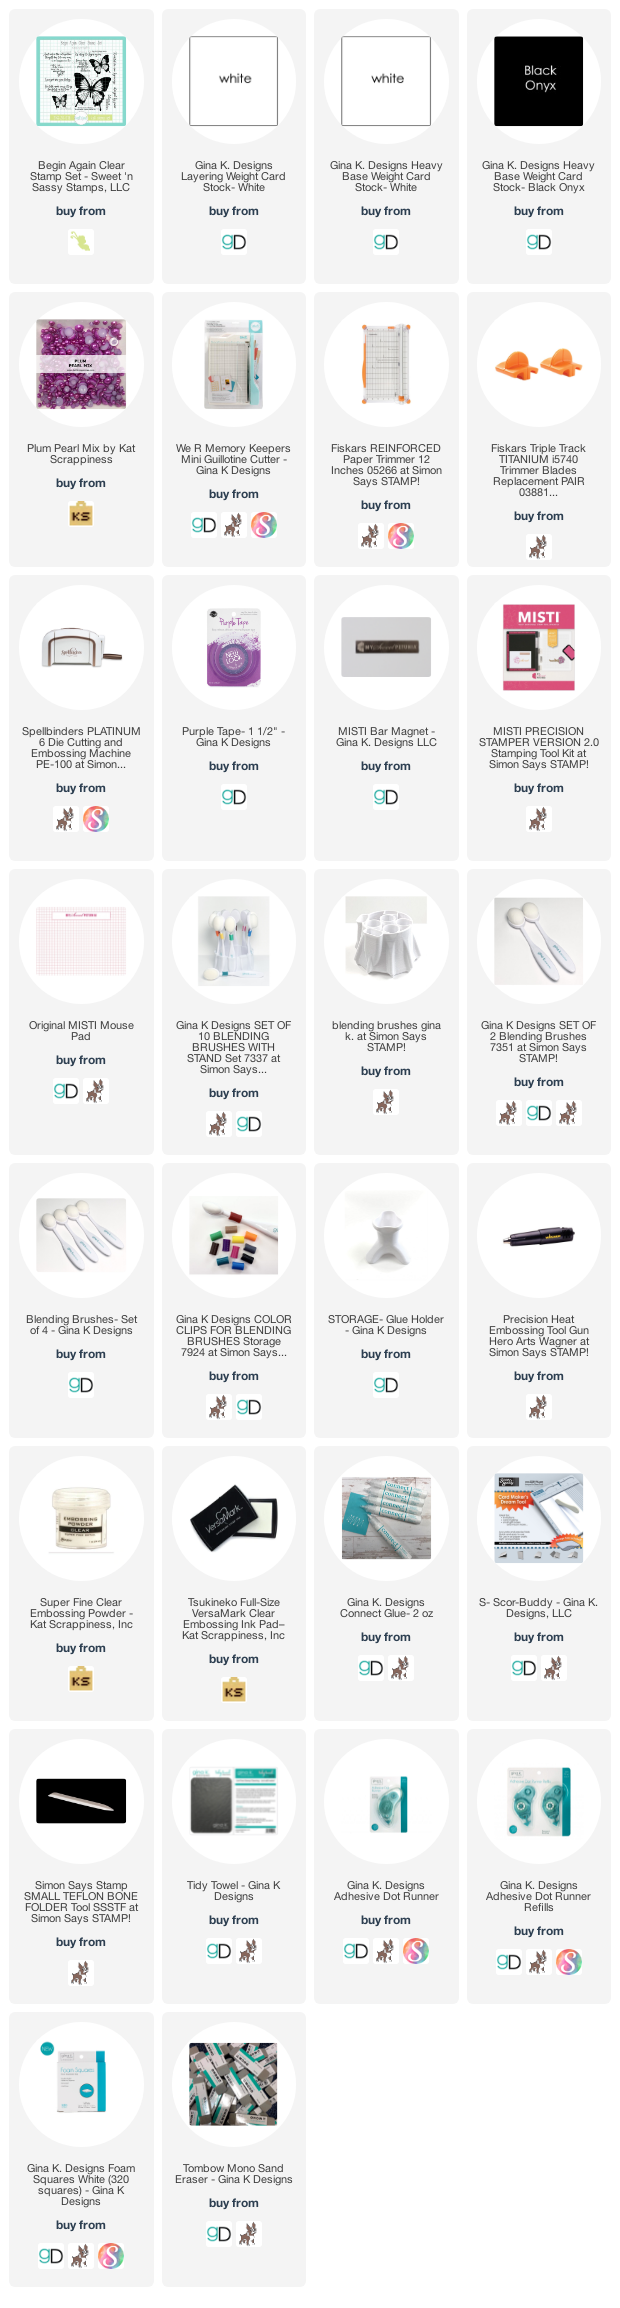
Here is a list of supplies I used on my card, Affiliate Links used at no additional cost. Thank you for your support.

Kat Scrappiness - Rainbow Happy Valentine's Day!

Sunday, January 30, 2022

Hello everyone!

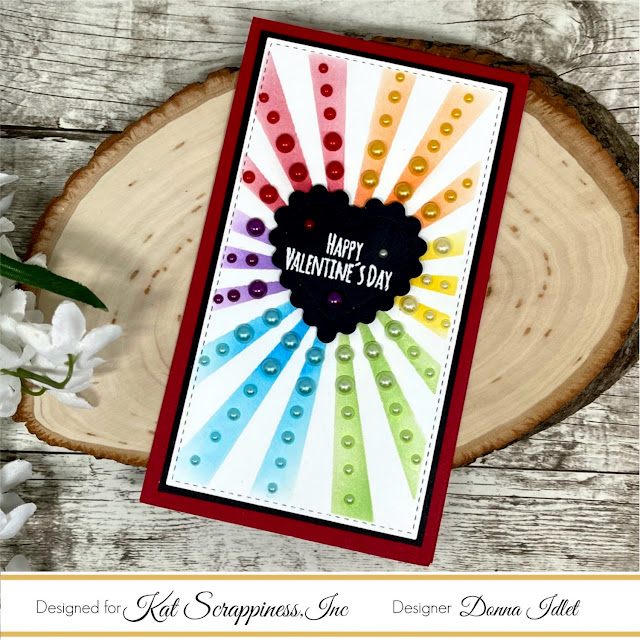
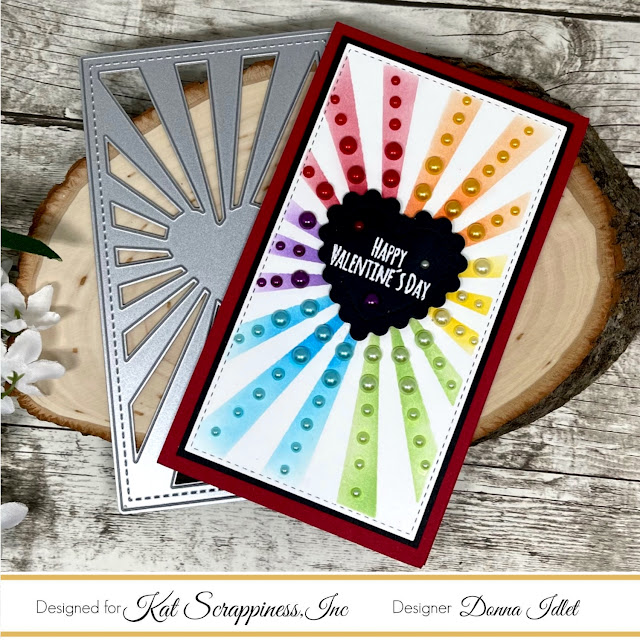
I am here with Kat Scrappiness, Inc., featuring the NEW Mini Slimline Heart Sunburst Die. I hope you have enjoyed all the wonderful designs this month from the design team.  If you have not had a chance to see all the projects, please visit the Kat Scrappiness, Inc. store.

Here are my cards for your inspiration:

Donna Idlet - Kat Scrappiness, Pearl Mix, Valentine Quokka Stamp Set, Stitched Fancy Scalloped Heart Die, Mini Slimline Heart Sunburst Die

Here is how I created the card:
  1. Cut Mini Slimline Card Base 3 1/2" x 6" top fold. 
  2. Die cut the Mini Slimline Heart Sunburst Die, used it as a stencil to ink blend each sunburst section.
  3. Die cut the inked sunburst piece with KS Mini Slimline Double Stitched Dies.
  4. Black layer measures 3 " x 5 1/2".
  5. Stamped and embossed sentiment from the KS Valentine Quokka Stamp Set.
  6. Die cut the sentiment with the KS Stitched Fancy Scalloped Heart Die.
  7. Added KS Pearl Mixes in rainbow order onto each sunburst.  I used the following pearl mixes:  Red Rose, Peach, Lemon Yellow, Pastel Green, Light Turquoise and Plum.
  8. Assembled card.
Donna Idlet - ink blending Kat Scrappiness, Pearl Mix, Valentine Quokka Stamp Set, Stitched Fancy Scalloped Heart Die, Mini Slimline Heart Sunburst Die

Thank you so much for stopping by, please head over to Kat Scrappiness blog for more inspiration.

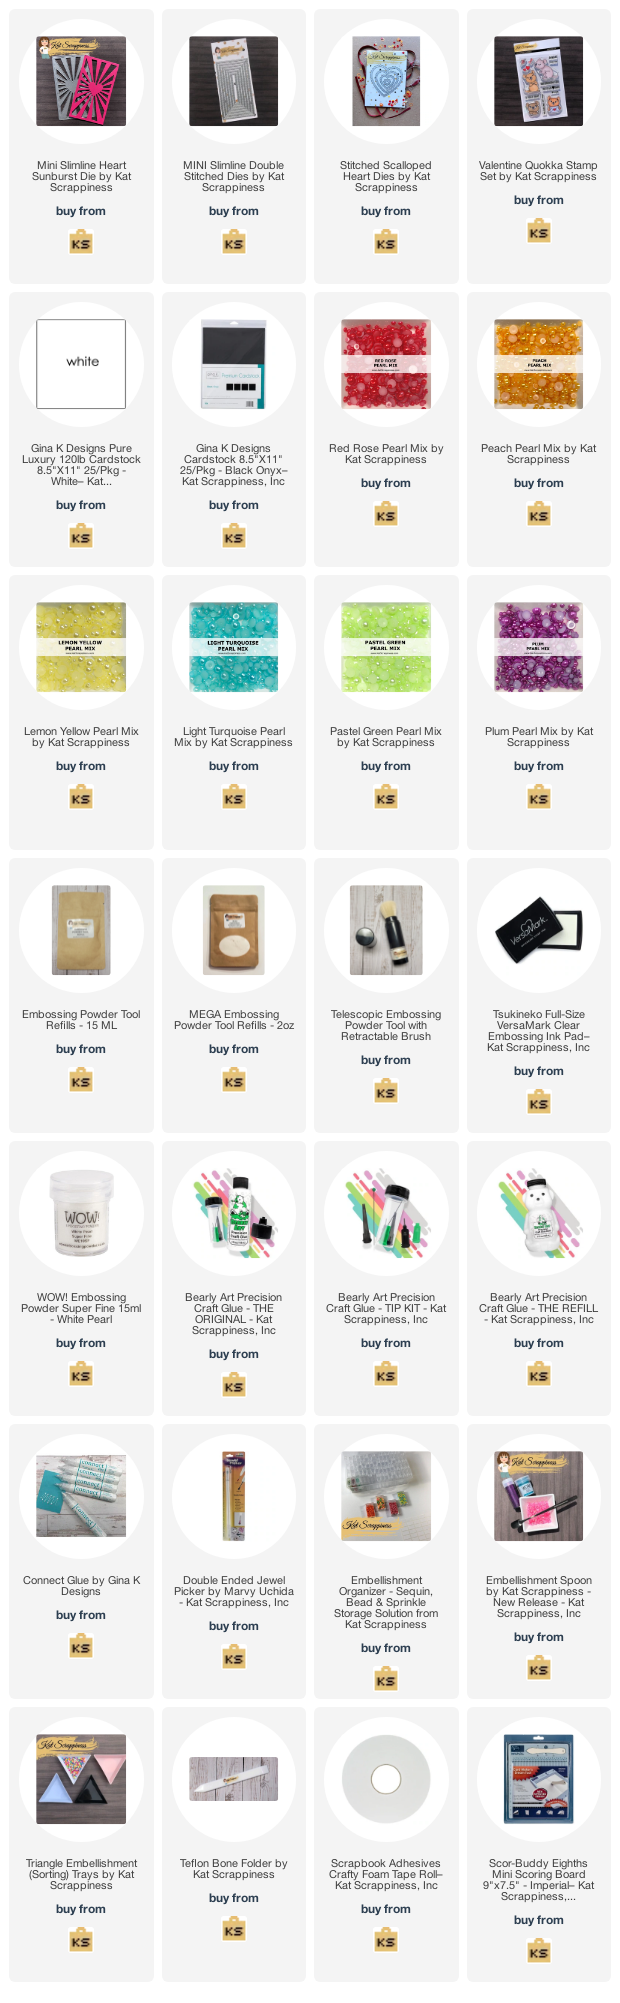
Here is a list of supplies I used on my card, Affiliate Links used at no additional cost. Thank you for your support.

Newton's Nook Designs - January Reveal Day 3

Wednesday, January 19, 2022

Hello everyone!

Welcome back to Day 3 of the January 2022 Newton's Nook product reveal. The design team is featuring the Heartfelt Meows and Heartfelt Woofs stamp sets.  I'm in love with these heart shape dogs and cats heart stamp sets.  These heart stamps work well with Newton's Nook Heart Frames Dies and Banner Trio Dies, which you can find here.


Here are my cards for your inspiration:

Newton's Nook Design January 2022 release Heartfelt Meows and Heartfelt Woofs stamp sets, copic coloring #newtonnooks #cardmaking

Here is how I created it:

  • Cut & Score black A2 Card Base: 4 1/4″ x 5 1/5″ (4 1/4″ x 11″, scored at 5 1/2″).
  • Cut the pattern paper from the Love & Meows Paper Pad and layered with gray cardstock.
  • Stamped the image from the Newton's Nook Heartfelt Meows and colored with copics.
  • Die cut the Heartfelt Meow Image using the Heart Frames Die Set.
  • Stamped the sentiment from the Heartfelt Meows stamp set, and die cut with the banner from the A7 Frames & Banners Die Set.
  • Assembled the card.
Newton's Nook Design January 2022 release Heartfelt Meows and Heartfelt Woofs stamp sets, copic coloring #newtonnooks #cardmaking

Here is how I created it:

  • Cut & Score black A2 Card Base: 4 1/4″ x 5 1/5″ (4 1/4″ x 11″, scored at 5 1/2″).
  • Die cut the black layer from the Newton's Nook Frames and Flag Die.
  • Cut a piece of white card stock and dry embossed with the Petite Hearts Stencil.
  • Stamped and embossed the image from the Newton's Nook Heartfelt Woof stamp set. 
  • Ink blended with distress inks.
  • Stamped the sentiment from the Heartfelt Woof stamp set, and die cut with the banner from the A7 Frames & Banners Die Set.
  • Assembled the card.
Would you like to win the  “Heartfelt Meows” or the “Heartfelt Woofs” Stamp Set? We will choose ONE lucky winner for each stamp set!

Here's how to win: Comment on the NND blog and Design Team blogs (see list below)! The winner will be chosen at random from the collective reveal posts. Make sure to check out each of their blogs and comment for your chance to win. You will not know which blog has been chosen so the more you comment on the better your chances are of winning! You have until Thursday January 20th at 9pm ET to comment -- winners will be announced on the blog post on Friday, January 21st.

Check out all the awesome Design Team Blogs below to enter:

Thank you for stopping by, please come back tomorrow for more inspiration!


Gina K. Designs - November 2021 Monthly Mix Challenge

Tuesday, November 2, 2021


Hello everyone!

I am hosting the Gina K. Designs November 2021 Monthly Mix Challenge! This month’s challenge is, “Critters”, which could include snowmen, deer, birds whatever you have in your stash, and what better way to start on your holiday cards.  You can link your creation here.  
 
For your inspiration, I am using the "Playful Penguins" on my card. I love this cute set, there are so many possibilities to create with this stamp set. We can't wait to see what you create.  There are lots of  inspiration on the Gina K Designs & StampTV Friends page and look in the albums section at the top.


Steps to Create Card:
  • Cut a slimline Top Fold Card Base: 6 1/4″ x 3 1/4″ (cut paper 6 1/4 x 6 1/2, score at 3 1/4 on the 6 1/2 side) – Used Heavy Weight White Card Stock.
  • Cut black Mat using Master Layouts 7 Die Set – Used Layering Weight black Card Stock.
  • Cut White Stitched top Layer using Master Layouts 7 Die Set, ink blended the background with Sea Glass and splattered in onto the background and trees - Used Layering White Card Stock.
  • Die Cut the snow bank and trees using Master Layouts 6 - Used Layering White Card and Fresh Asparagus
  • Stamped and die cut the penguins and gift from the Playful Penguins stamp set, colored with copics - Used Layering White Card Stock
  • Stamped sentiment from the Star Struck Stamp set - Used GKD Black Onyx Ink
  • Assemble Card.
I hope you enjoyed today’s inspiration and will play along with us! We will have THREE winners of a $25 gift certificate each. You can upload your card here. You have until November 30th to enter and the winners will be announced on December 1st.

Supplies used: Some affiliate Links used at no additional cost. Thank you for your support!

Made With Love By The Dutch Lady Designs
Follow Me on Pinterest