Kat Scrappiness - Happy Birthday

Friday, July 30, 2021

Hello everyone!

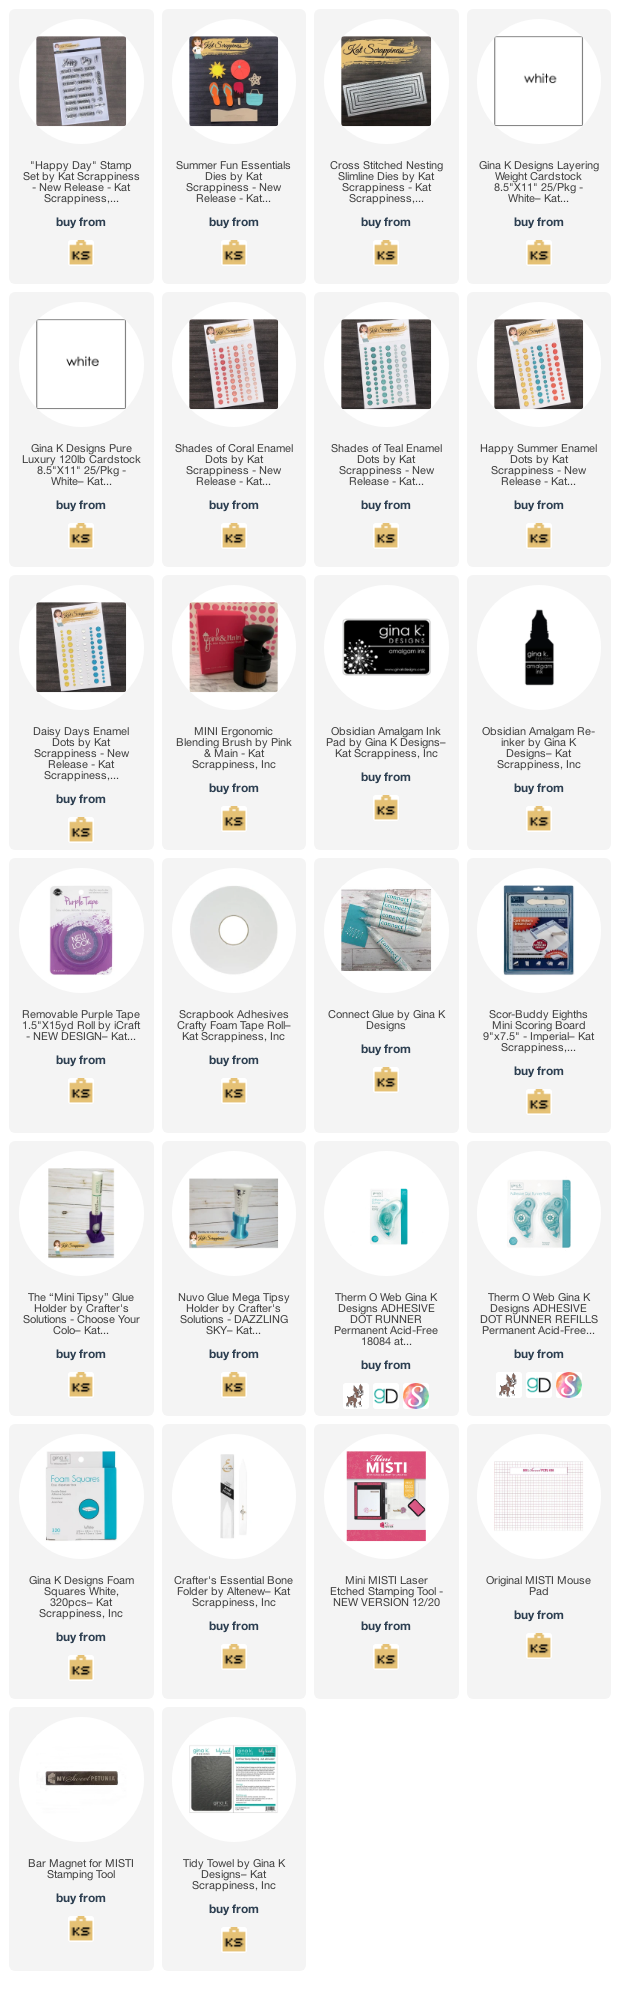
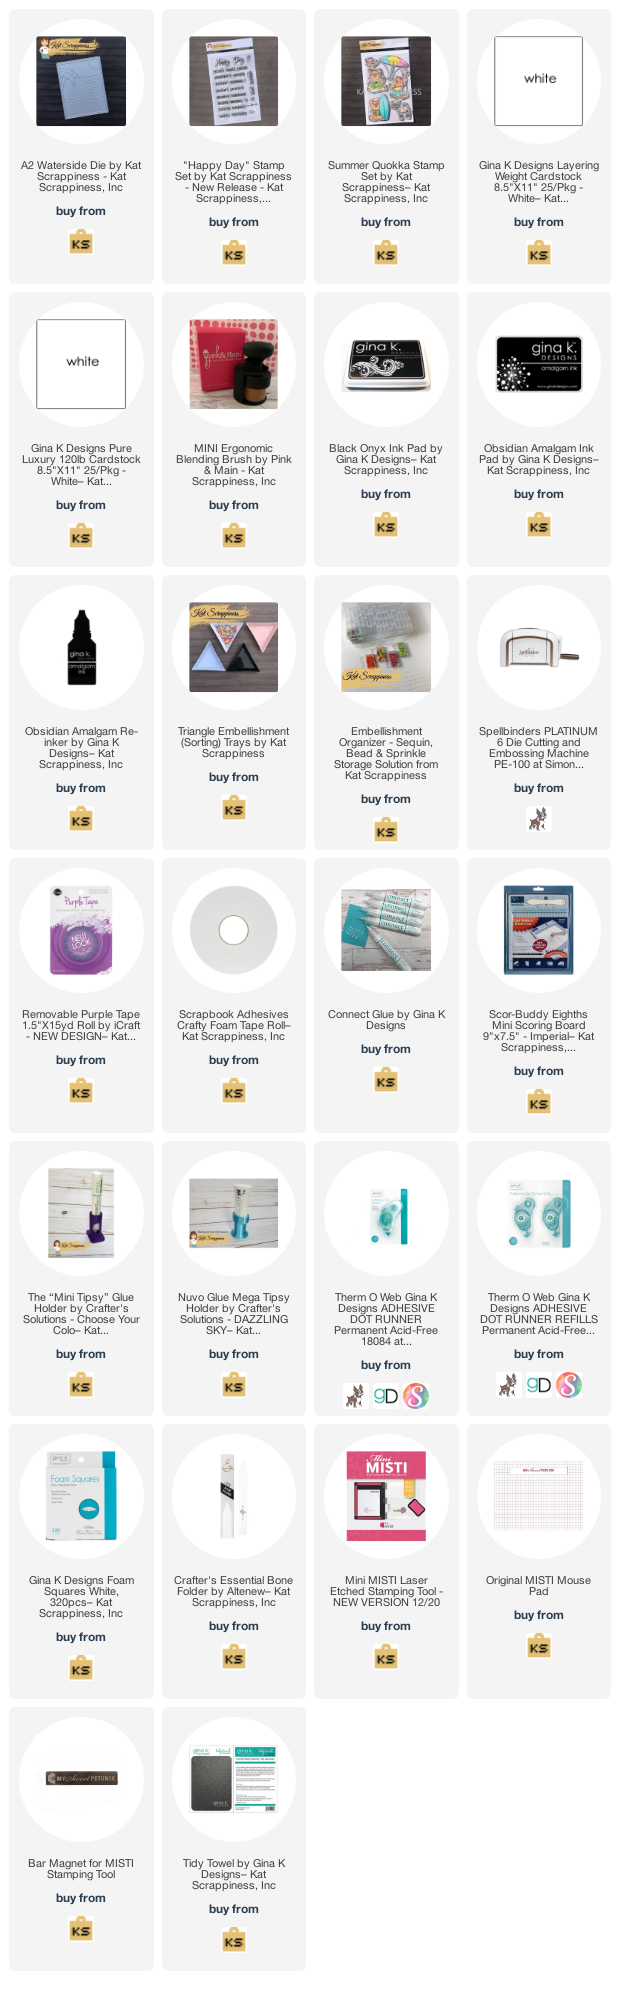
I am here with with Kat Scrappiness, Inc.,  featuring the Summer Fun Essentials die set along with the NEW Happy Day stamp set to create my card.  The enamel dots are also Kat Scrappiness, I love the new colors.  


Here is how I created my card:

  • Cut the White Slimline Card Base: 3-1/2″ x 8-1/2″ (scored at 3 1/2″).
  • Top layer is cut using the Cross Stitched Nesting Slimline Dies.
  • Cut Popsicles Summer Fun Essentials die set with cardstock. Added wing of stella for shimmer.
  • Stamp Birthday sentiment from the Happy Day stamp set in black ink and fuzzy cut the word and used foam tape to add it to the card.
  • Assemble card.
  • Finished with adding enamel dots.
Thank you so much for stopping by, please visit Kat Scrappiness blog for more inspiration.

Here is a list of supplies I used on my card, Affiliate Links used at no additional cost. Thank you for your support.

JULY 2021 MONTHLY MIX CHALLENGE - Christmas in July

Monday, July 26, 2021

Hello everyone!

I am here with Gina K. Designs with a new Monthly Mix Challenge for July.  Sheri Gilson is the hostess and the challenge is "Christmas in July.”  All you need to do is create a card or project with a Christmas/Winter theme.  Details are HERE.


Here is how I created my card.

  • Die cut the layers with GKD Master Layouts 1, the top layer is Kraft cardstock the bottom is black
  • Used GKD White Pigment ink in the background, by taking the ink pad and smearing it along the paper
  • Stamped Perfect Pallet wooden stamp in the background with GKD Dark Chocolate
  • Stamped the poinsettias from the GKD Merry & Bright Stamp set
  • Stamped the leaves and sprigs in the background from the Seasonal Sentiments stamp set
  • Splattered some black ink onto the card
  • Stamped and heat embossed the sentiment in black from the retired stamp set, Christmas Scripts
  • Finished off the card by adding GKD Ruby Slippers sequins.
Thank you for stopping by, please come back again soon.

Supplies used: Some affiliate Links used at no additional cost. Thank you for your support!

Retro Rubber Challenge Blog #163 - Tic Tac Toe

Tuesday, July 20, 2021

Hello everyone!

I am here with Retro Rubber Challenge blog and we have a new challenge, which is a fun tic tac toe created by design team member Jan Clothier! I hope you have been enjoying her tic tac toe games, because I have! Be sure to stop over on the Retro Rubber Challenge blog to get more inspiration, the design team has some wonderful creations!

The rules to play along with Retro Rubber Challenge is very simple, make sure the stamp you use on your project is at least one year or older. For more details on the rules, you can find them over on Retro Rubber Challenge blog.


Here is my card for your inspiration. My tic tac toe is Masculine, Embossing and Stripes.  I am using Honey Bee Stamp set called Car Show stamp set which was released in July 2019 and the sentiment is from Concord and 9th Hooray stamp set which was released in August 2017.


My card is an 4 1/4 x 5 1/2, I die cut the first layer 4 1/4 x 5 /12, I then cut the next layer 3 x 3 7/8. I cut some stripes in various colors of blue.  I used some circle dies to cup the middle.  I then stamped and embossed the sentiment from the the Concord and 9th Hooray stamp set.  I stamped the car from the Car Show stamp set and colored it with copics.  

Thank you for stopping by, I hope you will stop by the Retro Rubber Challenge blog and join the fun and check out the beautiful projects the design team members have created.


Kat Scrappiness - Happy Retirement

Tuesday, July 20, 2021

Hello everyone!

I am here with Kat Scrappiness, Inc., sharing a fun summer card with our famous Quokka chilling on the beach!  I am using the newly released  A2 Waterside Die, the sentiment is from the newly released Happy Day stamp set and the Summer Quokka Stamp Set.

Here is how I created my cards:
  • Card base is an A2 size card.  
  • Die cut the A2 Waterside die and inked each piece with a blending brush.
  • Assembled the Waterside die onto an A2 card.
  • Stamped and colored the Quokka from the Summer Quokka Stamp Set, colored with copics and added him to the card.
  • Stamped the sentiment from the Happy Day stamp set.
  • Finished the card off by adding some KS Brown Diamond Rhinestones to the palm tree.


Thank you so much for stopping by, please visit Kat Scrappiness blog for more inspiration.

Here is a list of supplies I used on my card, Affiliate Links used at no additional cost. Thank you for your support.

GINA K. DESIGNS JULY 2021 RELEASE

Monday, July 19, 2021

Hello everyone!

I am here sharing a couple of cards from the July 2021 release by Gina K. Designs using the Absolutely Autumn stamp set and Absolutely Autumn die set illustrated by Beth Silaika. You can see more inspiration from the full release on the Gina K. Designs & StampTV Friends Facebook page. To see the full release, you can go HERE under the What's New section.

Here are my cards for your inspiration:

My first card is a mini slimline card:
  • Card base measures 7” x 6”, score at 3 1/2”, black layer measures 3 1/4 x 5 3/8, and the top layer is 3 1/8 x 5 5/8.
  • Top layer is cut using the Kat Scrappiness Double Stitched Mini Slimline Dies.
  • I stamped inked blended the background with GKD inks, I then randomly stamped the leaves from the Absolutely Autumn stamp onto the card.
  • I cut a piece of GKD Velum Paper the size of the layer and stamped the sentiment from the Absolutely Autumn stamp set, heat embossed in black. I attached the vellum to the card.
  • Finish the card by adding some GKD Sugar Plum sequins.

My second card is also a mini slimline card :
  • Card base measures 7” x 6”, score at 3 1/2”,  black layer measures 3 1/4 x 5 3/8, and the top layer is 3 1/8 x 5 5/8.
  • Top layer I ink blended around the edges.
  • Stamped the leaves from the Absolutely Autumn Stamp set, colored with copics and die cut the leaves.  Placed the leaves onto the card.  
  • Die cut the "thankful" from GKD Thankful die, added vellum to the back and added it to my card.
  • Finish the card by adding some GKD Sugar Plum sequinsFinish the card by adding some GKD Sugar Plum sequins
Thank you so much for stopping by, I hope you have been inspired.

Here are the supplies I used for these cards and the links to the NEWLY released items. Affiliate Links used at no cost to you.  Thank you for your support!  
Here is the total release for the GKD July 2021 Release. Affiliate links used at no cost to you. Thanks again for your support!

Kat Scrappiness - Mini Slimline Cards

Tuesday, July 13, 2021

Hello everyone!

I am here with Kat Scrappiness, Inc., sharing a couple of mini slimline card using the newly released "Happy Anniversary" and "Thinking of You" word dies with shadow. Have you seen all the new "word" dies with shadow Kat Scrappiness just released? If not, you can find them all here.

The technique I am sharing today is using a brayer to add ink to an embossing folder.  I am using the 
Gracious Leaves 3d Embossing Folder By Memory Box.  You can find this in the Kat Scrappiness store here.


Here is how I created my cards:
  • Card base is Kat Scrappiness  Mini Slimline Card set, which measures 7” x 6”, score at 3 1/2”.
  • Top layer is cut using the Kat Scrappiness Double Stitched Mini Slimline Dies.
  • Open the embossing folder and apply ink to the brayer.
  • Brayer ink on the inside front of the embossing folder (the raised part).
  • Insert white cardstock in the folder, close and run through die cutting machine.
  • Add embossed layer to the card.
  • Die cut "Happy Anniversary" word die with shadow in black cardstock and the shadow with vellum.
  • Finished the card off by using the KS Crystal AB  Rhinestone Mix.
  • Open the embossing folder and apply ink to the brayer.
  • Brayer ink on the inside back side of the embossing folder (the debossed side).
  • Insert white cardstock in the folder, close and run it through your die cutting machine.
  • Add embossed layer to the card.
  • Die cut "Thinking of You" word die with shadow in black cardstock and the shadow with vellum.
  • Finished the card off by using the KS Deep Emerald Rhinestone Mix.
I love how these cards turned out, they would make a nice gift set of four, for someone special.  

Thank you so much for stopping by, please visit Kat Scrappiness blog for more inspiration.

Here is a list of supplies I used on my card, Affiliate Links used at no additional cost. Thank you for your support.


RETRO RUBBER CHALLENGE BLOG #162 - Sketch

Tuesday, July 6, 2021

Hello everyone!

I am here with Retro Rubber Challenge Blog with a new challenge, which is create a a sketched created by design team member Claire Grantham.  Claire, I love your sketch, it was fun to create my design. I hope you will join in on the fun. Be sure to stop over on the Retro Rubber Challenge blog to get more inspiration, the design team has some wonderful creations!

The rules to play along with Retro Rubber Challenge is very simple, make sure the stamp you use on your project is at least one year or older. For more details on the rules, you can find them over on Retro Rubber Challenge blog.


Here is my card for your inspiration. I am using Lawn Fawn stamp set called Hang in There. The set was released in March 2017.
 

My card is an 4 1/4 x 5 1/2, I die cut the first layer 4 1/4 x 5 /12, I then cut the next layer 3 x 3 7/8.  I stamped the stamped the image from the Hang in There stamp set and colored it with copics.  I then die cut the image out with a stitched circle die.  I added the sentiment and then popped the circle onto the card.  I finished it off by adding the enamel dot from my stash.  I followed the sketch and was very easy to create.  

Thank you for stopping by, I hope you will stop by the Retro Rubber Challenge blog and join the fun and check out the beautiful projects the design team members have created.
Made With Love By The Dutch Lady Designs
Follow Me on Pinterest