Gina K. Designs - Beautiful Butterflies 2

Wednesday, June 30, 2021

Hello everyone!

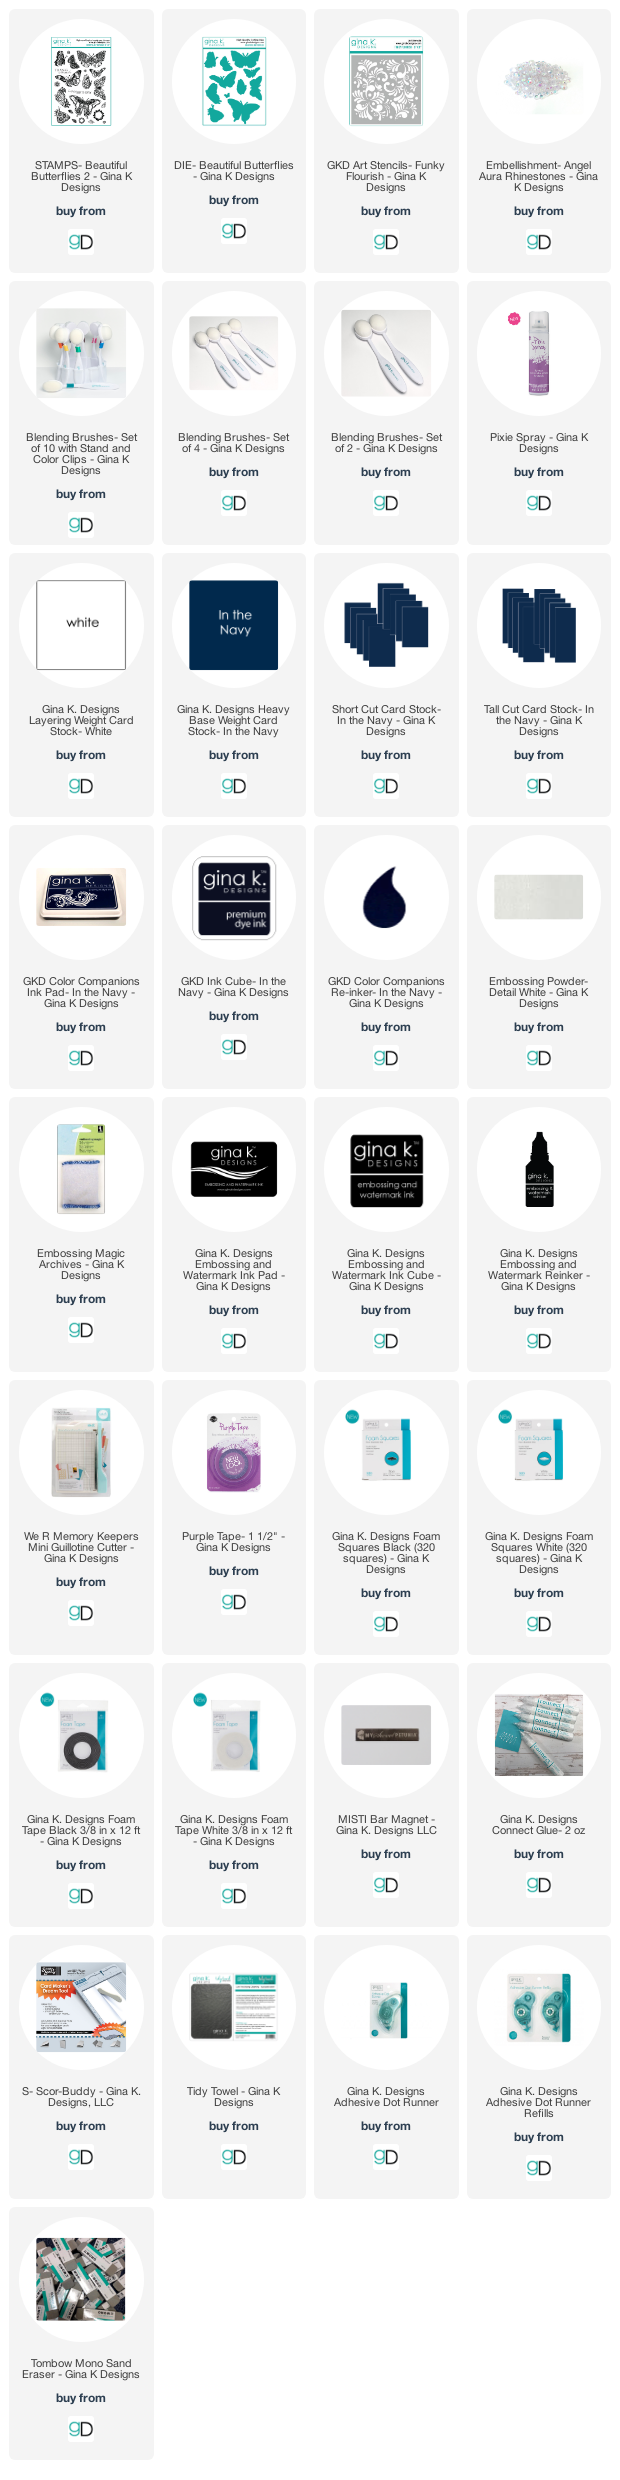
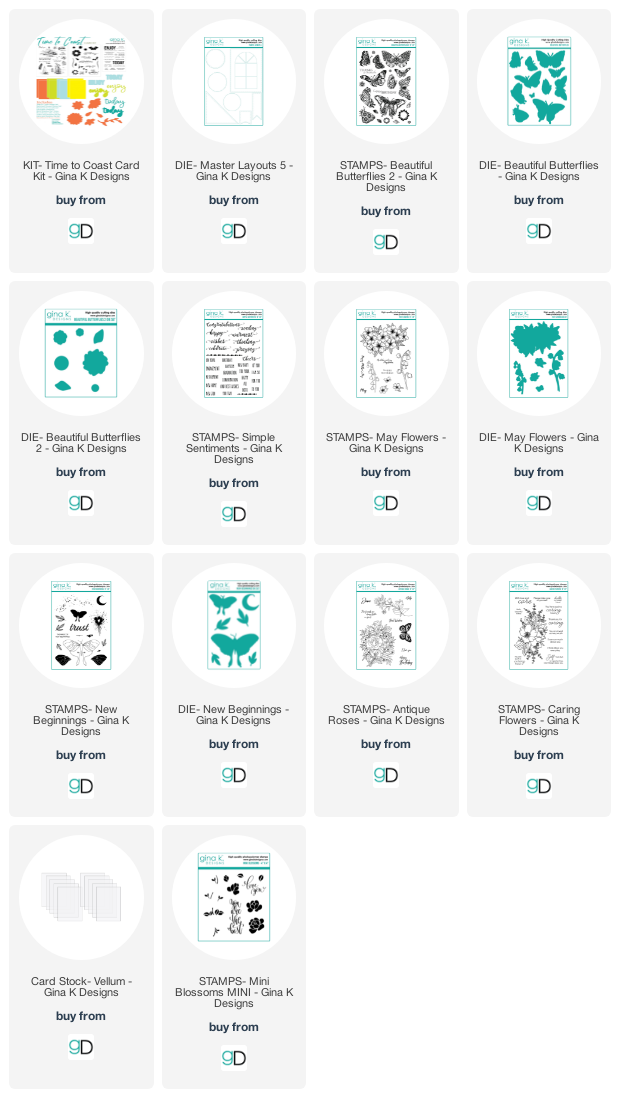
I am sharing this butterfly card I created using the newly released Gina K. Designs Beautiful Butterflies 2 Stamp Set and the Beautiful Butterflies die set illustrated by Melanie Muenchinger.  You can see more inspiration on the Gina K. Designs & StampTV Friends Facebook page.  If you have not seen the full release, you can see it HERE under the What's New section.

Here are my cards for your inspiration:


Here is how I created my card:

  • Card is an A2 card, used Master Layouts 1 for the two layers.
  • Ink blended the In the Navy cardstock on the corners.
  • Used GKD Funky Flourish in the background ink blending with GKD White Pigment Ink. 
  • I stamped and heat embossed the largest butterfly from the Beautiful Butterflies 2 stamp set and inked blended with GKD inks.  Die cut the butterfly and used foam squares to pop it up on my card.
  • I stamped the sentiment from the Butterflies 2 Stamp Set and heat embossed in with GKD detail white embossing powder.
  • To finish off the card I added some GKD Angel Aura rhinestones to the butterfly and the card.
Thank you so much for stopping by, please come back again soon!

Here are the supplies I used for these cards and the links to the NEWLY released items. Affiliate Links used at no cost to you.

Kat Scrappiness - Congrats!

Wednesday, June 30, 2021

Hello everyone!

I am here with Kat Scrappiness, Inc., sharing a mini slimline card using the newly released "Congrats" word die with shadow. Have you seen all the new "word" dies Kat Scrappiness just released?  If not, you can find them all here.
 

Here are the steps to create this card:
  • Cut the White Slimline Card Base: 7” x 6”, score at 3 1/2”.
  • Top layer is cut using the Zig Zag Nesting Mini Slimline Dies.
  • Before releasing the paper from the Zig Zag die, I used the Gina K. Designs Sunshine Stencil (sold in the kat Scrappiness store) to create the background
  • Die cut the Congrats word die with shadow.
  • Assembled the card and finished off with adding the mini Ornate Rainbow Jewels. 

Thank you so much for stopping by, please visit Kat Scrappiness blog for more inspiration.

Here is a list of supplies I used on my card, Affiliate Links used at no additional cost. Thank you for your support.

Retro Rubber Challenge Blog #161 - Summer Treats!

Tuesday, June 22, 2021

Hello everyone!

I am here with Retro Rubber Challenge Blog with a new challenge, which is create a Summer Treats, use the photo to inspire you to make your card.  I love this challenge, I think my card is perfect for the challenge, I love all the colors.  I hope you will join in on the fun. Be sure to stop over on the Retro Rubber Challenge blog to get more inspiration, the design team has some wonderful creations!

The rules to play along with Retro Rubber Challenge is very simple, make sure the stamp you use on your project is at least one year or older. For more details on the rules, you can find them over on Retro Rubber Challenge blog.


Here is my card for your inspiration. I am using Hero Arts Color Layering Ice Cream stamp and die set. The set was released in July 2016.  I believe the set has been retired, but I did see it on Amazon and Ebay.


My card is an 4 1/4 x 5 1/2, I die cut the layers using Gina K. Designs Master Layouts 2. I then stenciled the top layer using Pinkfresh slimline Layered Starburst in a variety of distress inks.  I then stamped and die cut the ice cream pieces from the Hero Arts Color Layering Ice Cream stamp set.  I stamped the sentiment from Taylored Expressions Every Birthday stamp set.  The "Sweet" die cut is from Kat Scrappiness called Sweet Word and Sentiment.  I put foam tape on the back and popped it up onto the card.  To finish the card off I used some rhinestones from my stash.  

Thank you for stopping by, I hope you will stop by the Retro Rubber Challenge blog and join the fun and check out the beautiful projects the design team members have created.


Kat Scrappiness - Crafty Friend

Sunday, June 20, 2021

Hello everyone!

I am here with Kat Scrappiness, Inc., sharing a slimline card using the newly released "Hello My Crafty Friend" word die with shadow.  This word die is perfect to send to one of your crafty friends.  The words can also be used separately if you wanted to.  This is a great die to have in your stash. 


Here are the steps to create this card:

  • Cut the White Slimline Card Base: 6″ x 3 1/2″ (6″ x 7″, scored at 3 1/2″).
  • Top layer is cut using the Zig Zag Nesting Slimline Dies.
  • Die cut the rainbow using the Slimline Rainbow die with Starlights Jewel and Bright slimline paper.
  • Die cut the Hello My Crafty Friend word die with shadow.
  • Stamped and cut the crafty elements from the Crafters Gonna Craft Stamp set.  Colored them with copics.
  • Assembled the card and finished off with adding white stars from the Black & White Star Sprinkles.


Thank you so much for stopping by, please visit Kat Scrappiness blog for more inspiration.

Here is a list of supplies I used on my card, Affiliate Links used at no additional cost. Thank you for your support.

Kat Scrappiness Summer Fun

Sunday, June 13, 2021

Hello everyone!

I am here with Kat Scrappiness, Inc., sharing two slimline cards using the newly released products.  I hope you all are enjoying your summer and have lots of plans to hang out at the beach.  Here are my cards for your inspiration:

My first card is a slimline card using the newly released Happy Summer with Shadow Die, Lumber Yard Slimline Paper, Summer Fun Essentials dies and the Espresso AB Pearl Mix


Here are the steps to create this card:
  • Cut the White Slimline Card Base: 6″ x 3 1/2″ (6″ x 7″, scored at 3 1/2″)
  • Cut the Lumber Yard Slimline Paper with Wonky Stitched Nesting Slimline Die set and add to the base of the card.
  • Die cut Happy Summer from the NEW Happy Summer with Shadow Die and the elements from the NEW Summer Fun Essentials die set and add the elements to the card.
  • Finished off the card by adding the NEW Espresso AB Pearl Mix to the star fish and the flip flops.

My second card, I created another slimline card using the newly released Slimline Waterslide Scene
and Mocha Pearl Mix, along with the Summer Gnome Stamp Set, Summer Gnome Add On Stamp set and Lumber Yard Slimline Paper


Here are the steps to create this card:
  • Cut the White Slimline Card Base: 6″ x 3 1/2″ (6″ x 7″, scored at 3 1/2″)
  • Die cut the Slimline Waterslide Scene Die, first cut it in white, cut it again using the alcohol ink background created to look like water and lastly cut it again to have the sand.
  • Stamped, colored with copics the elements from the Summer Gnome Stamp Set and Summer Gnome Add On Stamp sets and die cut them and assembled the card.
  • Created the sun rays using the MFT Radiating Rays Stencil and the clouds with MFT Mini Cloud Edges Stencil.
  • Finished the card by heat embossing the sentiment from the Summer Gnome Add On Stamp set and added some NEW Mocha Pearl Mix.
Thank you so much for stopping by, please visit Kat Scrappiness blog for more inspiration.

Here is a list of supplies I used on my card, Affiliate Links used at no additional cost. Thank you for your support.

Kat Scrappiness - NEW Shaker Kits

Saturday, June 12, 2021

Hello everyone!

I am here with Kat Scrappiness, Inc. showcasing the newly released Camera Shaker Kit.  Please hop over to Kat Scrappiness blog and see all the wonderful kits and see what the design team has created. If you have not seen the other shaker kits in the store, you can find them here.  You can find all the NEW Kits here.  

Here is my Shaker Kit for your inspiration:


Here is how I created my shaker kit:
  • Created the Camera Shaker Kit by inking it with Salvage Patina Distress Oxide ink.  
  • Added some versafine ink all over the camera and added clear embossing powder and heat embossed.
  • Assembled the A2 card, adding Lumber Yard slimline paper onto the base of the card.
  • Assembled the Camera kit adding KS Bright Rainbow Heart Sprinkles.
  • Stamped the KS Quokka's from the Quokka'n Up stamp set.  Colored them with copics and added them to my card.

Another view of the card.

Thank you so much for stopping by, please be sure to visit Kat Scrappiness blog for more inspiration.

Here is a list of supplies I used on my card, Affiliate Links used at no additional cost. Thank you for your support.

Gina K. Designs June 2021 Release

Wednesday, June 9, 2021

Hello everyone!

I am here sharing some cards from the June 2021 release by Gina K. Designs using the Beautiful Butterflies 2 Stamp Set,  Beautiful Butterflies 2 die set illustrated by Melanie Muenchinger and  Simple Sentiments Stamp set illustrated by Beth Silaika. You can see more inspiration from the full release on the Gina K. Designs & StampTV Friends Facebook page. To see the full release, you can go HERE under the What's New section.

Here are my cards for your inspiration:

My first card is a slimline card:
  • I cut two scallop panels from the GKD Master Layouts 4 adhered them together and adhered it to the base of the card that measures 4 x 9 (8x9 scored at 4).  
  • I then cut the next layer at 3 1/2 x 8 1/2.  I inked blended the background with GKD Blue Raspberry ink and used the Thick Brush stencil in the background for texture.  
  • I stamped and heat embossed the butterflies from the Beautiful Butterflies 2 stamp set and inked blended with GKD inks.  
  • I stamped the sentiment from the Butterflies 2 Stamp Set and heat embossed in black and used the sentiment strip from the Master Layouts 2.  
  • To finish off the card I added some GKD Angel Aura rheinstones.


My second card is a mini slimline:
  • The base of my card is a top folding card measuring 3 1/2 x 6, the black layer measures 3 1/4 x 5 3/8, and the top layer is 3 1/8 x 5 5/8.
  • I stenciled the top layer with GKD Square Mandala using GKD Sea Glass.
  • I stamped and heat embossed three butterflies and colored them with copics.
  • Stamped the sentiment from the Beautiful Butterflies 2 stamp set. Finished off the card by adding GKD Disco Ball embellishments.


My next two cards I created using the Simple Sentiments Stamp set illustrated by Beth Silaika.

To create this card I used GKD inks to create the background, using my Misti to keep the lines straight.  I die cut the two panels using  GKD Master Layouts 2. Added the sentiment from the Simple Sentiments Stamp set, I heat embossed the word "birthday" on black cardstock with GKD white embossing panel.  I finished off the card by adding some GKD Rainbow Hearts.


My last card using  Simple Sentiments Stamp set:
  • I used GKD Sassy Stripes stencil and added transfer gel on black cardstock.  I let the gel dry and then added GKD foil and ran it through my Minc.  
  • I added the foiled panel onto an A2 card ( 4 1/4 x 5 1/2).  
  • Finished the card off by adding GKD Disco Ball embellishments.

Here are the supplies I used for these cards and the links to the NEWLY released items. Affiliate Links used at no cost to you.


RETRO RUBBER CHALLENGE BLOG #160 - Summer Breeze

Tuesday, June 8, 2021

Hello everyone!

I am here with Retro Rubber Challenge Blog with a new challenge, which is create a summer related card with stamps and/or paper. I hope you will join in on the fun. Be sure to stop over on the Retro Rubber Challenge blog to get more inspiration, the design team has some wonderful creations!


The rules to play along with Retro Rubber Challenge is very simple, make sure the stamp you use on your project is at least one year or older. For more details on the rules, you can find them over on Retro Rubber Challenge blog.


Here is my card for your inspiration. I am using The Project Bin stamp set called Summer Fun. The set was released in May 2016.


My card is an 4 1/4 x 5 1/2, I cut the layers using Gina K. Designs Master Layouts 2 for my top layers.  I then stamped the sentiment from the Summer Fun stamp set and die cut it with a die from my stash.  I then adhered it to the top layers of my card and finished it off using some enamel dots from my stash.   

Thank you for stopping by, I hope you will stop by the Retro Rubber Challenge blog and join the fun and check out the beautiful projects the design team members have created.


Made With Love By The Dutch Lady Designs
Follow Me on Pinterest