Gina K. Designs April 2026 Release is NOW available and can be found HERE.
Hello everyone!
I am here today featuring the NEW Gina K. Designs "Time to Bloom" Stamp and Die Sets illustrated by Hannah Schroepfer Drapinski. Be sure to check out ALL the new products released this month. You can also find lots of inspiraton over at Gina K. Designs & StampTV Friends Facebook page. All supplies I used are listed below.
Here is my cards for your inspiration:

My card is an elegant A2 card featuring the beautiful floral from the Time to Bloom stamp set.
I started with a card base using Gina K. Designs cardstock in Lovely Lavender. This shade sets such a calming tone and creates the perfect backdrop for the design.
For the focal point, I used the newly released Time to Bloom floral set. I stamped the flowers and colored them with Olo Markers, blending soft purples to complement the cardstock. The gentle shading really brings the petals to life while keeping everything cohesive and soothing. After coloring, I used the coordinating die to cut out the images for a crisp finish.
To add dimension and elegance, I layered the design over the Ornate Frame die from Gina K. Designs. The intricate pattern adds beautiful texture without taking away from the florals, and the layered framing draws your eye right to the center of the card.
The sentiment, “Hello Friend,” is from the Time to Bloom perfectly placed at the base of the florals.
To finish everything off, I added a few Soft White Pearls from Gina K. Designs around the frame. These subtle embellishments add just the right touch of shine and complete the card with a polished look.
This card is a great example of how sticking to a monochromatic palette with soft variations can create something truly elegant and timeless.
Thank you so much for stopping by, I hope you are enjoying the new release this month.
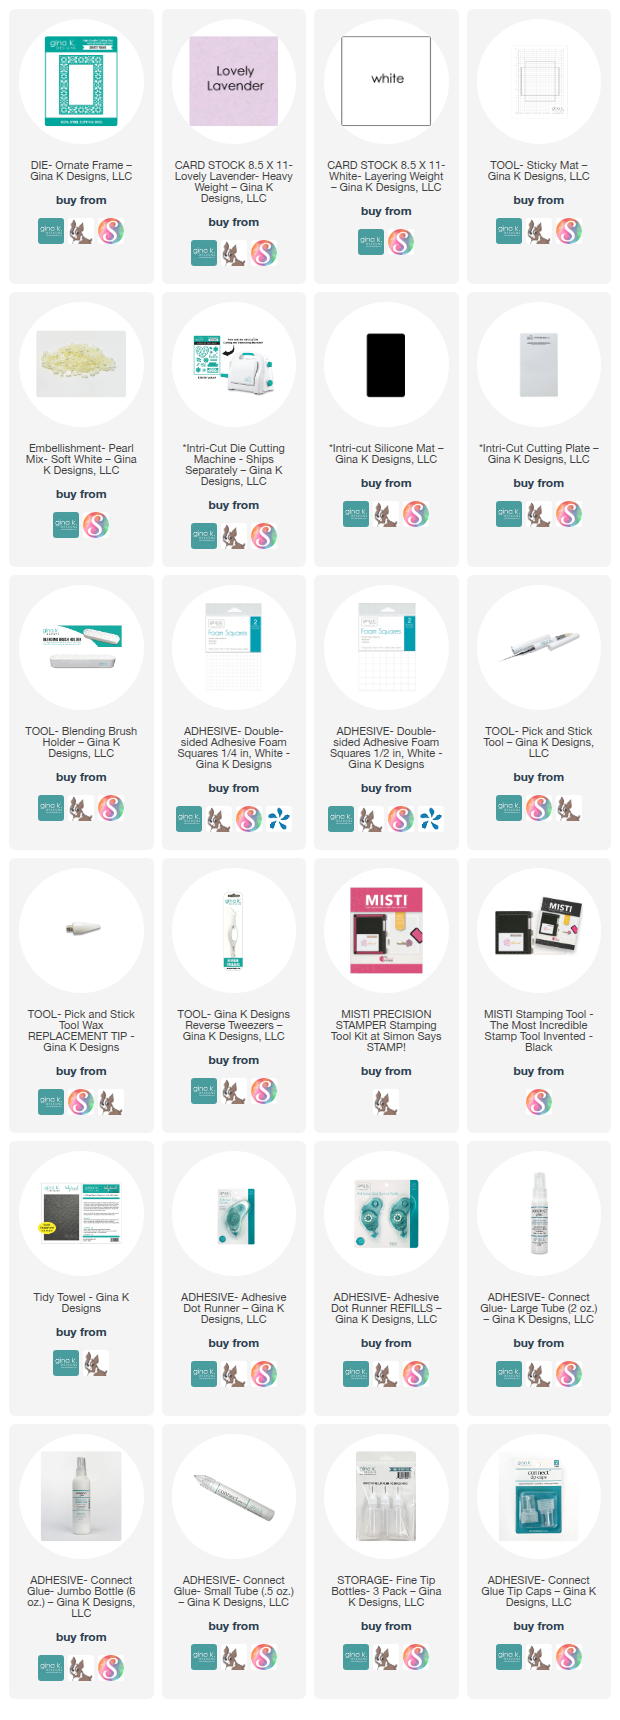
Here is a list of supplies I used on my cards, affiliate links used at no additional cost. Thank you for your support.