Showing posts with label happy birthday card. Show all posts

Sweet 'n Sassy Stamps - Get Well Soon

Monday, November 27, 2023

Hello everyone!

I am featuring the NEWLY released Sweet 'n Sassy Stamps Travel Cup Die Set, Coffee Ground Background Stamp and Simple Sentiments Stamp Sets. You can find these stamp sets along with other coffee related stamp sets in the SnSS Store.

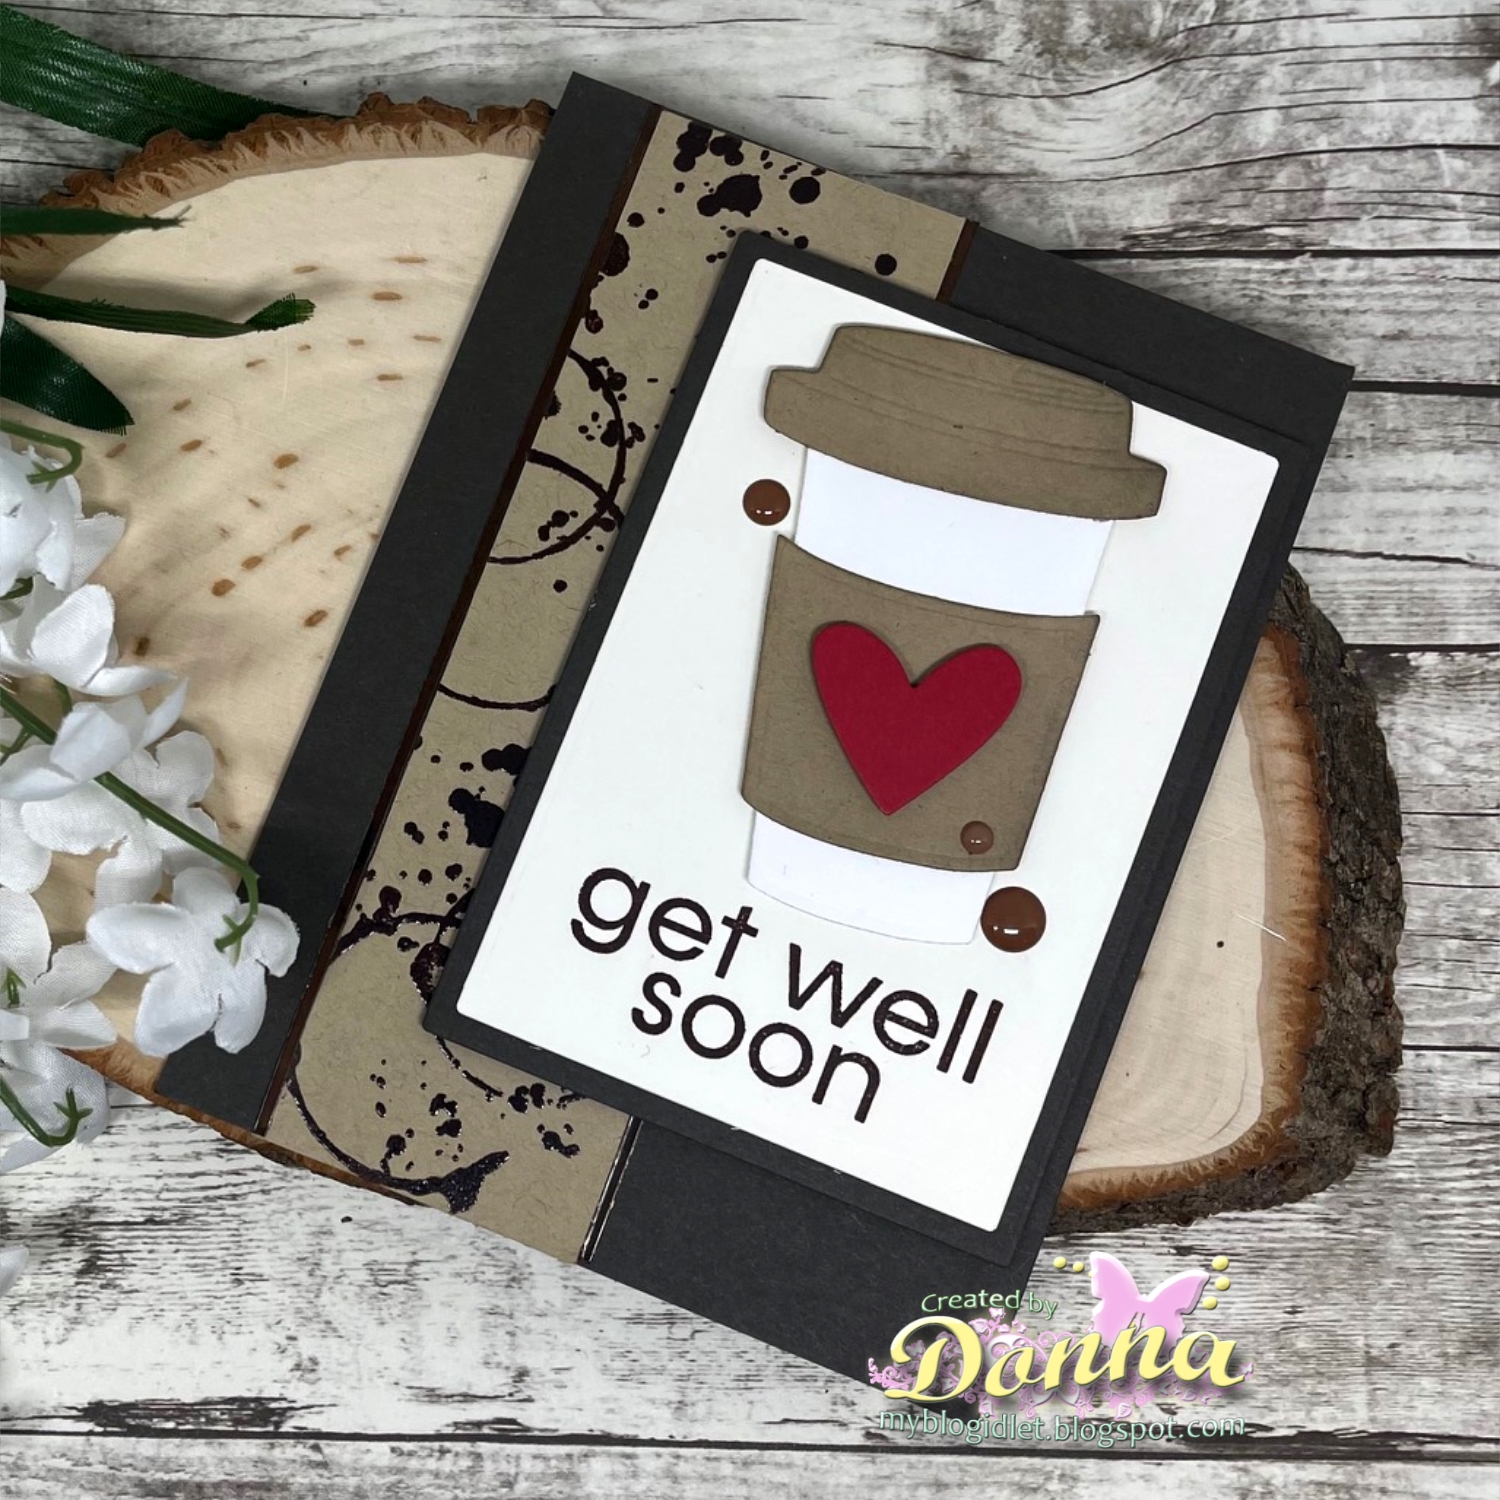
Here is my card for your inspiration.
Donna Idlet, HAPPY BIRTHDAY CARD, SIMPLE SENTIMENTS STAMP SET, SWEET N' SASSY STAMPS, TRAVEL CUP DIE SET,  Simple Sentiments Stamp Set

My card is an A2 card, for the background side piece I am using SnSS Coffee Background clear stamp.  I stamped with versamark and heat embossed with brown embossing powder onto some kraft card stock.  I die cut the Travel Cup Die and assembled it, adding the heart to the front.  I finished it off by adding the sentiment from the Simple Sentiments Clear Stamp set.  

Thank you so much for stopping by, please come back again soon!

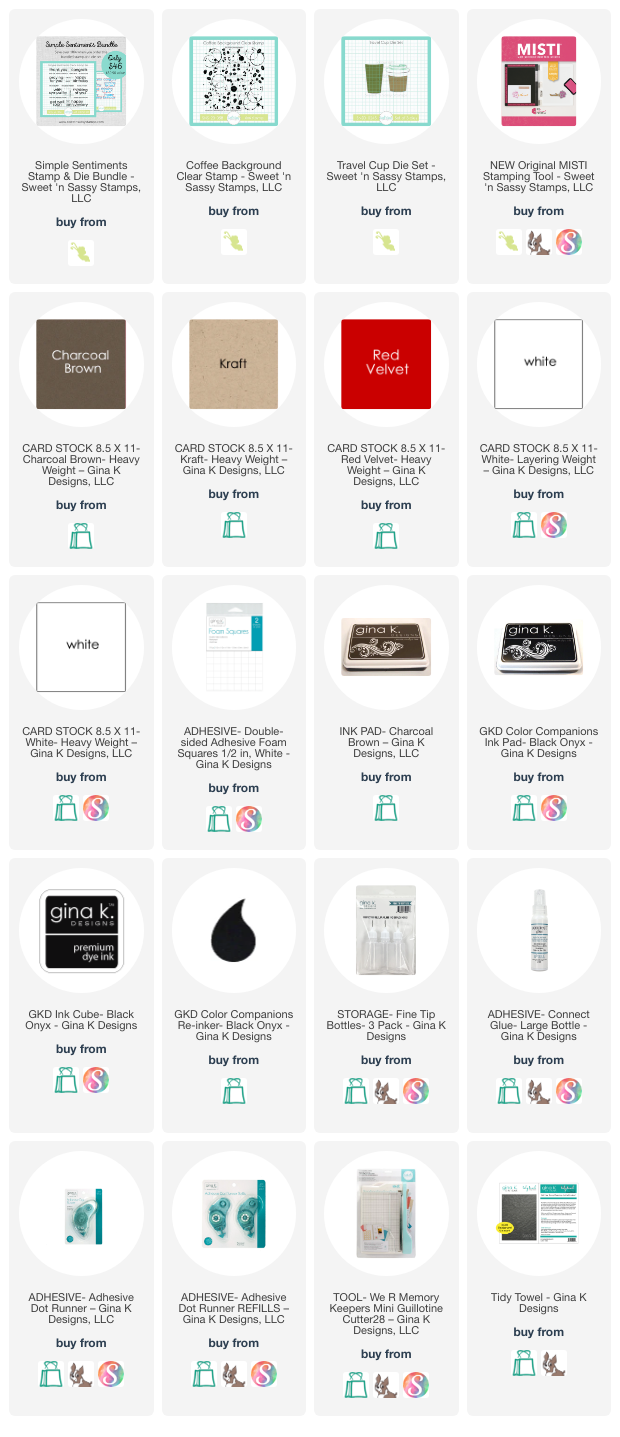
Here is a list of supplies I used on my cards. Affiliate Links used at no additional cost. Thank you for your support.
SWEET N' SASSY STAMPS - FALL/WINTER 2023 COFFEE LOVER'S BLOG HOP

Friday, November 3, 2023


Hello Coffee Lovers!

I am here playing along with the Fall/Winter Coffee Lovers Blog Hop. I am here with Sweet 'n Sassy Stamps who is a returning super sponsor. SnSS will be donating a $25 gift code to the SnSS store. There are lots of sponsors with lots of giveaways. You can find all the details on the hop on the Coffee Lovers Blog.
 
I am featuring the NEW Sweet 'n Sassy Stamps Travel Cup Die Set and Simple Sentiments Stamp Sets. You can find these stamp sets along with other coffee related stamp sets in the SnSS Store.

Here is my card for your inspiration.

Donna Idlet, Sweet n' Sassy Stamps, Travel Cup Die Set, Simple Sentiments Stamp Set, happy birthday card

Thank you so much for stopping by, I hope you will play along with the Coffee Lovers Blog Hop. Be sure to stop over to the SnSS blog and Facebook for lots of inspiration.

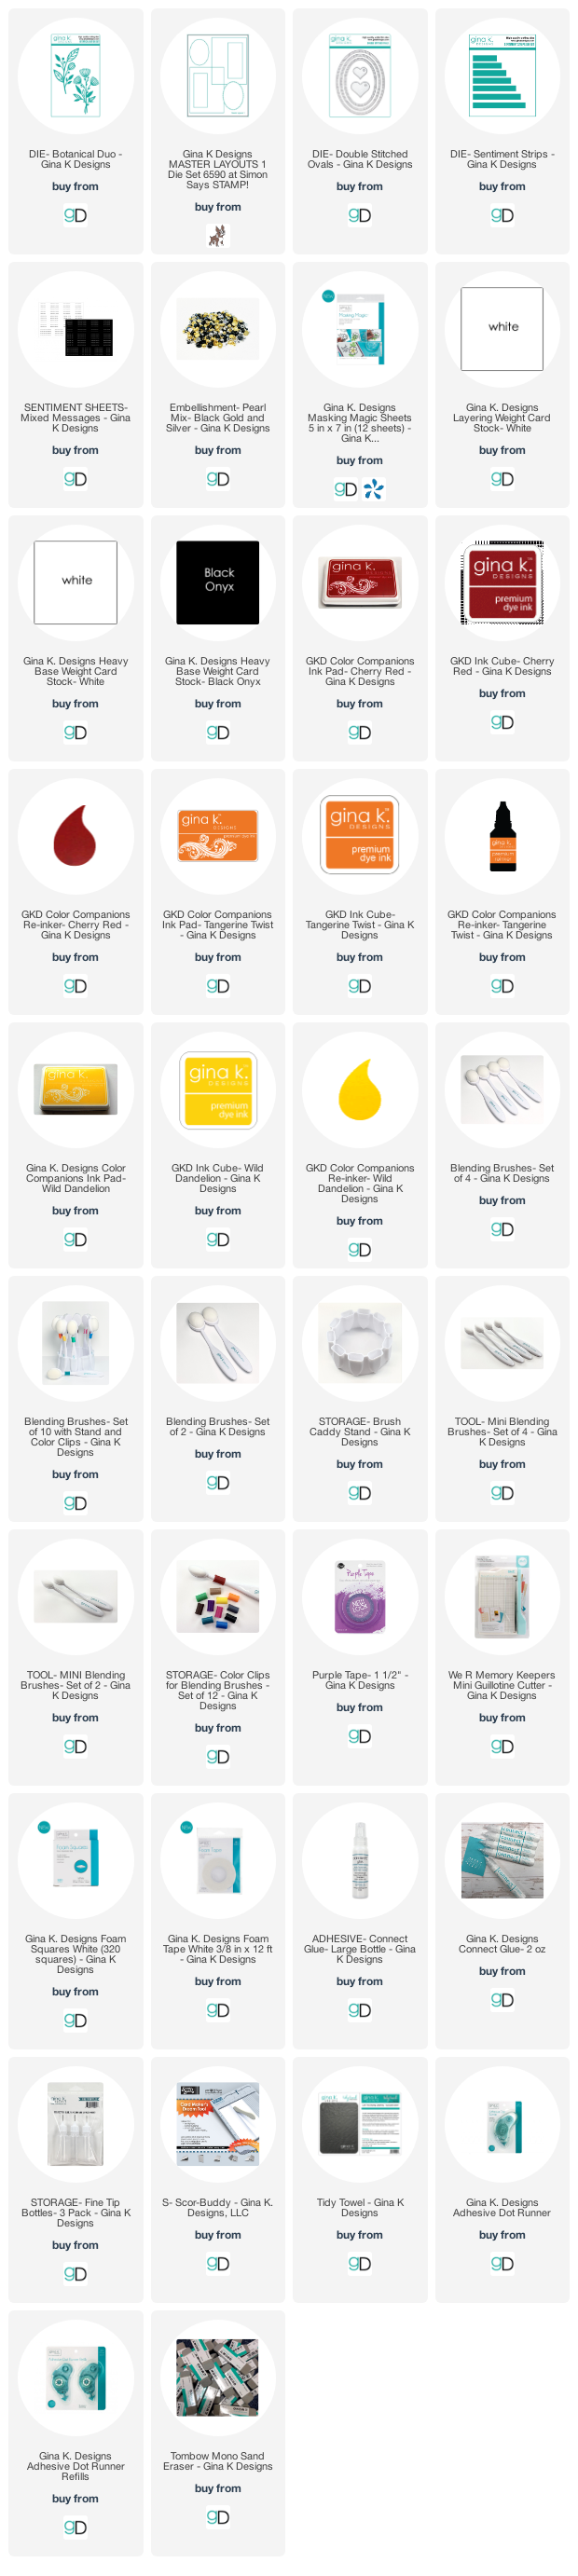
Gina K. Designs - Magic Masking Strips

Thursday, September 1, 2022

Hello everyone!

Gina K. Designs and Therm O Web has created a new product called Masking Magic™ Strips. If you love the full sheets of Masking Magic™ you will love the new Masking Magic™ Strips! They are precut for us! No more measuring and having some wider or thinner strips....Gina K. has you covered. There are three sizes pre-cut at 1/8”, 1/4” and 1/2” widths.

I have created a card using the 1/8" strips.  Here is my card for your inspiration.
 

Here is how I created the card:

1. Card is an A2 card measuring 4 1/4 x 5 1/2.

2. Die cut the layers using GKD Master Layouts 1.

3. Using a lined piece of paper, I laid my top layer diagonally onto the paper and used the lines to lay the 1/8" strips along the panel.  

4. Used GKD Inks to ink blend the background.  I used my favorite colors Cherry Red, Tangerine Twist and Wild Dandelion. 

5. Die cut the oval using vellum from the Single Stitched Ovals.

6. Die cut floral die from GKD Botanical Duo die.

7.  Die cut the sentiment from the Sentiment Strip - Mixed messages using the sentiment strips.

8. Assembled the card and finished it off by adding some black pearls from the Pearl Mix.


Thank you for stopping by, I hope you have been inspired.

Here is a list of supplies I used on my cards. Affiliate Links used at no additional cost. Thank you for your support.

Joy Clair - Let's Celebrate

Friday, April 28, 2017

Hello everyone!

I am here with Joy Clair featuring the newly release Everyday set called "Let's Celebrate". Isn't this little girl just adorable?  There are several images in the sent that you can use to create any kind of celebration card.  If you have not visited the Joy Clair blog, please stop by to see all the wonderful designs the design team has created.  You will definitely be inspired!

I hope you have had a chance to play along with the Joy Clair Challenge this month.  If not, you have one more day to join in the fun!   The theme is always anything goes and our Design Team uses a photo inspiration to create their project that you can use too.  If you would like to join the challenge, you can find all the details here.  As always, you will have a chance to win a $25 Gift Certificate to the Joy Clair Store. 

Here is my card.  This month theme for the design team is masking.  I will tell you how I created my card below.  


How I put my card together:

1.  A2 card 4 1/4 x 5 1/2,
2.  The black cardstock measures 4 x 5 1/4,
3.  The top piece of cardstock measures 3 7/8 x 5,
4.  I stamped the image on the white piece of cardstock, I then made a mask out of wide masking low tack tape and covered the stamped image and stamped my balloons.  I then stamped the round balloon and masked it with the low tack tape and stamped the balloon and star.


This is what it looked like after I took the masking off.


I also masked the present.  


5.  I paper pierced the dress, pockets and the bottom trim,
6.  I colored all the images with copics.
7.  I added the sentiments and used the SVG and stamped the cupcake and colored it with copics and used foam tape to pop it up on my card.

Please follow Joy Clair's facebook page, Color by Faith Bible Journaling Facebook page, Instagram and Twitter, be the first to hear the news, sales and giveaways! They also have a Pinterest page and YouTube channel for your inspiration!

Thank you for stopping by, please come back again soon!

Birthday Celebration!

Thursday, March 31, 2016

Hello everyone,

I'm here with CottageCutz sharing with you a birthday card which is another shaker card!  Here is my card:


Closer look at the presents and shaker


How I made this card........

The size of my card is an A2(4 1/4 X 5 1/2), the solid layer is the same size and the design layer is 4 x 5.  Who has used the Stitched Wide Frames?  They are wonderful to make shaker cards.  The circle stitched frame on my card is from the Stitched Wide Circle Frame Set.  There are three sizes in the set.  I used the largest circle.   To make the shaker I cut a circle from a clear plastic sheet and fused the edges leaving an opening to put my sequins in.  Once I filled it, I fused the small opening I left open.  I then used my tape runner to tape the circle and the pouch I made.  Then I taped it to the card.  So simple, no message glue to deal with!

I used the Present die to cut the two presents.  After cutting the two presents, I shaded the edges with ink and cut small boxes for the back of the presents so you could not see through the back.  Also, you can see the hearts that run down the center of the box.

I finished the card off with a sentiment.  That was easy peasy!  Why don't you give it a try and make this card with the Present die!

Please come back soon to see some more creations from the design team!

Made With Love By The Dutch Lady Designs
Follow Me on Pinterest