Retro Rubber Challenge - Tic Tac Toe

Tuesday, July 28, 2026

 Hello everyone!


I am here with Retro Rubber Challenge blog and we have a new challenge, which is to make a card with fruit related staamps or paper. Be sure to stop over on the Retro Rubber Challenge blog to get more inspiration, the design team has some wonderful creations!

The rules to play along with Retro Rubber Challenge is very simple, make sure the stamp you use on your project is at least one year or older. For more details on the rules, you can find them over on Retro Rubber Challenge blog.


Here is my take on the tic tac toe, I did Stencil, your choice (add shimmer to your card), and embossing.

D. Idlet, Gina K. Designs, Dellicate Butterflies 3D embossing folder and stencil, Elegant Thoughts stamp set, Hello friend, ink blending


My card is a bright and cheerful butterfly card featuring the Gina K. Designs Delicate Butterflies 3D Embossing Folder (not available at this time). This embossing folder includes a coordinating stencil, making it so easy to add beautiful colors to each butterfly. I used soft blue and pink inks to ink blend the wings, creating a delicate, airy look.

To add dimension, I die cut the butterfly bodies from black cardstock and adhered them over the embossed butterflies. A touch of Clear Wink of Stella gives the wings a beautiful shimmer that catches the light perfectly.

To finish the card, I added the elegant “Hello Friend” sentiment from the Gina K. Designs Elegant Thoughts stamp set which was released in January 2025. The clean white background allows the colorful butterflies to take center stage, making this a perfect card to brighten someone’s day.

Are you ready to play along? Be sure to stop over on the Retro Rubber Challenge blog to get some more inspiration! Thank you for stopping by, you have untilAugust 7th to join the fun!

Thanks so much for stopping by! I hope this project inspires you to create something beautiful with your embossing folders and stencils.


Gina K. Designs July 2026 NEW Release - Floral Wreath

Tuesday, July 21, 2026

Gina K. Designs July 2026 Release is NOW available and can be found HERE.


Hello everyone!

I am here featuring Gina K. Designs newly released Tranquil Tulips Stamp Set, I created a clean and colorful birthday design with a little extra dimension.  Be sure to check out ALL the new products release this month.  You can also find lots of inspiration over at Gina K. Designs & Stamp TV Friends Facebook page.  All supplies I used are listed below.

Here are my cards for inspiration:

D. Idlet, Gina K. Designs, Floral Wreath Stamp Set, Floral Wreath die set, Thinking of You, Thank you, floral designs, July 2026 Release

For my Thinking of You card, I paired the Floral Wreath with Master Layouts 1 and 21. I kept the background soft with subtle texture, allowing the floral wreath and sentiment to take center stage.

D. Idlet, Gina K. Designs, Floral Wreath Stamp Set, Floral Wreath die set, Thinking of You, Thank you, floral designs, July 2026 Release


For my Thank You card, I combined the Floral Wreath with Master Layout 2 and the Ornate Framedie. The layered purple background adds a bold contrast while beautifully highlighting the delicate floral design.

I love how versatile this stamp set is—you can easily customize it with different colors, layouts, and sentiments to create cards for any occasion.

Thanks so much for stopping by today! I hope these projects inspire you to create something beautiful with the new Floral Wreath stamp set. Happy crafting!


Newton's Nook Designs - NEW Release Hula Hoop Newton!

Thursday, July 16, 2026


Hello everyone!

I am here with Newton's Nook Designs featuring the mini release featuring the adorable Hula Hoop Newton stamp and die sets.  Isn’t it the cutest? These playful kitties are ready to celebrate with balloons, hula hoops, and lots of birthday fun!  The technique I have done here is mirror stamping.  The set only has one Newton facing the right.


D. Idlet, Newton’s Nook Designs Hula Hoop Newton Stamp Set Hula Hoop Newton Coordinating Dies Card Front Frames & Tags Die Set Birthday Time Paper Pack

For my card, I started by stamping the images and coloring them with alcohol markers. After coloring, I used the coordinating dies to cut out the images, making them easy to pop onto the card front.

D. Idlet, Newton’s Nook Designs Hula Hoop Newton Stamp Set Hula Hoop Newton Coordinating Dies Card Front Frames & Tags Die Set Birthday Time Paper Pack

To create the layout, I used the Card Front Frames & Tags Die Set, which adds the perfect stitched frame and really draws your eye to the cheerful scene. For the background, I chose patterned papers from the Birthday Time Paper Pack. The festive balloon print complements the images perfectly and adds lots of bright, happy color without overpowering the focal images.

D. Idlet, Newton’s Nook Designs Hula Hoop Newton Stamp Set Hula Hoop Newton Coordinating Dies Card Front Frames & Tags Die Set Birthday Time Paper Pack

I finished the card by arranging the sweet hula hooping kitties over the patterned background and adding the fun sentiments, “HOOP there it is!” and “Have a hoopy birthday!” They add the perfect playful touch to this birthday design!

I hope this card brings a smile to your face and inspires you to create something fun with this adorable mini release. Thanks so much for stopping by, and happy crafting!

Products Used:
Newton’s Nook Designs Hula Hoop Newton Stamp Set
Hula Hoop Newton Coordinating Dies
Frames & Tags Die Set
Birthday Time Paper Pack

Have a wonderful day, and I’ll see you next time with more crafty inspiration!  Please stop over at the Newton's Nook Design blog and instagram for more inspiration.

Retro Rubber Challenge Blog - Birthday Sketch

Tuesday, July 14, 2026

Hello everyone!

I am here with Retro Rubber Challenge blog and we have a new challenge, which is to make a card with fruit related staamps or paper. Be sure to stop over on the Retro Rubber Challenge blog to get more inspiration, the design team has some wonderful creations!

The rules to play along with Retro Rubber Challenge is very simple, make sure the stamp you use on your project is at least one year or older. For more details on the rules, you can find them over on Retro Rubber Challenge blog.


Here is my take on the sketch.

D. Idlet, Newtons Nook Designs,Cat Birthday Party Stamp Set and dies,Birthday Time Paper Pad,

I’m sharing a fun birthday card featuring the adorable Cat Birthday Party stamp set from Newton’s Nook Designs which was released July 2025! I colored the sweet party-loving kitties with alcohol markers and popped them up on navy blue stitched squares for extra dimension.

For the background, I used the colorful Birthday Time patterned paper, which is full of festive birthday greetings and makes the perfect backdrop for these playful images. I finished the card with a simple “Celebrate!” sentiment, creating a bright and cheerful design that’s perfect for any cat lover’s birthday.

Are you ready to play along? Be sure to stop over on the Retro Rubber Challenge blog to get some more inspiration! Thank you for stopping by, you have until July 24th to join the fun!

Thanks so much for stopping by today! I hope this card inspires you to create something fun for your next birthday celebration. Happy crafting! 🎂🎈

Newton's Nook Designs - Cheers to Summer

Thursday, July 9, 2026

Hello everyone!

I’m sharing a fun summer-themed card featuring Newton’s Nook Designs Happy Meowr Stamp Set! I wanted this card to have a cool coastal feel, so I paired the adorable image with papers from the Seaside Paper Pad and created a bold geometric background using Card Layout 4.

The different patterned papers come together beautifully, adding lots of interest while keeping the soft blue color palette perfect for summer. I love how the turtle, fish, and dotted patterns complement sweet Newton as he relaxes with a refreshing drink in his fishbowl—definitely living his best summer life!  

For the sentiment, I chose “Cheers to Summer!” from the Newton’s Happy Meowr Stamp Set. I heat embossed the sentiment with white embossing powder and die-cut it from the Basic Frames Die Set.

D. Idlet, Newtons Nook Designs, Happy Meowr Stamp set, Seaside Paper Pad, summer

To finish the card, I added a few sparkling sequins around Newton for a touch of shimmer and tucked in a few seashells from the Happy Meowr Stamp set to complete the beachy vibe.

Thank you for stopping by, please come back again for more inspiration!  


Gina K. Designs - Tranquil Tulips Birthday Wishes Card

Tuesday, July 7, 2026

Gina K. Designs June 2026 Release is NOW available and can be found HERE.

Hello everyone!

I am here featuring Gina K. Designs newly released Tranquil Tulips Stamp Set, I created a clean and colorful birthday design with a little extra dimension.  Be sure to check out ALL the new products release this month.  You can also find lots of inspiration over at Gina K. Designs & Stamp TV Friends Facebook page.  All supplies I used are listed below.

Here is my card for inspiration:


I began by stamping the tulip arrangement onto white cardstock and coloring everything with alcohol markers, blending shades of pink for the flowers and vibrant greens for the leaves. Once the coloring was complete, I die cut the panel using Master Layouts 2, giving it a beautiful stitched border.

To help the focal panel stand out, I layered it onto the black scalloped frame from Master Layouts 4 before adhering everything to a bright pink card base. The black scalloped layer creates a bold contrast that really makes the tulips pop.

For added depth, I stamped and die cut the two separate tulips included in the stamp set and attached them with foam squares over the main image. This simple step adds wonderful dimension and brings the bouquet to life.

I finished the card by stamping and die cutting the “Birthday Wishes” sentiment from the set and placing it across the bottom of the floral arrangement. A few black pearls scattered around the design provide the perfect finishing touch and tie in beautifully with the black scalloped frame.

This card came together quickly but has lots of interest thanks to the layered dies, dimensional flowers, and vibrant coloring. The Tranquil Tulips Stamp Set is perfect for birthdays, thinking of you cards, Mother’s Day, and so many other occasions.

Thank you so much for stopping by today! I hope this card inspires you to create your own beautiful floral designs with the new Tranquil Tulips release. Happy crafting!🌷

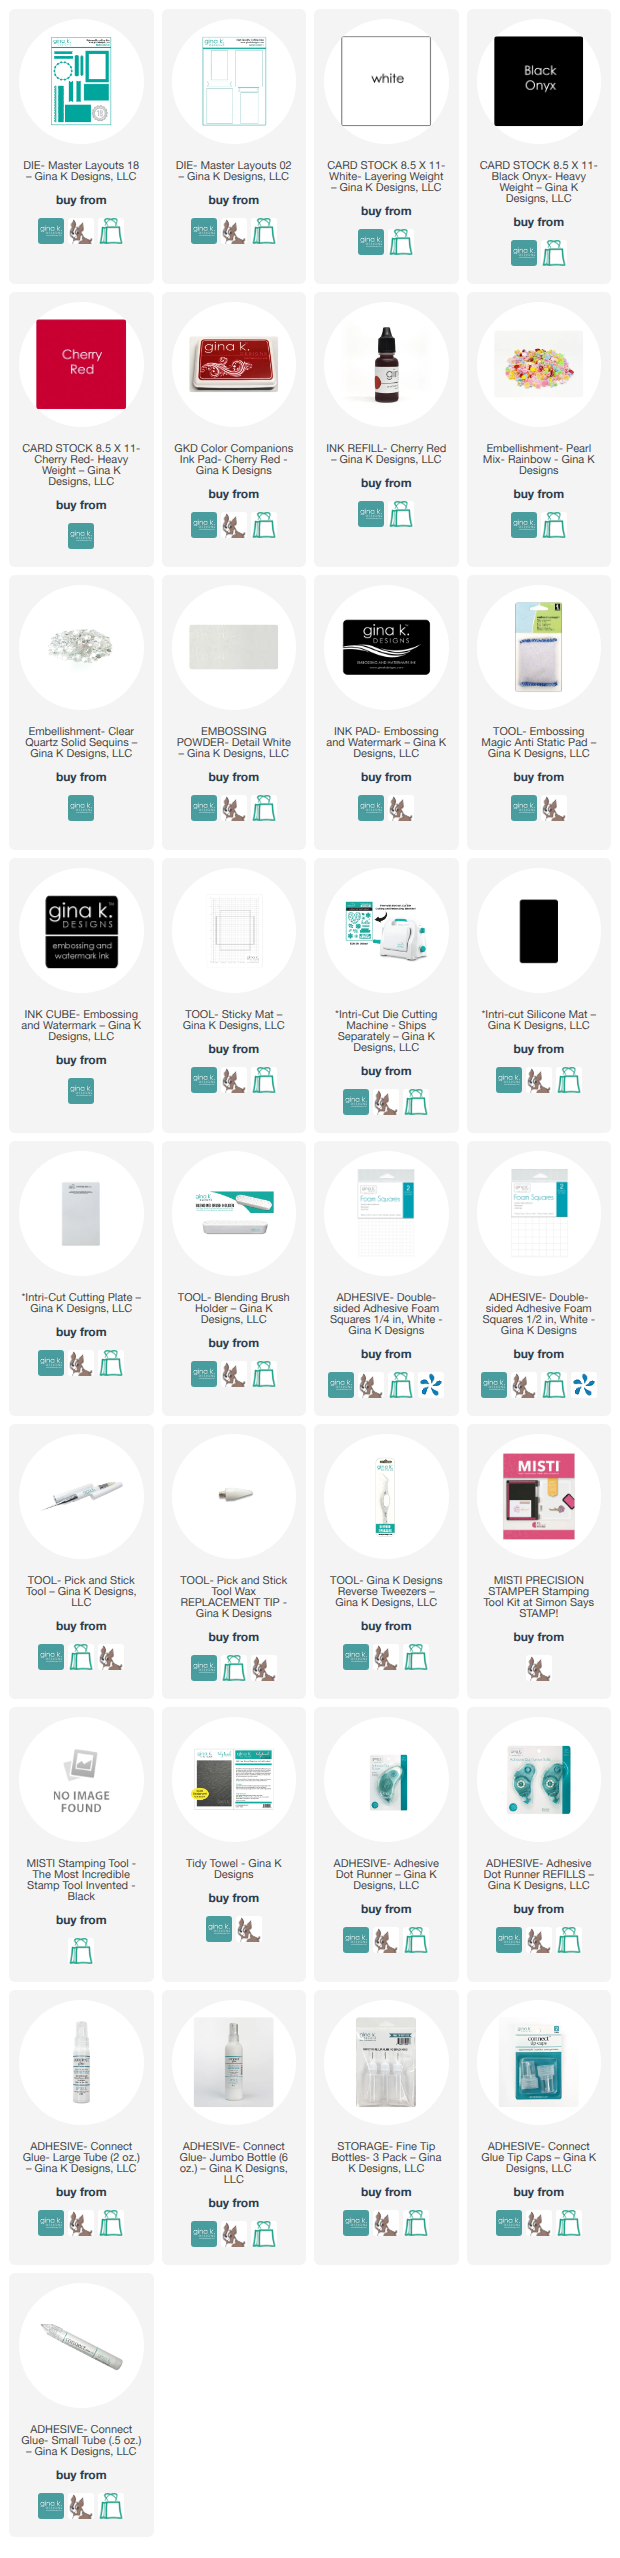
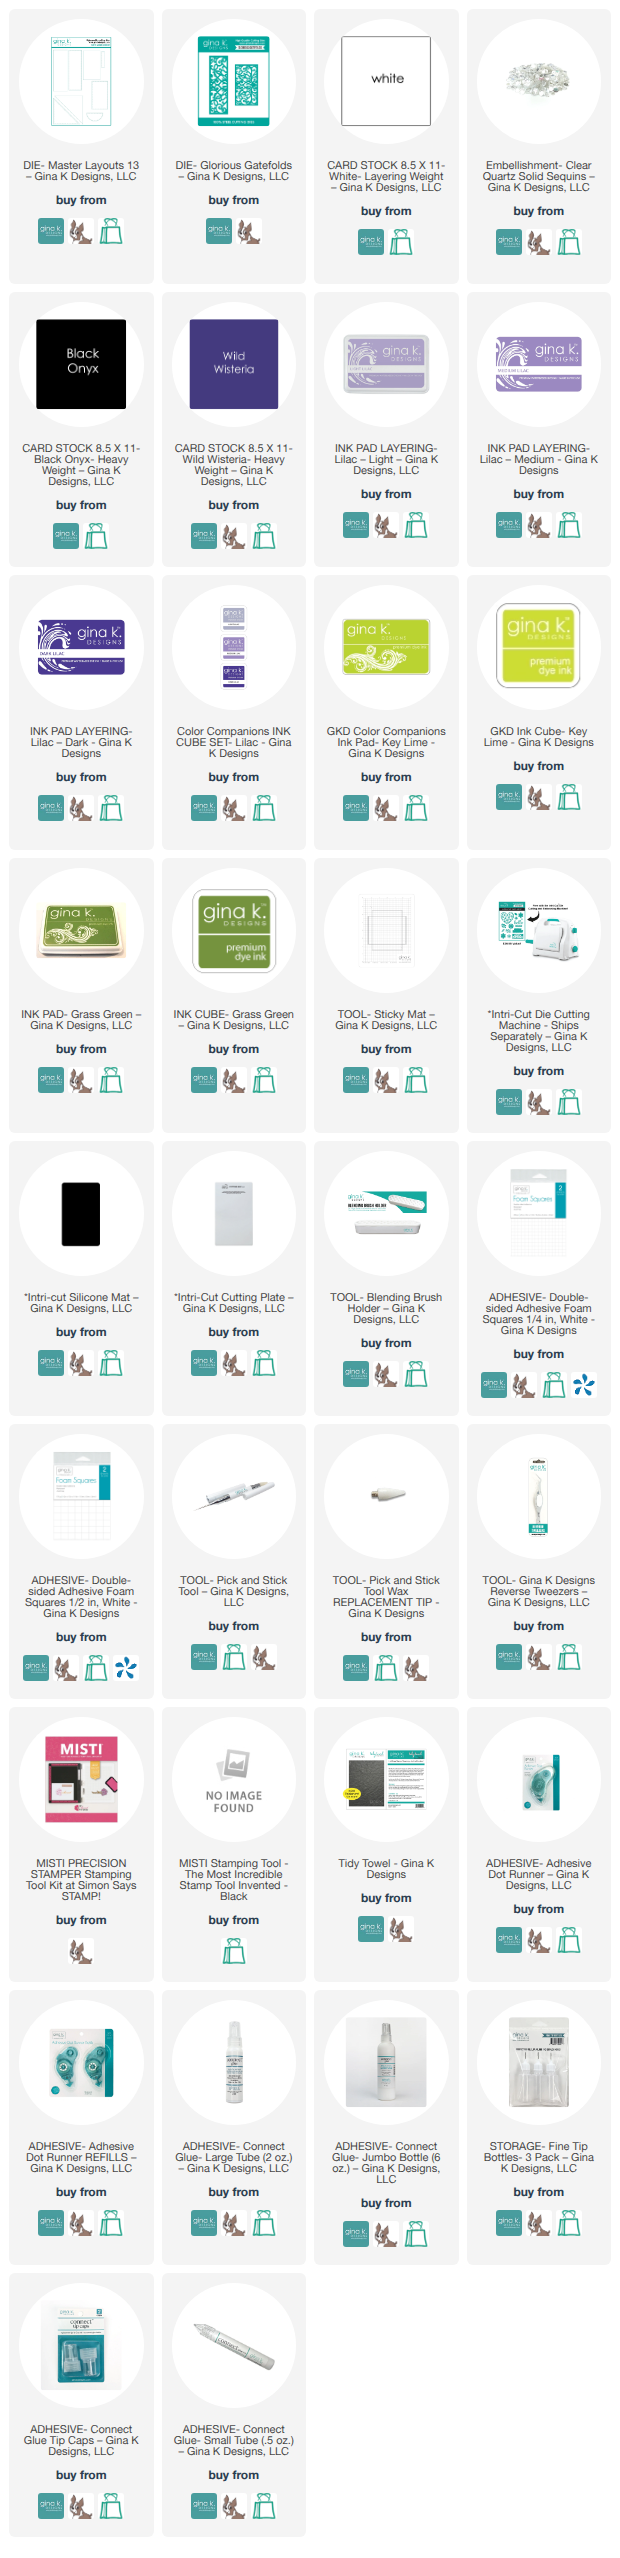
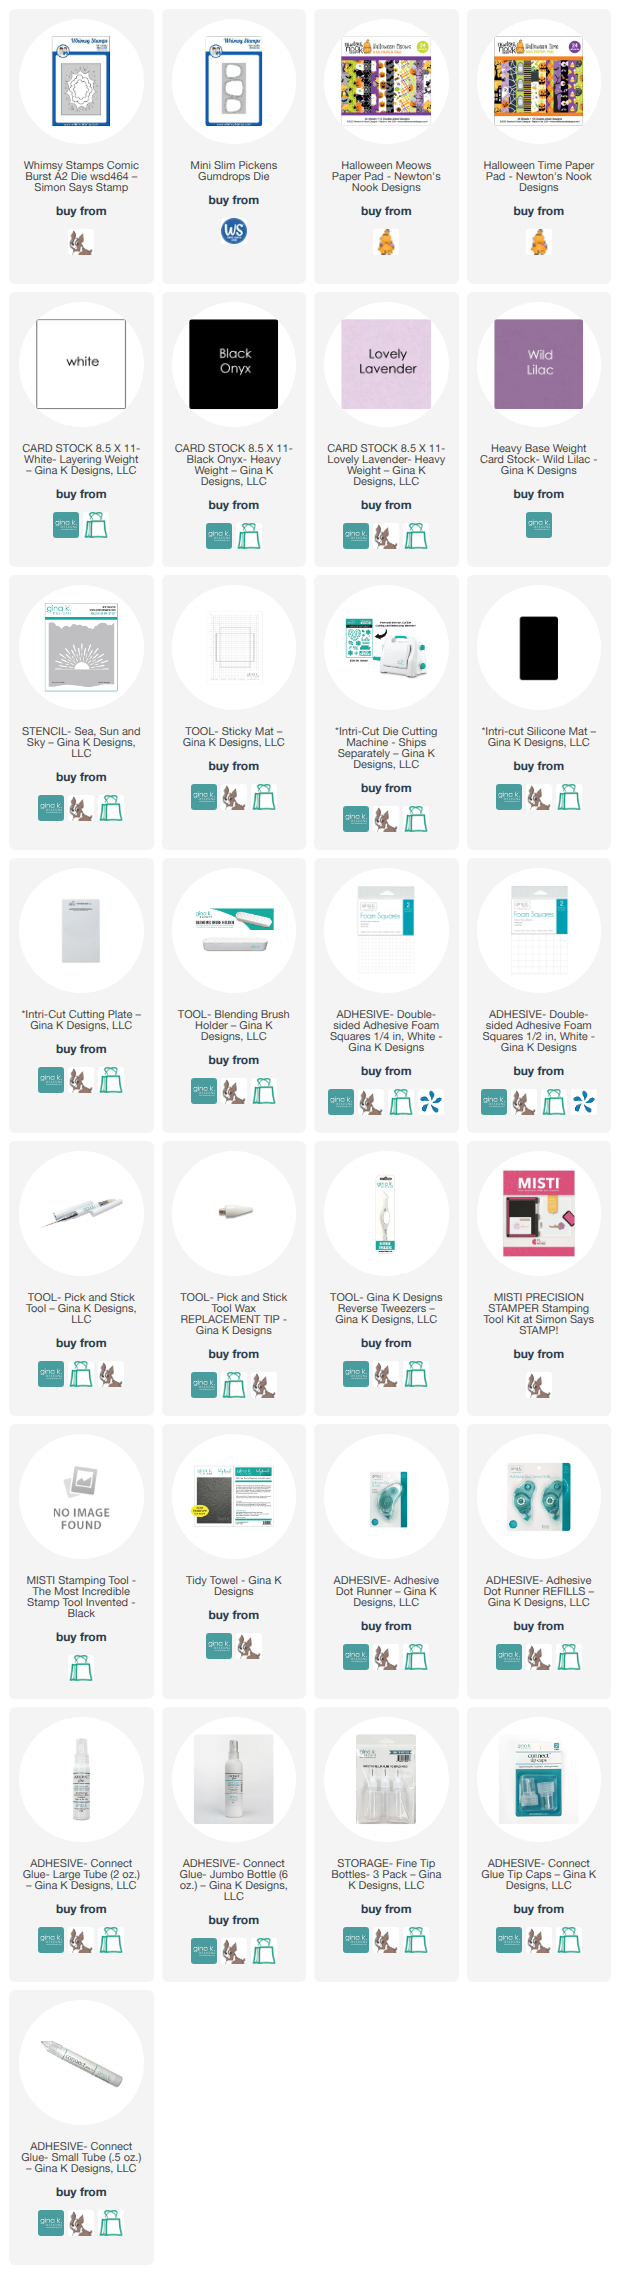
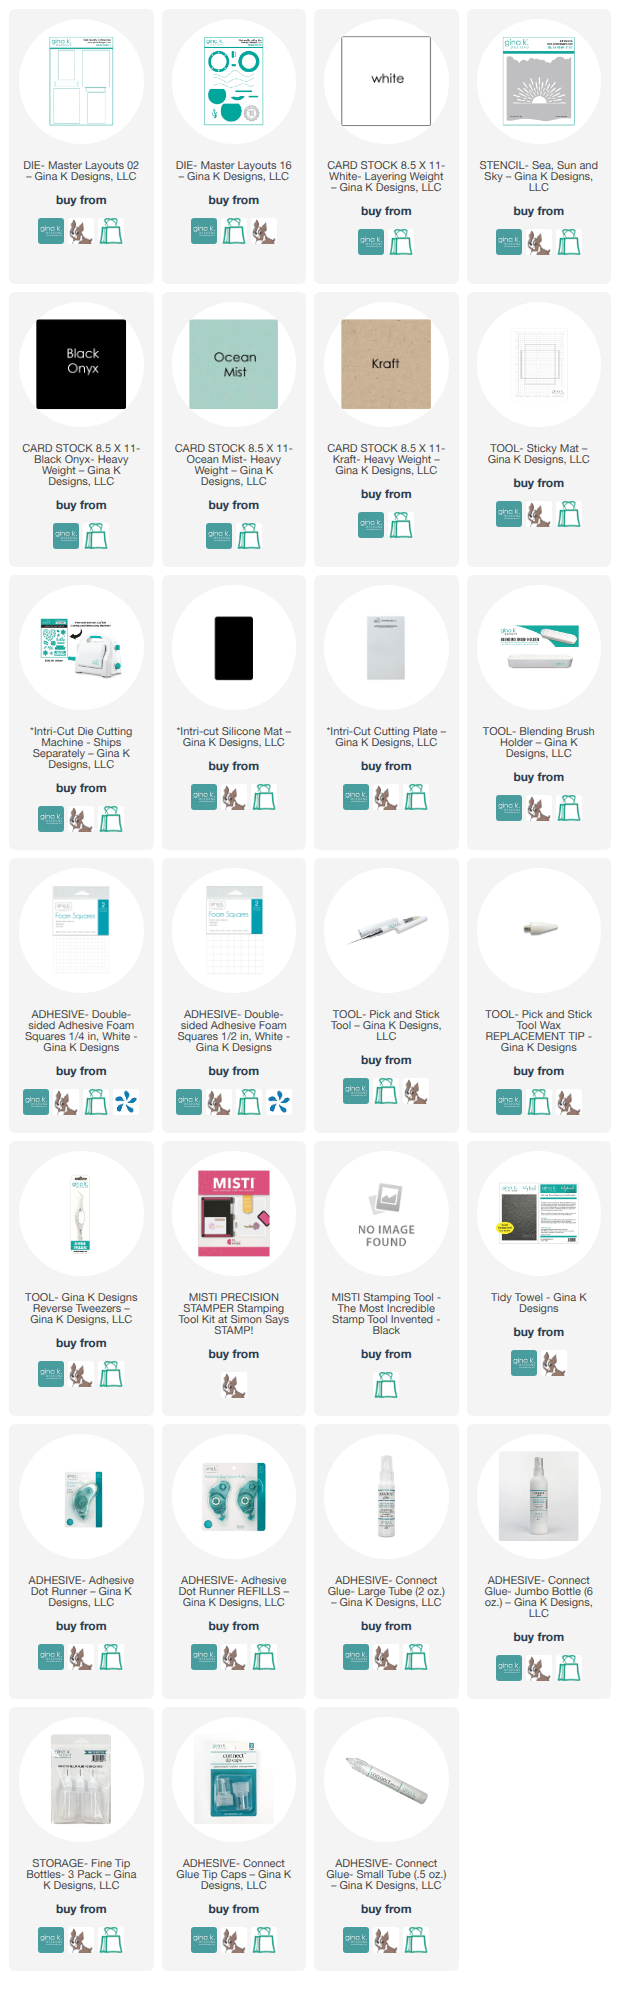
Here is a list of supplies I used on my card, affiliate links used at no cost to you.  Thank you for your support.  


Retro Rubber Challenge Blog - Just a Note

Tuesday, June 16, 2026


Hello everyone!

I am here with Retro Rubber Challenge blog and we have a new challenge, which is to make a card with fruit related staamps or paper. Be sure to stop over on the Retro Rubber Challenge blog to get more inspiration, the design team has some wonderful creations!

The rules to play along with Retro Rubber Challenge is very simple, make sure the stamp you use on your project is at least one year or older. For more details on the rules, you can find them over on Retro Rubber Challenge blog.


Here is my take on the challenge.


This week’s challenge is all about incorporating fruit stamps or patterned paper into your card design. For my card, I used the LDRS Creative Just a Note stamp set to create this cheerful fruity design. The stamp set is retired and I believe it was introduced in June 2023.

I stamped and die cut the fruit images, then arranged them across the panel for a bright and playful look. The sentiment, “Just a Note,” was also stamped from the Just a Note stamp set to complete the card with a simple finishing touch.

I love how the colorful fruit creates such a fresh and fun card that’s perfect for sending a little note to brighten someone’s day!

Are you ready to play along? Be sure to stop over on the Retro Rubber Challenge blog to get some more inspiration! Thank you for stopping by, you have until June 26th to join the fun!

Thank you for stopping by, please come back again soon.

Newton’s Nook Designs - Birthday Tulips

Thursday, June 4, 2026

Hello everyone,

I am on the Newton’s Nook Designs blog today  sharing a cute tulip birthday card.  I am using the Tulips Stamp and die set.  These tulips are perfect for any occasion.  My card today is sending a beautiful birthday wish to a special person. 


Happy Birthday Card by Donna Idlet | Tulips Stamp Set, Spring Blooms Paper Pad, Banner Duo Die Set, Circle Frames DIe Set, Framework Die Set by Newton's Nook Designs
I stamped the tulips, colored with Olo markers and die cut the image using the coordinating Tulips Die Set.  I then paired it with paper from the Spring Blooms Paper collection for a soft seasonal touch.
 
The design is framed with the elegant Framework Die Set and accented with the Circle Frames Die Set to draw attention to the flowers and sentiment. A banner created with the Banner Duo Die Set adds the perfect finishing detail from the Birthday Roundabout sentiment, making this card ideal for celebrating birthdays with a cheerful spring-inspired style.
Happy Birthday Card by Donna Idlet | Tulips Stamp Set, Spring Blooms Paper Pad, Banner Duo Die Set, Circle Frames DIe Set, Framework Die Set by Newton's Nook Designs
Thank you for stopping by, please come back again for more inspiration! 


Newton’s Nook Designs - Happy Retro Birthday

Thursday, May 14, 2026

Hello everyone!

I am sharing a cute retro rainbow birthday card.  If you love bold colors, a touch of retro flair, and adorable critters, this card checks all the boxes! Today’s card I am featuring the  Retro Mix Toner Front cards, Dog Birthday Party Stamp Set and die along with a couple of other fun products.

D. Idlet, Newton's Nook Designs, Birthday card, Retro Mi Toner Front cards,Dog Birthday Party Stamp Set and dies,

Here is how I created my card.
The background I used some foil from my stash to bring some shine to the background.  I used Newton’s Nook Designs Retro Mix Toner Front cards to achieve that bright, multicolor foil effect. 
D. Idlet, Newton's Nook Designs, Birthday card, Retro Mi Toner Front cards,Dog Birthday Party Stamp Set and dies,

To coordinate the sentiment, I also used the solid black toner sheet to foil and die cut the shadow layer of the “Happy Birthday” in a gorgeous purple. This ties everything together while still letting the background shine.

For dimension, I die cut the “Happy Birthday” sentiment multiple times from white card stock and stacked them. This gives that nice, chipboard-like thickness without adding bulk.

Next, I stamped and colored the adorable pups from the Dog Birthday Party Stamp Set, and die cut them from the coordinating die. I used pop dots to pop the dogs up slightly to sit right over the sentiment, creating a cohesive focal point.

D. Idlet, Newton's Nook Designs, Birthday card, Retro Mi Toner Front cards,Dog Birthday Party Stamp Set and dies,

To keep the background from overwhelming the design, I added a piece of vellum cut with the Basic Frames Die Set. This layer:

To finish off my card I added a few rhinestones from my stash. They catch the light beautifully and echo the sparkle of the foiled background without competing with it.

Thank you so much for stopping by, please come back again soon.


Retro Rubber Challenge Blog - Color Challenge

Tuesday, May 5, 2026

Hello everyone!

I am here with Retro Rubber Challenge blog and we have a new challenge, which is a color challenge. Be sure to stop over on the Retro Rubber Challenge blog to get more inspiration, the design team has some wonderful creations!

The rules to play along with Retro Rubber Challenge is very simple, make sure the stamp you use on your project is at least one year or older. For more details on the rules, you can find them over on Retro Rubber Challenge blog.


Here is my take on the challenge.

D. Idlet, Newton's Nook Designs, Cherry Blossoms Stamp Set, Retro Rubber Challenge Blog

My card is an A2 card using the Newton’s Nook Designs Cherry Blossoms stamp set, which was released April 2024.  I stamped, die cut and colored the cherry blossoms with alcohol markers.  For the background, I die cut the arches from Taylored Expressions.  The white panel of the arch I embossed with TE Cherry Blossoms embossing folder.  

Are you ready to play along? Be sure to stop over on the Retro Rubber Challenge blog to get some more inspiration! Thank you for stopping by, you have until May 15th to join the fun!

Thank you for stopping by, please come back again soon.

Time to Bloom - Gina K. Designs - April 2026 NEW Release

Tuesday, April 28, 2026

Gina K. Designs April 2026 Release is NOW available and can be found HERE.

Hello everyone!

I am here today featuring the NEW Gina K. Designs "Time to Bloom" Stamp and Die Sets illustrated by Hannah Schroepfer Drapinski.  Be sure to check out ALL the new products released this month.  You can also find lots of inspiraton over at  Gina K. Designs & StampTV Friends Facebook page.  All supplies I used are listed below.

Here is my cards for your inspiration:

D. Idlet, Gina K. Designs April 2026 new release, Time to Bloom stamp set, Time to Bloom die set, Ornate Frame, floral card

My card is an elegant A2 card featuring the beautiful floral from the Time to Bloom stamp set.  

I started with a card base using Gina K. Designs cardstock in Lovely Lavender. This shade sets such a calming tone and creates the perfect backdrop for the design.

For the focal point, I used the newly released Time to Bloom floral set. I stamped the flowers and colored them with Olo Markers, blending soft purples to complement the cardstock. The gentle shading really brings the petals to life while keeping everything cohesive and soothing. After coloring, I used the coordinating die to cut out the images for a crisp finish.

To add dimension and elegance, I layered the design over the Ornate Frame die from Gina K. Designs. The intricate pattern adds beautiful texture without taking away from the florals, and the layered framing draws your eye right to the center of the card.

The sentiment, “Hello Friend,” is from the Time to Bloom perfectly placed at the base of the florals.

To finish everything off, I added a few Soft White Pearls from Gina K. Designs around the frame. These subtle embellishments add just the right touch of shine and complete the card with a polished look.

This card is a great example of how sticking to a monochromatic palette with soft variations can create something truly elegant and timeless.

Thank you so much for stopping by, I hope you are enjoying the new release this month.  

Here is a list of supplies I used on my cards, affiliate links used at no additional cost.  Thank you for your support.

Newton's Nook Designs - Happy Birthday cards

Tuesday, April 28, 2026

Hello everyone!

I am here today sharing a two colorful cards using Newton's Nook Designs Newton's Mix Tape Stamp Set andPuppy's Mix Tape Stamp Set.  

D. Idlet, Newton's Mix Tape, Card Layout 7 Die, Music Notes Stencil, New Retro Paper Pack, Party On! Stamp Set,

I started by ink blending a panel in rainbow colors. Then I placed the stencil over the blended background and applied black ink to create the music note pattern (a reverse stenciling look).

Next, I die cut the panel using the Card Layout 7 die. I used the individual cut panels for my Newton’s Mix Tape card, and saved the outer frame to use on my second card.


D. Idlet, Puppy's Mix Tape,  Card Layout 7 Die, Music Notes Stencil, New Retro Paper Pack, Party On! Stamp Set,

For this card, I used the frame and the panels from the first card.  I love getting two cards from one.  

Thank you for stopping by, I hope you were inspired and try using some of these techniques.


Retro Rubber Challenge Blog - Rain

Tuesday, April 21, 2026

Hello everyone!

I am here with Retro Rubber Challenge blog and we have a new challenge, which is a make a card with rain. Be sure to stop over on the Retro Rubber Challenge blog to get more inspiration, the design team has some wonderful creations!

The rules to play along with Retro Rubber Challenge is very simple, make sure the stamp you use on your project is at least one year or older. For more details on the rules, you can find them over on Retro Rubber Challenge blog.


Supplies Used:

Sunny Studios Passionate Penguins Stamps (Feb 2022)
TE Sentiment - Over the Rainbow Sentiments Clear Stamp Set (May 2020)
Sunny Studios Surprise Party Paper

Hoppy Easter Card with Newton’s Nook Designs 🐰🥕

Sunday, April 5, 2026

Happy Easter!!!

Today I’m sharing a fun and playful Easter card featuring some adorable bunny silhouettes and bright spring colors!

Didlet, Newton's Nook Designs, Postage Layout Die, Bunny Silhouette Die Set,Springtime Bunnies stamp set,

For this A2 card, I started by die cutting the top layer using the Postage Layout Die from Newton’s Nook Designs. I love how this design creates the look of sweet little postage panels—it’s perfect for building a scene!

To add color and pattern, I die cut the layout again using paper from the Happy Easter Paper Pack and inlaid the pieces into each section. The soft green polka dot pattern gives the card a fresh, springtime feel.

Next, I die cut the bunnies from chocolate cardstock using the Bunny Silhouette Die Set. The rich brown color really makes them pop against the bright background! I added fluffy tails using white flock from my stash for a soft, textured detail that brings the bunnies to life.  The sentiment is from the Springtime Bunny stamp set.

To finish off the design, I added a few carrots from the same die set, placing them across the panels for a fun and whimsical touch. The mix of bunnies and carrots keeps the card playful and balanced.

Thank you for stoppying by, for more inspiration, please stop by the Newton's Nook Designs blog.

Newton's Nook Designs - Happy Easter

Friday, April 3, 2026

Happy Easter!

Spring is in the air, and I couldn’t resist creating a bright and cheerful Easter card filled with color, sparkle, and a sweet little bunny from the February 2026 release! This design came together so beautifully and would be perfect for sending warm Easter wishes to family and friends.

I started with an A2 card base and created the top layer using a die from the Card Layout 6 die set. I absolutely love how this layout divides the card into fun sections—it’s perfect for showcasing different patterns and elements while keeping everything balanced.

D. Idlet, Newton's Nook Designs, Card Layout 6 die set, Happy Easter Paper Pack, Cheerful Brights Glitter Cardstock, Springtime Bunnies stamp set, Easter Egg Builder Die Set

For the patterned background, I used the Happy Easter paper pack from Newton’s Nook Designs. The soft pastel colors and playful egg patterns instantly set the tone for a festive spring card. 

The Easter eggs are the real stars of this card! I used the Easter Egg Builder Die Set to create layered eggs. The base layers were die cut directly from the patterned paper, while the top layers were cut from Cheerful Brights glitter cardstock. This added just the right amount of sparkle and dimension—because let’s be honest, a little glitter makes everything better!

D. Idlet, Newton's Nook Designs, Card Layout 6 die set, Happy Easter Paper Pack, Cheerful Brights Glitter Cardstock, Springtime Bunnies stamp set, Easter Egg Builder Die Set

For the focal point, I stamped and added the adorable bunny and sentiment from the Springtime Bunnies stamp set. The “Happy Easter” greeting sits perfectly in the center panel, tying the whole design together. 

D. Idlet, Newton's Nook Designs, Card Layout 6 die set, Happy Easter Paper Pack, Cheerful Brights Glitter Cardstock, Springtime Bunnies stamp set, Easter Egg Builder Die Set

Thank you so much for stopping by, for those of you who celebrate Easter have a wonderful Easter weekend with your family and friends.

Newton's Nook Designs - Happy St. Patrick’s Day 🍀

Monday, March 9, 2026

Hello everyone!

Today I am on the Newton's Nook Designs blog sharing a fun St. Patrick’s Day card featuring products from Newton’s Nook Designs. I used Card Layout 5 for the card front along with patterned paper from the Springtime Paper Pad—the green stripes were perfect for this lucky theme.


Newton is from the Newton’s Lucky Clover stamp set and was colored with alcohol markers. I added Glossy Accents to the clover he’s holding for a touch of shine and dimension. The sentiment is also from the same set, and I finished the card with the clovers and horseshoe images for a few extra lucky details.

Thanks so much for stopping by—hope this brings a little St. Patrick’s Day cheer to you! For lots more inspiration, head over to NND blog or Instagram. 🍀

Newton's Nook Designs - Newton’s Birthday Trio 🐱🎉

Tuesday, February 24, 2026

Hello everyone!

Today I am on Newton's Nook Designs blog sharing a fun and cheerful birthday card featuring Newton’s Birthday Trio. These sweet kitties are full of personality and perfect for birthday cards!

I colored the image with alcohol markers, keeping the look soft and playful. For the background and layers, I used pattern paper from the Birthday Time Paper Pad, which adds just the right pop of color. Both the image panel and the patterned paper were die cut using the Frames & Flags Die Set for a clean, finished look.

This card came together quickly and would be perfect for any cat lover’s birthday. Thanks so much for stopping by today!


Retro Rubber Challenge Blog - Tic Tac Toe

Tuesday, February 10, 2026

Hello everyone!

I am here with Retro Rubber Challenge blog and we have a new challenge, which is a Tic Tac Toe. Be sure to stop over on the Retro Rubber Challenge blog to get more inspiration, the design team has some wonderful creations!

The rules to play along with Retro Rubber Challenge is very simple, make sure the stamp you use on your project is at least one year or older. For more details on the rules, you can find them over on Retro Rubber Challenge blog.


Here is my take on the sketch for your inspiration:


My card is an A2 card. The focal panel was made using the Blooming Botanical 3D Embossing Folder. This folder adds incredible depth and detail, creating a gorgeous floral background that instantly elevates the card. To bring the design to life, I used the Blooming Botanical Layering Stencil set to add soft pops of purple and green over the embossed flowers and leaves. I love how the stenciling highlights all that texture without covering it up.

The floral panel is matted with a scalloped purple layer and placed on a deep purple card base for a bold frame that really makes the design stand out. A light splatter of white paint adds a bit of whimsy and extra interest to the background.

For the sentiment, I used the All Together Stamp – Happy Occasions along with the coordinating dies that was released in March 2024. The bold “happy” paired with the simple “birthday” is one of my favorite sentiment combinations, and popping it up with foam adhesive adds just the right amount of dimension. A few purple enamel dots finish off the card with a subtle touch of sparkle.

Are you ready to play along? Be sure to stop over on the Retro Rubber Challenge blog to get some more inspiration! Thank you for stopping by, you have until February 20th to join the fun!

Thank you for stopping by, please come back again soon.
Made With Love By The Dutch Lady Designs
Follow Me on Pinterest