Hello everyone!
I am here with Kat Scrappiness featuring the NEWLY released Star Trio Shaker Card Kit. I hope you were able to see all the newly released kits, if not you can find them here. These shaker kits are adorable and so easy to put together.

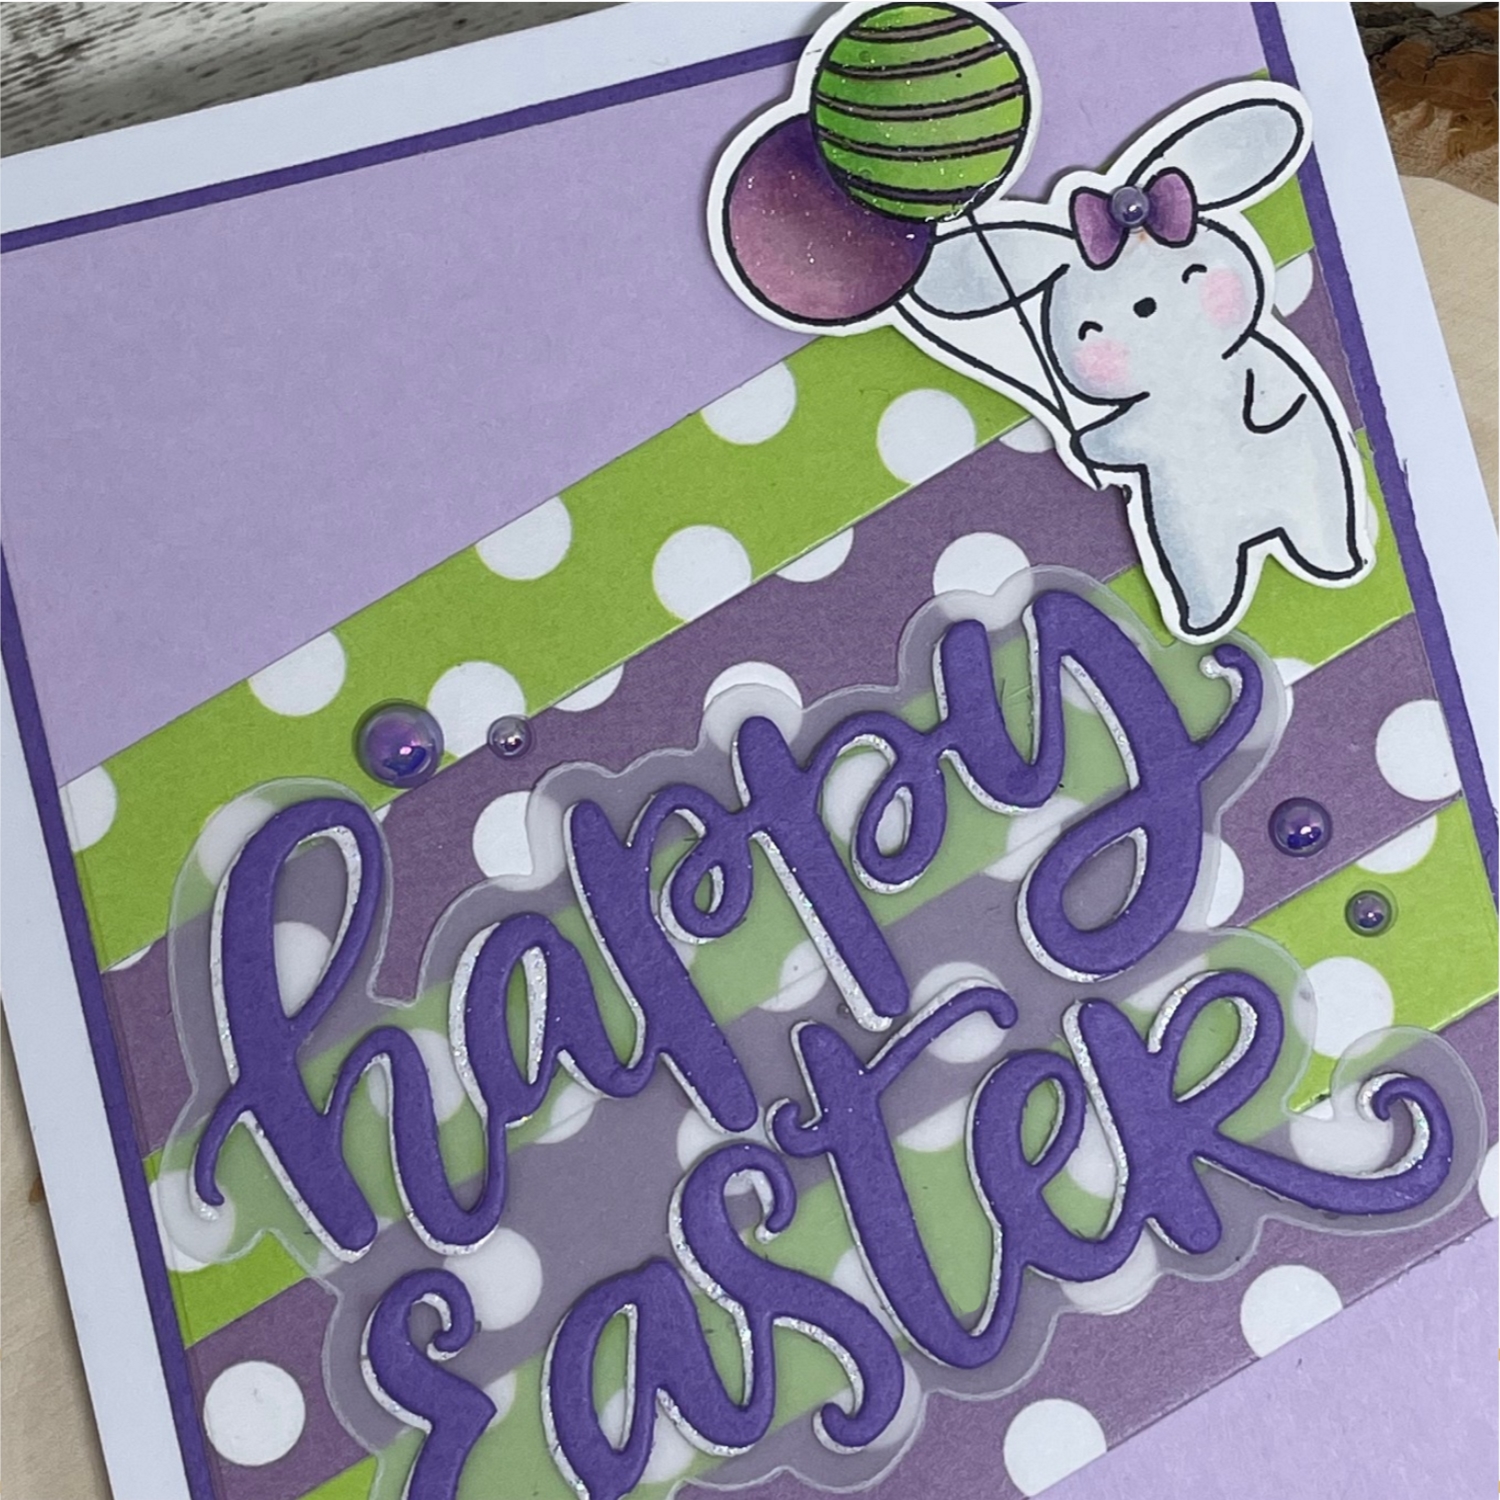
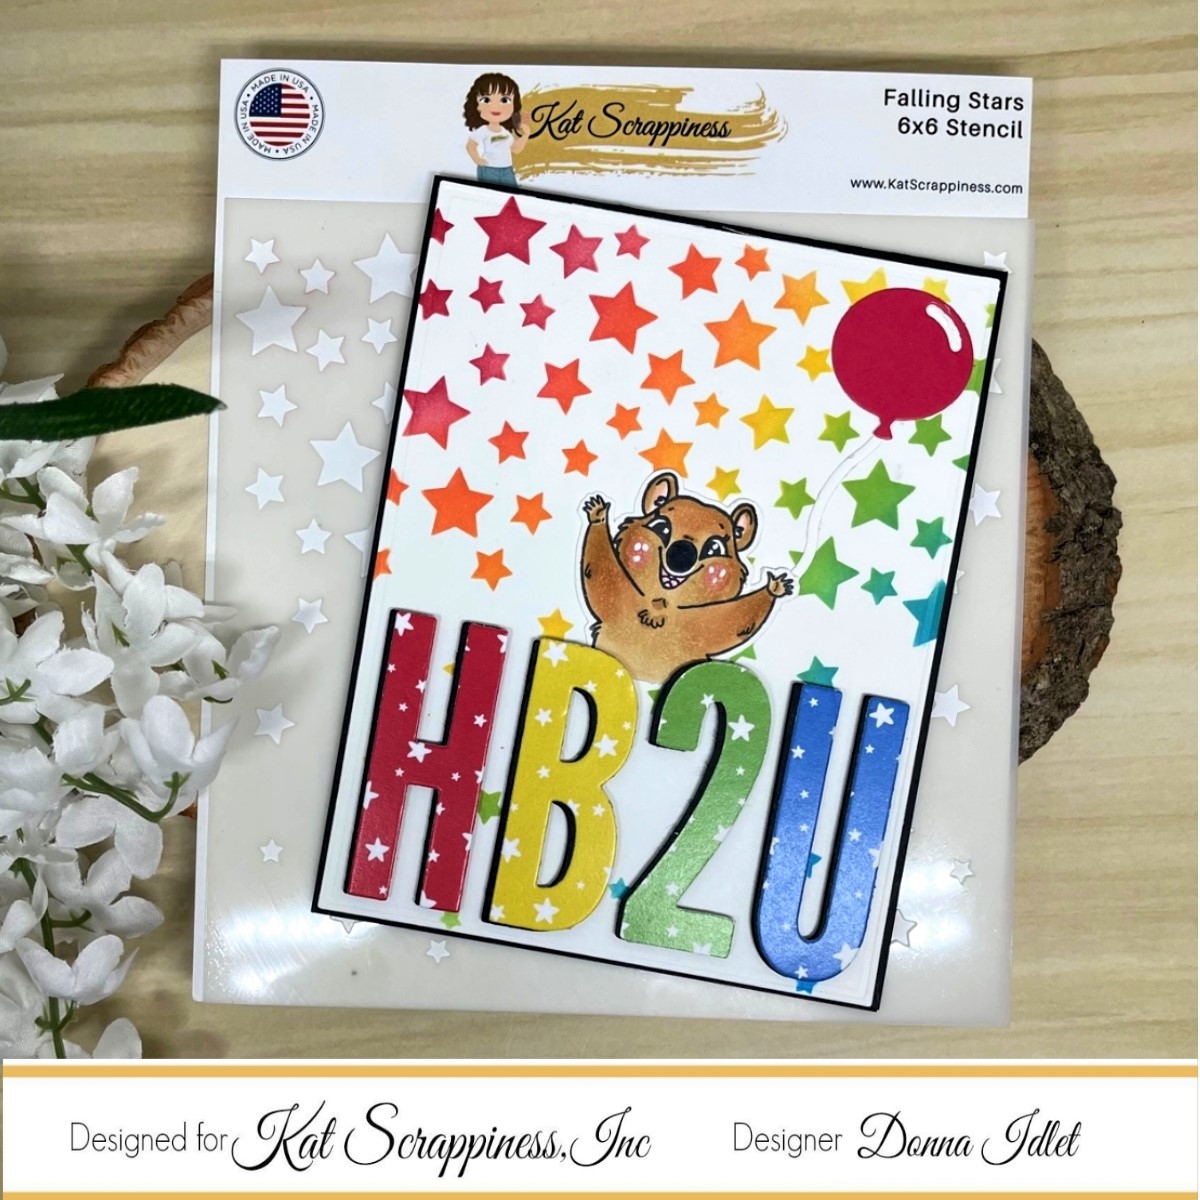
Here is how I created the shaker:
- Created an A2 card 4 1/4 x 5 1/2.
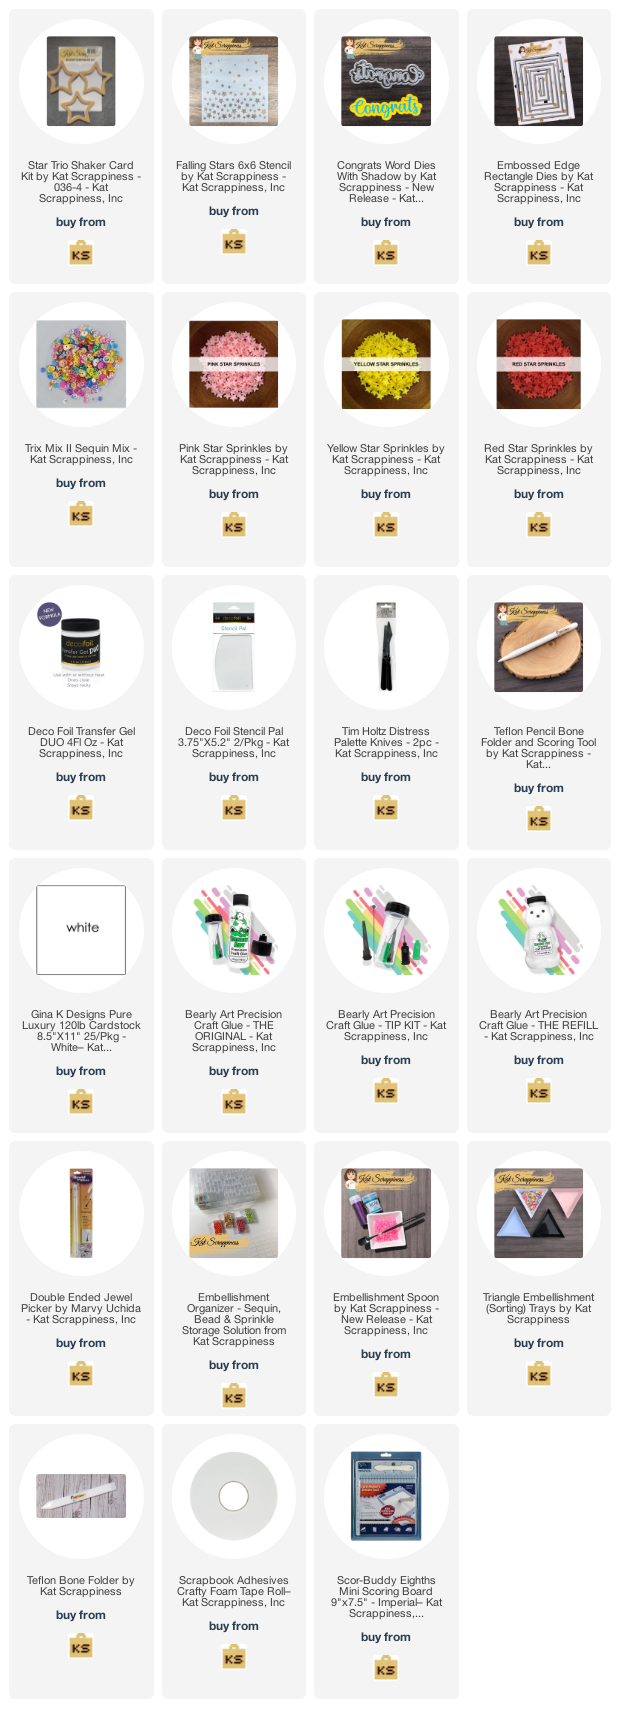
- Die cut the black layer with KS Embossed Edged Dies.
- Used the Falling Stars 6x6 Stencil in the background, used Transfer Gel Duo with the stencil, let it dry and added foil and ran through laminator.
- Assembled two of the Star Shakers by adding Transfer Gel Duo to the stars, let it dry and added foil to the stars and ran it through the laminator. Next attached the acetate to the stars with a tape runner, added the foam star to the stars, filled with shaker bits, created another star acetate to sealed the shaker bits and added the stars to the card.
- Die cut the Congrats with shadow die using alcohol ink paper and added it to the card.
Thank you so much for stopping by, please come back again soon.
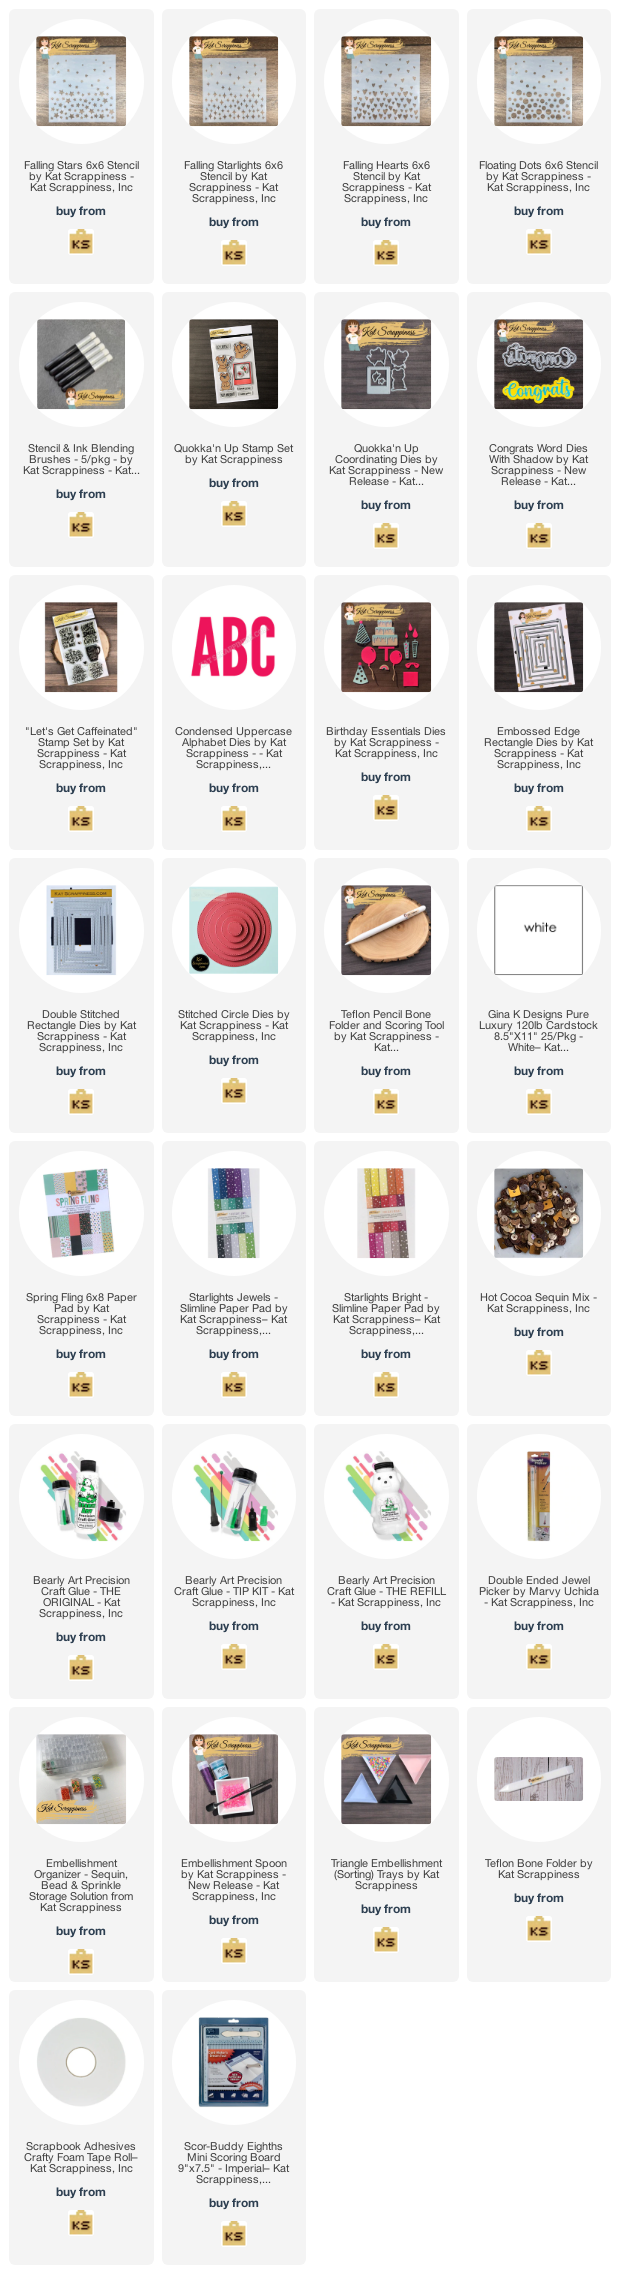
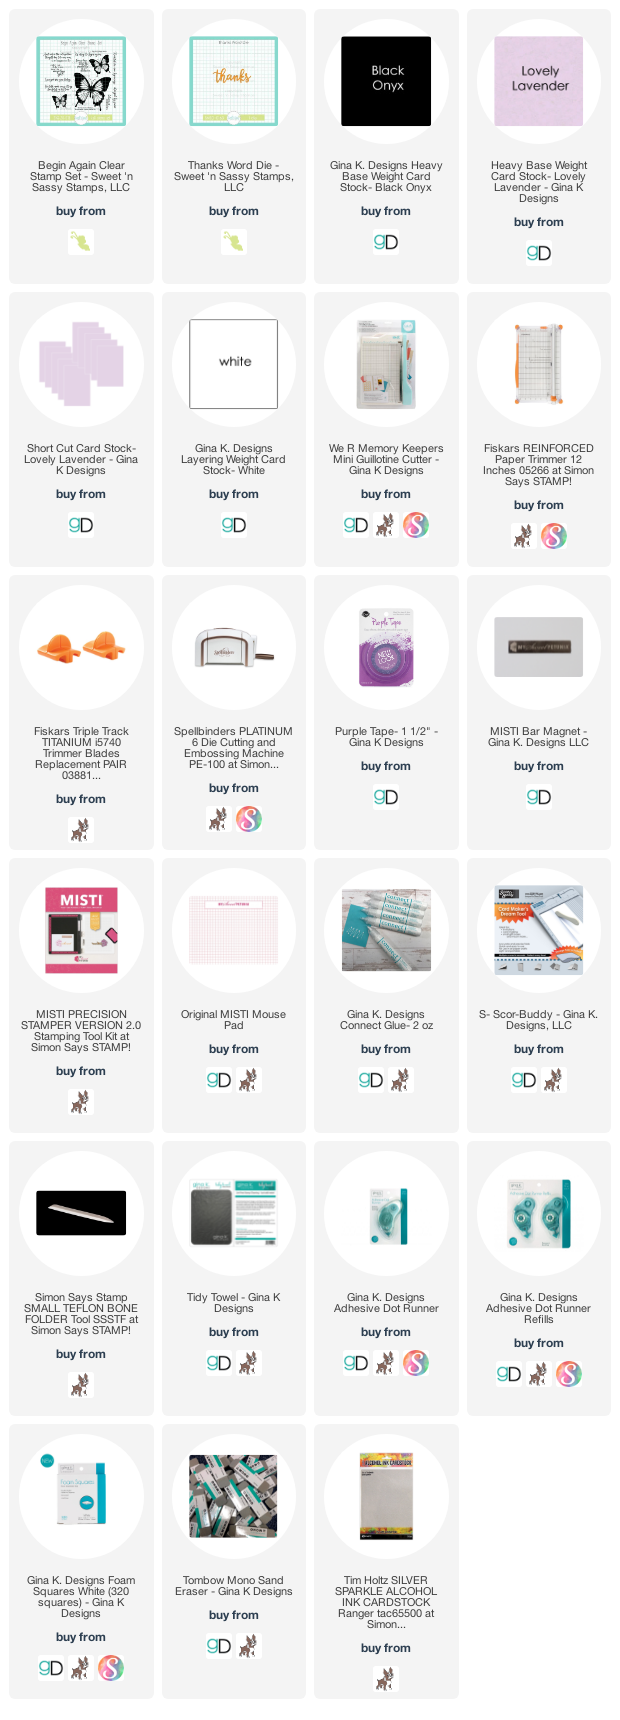
Here is a list of supplies I used on my card, Affiliate Links used at no additional cost. Thank you for your support.


.jpg)
.jpg)


.png)