Showing posts with label love. Show all posts

Sweet n' Sassy Stamps - Love in a Mug!

Friday, April 15, 2022

Hello everyone!

I am with Sweet n' Sassy Stamps featuring their 6x6 Latte Love Stamp & Die Sets.  For all you Coffee Lovers who love to make coffee cards, this is the perfect set.  

Here is my card for your inspiration:

Sweet n' Sassy Stamps, Latte Love Stamp Set, Coffee Lovers, Coffee, Love, Stitched Sweet Swirls Card Panel

Here is how I created my card:
  • Created an A2 card measuring 4 1/4" x 5 1/2".
  • Pink Panel: 3 1/8" x 5 7/8" and the white panel is 3" x 5 3/4".
  • Stamped the sentiment from the Latte Love Stamp Set with black ink, then Embossed the white panel with a background panel from my stash, adhered it to the pink panel and added to the base card.
  • Cut the design paper 3 1/2 x 3 and adhered it to the card.
  • Stamped the coffee images from the Latte Love Stamp, colored with copics, and die cut.
  • Adhered the coffee cups onto the card, and the coffee beans.  Stamped the heart onto some design paper, fuzzy cut it and added it to the card.  For finishing touches I added some glossy accents to the first and third cup.
Thank you for stopping by, please come back again.
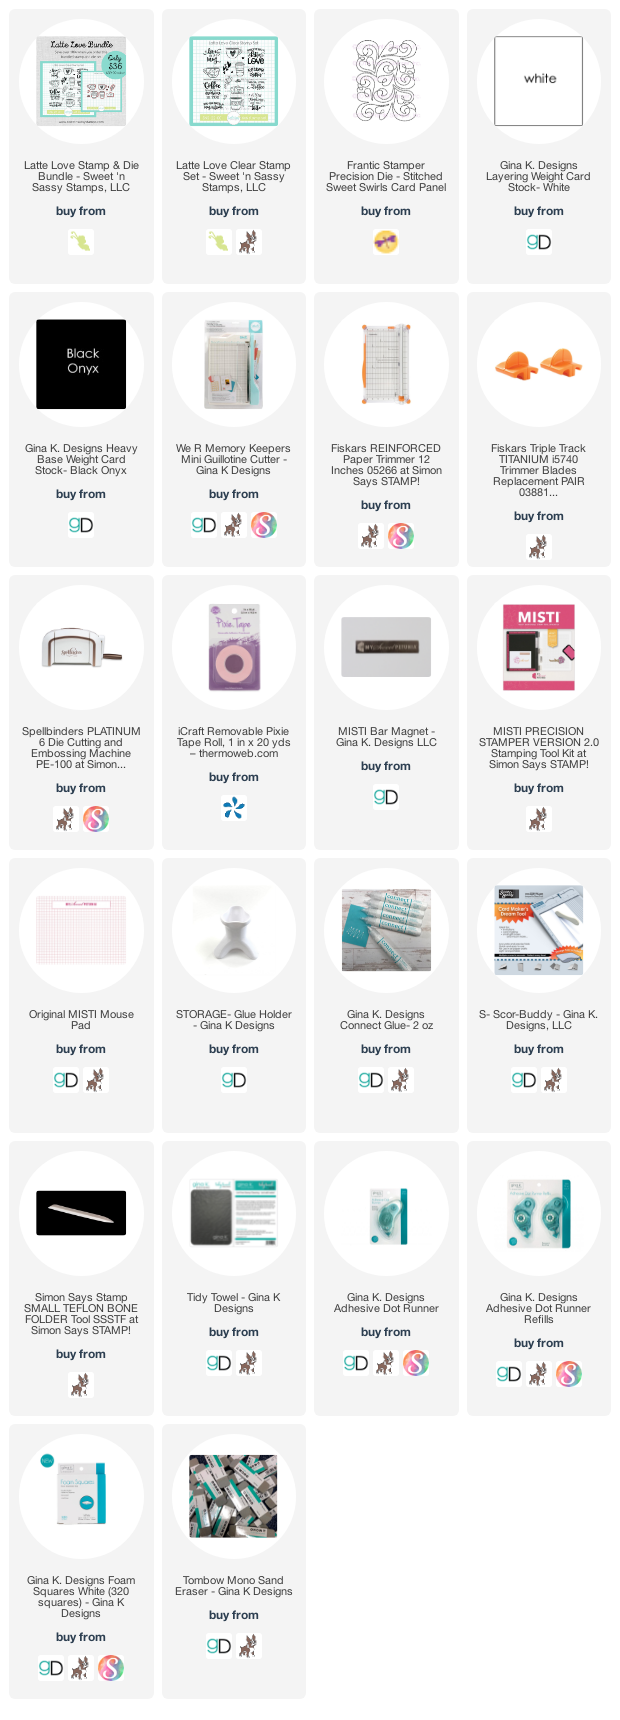
Here is a list of supplies I used on my card, Affiliate Links used at no additional cost. Thank you for your support.

Kat Scrappiness - Inlaid Smooches Coverplate Die

Thursday, January 13, 2022

Hello everyone!

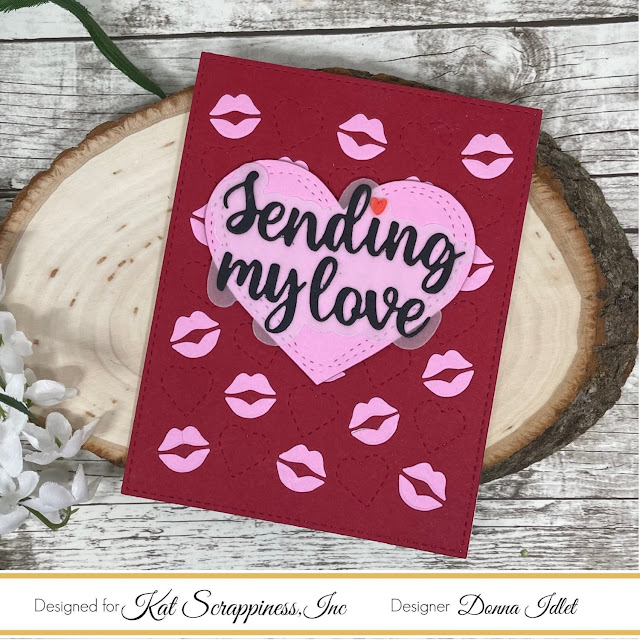
I am here with Kat Scrappiness, Inc., featuring the NEW A2 Smooches Coverplate Die, Love You Sentiment W/Shadow Die and Sending My Love Sentiment W/Shadow Die. I hope you have had a chance to visit the Kat Scrappiness blog to see what the design team has created with the new release.

Here are my cards for your inspiration:


Here is how I created the card:
  1. Cut & Score White A2 Top Fold Card Base: 4 1/4″ x 5 1/5″.
  2. Die cut the A2 Smooches Coverplate  using pink and red cardstock.
  3. Added double stitched adhesive to each coverplate and inlaid the red lip on the pink coverplate and the red lips on the pink coverplate.  
  4. Die cut Love You Sentiment W/Shadow and Sending My Love Sentiment W/Shadow Dies with black card stock.
  5. Die cut  the shadow from the Love You Sentiment W/Shadow vellum added the Love You sentiment 
  6. Stamp and heat embossed the "MWAH!" from the Valentine Quokka Stamp Set, die cut with KS 
    Boxed Sentiment Strips Dies.
  7. Die cut KS Wonky Wavy Stitched Heart Dies and Sending My Love Sentiment W/Shadow Die.
  8.  Assembled cards and added some KS heart embellishments.


Thank you so much for stopping by, please head over to Kat Scrappiness blog for more inspiration.

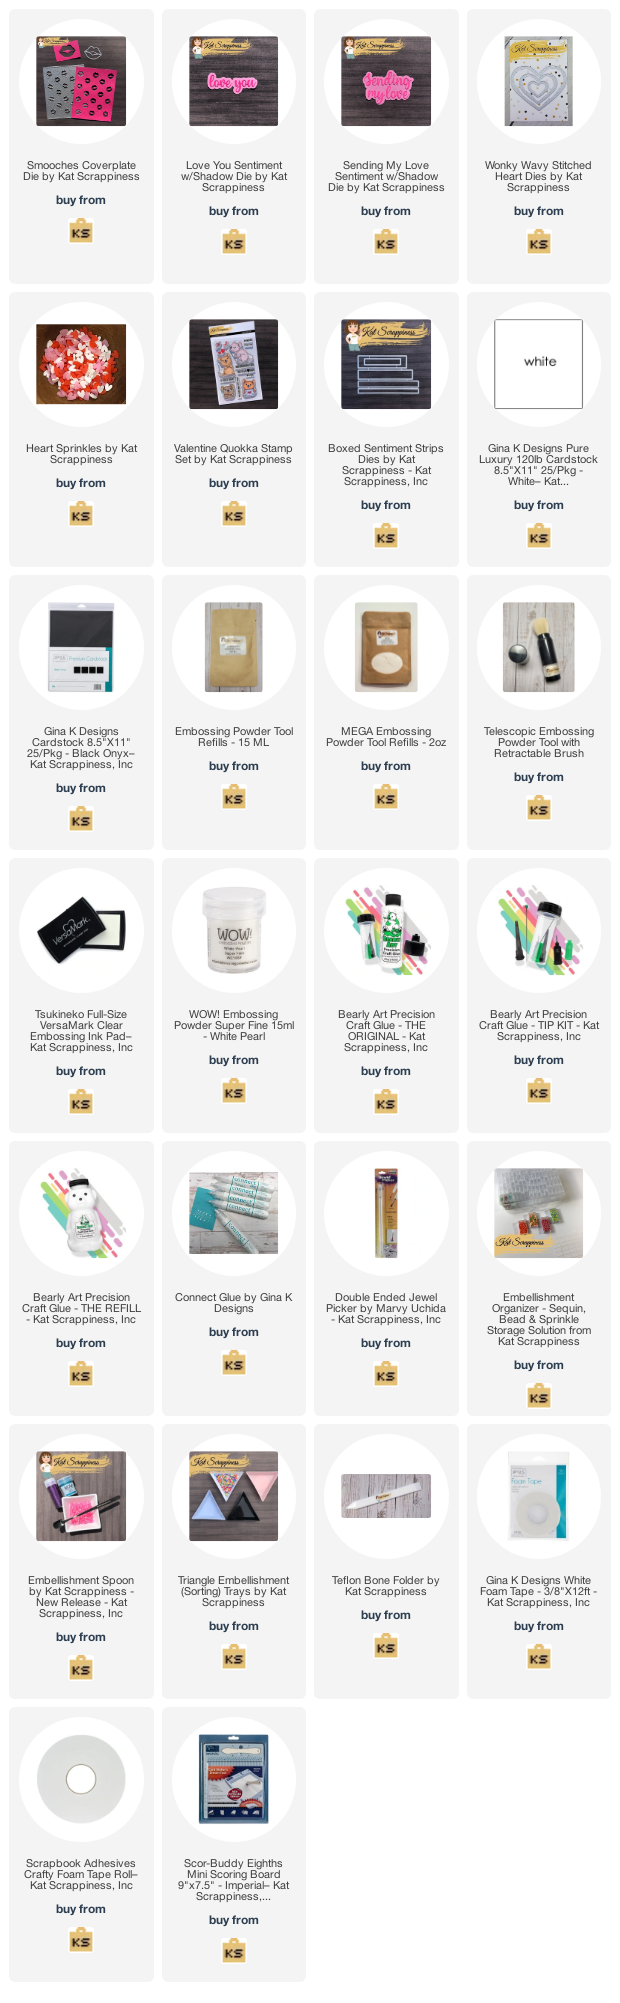
Here is a list of supplies I used on my card, Affiliate Links used at no additional cost. Thank you for your support.

RETRO RUBBER CHALLENGE BLOG #151 - I Love You!

Tuesday, February 2, 2021

Hello everyone!

I am here with Retro Rubber Challenge Blog with a new inspirational photo challenge, which is make a card with black and white and add some red. I hope you will join in on the fun. Be sure to stop over on the Retro Rubber Challenge blog to get more inspiration, the design team has some wonderful creations!

I am also entering my card into the February 2021 Monthly Mix Challenge, the theme is “Love in the Air”. You just need to create a LOVE themed card – Valentine, Anniversary, or Wedding card.  Click here to enter into the challenge.

The rules to play along with Retro Rubber Challenge is very simple, make sure the stamp you use on your project is at least one year or older. For more details on the rules, you can find them over on Retro Rubber Challenge blog.


Here is my card for your inspiration. The image on my card is by Gina K. Designs mini stamp set called All You Need is Love that was released in February 2019 and the sentiment is also by Gina K. Designs Love is All You Need that was released in January 2019. 


 My card is an A2 card, I used the Gina K. Designs Master Layouts 1 to cut the two layers, the heart is from the Master Layouts 4.  I stamped the image from the All You Need is Love stamp set and colored them with copics. 

Thanks again for stopping by, I love this challenge, I love making black, white and red cards. Please don't forget to stop over at the Retro Rubber Challenge blog and join the fun and check out the beautiful projects the design team members have created.

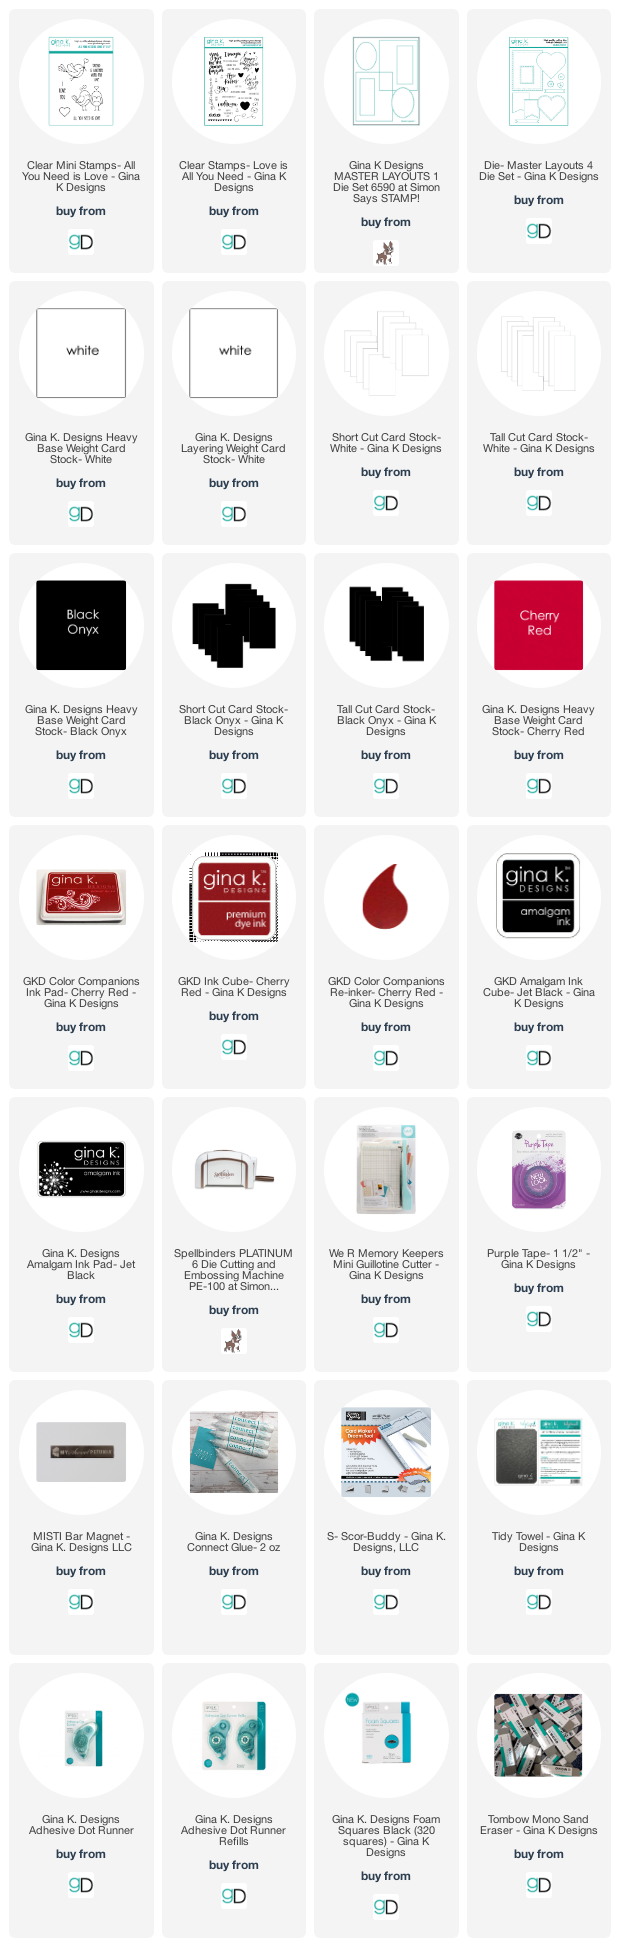
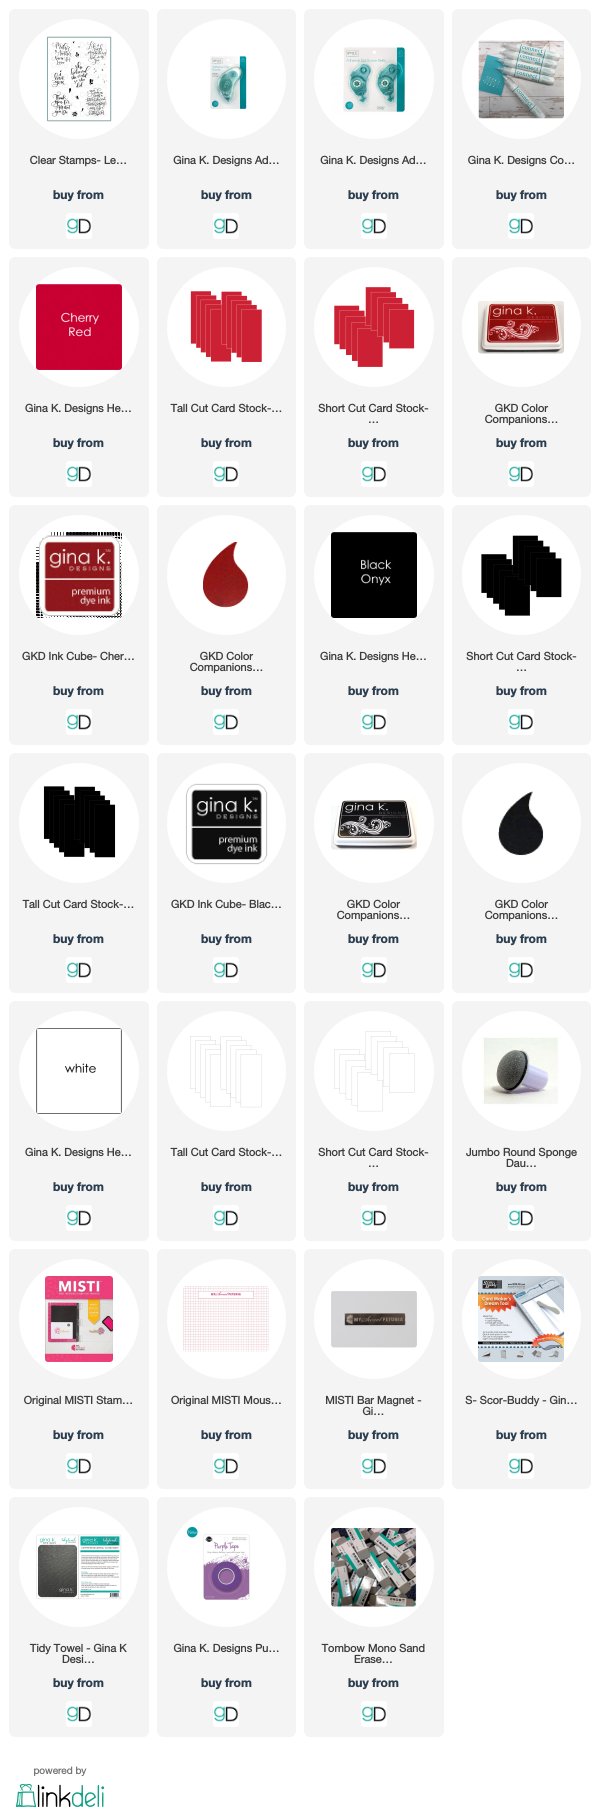
Here is a list of supplies I used on my card, Affiliate Links used at no additional cost. Thank you for your support.


Gina K. Designs AUGUST 2020 MONTHLY MIX CHALLENGE

Saturday, August 15, 2020


Hello everyone!

I'm playing along with the Gina K. Designs Monthly Mix Challenge.  This months hostess is Mindy Eggen and she is challenging us with the Design Concept, "White Space". You can find out all the details HERE.

Here is my take on the challenge, My card is an A2 size card, I am using the "I Like The Way You Roll" Stamp Set from the NEW Gina K. Designs Peace, Love and Sushi Card Kit.  My layers I used the new Master Layer 2 dies.  


Thank you for stopping by, I hope you will join the fun!

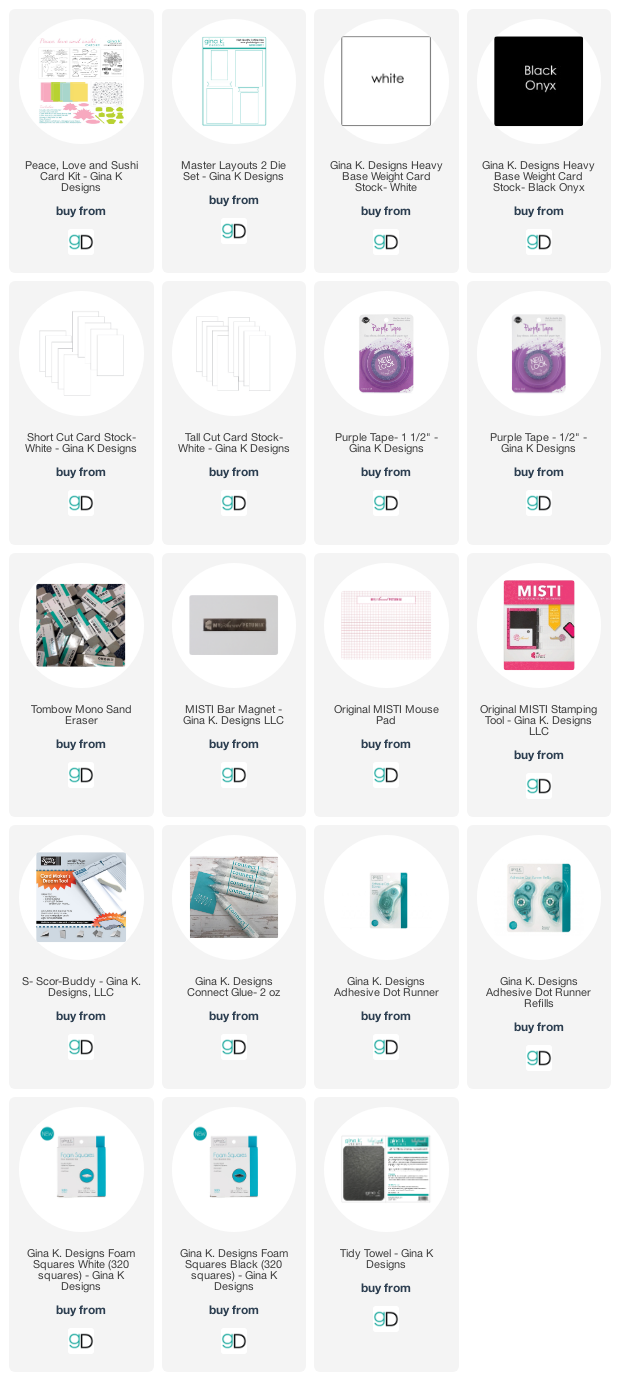
Here are the supplies I used for this card. Affiliate Links used at no cost to you.

Retro Rubber Challenge Blog #128 - Love Is in the Air

Tuesday, February 11, 2020

Hello everyone!

I am here with Retro Rubber Challenge blog and we have a new challenge, which is one Love is in the Air challenge, you are to use red, pink and white on your card.  This sounds like a valentine's or friendship card to me.  I hope you will join in on the fun!


If you have not joined our challenges before, the rules are very simple, just use a stamp older than a year and you must include the age (or approximate age) of the stamp in your blog post. I cannot wait to see you take on it.

The stamp set I used is by Concord & 9th, which is one of their mini roundabout stamps called Hugs and Kisses, it was released December 2018.

I stamped the hearts from the roundabout stamp using red, pink and white, my card measure 4 1/4 x 4 1/4, I die cut the words with black card stock and adhered them to my card.  I used mirror red card stock to cut out a heart, used a foam square to add it to my card. 


Thank you so much for stopping by, I hope you will play along with the Retro Rubber Challenge Blog.


RETRO RUBBER CHALLENGE #116 - Tic Tac Toe Challenge

Tuesday, July 30, 2019

Hello everyone!

I'm here with Retro Rubber Challenge Blog with a new challenge which is a fun tic tac toe created by our wonderful design team member Jan Clothier!  I love these challenges, my card I heat embossed the sentiment, the hearts have texture and I added enamel dots.  I almost had a two way tic tac toe because my hearts I consider romance, but didn't use pattern paper.  Have fun and don't forget to use at least one stamp older than a year.


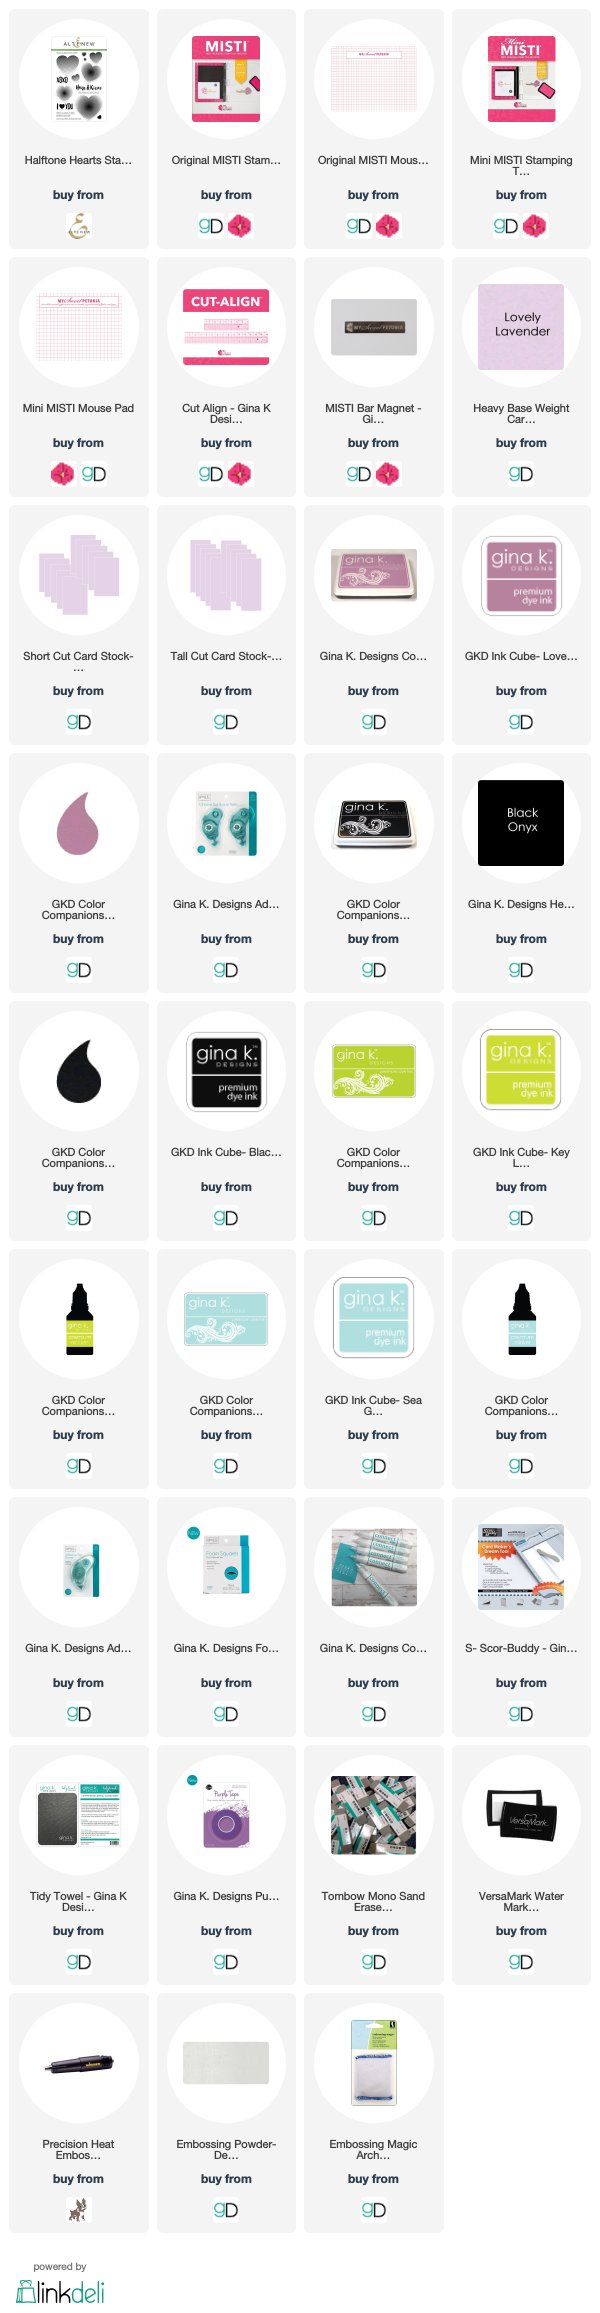
Here is my card, I stamped the hearts from the Altenew stamp set called Halftone Hearts which was released in May of 2017.  I stamped the heart images in several different colored inks, I stamp the sentiment also from the Halftone Hearts stamp set, I stamped the sentiment under the hugs and kisses with versamark and embossed it with white embossing powder and used foam tape to pop it up on my card.  I finished my card off with several different colors of enamel dots.


Closer look at my card


Are you ready to play along? Be sure to stop over on the Retro Rubber Challenge blog to get some more inspiration! Thank you for stopping by, you have until August 9th to join the fun!

Listed below are the products I used. Click on the link to go directly to the product. Where available I have used compensated affiliate links which means if you make a purchase I will receive a small commission at no extra cost to you. Thank you so much for your support!

Crackerbox & Suzy Stamps - Valentines

Monday, January 21, 2019

Hello everyone,

I am here with Crackerbox & Suzy Stamps showcasing some of their Valentine stamps. I can never get tired of making Valentine and Christmas cards!  I love the fun bright colors.  All of the Valentine stamps are 30% off the month of January.   All the supplies I used on my card are listed below.


Here is my card:


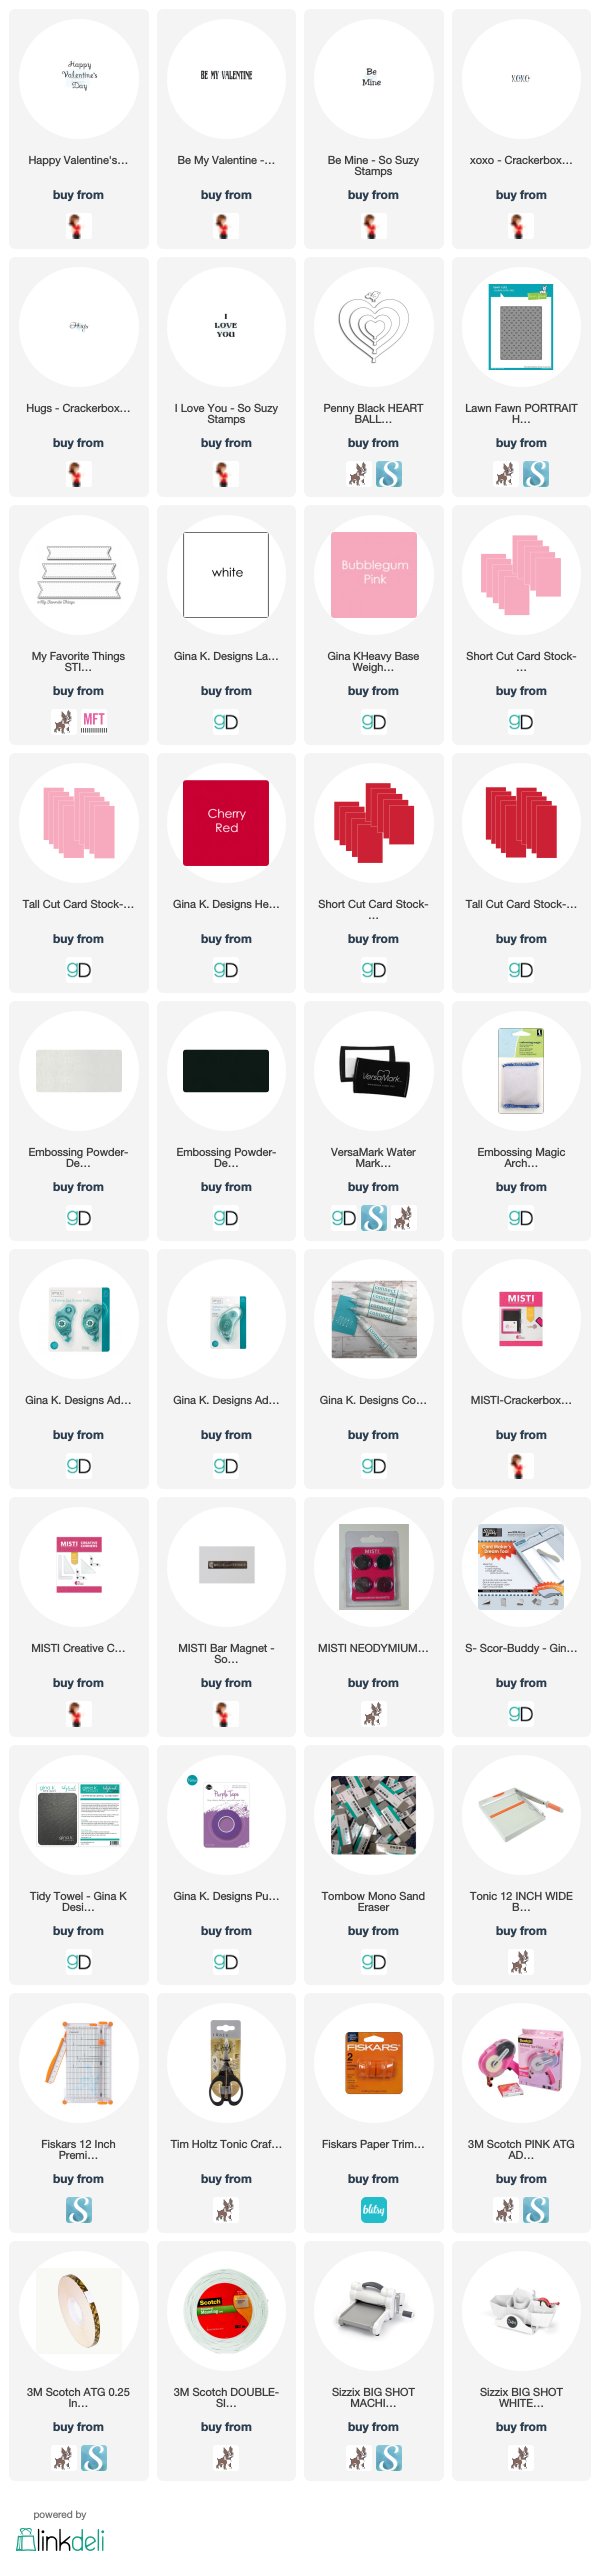
My card is an A2 top folding card, I die cut a background panel and adhered it to my red base, I then die cut a bunch of hearts in two different sizes and stamped Crackerbox & Suzy Stamps sentiments on the hearts with versamark and white embossing powder.  I then lay them on my card and adhered the purple heart onto the card base with adhesive.  I then added some twine from my stash and used foam tape to and added the other hearts onto the card.  I stamped the sentiment from Crackerbox & Suzy Stamps with versamark and embossed and heat set it with black embossing powder.  I finished off my card by adding some mini rhinestones

Here is a closer look of the card.


Thank you so much for stopping by, please come back again soon!

Listed below are the products I used. Click on the link to go directly to the product. Where available I have used compensated affiliate links which means if you make a purchase I will receive a small commission at no extra cost to you. Thank you so much for your support!

SUPPLIES USED:

GINA K. DESIGNS JANUARY 2019 MONTHLY MIX CHALLENGE

Sunday, January 20, 2019

Hello everyone!

I am here with Gina K. Designs with a new Monthly Mix Challenge for January! Have you checked out the new blog? The Gina K. Designs Monthly Mix has a new look and a new home! Cathy Tidwell is our first hostess of the year and the challenge is "My Sentiments Exactly" theme and you can find all the details HERE and you can add your card here.

My card is clean and simple.  I die cut a heart die and used a blending tool to create the heart.  The sentiment is from Gina K. Designs illustrated by Emily Schroepfer called Lettered and Lovely.  I added some twine from my stash to finish off the card.


Thank you so much for stopping by, please come back again soon!

I’m listing the products I used below. Click on the link to go directly to the product. Where available I have used compensated affiliate links which means if you make a purchase I receive a small commission at no extra cost to you. Thank you so much for your support!

Supplies Used:
Made With Love By The Dutch Lady Designs
Follow Me on Pinterest