Hello everyone!
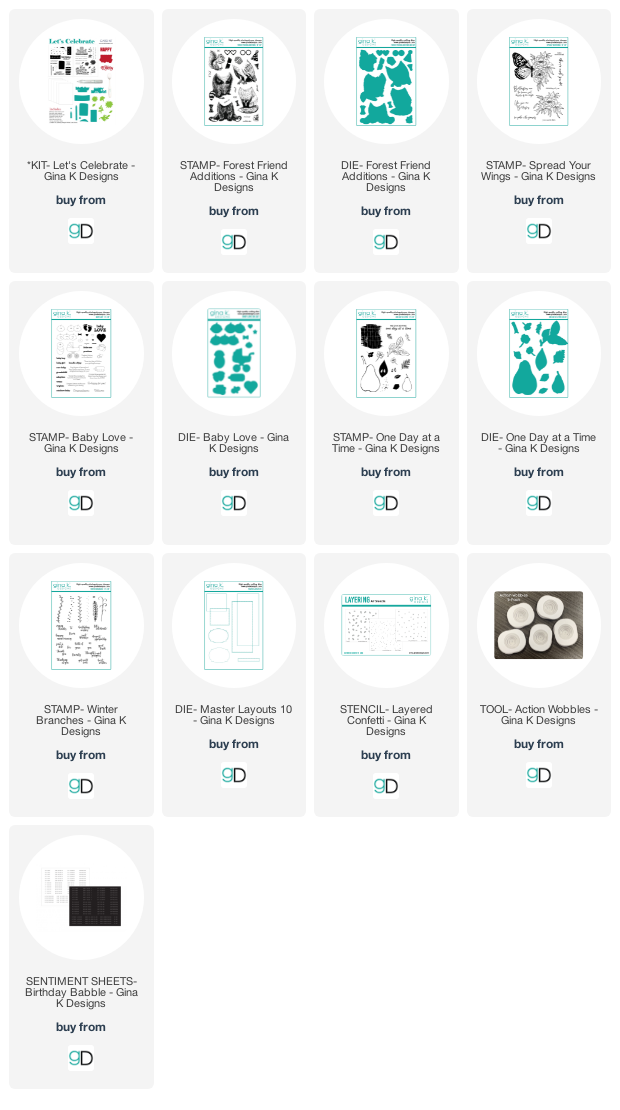
I am here sharing some cards from the Gina K. Designs NEWLY release products from the February 2022 release. This is another fabulous release as always! I am using the NEWLY released "Forest Friends Addion" stamp set with dies illustrated by Melanie Muenchinger along with the "Forest Friends" stamp set released in December 2021. I am also using the NEWLY released "Baby Love" stamp set with dies illustrated by Debrah Warner.
You can see more inspiration from the full release on the Gina K. Designs & StampTV Friends Facebook page. To see the full release, you can go HERE under the What's New section.
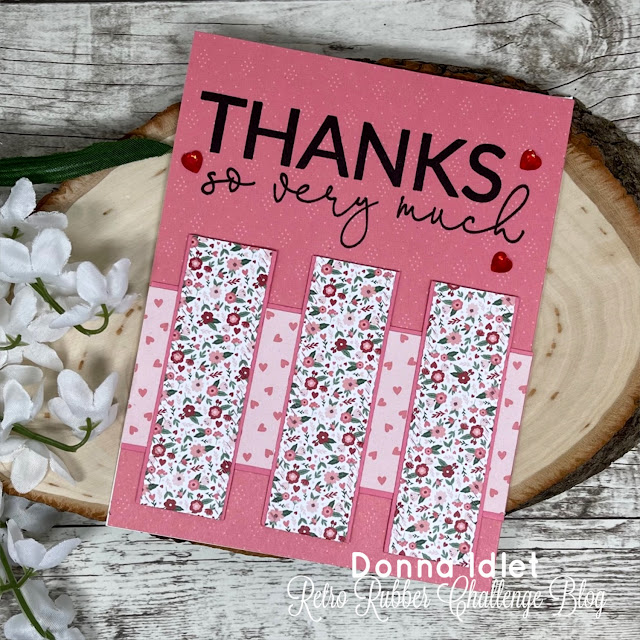
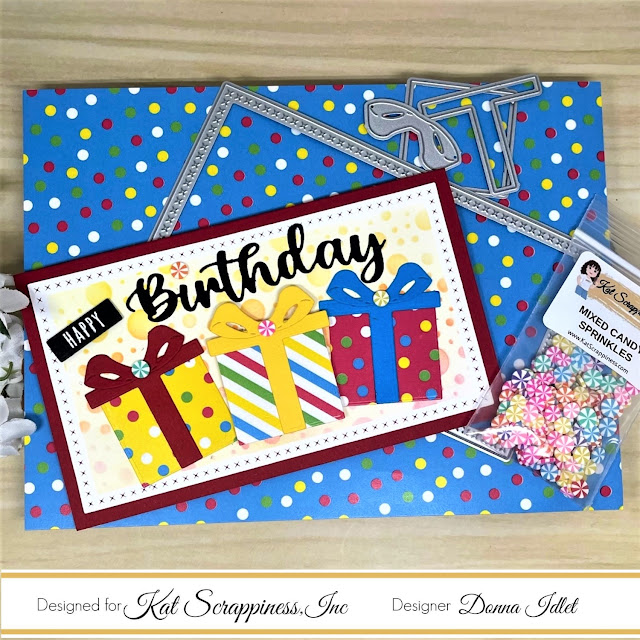
Here are my cards for your inspiration:
Here is how I created the card:
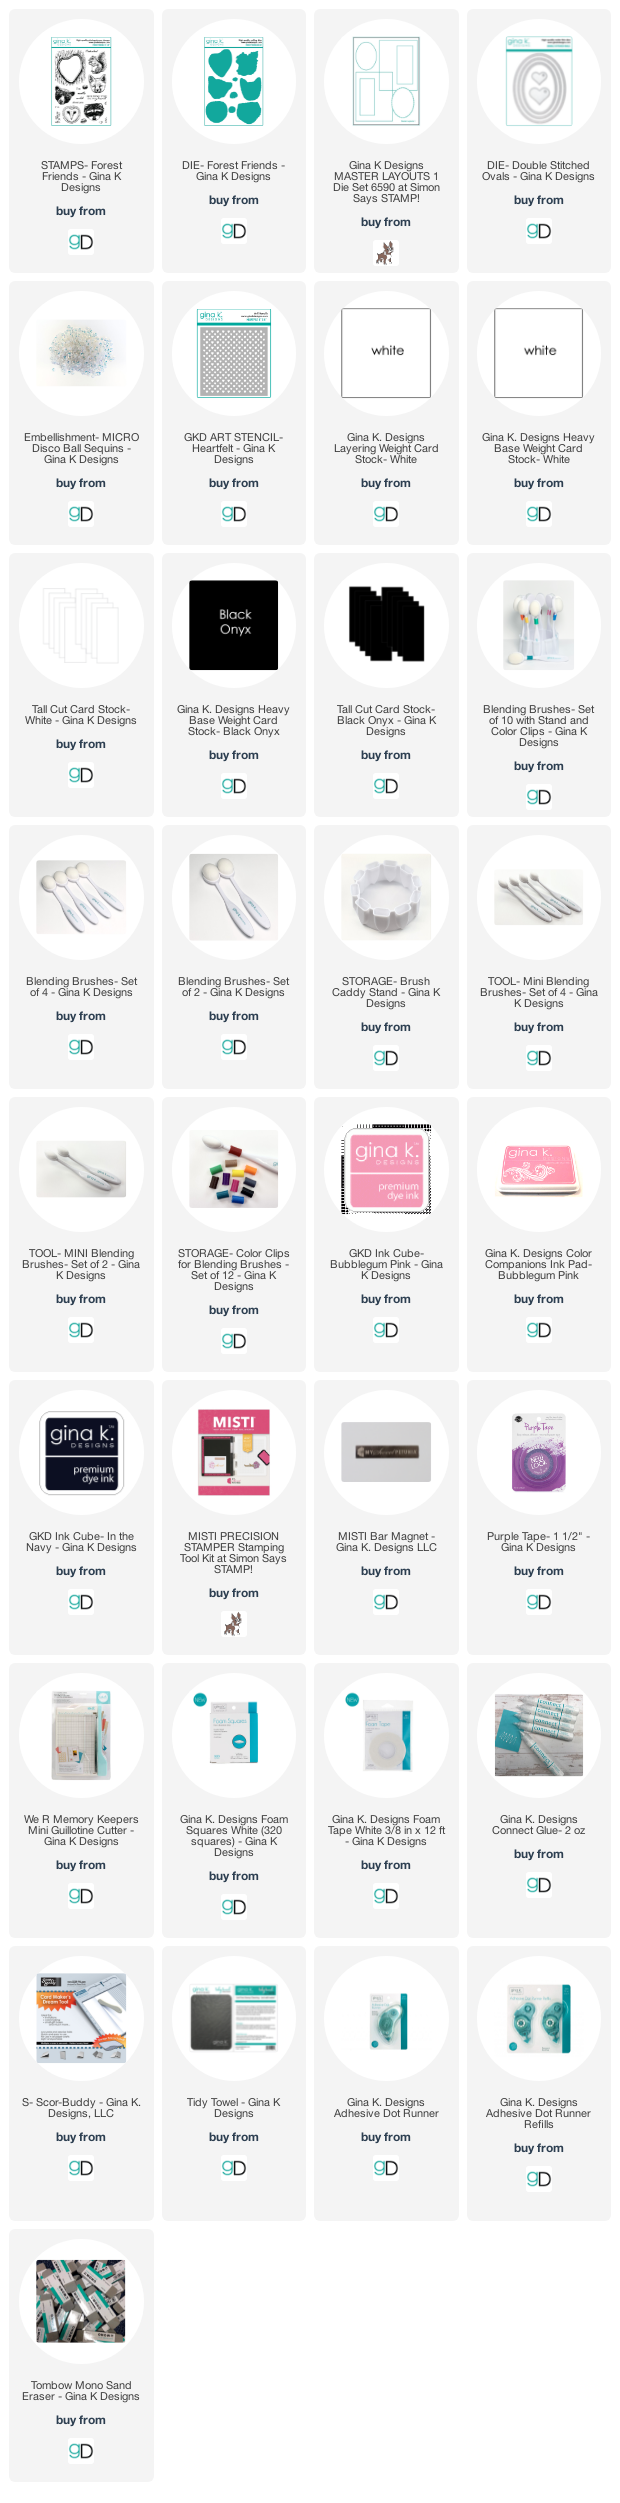

Card is an A2 measuring 4 1/4 x 5 1/2.
Stamped and die cut the images.
Used colored pencils to color in the details.
Die cut the panels using Master Layouts 1.
Ink blended the back panel using GKD Heartfelt Stencil.
Added the sentiment from Forest Friends.
To finish off the card, die cut the heart from the GKD Double Stitched Ovals and added a rhinestone from GKD Micro Disco Ball.
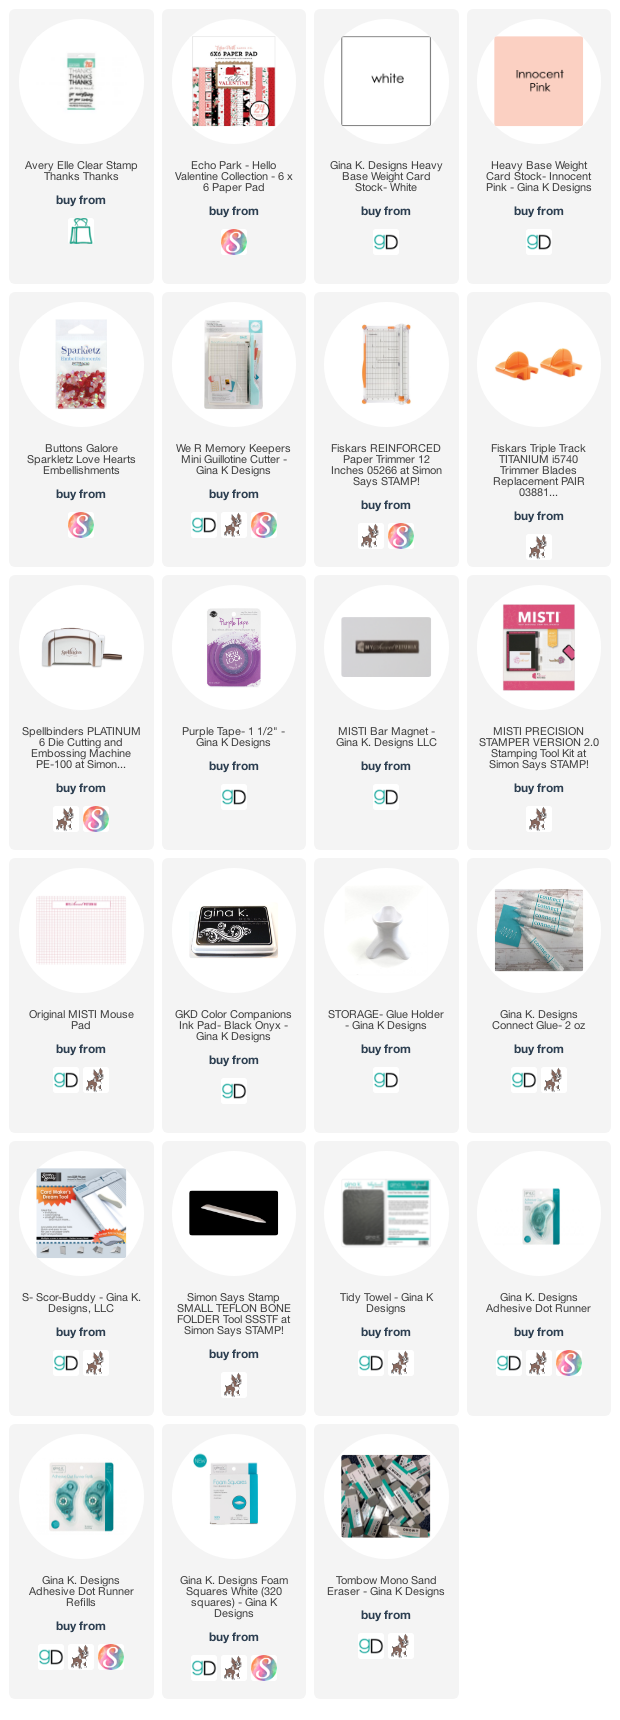
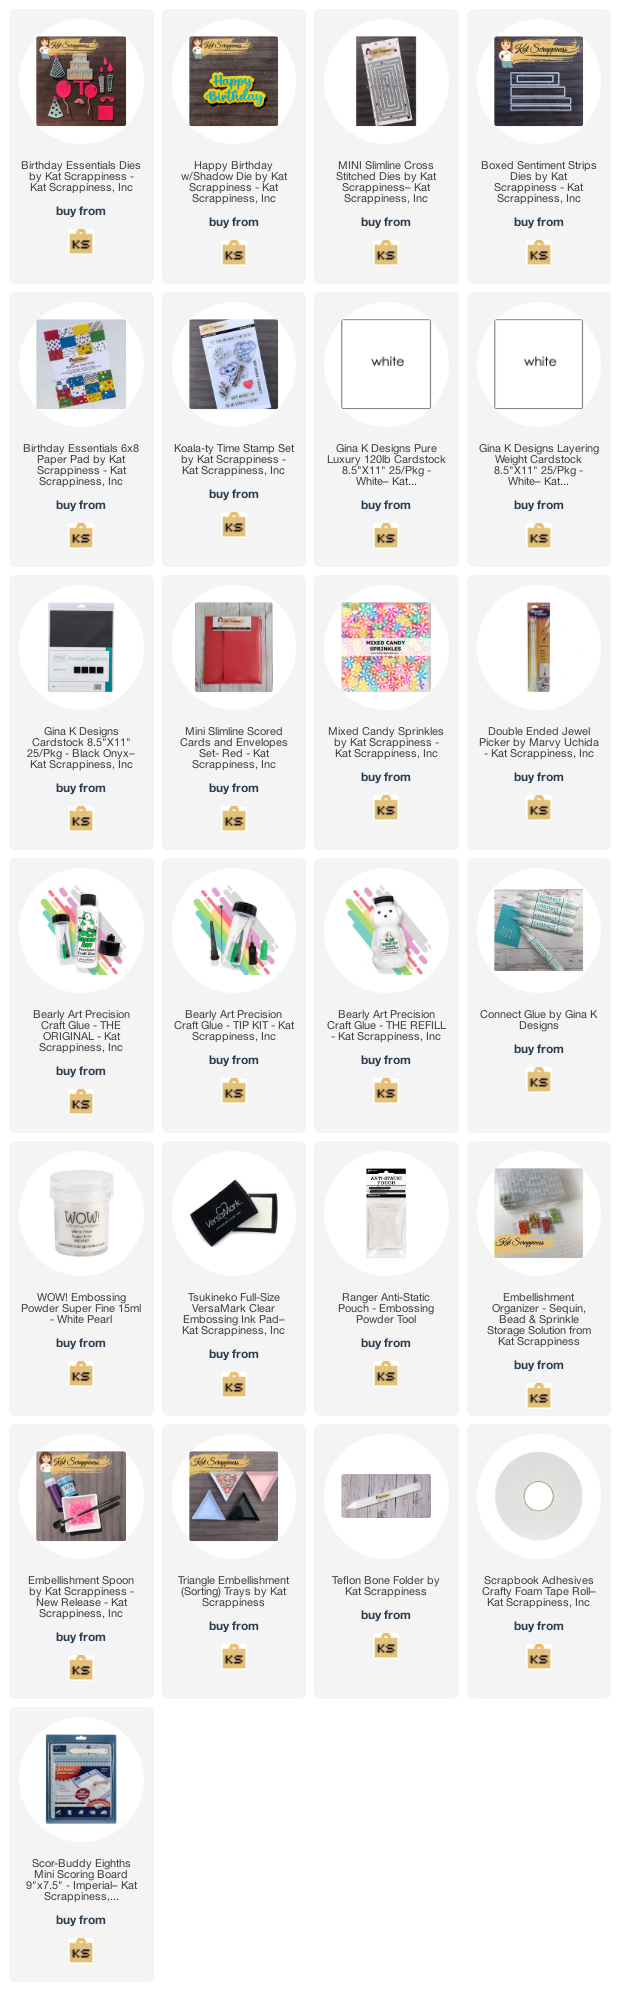
Supplies used for these cards, Affiliate Links used at no cost to you. Thank you for your support!
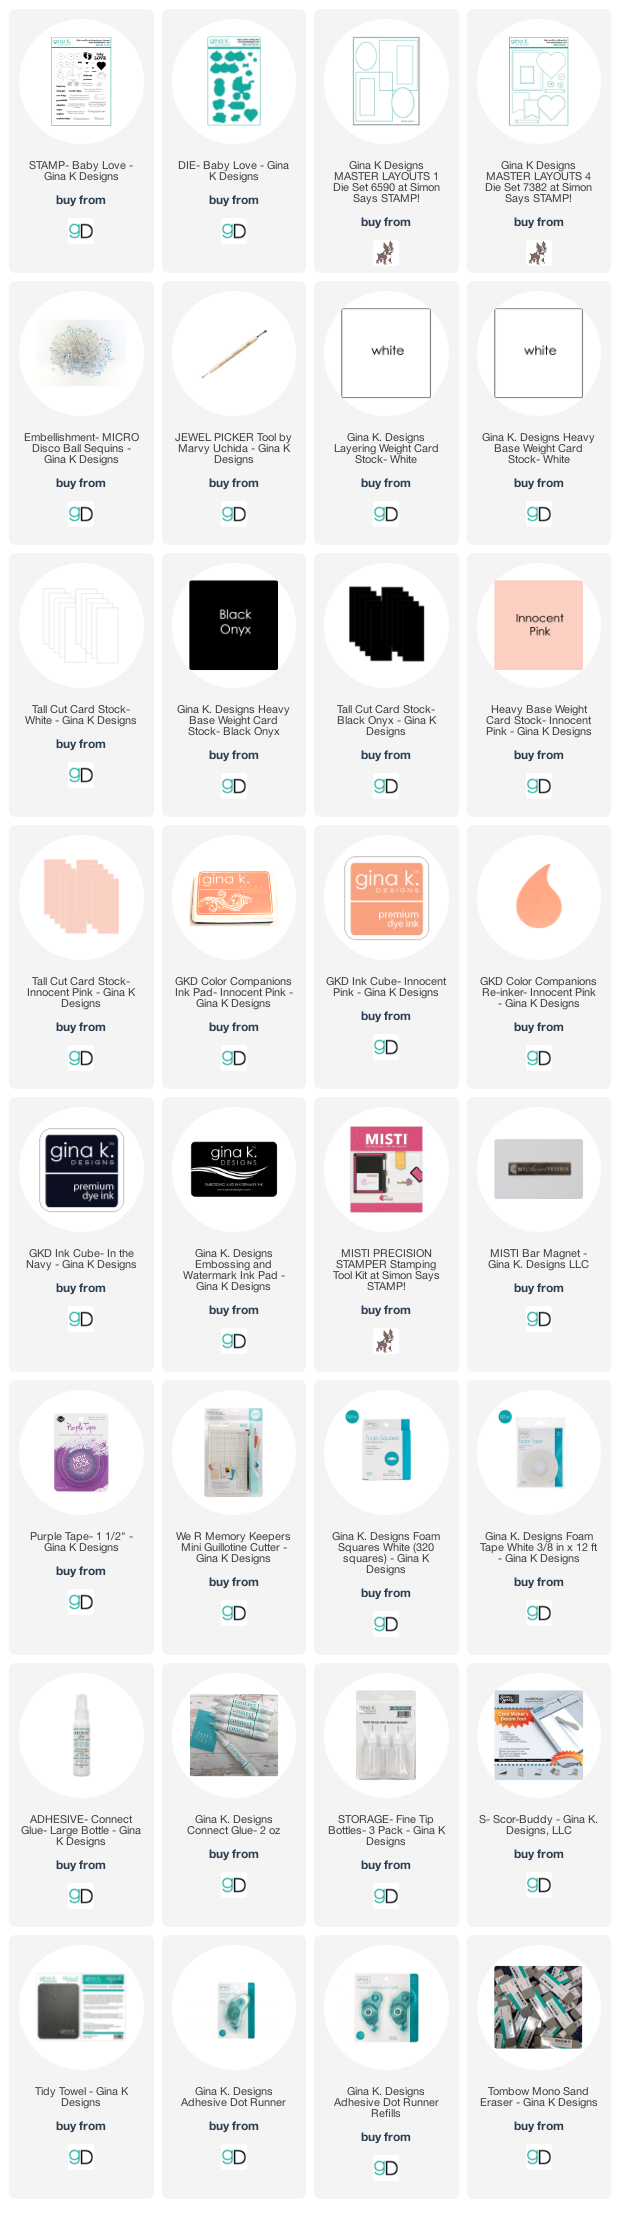
My second card I created using "Baby Love" stamp set illustrated by Debrah Warner. This is a great addition to the GKD products. This set can be used for a boy or girl baby card. I love all the images that are in this set.
Card is an A2 measuring 4 1/4 x 5 1/2.
Stamped the background with the feet stamp.
Die cut the panel using Master Layouts 4.
Stamped and die cut then images and colored with Copics.
Die cut the oval pieces from GKD ML 1.
Stamped the sentiment from the Baby Love stamp set and added to the card.
To finish off the card, added some rhinestones to the carriage from GKD Micro Disco Ball.
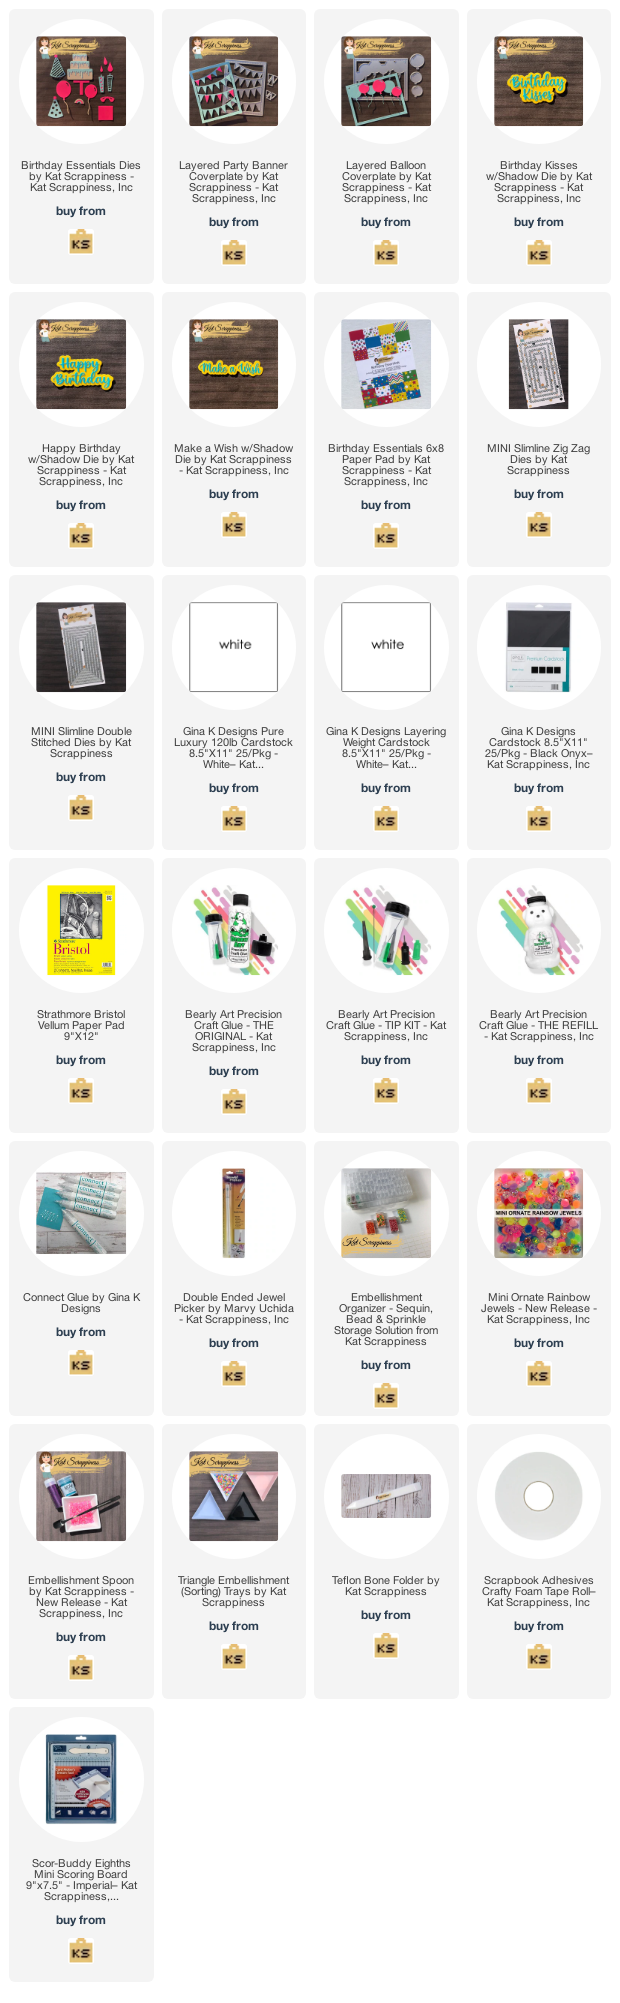
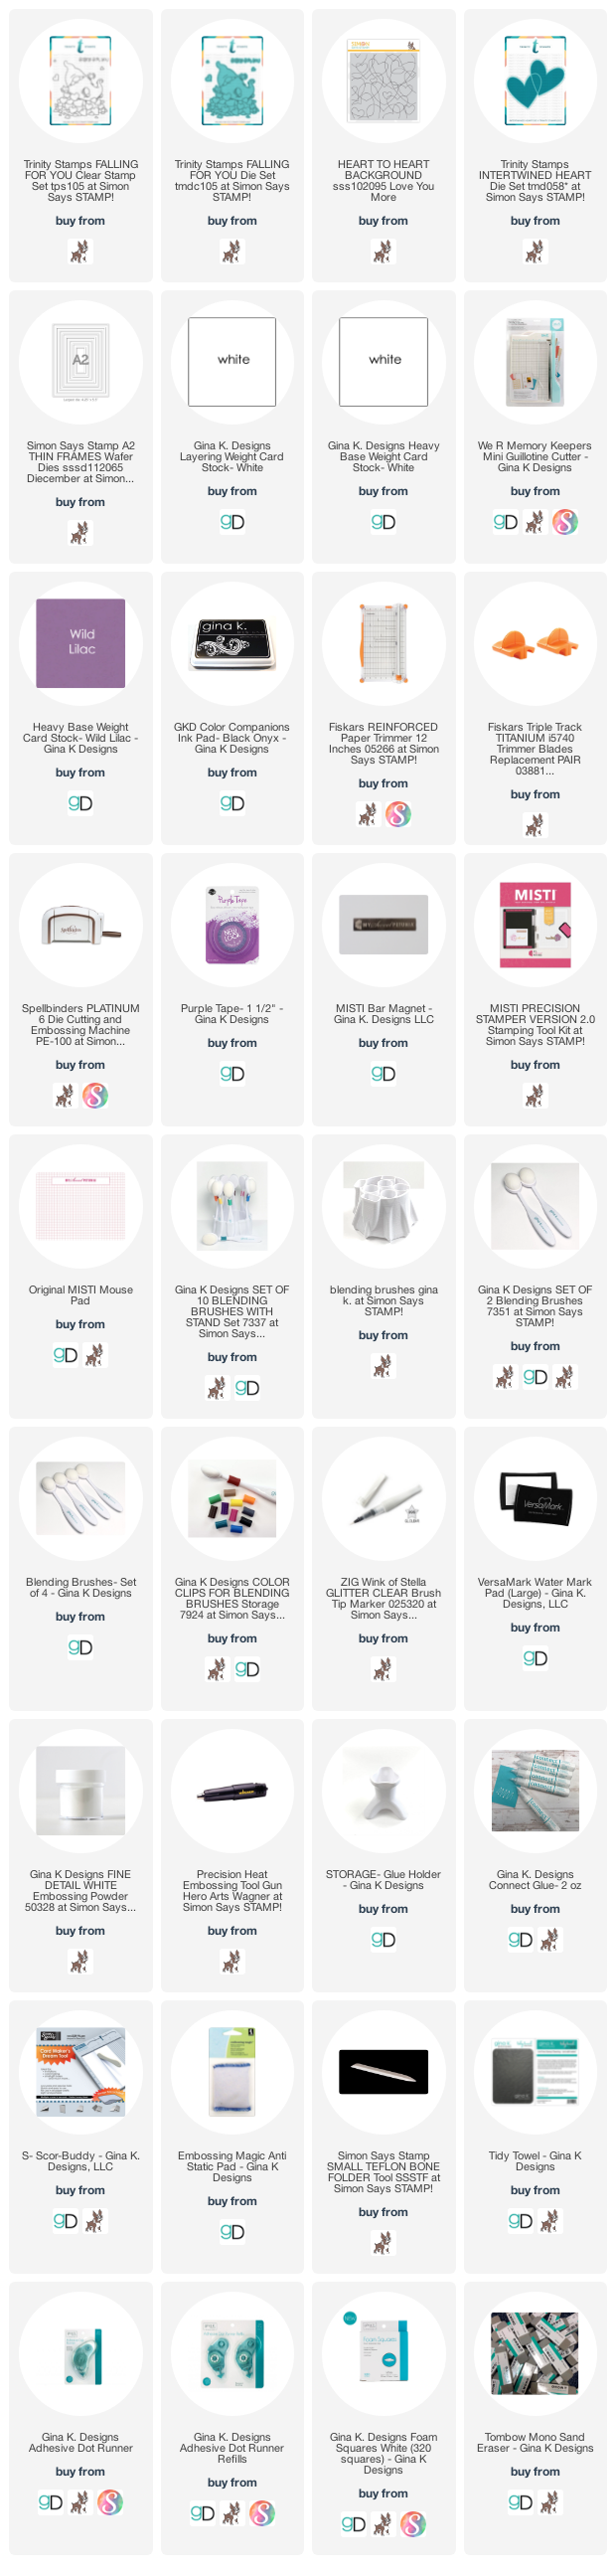
Supplies used for these cards, Affiliate Links used at no cost to you.
Thank you for your support!
Thank you for your support!Thank you so much for stopping by, I hope I have inspired you!
GINA K. DESIGNS
NEW RELEASE FEBRUARY 2022