Kat Scrappiness - Mini Slimline Cards

Friday, April 30, 2021

Hello everyone!

I am here with Kat Scrappiness, Inc., I am sharing two cards featuring  the newly released stamp set called Summer Quokka and two of the mini slimline dies called Postage Stamp Edge and the Tri-Frame. There are 8 new slimline dies that have been added to the mini slimline collection. Be sure to visit the store and see the collection.  

If you have not had a chance to visit the clearance section in the store, there are some great buy, you can find it here.

My first card features the Summer Quokka stamp set and the mini slimline Postage Stamp Edge die set.


Here is how I created my shaker card:

1.  I cut the base card at 6 x 3 1/2.
2.  I then die cut the Kat Scrappiness Mini Slimline Postage Stamp Edge.
3.  I adhered Kat Scrappiness Mini Slimline Acetate Sheets to the Mini Slimline Postage Stamp Edge with liquid glue.  I added some foam tape to the back of the postage stamp edge die and acetate.  I die cut the Kat Scrappiness Under The Sea Coverplate Die.  I added the Kat Scrappiness Yellow Daisies Sprinkles inside and added the Under the Sea Coverplate and black card stock to close the shaker.  
4.  I added the shaker part of the card to the base.  
5.  I stamped and colored the images with copics from the Kat Scrappiness Summer Quokka and added them to the front of the card.
6.  I added the Hello sentiment from the Friendship Greetings stamp set.

Here’s the list of supplies I used on the card above:

 
My second card features the Kat Scrappiness Starlights Jewels and Starlights Bright slimline papers, the mini slimline Tri-Frame, Light Up The Night Sprinkles and Happy Birthday Brush Script Sentiment.


Here is how I created this card:

1.  I cut the base card at 6 x 3 1/2.
2.  I then cut half inch strips from the  Starlights Jewels and Starlights Bright slimline paper and adhered them to some card stock.  I then used the mini slimline Tri-Frame to cut the layer for the card.  I adhered the frame to the base of the card and then used some foam tape to pop the middle up onto the base of the card.
3.  I then die cut the Happy Birthday Brush Script Sentiment in black and white and then adhered it to the card.
4.  I finished my card off by adding the stars from the Light Up The Night Sprinkles.

Here’s the list of supplies I used on the card above:

Thank you so much for stopping by, please visit Kat Scrappiness blog for more inspiration.


Joy Clair Designs - Ray of Sunshine April 2021 New Digital Release

Thursday, April 29, 2021

Hello everyone!

I am here with Joy Clair Designs "A Ray of Sunshine" new digital collection! Joy Clair Designs is have an Instagram Hop to celebrate the new release. I hope you will join in on the fun, you can start at @joyclairstamps or @didlet. Of course there are prizes involved. of Joy Clair Designs is live and we are celebrating this release with a fun Instagram Hop! Two lucky winners will win a $20 Gift certificate to the Joy Clair Designs Digital Store!

Here is a look at all the digital sets being released today.

Here are a few cards I created using the Forever Moments, Funny Times and Pamper Yourself. I hope you will be inspired and for more inspiration, please be sure to join the Instagram Hop, you can start the hop @joyclairstamps.


My first card I created using the digital set Forever Moments.  The card is an A2 card measuring 4 1/4 x 5 1/2.  I sized the image o what I wanted and arrange the sentiment and used my laser printer to print everything.  I then used my scan & cut to cut the image out.  I used a die from my stash to create the top layer and inked the center before taking the die from the card stock.  I foiled the floral image using a minc machine.  I then added the floral image to my card.  I finished it off by adding some dew drops to the card.


My second card, measures 4 1/4 x 5 1/2, I arranged the image and the sentiment with my computer, I then printed it.  I used a die cut from my stash and cut the panel out.  I colored the image with copics and added some heart enamel dots to finish the card.


My last card is an A2 card measuring 4 1/4 x 5 1/2.  I sized my image and sentiment using my computer and printed them out.  I colored it with copics.  I used distress inks for the background and die cut it out with a die from my stash.  I then cut the sentiment out and layered it with black cardstock, and added dew drops to finish the card off.

Be sure to sign up for Joy Clair Designs newsletters. You will receive notifications of new releases, sales and exclusive offers to subscribers. In addition, you can follow Joy Clair Designs on Facebook Page, Joy Clair Stamp Projects Facebook Group, Instagram , Twitter, Pinterest and YouTube!

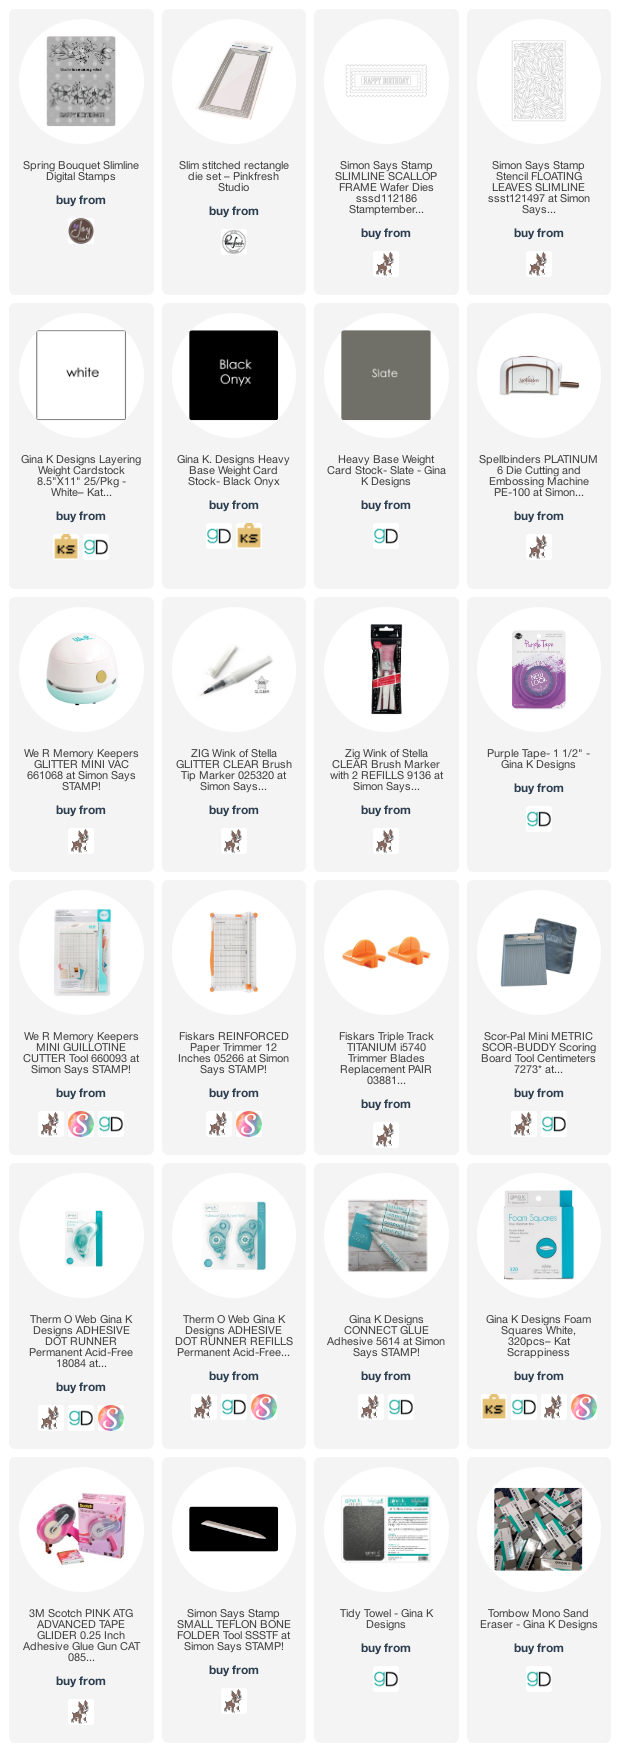
Here is a list of supplies I used on ALL my cardS, Affiliate Links used at no additional cost. Thank you for your support.

RETRO RUBBER CHALLENGE BLOG #157 - Sketch

Tuesday, April 27, 2021

Hello everyone!

I am here with Retro Rubber Challenge Blog with a new challenge, which is a fun sketch created by our own design team member Claire Grantham. I hope you will join in on the fun. Be sure to stop over on the Retro Rubber Challenge blog to get more inspiration, the design team has some wonderful creations!

The rules to play along with Retro Rubber Challenge is very simple, make sure the stamp you use on your project is at least one year or older. For more details on the rules, you can find them over on Retro Rubber Challenge blog.


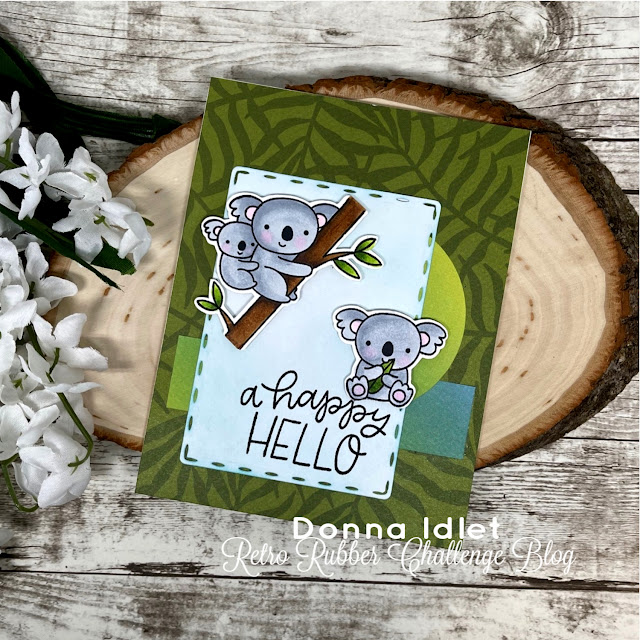
Here is my card for your inspiration. I am using Pretty Pink Posh stamp set called Koala Friends.  The set was released in June 2018. 


My card is an 4 1/4 x 5 1/2, I cut the background paper from a paper pad in my stash.  I then die cut the top white panel and stamp the sentiment from the Pretty Pink Posh stamp set Koala Friends.  I stamped and die cut the images from the Koala Friends and colored with copics.  I then added them to the card with foam squares.  I die cut the back two pieces and added it to the card and then added the top piece.  

Thank you for stopping by, I hope you will stop by the Retro Rubber Challenge blog and join the fun and check out the beautiful projects the design team members have created.

Here is a list of supplies I used on my card, Affiliate Links used at no additional cost. Thank you for your support.

Gina K. Designs - April 2021 NEW RELEASE

Monday, April 26, 2021

Hello everyone!

I am here sharing two cards from the April 2021 Gina K. Designs April 2021 new released stamp set, the first one is called Incredibly Grateful illustrated Beth Silaika and the second one is from the A Little Hello Stencil Bundle - .  To see the full release, you can go HERE under the What's New tab.

Here is my first card using the Gina K. Designs Incredibly Grateful stamp set for your inspiration:


I used the Gina K. Designs Wreath builder to create my card.  I used the leaf image from the Incredibly Grateful  stamp set using Gina K. Inks in rainbow colors.  I then stamped the sentiment from the Incredibly Grateful stamp set and created a square card measuring 4 1/4 x 4 1/4. I finished off my card by adding Gina K. Designs Angel Aura Rhinestones.  

Here is a list of supplies I used on my first card, Affiliate Links used at no additional cost. Thank you for your support.

My second card is using the A Little Hello Stencil Bundle:


My second card I created is a mini slimline card measuring, 6″ x 3 1/2″.  I added two layers using about 1/8 inch between each layer, I embossed the top layer with a dotted embossing folder from my stash, I then used the stencil to layer the flowers and leaves, I die cut them and added them to my card.  I die cut the "hello" from the bundle using vellum and black cardstock.  I used the stamp set from the bundle for my sentiment and heat embossed with Gina K. white embossing powder and die cut it with Gina K. Layouts 4 flag die.  

Thank you so much for stopping by, please come back again soon!

Here is a list of supplies I used on my second card, Affiliate Links used at no additional cost. Thank you for your support.

Joy Clair Designs - You've Been on My Mind

Monday, April 26, 2021

Hello everyone!

I am back guest designing with Joy Clair Designs! Today I am sharing the Spring Bouquet Slimline Digital Stamp set. This set is has two bouquet of flowers and some wonderful sentiments for lots of occasions.


To create my card, I printed the images I wanted to use from the Spring Bouquet Slimline Digital Stamp set with my laser printer.  My card is a slimline card measuring 8 5/8 x 3 5/8.  I decided to go monochromatic for the coloring with a little hint of yellow using Copic markers.  For the sentiment, I used my computer to make a black background and then changed the sentiment white. I then used my scan & cut to cut the images.  For my card base, I cut a few layers, using a stencil on the white layer to give the card more interest.  I then used foam tape to pop the image onto the card, and added foam tape to the sentiment also and popped it onto the card.    

I love how the card turned out, I hope you try to create a card using one color.  Joy Clair Stamps has a variety of digital stamps, I hope you stop over and check them out.  

Thank you so much for stopping by, please come back again soon!

Follow Joy Clair

Be sure to sign up for Joy Clair Designs newsletters. You will receive notifications of new releases, sales and exclusive offers to subscribers. In addition, you can follow Joy Clair Designs on Facebook PageJoy Clair Stamp Projects Facebook GroupInstagram , Twitter, Pinterest and YouTube!

Here is a list of supplies I used on my card, Affiliate Links used at no additional cost. Thank you for your support.

Kat Scrappiness, Inc. - Hang in There

Tuesday, April 20, 2021

Hello everyone!

I am here with Kat Scrappiness, Inc., featuring the newly released stamp set called Summer Quokka the Never-Ending Rectangle mini slimline dies.  There are 8 new slimline dies that have been added to the mini slimline collection.  Be sure to visit the store and see the collection.  Do you love the new release?  Kat Scrappiness, Inc is GIVING AWAY the whole release, click here to enter!  You have until tomorrow, April 21st  to enter.  Kat Scrappiness also has a clearance section in the store, there are some great buy, you can find it here.


Here is my card I created using the Kat Scrappiness, Inc. Summer Quokka the Never-Ending Rectangle mini slimline dies.


I created my card by cutting the base mini slimline card measuring 3 1/2 x 6 1/4.   I then used the second die from the Never-Ending Rectangle mini slimline die set.  I used some distress ink to create the background.  I then die cut the sand with the Kat Scrappiness Inc., Stitched Slimline Hills.  I used some distress ink around the edges.  I stamped and cut the images from the Kat Scrappiness Inc., Summer Quokka stamp set and colored them with copics and added them to my card.  I added some Yellow Daisies Sprinkles to give some interest to the surf boardI finished the card off by adding the sentiment from the Kat Scrappiness Inc., stamp set Stewart the Sloth.


Thank you so much for stopping by, please visit Kat Scrappiness blog for more inspiration.

Here is a list of supplies I used on my card, Affiliate Links used at no additional cost. Thank you for your support.

Joy Clair Stamps - Just Butterflies

Thursday, April 15, 2021

Hello everyone!

I am so excited to be a guest designer for Joy Clair Designs!  I am a big fan of Joy Clair Stamps, I was on the design team for a few years and so happy the owner, Martha Lucia Gomez invited me back for the month of April.

I am using the Joy Clair Designs Just Butterflies digital stamp set to create my slimline card.  I could not help myself, I needed to use rainbow colors now that Spring is here (to be honest rainbow colors are wonderful all year round). 

Details

My card is a slimline card approximately 3 5/8 x 8 5/8.  I die cut a variety of cardstock in rainbow colors.  I adhered them together on a piece of thin paper and then die cut it with a slimline die.  I then added a piece of black cardstock to the background to give the butterflies more interest.  I then resized the butterflies to the size I wanted them (that's the great thing about digital stamps) and printed them on my laser printer.  I then colored them with copics in rainbow colors.  I added each butterfly flat onto the base of my card and then used foam tape to add the butterflies to my card.  I also added the sentiment from the Beautiful Butterflies to my card.


Here is a closer look of the card.....I love all the dimension and colors. 

Thank you so much for stopping by, please come back again soon!

Follow Joy Clair

Be sure to sign up for Joy Clair Designs newsletters. You will receive notifications of new releases, sales and exclusive offers to subscribers. In addition, you can follow Joy Clair Designs on Facebook Page, Joy Clair Stamp Projects Facebook Group, Instagram , Twitter, Pinterest and YouTube!

Here is a list of supplies I used on my card, Affiliate Links used at no additional cost. Thank you for your support.


RETRO RUBBER CHALLENGE BLOG #156 - Pastel

Tuesday, April 13, 2021

Hello everyone!

I am here with Retro Rubber Challenge Blog with a new challenge, which is"use pastels on your project". I hope you will join in on the fun. Be sure to stop over on the Retro Rubber Challenge blog to get more inspiration, the design team has some wonderful creations!

The rules to play along with Retro Rubber Challenge is very simple, make sure the stamp you use on your project is at least one year or older. For more details on the rules, you can find them over on Retro Rubber Challenge blog.


Here is my card for your inspiration. I am using Studio Katia stamp called A Cup of Thanks.  The set was released released in October 2018. the Happy Birthday sentiment is from Simon Says Stamps Sentiment Stripes All Things Happy.


My card is an 4 1/4 x 4 1/4, I cut the two layers using Gina K. Designs Master Layouts 4, I then stamped and colored the image with copics and then added the sentiment.  

Thank you for stopping by, I hope you will stop by the Retro Rubber Challenge blog and join the fun and check out the beautiful projects the design team members have created.

Here is a list of supplies I used on my card, Affiliate Links used at no additional cost. Thank you for your support.

Kat Scrappiness - Quokka'n Up!

Tuesday, April 13, 2021

Hello everyone!

I am here with Kat Scrappiness, Inc sharing this adorable slimline card I created using the Kat Scrappiness Stitched Peek-a-boo slimline die.  The stamp set I am using is the Kat Scrappiness Quokka'n Up stamp set.  


My slimline card measures 3 1/2 x 8 1/4, I die cut the Stitched Peek-a-boo slimline die using Kat Scrappiness Heartfelt Wishes slimline pattern paper. I decided not to have use the peek-a-boo part of the die, I wanted these cut quokka's standing in front.  I added some solid cardstock behind the panel and adhered it to the base of my card.  I stamped the quokka's from the Kat Scrappiness Quokka'n Up stamp set and colored them with copics.  I then heat embossed the sentiments from the  Kat Scrappiness Quokka'n Up stamp set and used foam squares to pop them up onto my card.  To finish off my card, I used the Kat Scrappiness Heart Sprinkles to the card.  

Here is a closer look at the card.


Here is a picture of most of the supplies I used.  I love the Stitched Peek-a-boo slimline die, I will have to create another card soon, using this die.


Thank you so much for stopping by, please visit Kat Scrappiness blog this weekend, there is a new release coming and you will love it!  

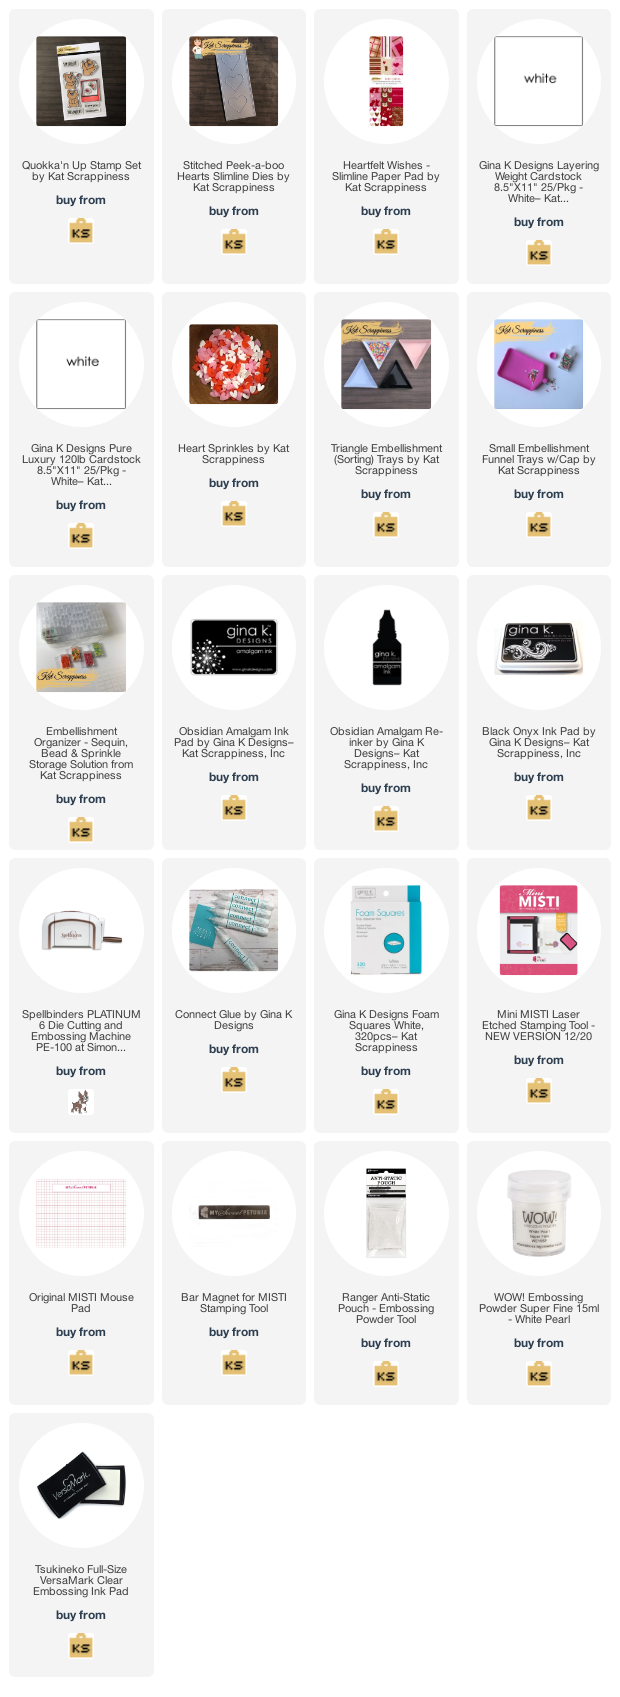
Here is a list of supplies I used on my card, Affiliate Links used at no additional cost. Thank you for your support.  Also Kat Scrappiness has a clearance sale going on, please check it out, there are some great buys here.

Gina K. Designs - Happy Easter

Friday, April 2, 2021

Hello everyone!

I am here sharing an Easter card from the Gina K. Designs NEW Forever Flowers Card Kit using the Easter Blessings Stamp Set. This is a wonderful and very versatile stamp set, if you don't want to make an Easter card there are lots of other sentiments you can use. I hope you all have a wonderful Easter!

Here is my card for your inspiration:

My card is an A2 card, I stamped the image and colored it with Copic markers, I then die cut the floral image using the Gina K. Master Layouts 4 die set.  I then stamped the sentiment and cut the word Easter out and then used a sentiment strip from the Master Layouts 4 for the "happy".  I adhered these two sentiments to the card.  I added my panel to the Wild Dandelion card stock, I thought it was perfect for my card.  I finished it off by adding some Gina K. Dazzling Diamond Rhinestones.  


Thank you for stopping by. Here is a list of supplies I used on my card, Affiliate Links used at no additional cost. Thank you for your support.
Made With Love By The Dutch Lady Designs
Follow Me on Pinterest