Hello everyone!
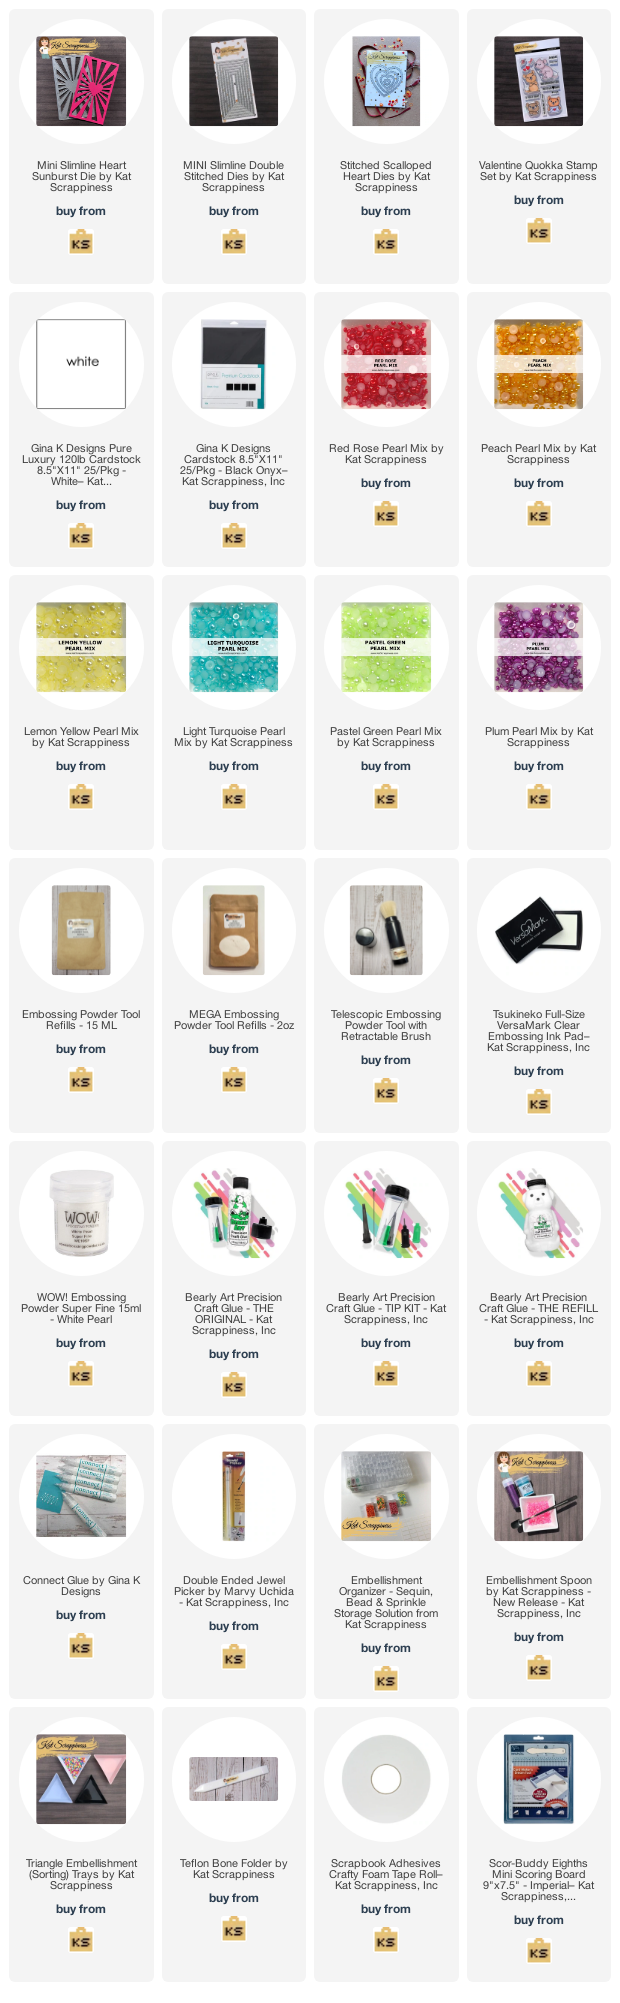
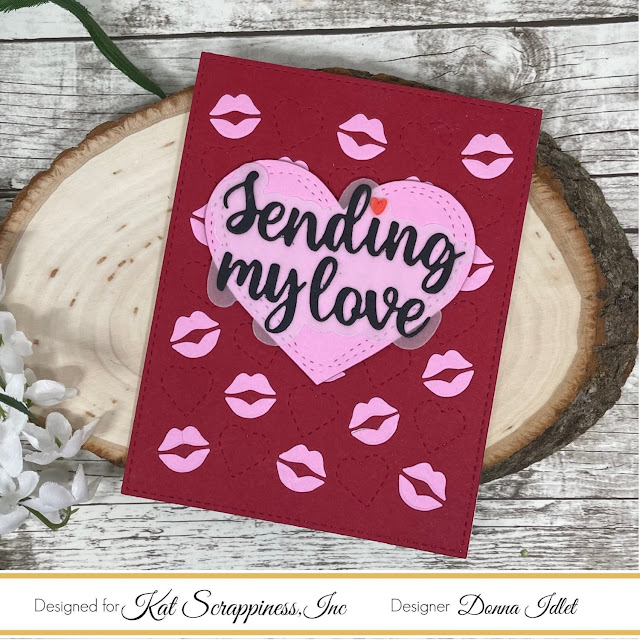
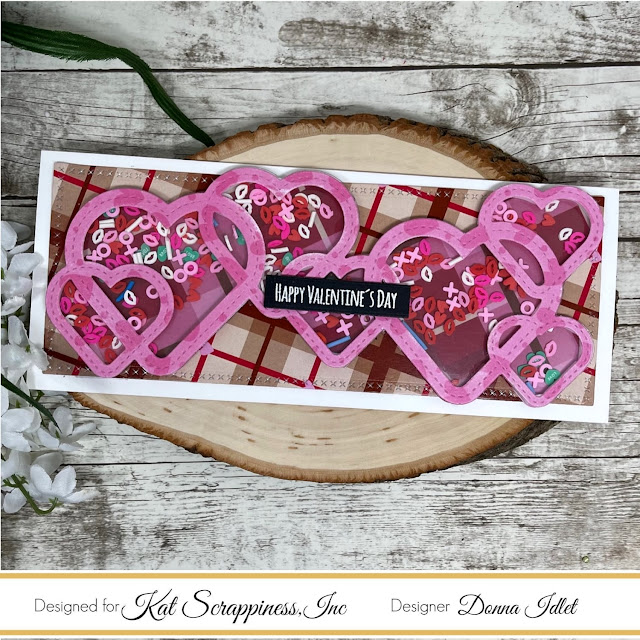
I am here with Kat Scrappiness, Inc., featuring the NEW Mini Slimline Heart Sunburst Die. I hope you have enjoyed all the wonderful designs this month from the design team. If you have not had a chance to see all the projects, please visit the Kat Scrappiness, Inc. store.Here are my cards for your inspiration:

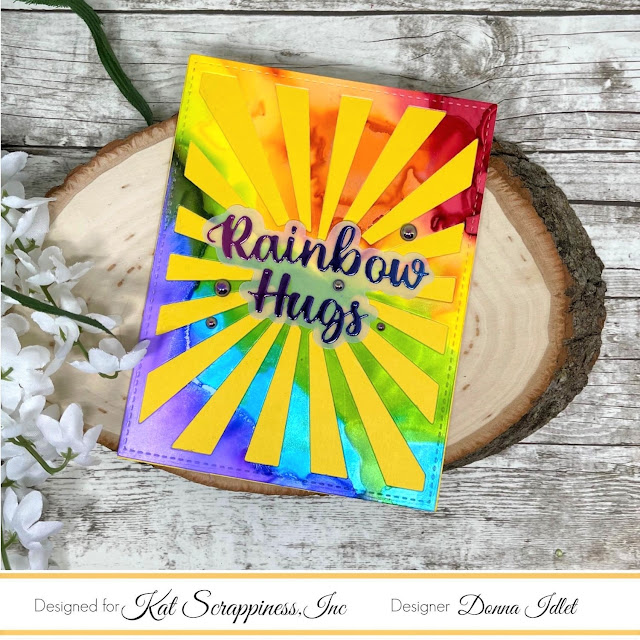
Here is how I created the card:
- Cut Mini Slimline Card Base 3 1/2" x 6" top fold.
- Die cut the Mini Slimline Heart Sunburst Die, used it as a stencil to ink blend each sunburst section.
- Die cut the inked sunburst piece with KS Mini Slimline Double Stitched Dies.
- Black layer measures 3 " x 5 1/2".
- Stamped and embossed sentiment from the KS Valentine Quokka Stamp Set.
- Die cut the sentiment with the KS Stitched Fancy Scalloped Heart Die.
- Added KS Pearl Mixes in rainbow order onto each sunburst. I used the following pearl mixes: Red Rose, Peach, Lemon Yellow, Pastel Green, Light Turquoise and Plum.
- Assembled card.

Thank you so much for stopping by, please head over to Kat Scrappiness blog for more inspiration.
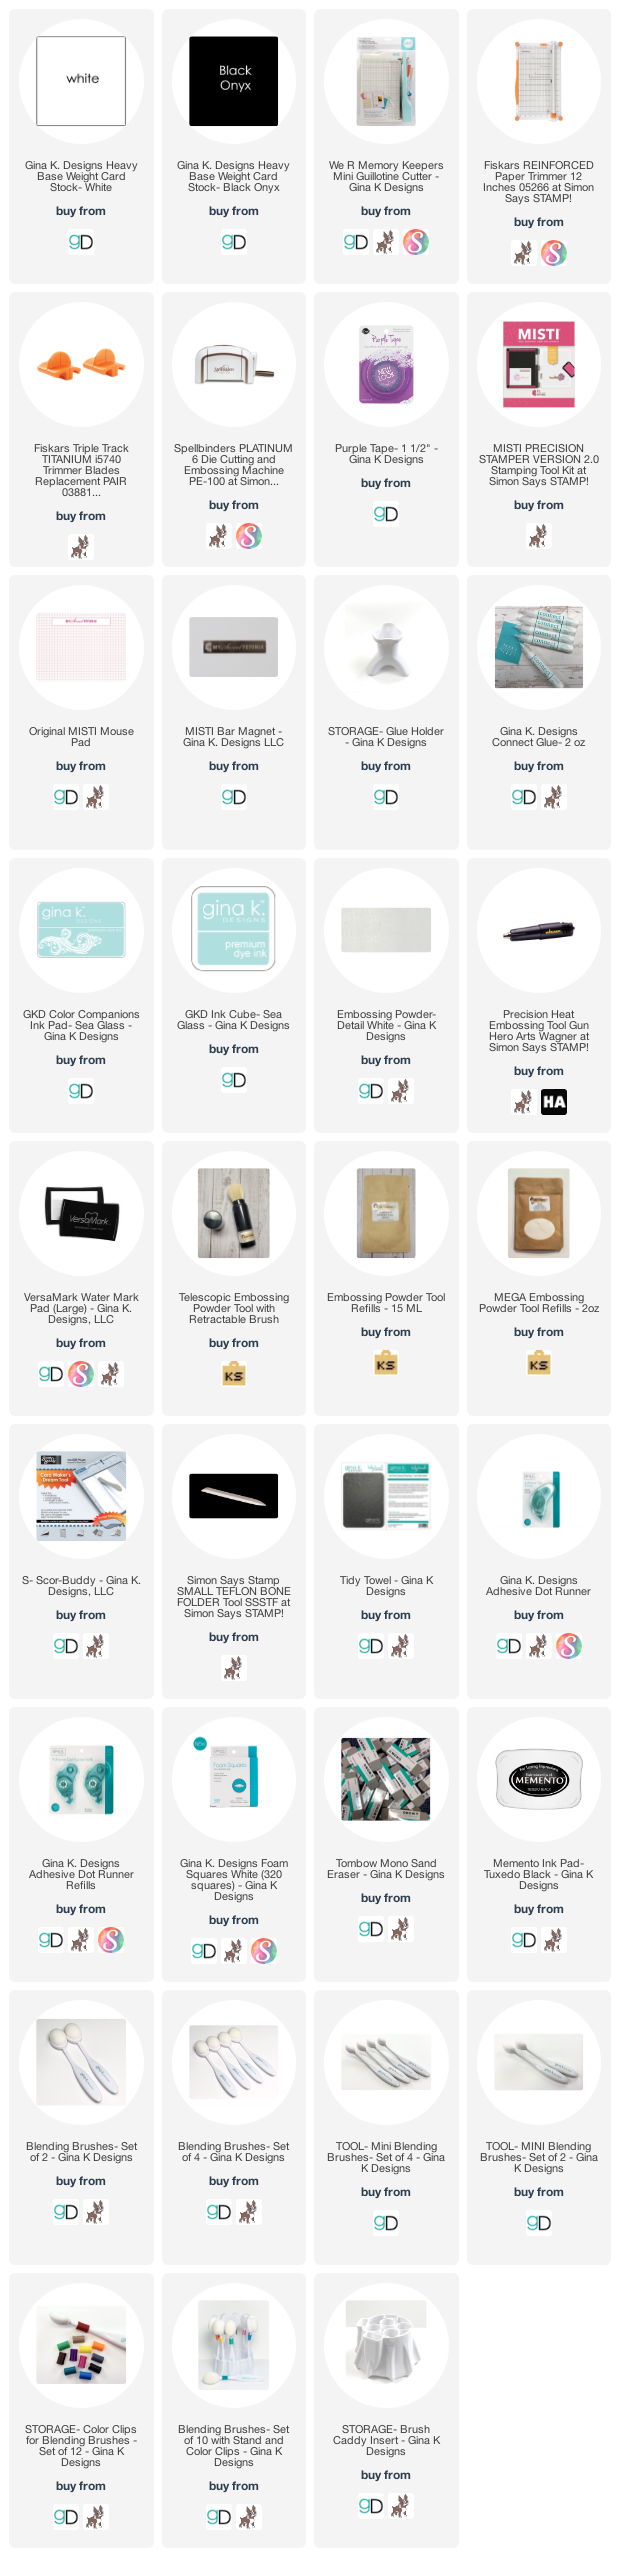
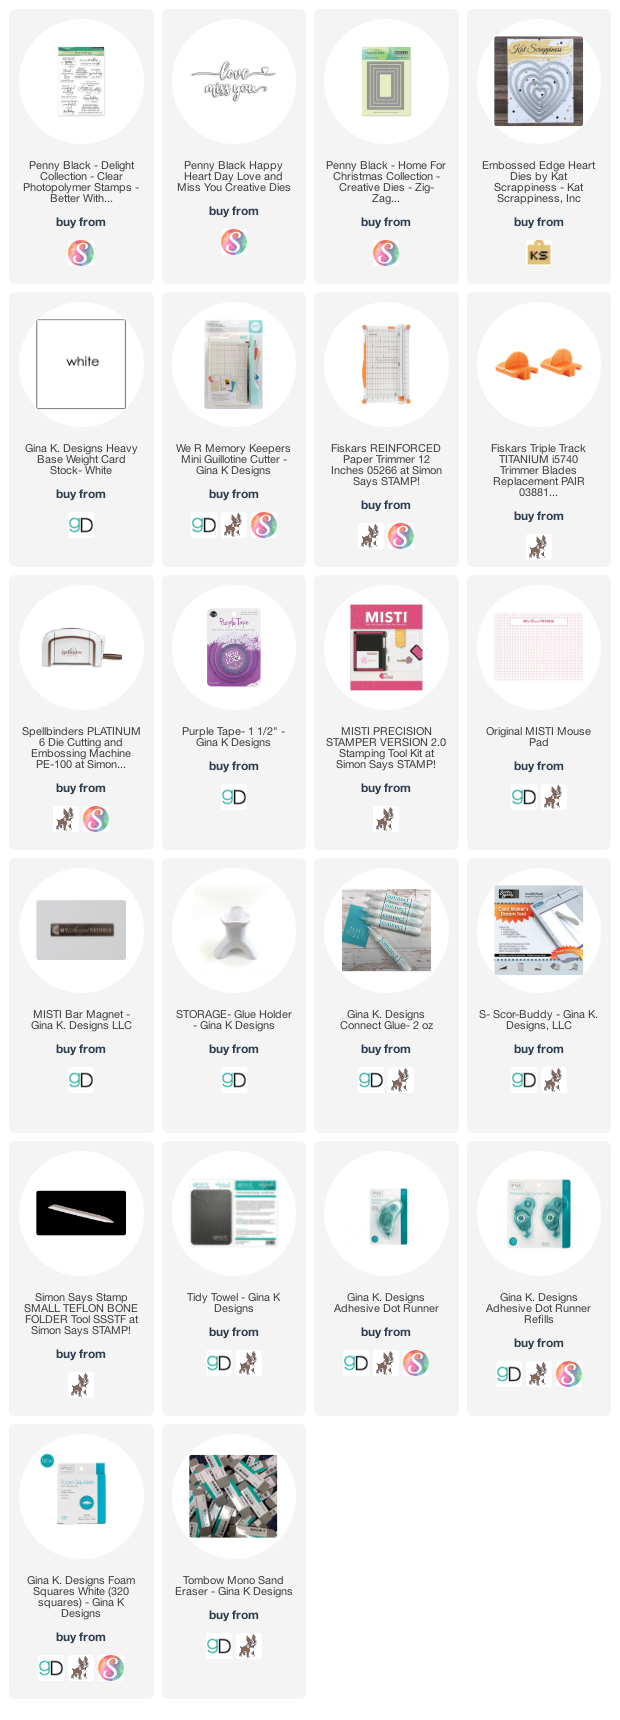
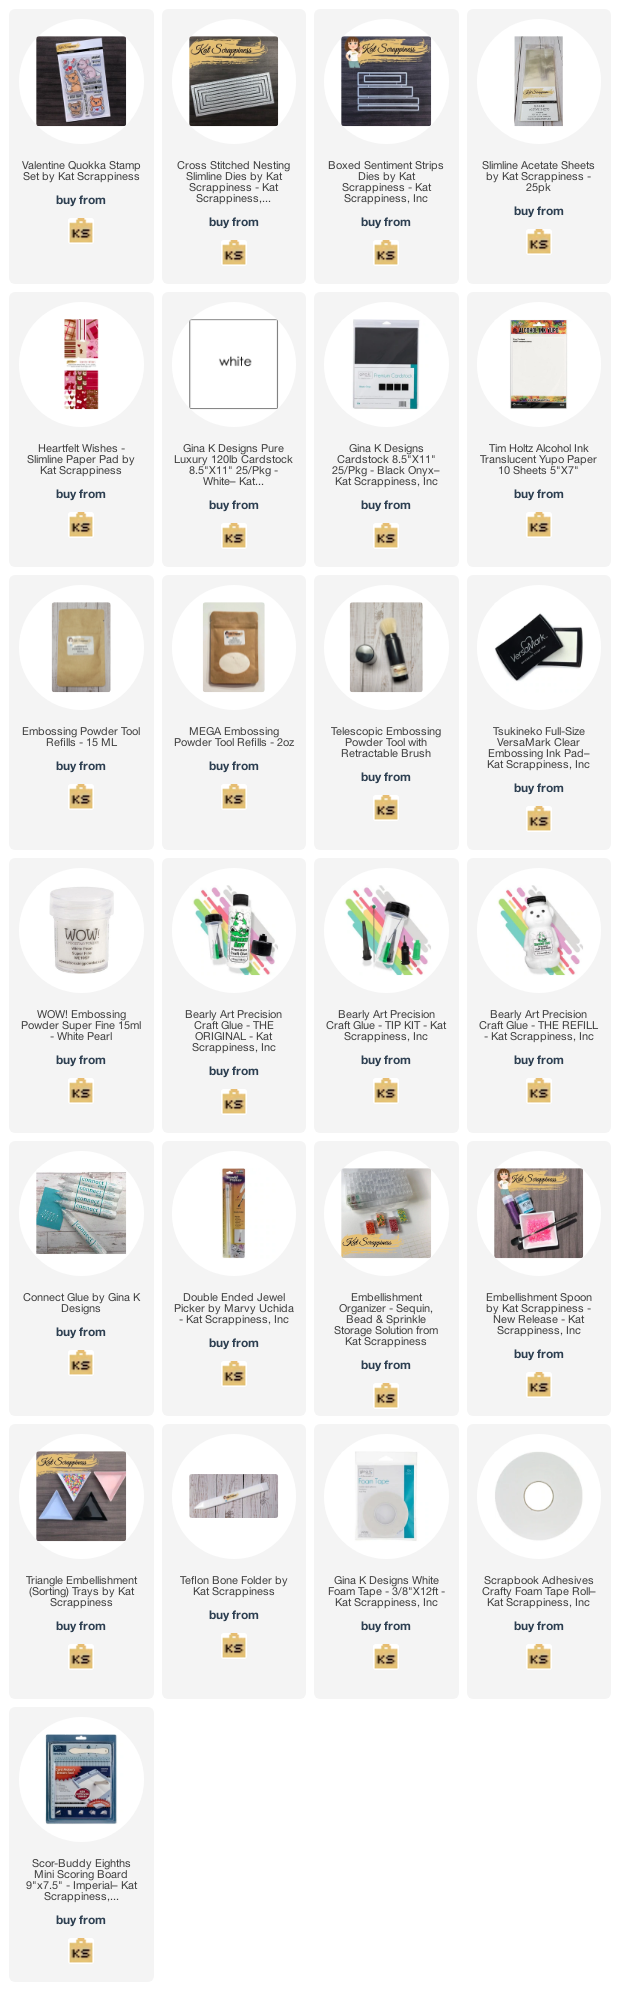
Here is a list of supplies I used on my card, Affiliate Links used at no additional cost. Thank you for your support.