Showing posts with label foiling. Show all posts

Retro Rubber Challenge Blog - Color Challenge

Tuesday, January 30, 2024

Hello everyone!

I am here with Retro Rubber Challenge blog and we have a new challenge, which is a Color Challenge. Be sure to stop over on the Retro Rubber Challenge blog to get more inspiration, the design team has some wonderful creations!

The rules to play along with Retro Rubber Challenge is very simple, make sure the stamp you use on your project is at least one year or older. For more details on the rules, you can find them over on Retro Rubber Challenge blog.


Here is my card for your inspiration:


Here is my card for your inspiration. I've created an A2 size card. The stamp set I am using from Sunny Studios called "Snowman Kisses" that was released in October 2022. I stamped, die cut and colored the image with copics. The background paper I foiled and then ink blended the background. I finished off the card by stamping the sentiment from the Snowman Kisses stamp set.

Are you ready to play along? Be sure to stop over on the Retro Rubber Challenge blog to get some more inspiration! Thank you for stopping by, you have until February 9th to join the fun!

Thank you for stopping by, please come back again soon.

Kat Scrappiness - Congrats!

Saturday, April 30, 2022

Hello everyone!

I am here with Kat Scrappiness featuring the NEWLY released Star Trio Shaker Card Kit.  I hope you were able to see all the newly released kits, if not you can find them here.  These shaker kits are adorable and so easy to put together.


Here is how I created the shaker:

  • Created an A2 card 4 1/4 x 5 1/2.
  • Die cut the black layer with KS Embossed Edged Dies.
  • Used the Falling Stars 6x6 Stencil in the background, used Transfer Gel Duo with the stencil, let it dry and added foil and ran through laminator.
  • Assembled two of the Star Shakers by adding Transfer Gel Duo to the stars, let it dry and added foil to the stars and ran it through the laminator. Next attached the acetate to the stars with a tape runner, added the foam star to the stars, filled with shaker bits, created another star acetate to sealed the shaker bits and added the stars to the card.
  • Die cut the Congrats with shadow die using alcohol ink paper and added it to the card.
Thank you so much for stopping by, please come back again soon.

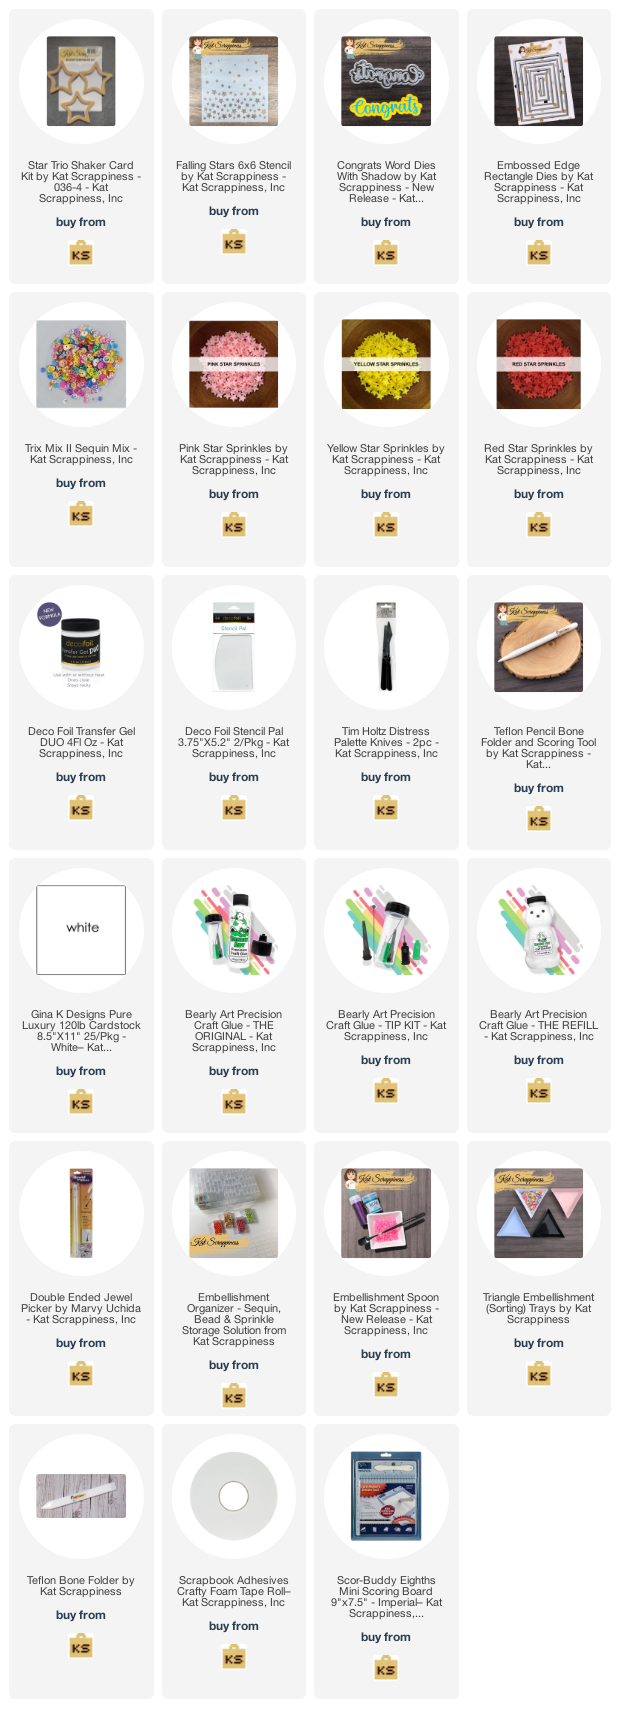
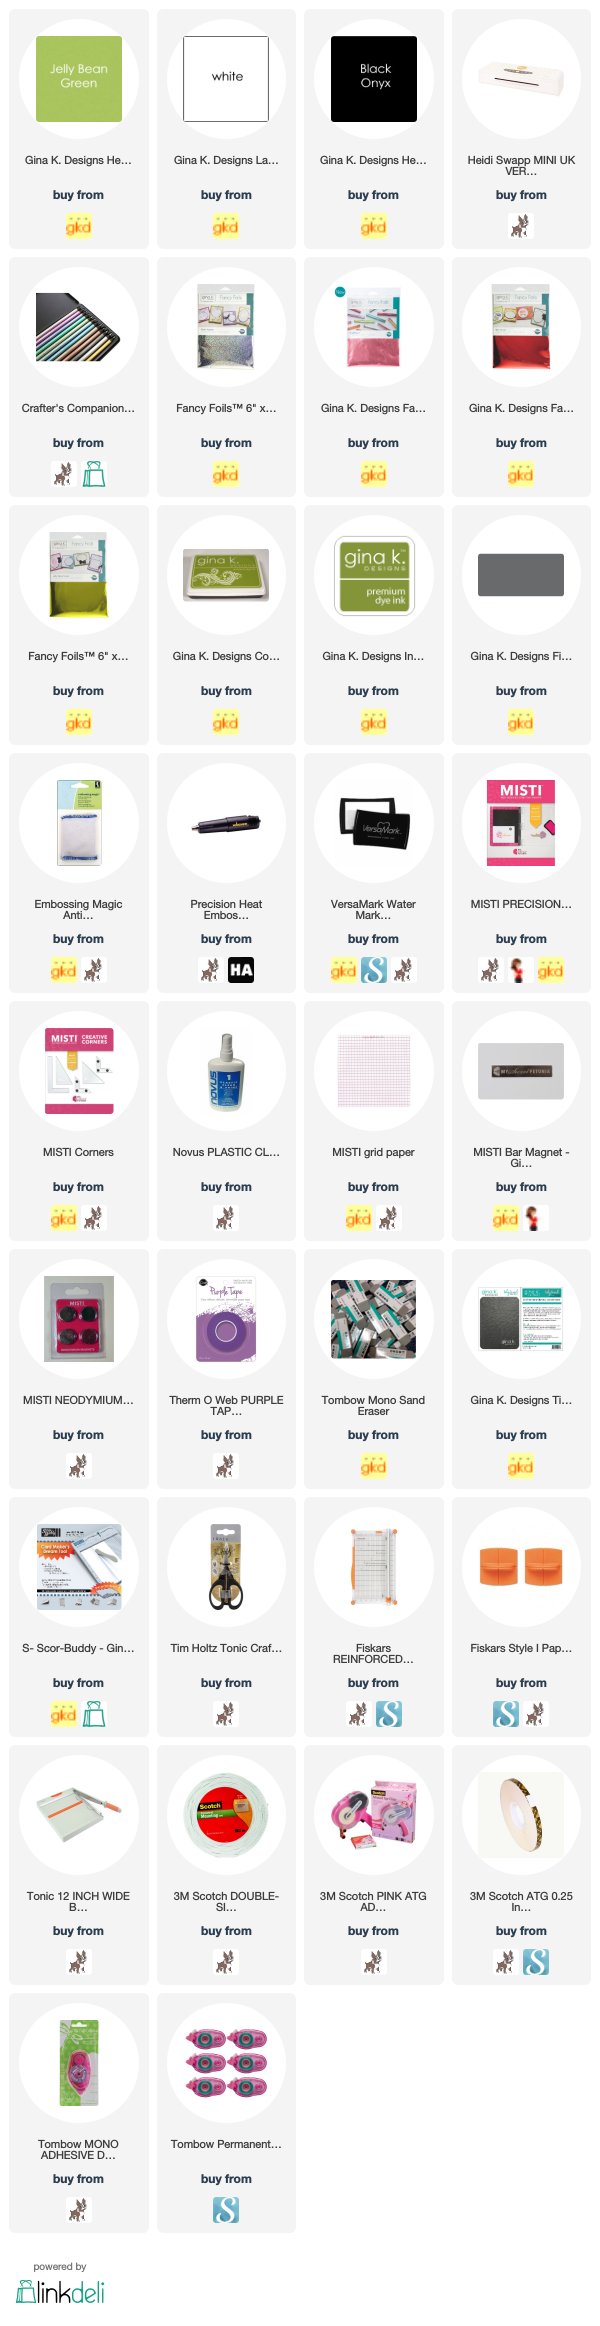
Here is a list of supplies I used on my card, Affiliate Links used at no additional cost. Thank you for your support.

Gina K. Designs September 2020 MONTHLY MIX CHALLENGE

Tuesday, September 1, 2020

Hello everyone!

I'm here with Gina K. Designs and we have a new challenge this month! This months challenge is called, “Fall is almost here”. I can't believe the summer is almost over.  Although I love the summer months, I also love Fall.  I love most of all driving and seeing the leaves changing colors, with all that said, lets get busy making your Fall cards. I can't wait to see what you create! You can find all the challenge details HERE.

Here is my card for the challenge. I am using the Happy Fall stamp set and dies. The background is Foil-Mates exclusive collection by Gina K. called Autumn Leaves.


I hope you enjoyed today’s inspiration and will play along with us! We will have THREE winners of a $25 gift certificate each. Be sure to load your entry into the challenge. You have until September 30th to enter and the winners will be announced on October 1st.

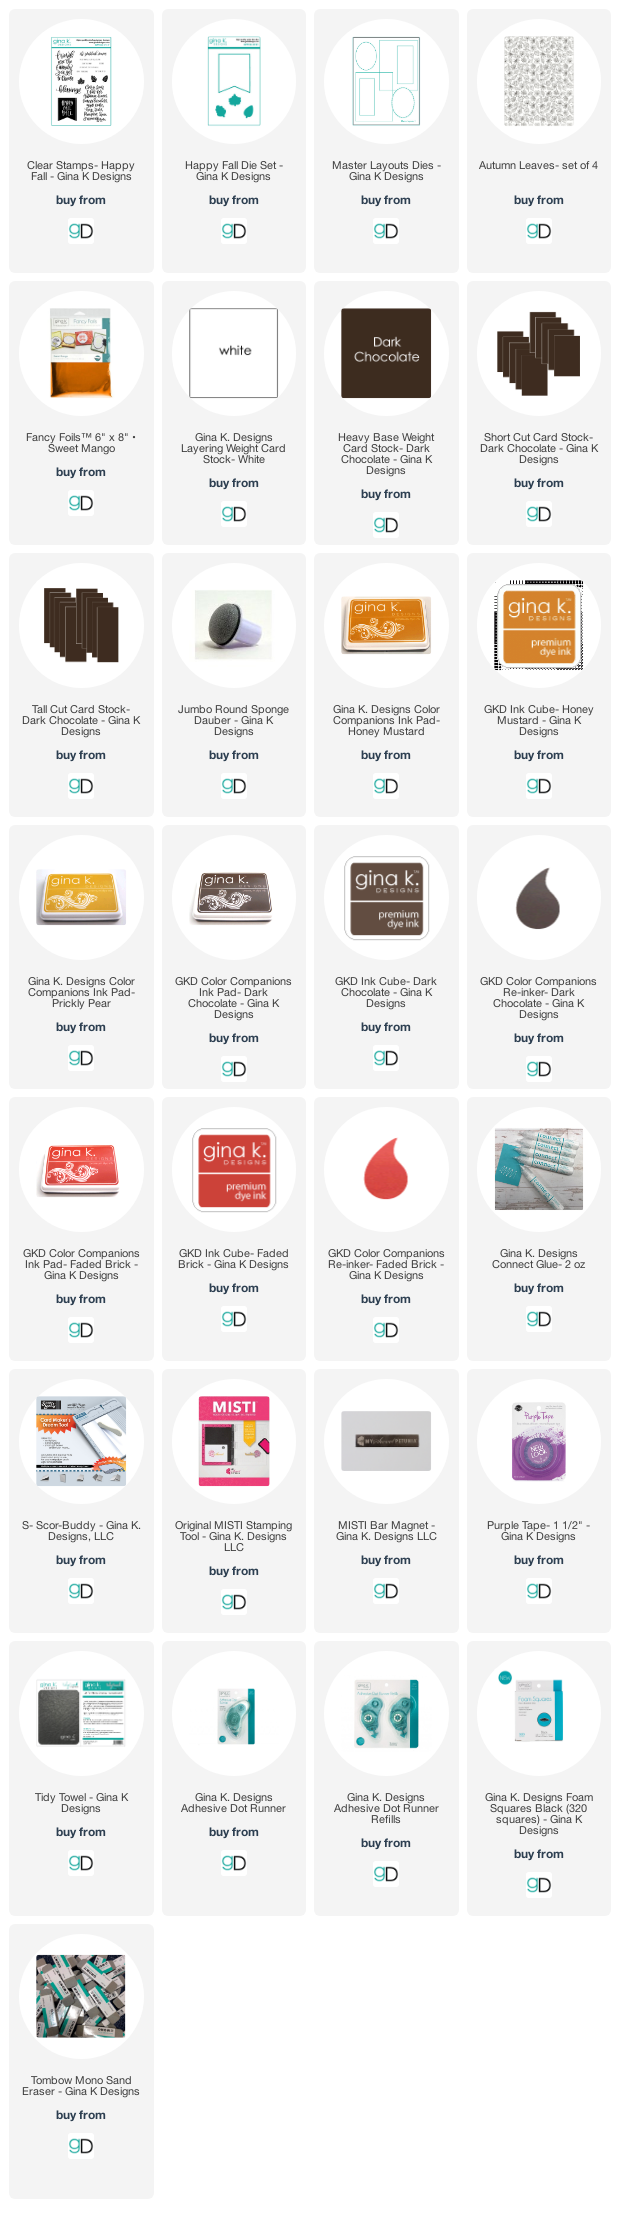
Affiliate Links used at no additional cost. Thank you for your support and thank you for stopping by, I hope you have been inspired.

Graduation Card/Teacher Cards

Saturday, May 25, 2019

Hello everyone!

This is the time of year when you need graduation cards, teacher appreciation cards and thank you cards.  I am showcasing three cards that I created using mostly Taylored Expression stamps and dies.  I am playing along with the Taylored Expressions Fan page over on Facebook.  There are a few more days to play along, click here to upload your cards.

My first card I created using the Taylored Expression Bubble Greeting - Grad.  I stamped the image and colored it with copics.  The background is Taylored Expressions Shining Star Cutting Plate.  I used some gold glitter paper behind the stars.


My second card, I stamped the paper from the Taylored Expressions Notepaper Background, I added the holes on the side of the paper with a punch from my stash.  I then used Gina K. Designs Fancy Foil Red Velvet with Taylored Expressions Foil It - Cardstock Apple of My Eye Sentiments.  I foiled the apples with my Minc and used my scan and cut to cut them out.  I then adhered them to the paper and layered it with black and adhered it to my top folding card.


My last card, I die cut the background and adhered it to my top fold card, I then foiled this apple with Gina K. Designs Jelly Bean Green.  The sentiment is from a stamp set by Altnew, I stamped it with versamark, used white embossing powder and heat set it.  I added this to the card with some foam squares.


Thank so much for stopping by, please come back again soon!

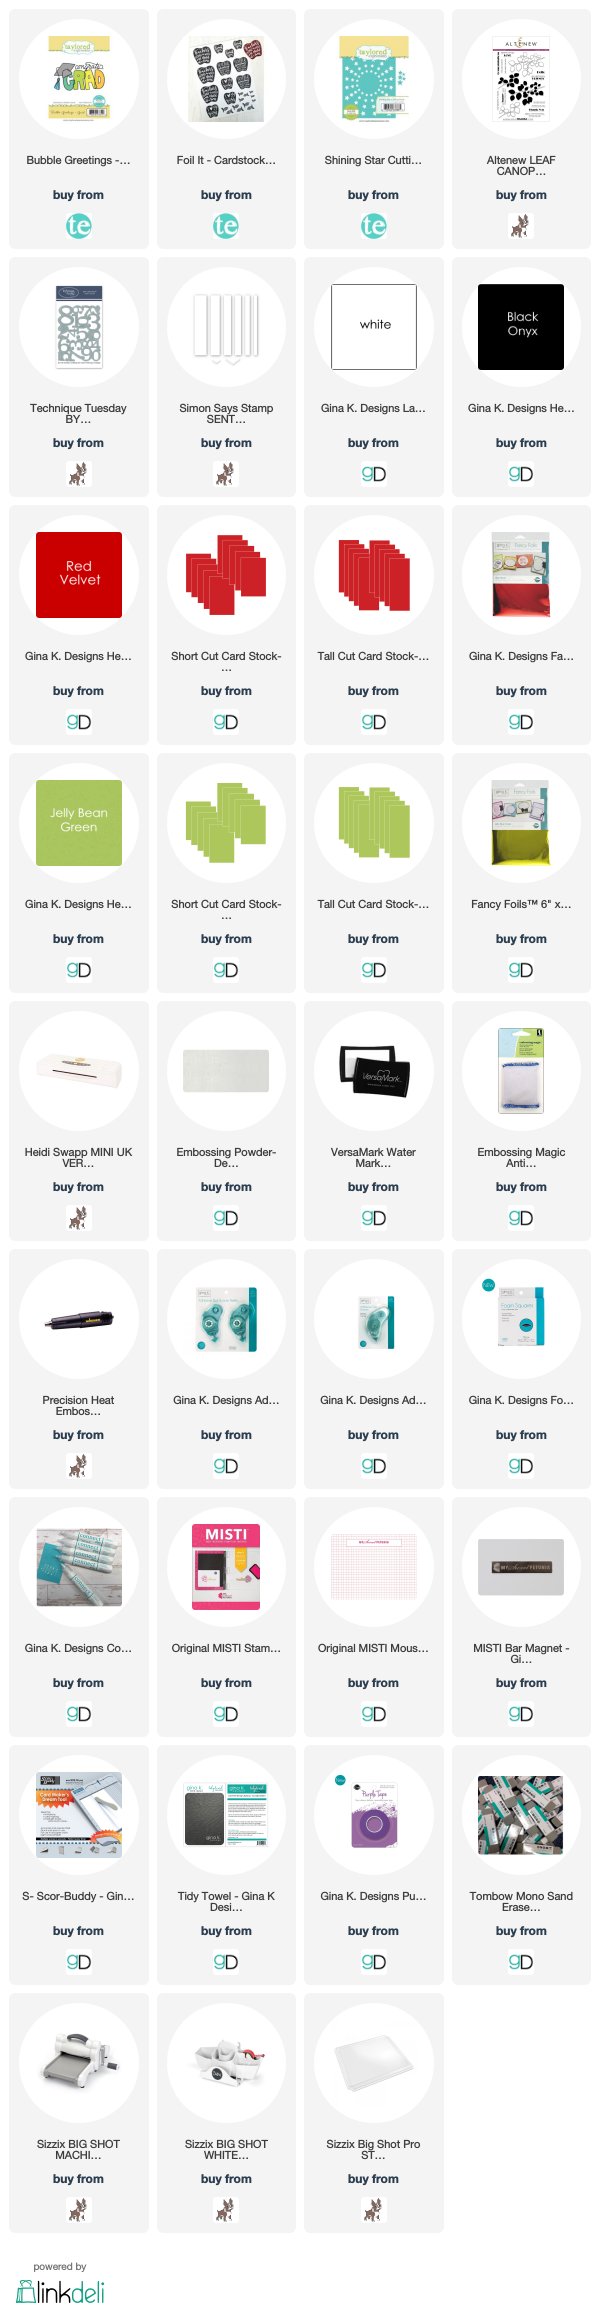
I’m listing the products I used below. Click on the link to go directly to the product. Where available I have used compensated affiliate links which means if you make a purchase I receive a small commission at no extra cost to you. Thank you so much for your support!


Supplies Used:

Joy Clair Stamps and Thermoweb!

Tuesday, October 16, 2018

Hello everyone!

Welcome to the Joy Clair Stamps collaboration with Thermoweb!  All week long the Joy Clair design team and Thermoweb team will be inspiring you with projects made with the beautiful foiling products that Thermoweb makes!  Be sure to go over to the Joy Clair blog to see all the wonderful projects.  All the items I used on my cards are listed below.

What's a celebration without gifts!  Joy Clair Stamps and Thermoweb will be giving TWO lucky winners a $25 gift card to their store.  All you have to do is keep coming back all week long and comment on each post.

Here are my cards for your inspiration:


Here is how I created my card:


1.  My card is a top folding A2 card,
2.  I cut the next layer at 4 x 5 1/4, the black layer is 3 7/8 x 5 and the embossed layer is 3 1/2 x 4 7/8,
3.  I embossed the top layer,
4.  The side layer measures 2 x 4 1/2 the top layer is Gina K. Designs/Thermoweb Foil-Mates™ Backgrounds -Bountiful Flourish, and I foiled it with Gina K. Designs/Thermoweb Fancy Foils™ - Glittering Green,
5.  I then stamped the images from the Joy Clair Stamp "Fruit of the Spirit" which is from the Color by Faith line, with Thermoweb's Deco Foil™ Adhesive Pen and use the Gina K. Designs/Thermoweb Fancy Foils™ - Wild Dandelion and the fruit with Gina K. Designs/Thermoweb Fancy Foils™ - Red Velvet,  
6.  I colored the fruit with Copics,
7.  I die cut the image using Gina K. Designs/Thermoweb Nested double and single Rectangle dies and used foam tape to adhere it to my card.

My next card, is using the negative pieces of the foil I used in my first card.  I used Gina K. Designs connect glue to adhere the foil to the white card stock.


My last card I am using the newly released "Pearl of Great Price" stamp set.  


1.  The card is a side folding A2 card, I used the extra pieces from the Gina K. Designs/Thermoweb Foil-Mates™ Backgrounds -Bountiful Flourish, and Gina K. Designs/Thermoweb Fancy Foils™ - Grass Green.  The sheet goes a long way, no need to throw any pieces away, you can always find a use for them.  I save all of my pieces.
2.  I stamp the sentiment from the Joy Clair Stamps "Pearl of Great Price",  onto the Gina K. Designs/Thermoweb Foil-Mates Label Border frame with  Gina K. Designs/Thermoweb Fancy Foils™ - Gold Sequins and then die cut it with Gina K. Designs/Thermoweb nested label dies.
3.  I adhered the side foiled pieces, the sentiment frame, and used foam tape to pop the shell onto the card.
4.  I finished the card off by adding some clear wink of stella and glossy accents onto the pearl.

Closer look at the card.  


Please follow Joy Clair's facebook pageColor by Faith Bible Journaling facebook pageInstagram and Twitter, be the first to hear the news, sales and giveaways! They also have a Pinterest page and Youtube channel for your inspiration!

Thank you so much for stopping by, please come back again soon!

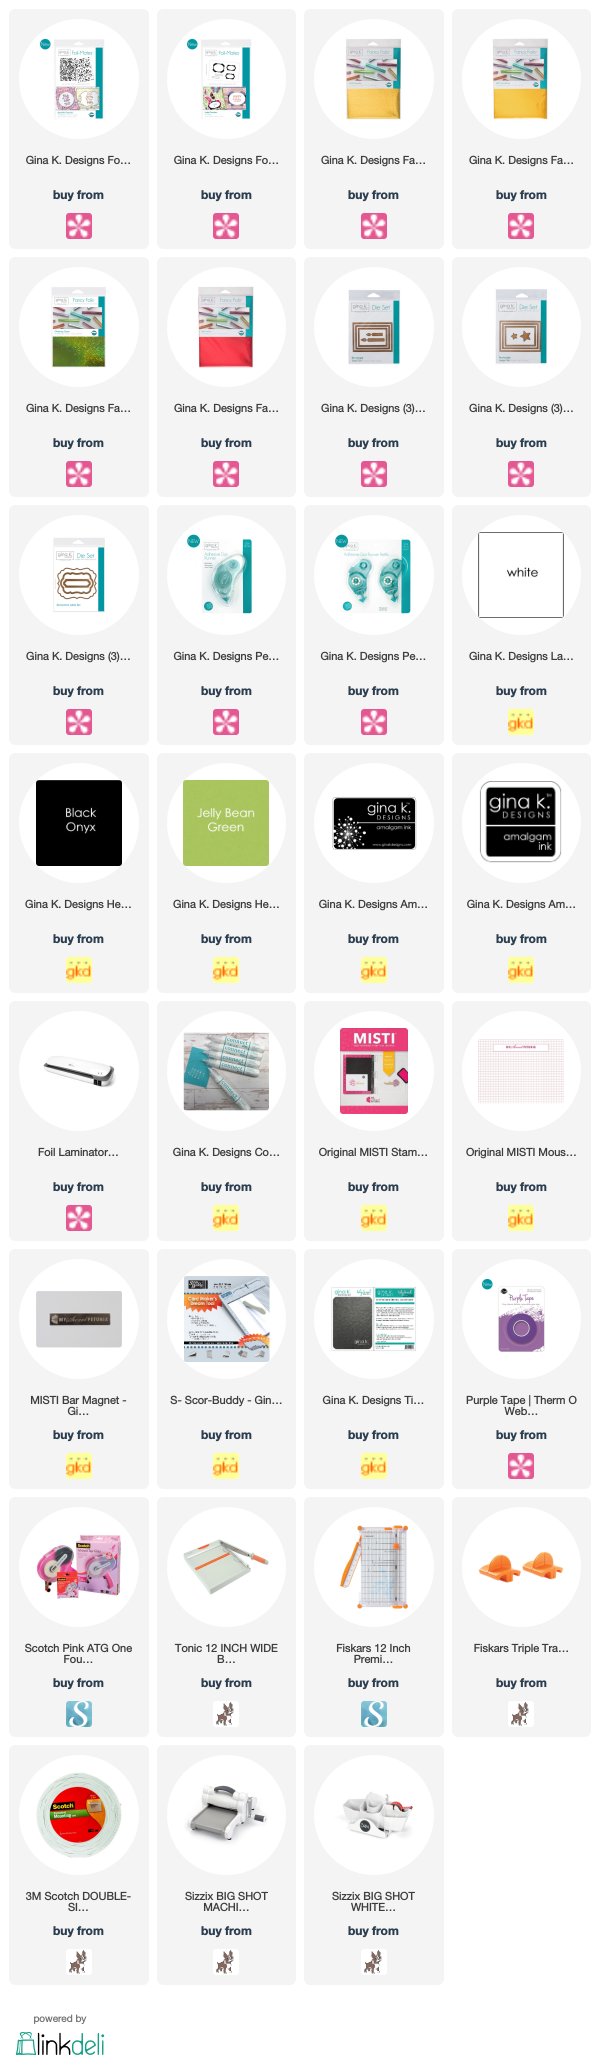
I’m listing the products I used below. Click on the link to go directly to the product. Where available I have used compensated affiliate links which means if you make a purchase I receive a small commission at no extra cost to you. Thank you so much for your support!

SUPPLIES:
Joy Clair Stamps - Christmas Lights and Vintage Ornaments

Wednesday, October 10, 2018

Hello everyone!

I am here with Joy Clair Stamps featuring two of their newly released stamp sets.  The background Christmas tree lights are called "Christmas Tree Lights" and the ornaments are from "Vintage Ornaments".  I love the versatility of the "Vintage Ornaments" stamp set, the sentiments and images can be used separately if you wanted. 


I hope you enjoyed the fun challenges from this weekend celebrating World Card Making Day!  Don't forget to check back on October 31st to see if you were a winner if you joined in any of the challenges.

Here are the cards I am sharing with you today:


Here is how I put my card together:

1.  I started with an A2 top folding card,
2.  To create my background I stamped the background stamp Christmas Lights with versamark ink and heat embossed it with silver embossing powder,
3.  The layered silver piece I cut at 4 x 5 1/4, I inked the edges with versamark ink and then heat embossed it with silver embossing powder.  I love that the embossed areas match!
4.  I colored each light with white colored pencil and then colored them with metallic colored pencils,
5.  I stamped the ornament and sentiment with deco foil adhesive pen and used two colors of foil and ran it through the laminator (I love all the sparkle with foiling!)
6.  I cut the ornament out using my Scan and Cut, used foam tape to pop the ornament on the card,
7.  I finished off the card by adding a bow. 

  Here is a closer look at the fancy foiling, see all the glimmer and shine!


I just couldn't stop at one card, I love the sentiment "Jesus is the reason for the season", this card is clean and simple.  I used the same process for the foiling on the ornament.  I love how it turned out.  


Closer look at the foiling on the ornament. 


Please follow Joy Clair's facebook page, Color by Faith Bible Journaling facebook page, Instagram and Twitter, be the first to hear the news, sales and giveaways! They also have a Pinterest page and Youtube channel for your inspiration!

Thank you so much for stopping by, please come back again soon!

I’m listing the products I used below. Click on the link to go directly to the product. Where available I have used compensated affiliate links which means if you make a purchase I receive a small commission at no extra cost to you. Thank you so much for your support!

SUPPLIES:


MIUM CHALLENGE - STV16MON16

Tuesday, April 19, 2016

Hello Everyone!

I'm stopping in to share a card I created for this MIUM challenge over at StampTV. The challenge is to create anything that is not an A2 card. Karen is this weeks hostess! For more information, head over to STV16MON16 to check it out! I hope you can join!

Here is my card, I created a 4x4 card using the new Sending Love StampTV kit.


In case you did not get a chance to purchase the Sending Love StampTV Kit, you can head on over to Gina K's on-line store and get yours.  They were sold out for a minute, but they are back in stock!!!


Thank you so much for stopping by, please come back to visit soon!

GKD Products Used:
Sending Love 6 x 6 patterned paper pack
Printed Greeting from the kit that I foiled
Sending Love Pure Luxury Paper
Pure Luxury Card Stock in black
Heavy Base Weight Card Stock- White
Layering Weight Card Stock- White
Made With Love By The Dutch Lady Designs
Follow Me on Pinterest