Showing posts with label Birthday card. Show all posts

Newton’s Nook Designs - Happy Retro Birthday

Thursday, May 14, 2026

Hello everyone!

I am sharing a cute retro rainbow birthday card.  If you love bold colors, a touch of retro flair, and adorable critters, this card checks all the boxes! Today’s card I am featuring the  Retro Mix Toner Front cards, Dog Birthday Party Stamp Set and die along with a couple of other fun products.

D. Idlet, Newton's Nook Designs, Birthday card, Retro Mi Toner Front cards,Dog Birthday Party Stamp Set and dies,

Here is how I created my card.
The background I used some foil from my stash to bring some shine to the background.  I used Newton’s Nook Designs Retro Mix Toner Front cards to achieve that bright, multicolor foil effect. 
D. Idlet, Newton's Nook Designs, Birthday card, Retro Mi Toner Front cards,Dog Birthday Party Stamp Set and dies,

To coordinate the sentiment, I also used the solid black toner sheet to foil and die cut the shadow layer of the “Happy Birthday” in a gorgeous purple. This ties everything together while still letting the background shine.

For dimension, I die cut the “Happy Birthday” sentiment multiple times from white card stock and stacked them. This gives that nice, chipboard-like thickness without adding bulk.

Next, I stamped and colored the adorable pups from the Dog Birthday Party Stamp Set, and die cut them from the coordinating die. I used pop dots to pop the dogs up slightly to sit right over the sentiment, creating a cohesive focal point.

D. Idlet, Newton's Nook Designs, Birthday card, Retro Mi Toner Front cards,Dog Birthday Party Stamp Set and dies,

To keep the background from overwhelming the design, I added a piece of vellum cut with the Basic Frames Die Set. This layer:

To finish off my card I added a few rhinestones from my stash. They catch the light beautifully and echo the sparkle of the foiled background without competing with it.

Thank you so much for stopping by, please come back again soon.


Newton's Nook Designs - Newton’s Birthday Trio 🐱🎉

Tuesday, February 24, 2026

Hello everyone!

Today I am on Newton's Nook Designs blog sharing a fun and cheerful birthday card featuring Newton’s Birthday Trio. These sweet kitties are full of personality and perfect for birthday cards!

I colored the image with alcohol markers, keeping the look soft and playful. For the background and layers, I used pattern paper from the Birthday Time Paper Pad, which adds just the right pop of color. Both the image panel and the patterned paper were die cut using the Frames & Flags Die Set for a clean, finished look.

This card came together quickly and would be perfect for any cat lover’s birthday. Thanks so much for stopping by today!


Blissful Blossoms - Gina K. Designs - December 2025 Release

Tuesday, December 23, 2025

 Gina K. Designs DECEMBER 2025 Release is NOW available and can be found HERE.

Hello everyone!

I’m so excited to share two cards I created using Blissful Blossoms, a brand-new stamp set from the latest Gina K. Designs release illustrated by Arjita Singh. This set is beautifully versatile and works perfectly for both soft, elegant designs and bold, eye-catching cards.

Here are my cards for your inspiration:


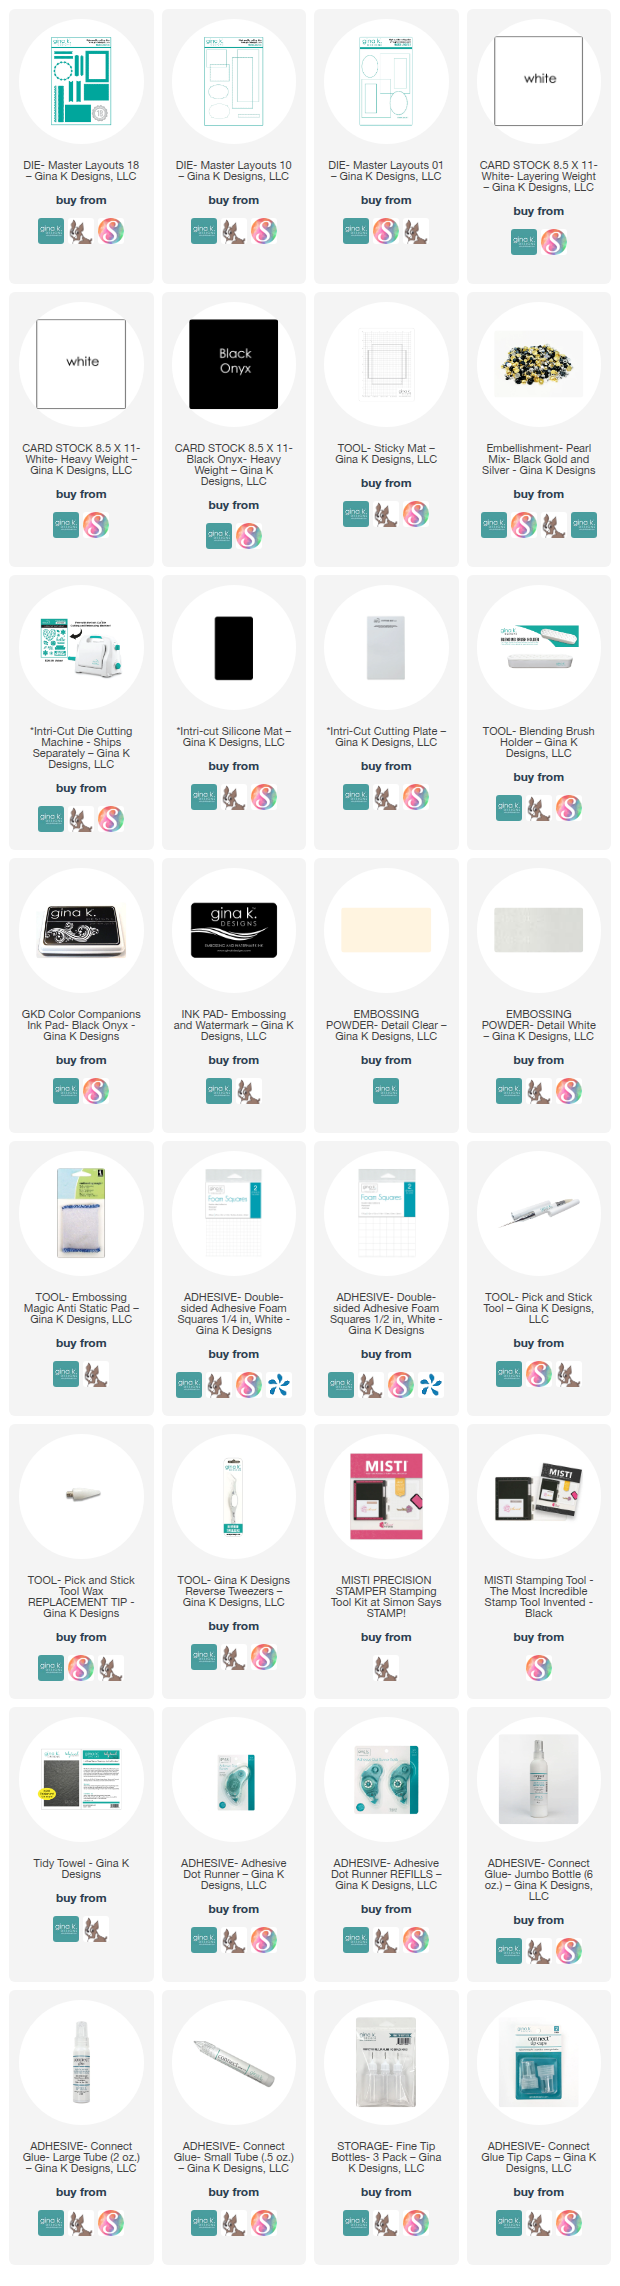
For my first card, I went with a soft pink color palette using alcohol markers to highlight the delicate details of the Blissful Blossoms images. I paired this design with Master Layouts 1 and 18 (frame), which made it easy to create a balanced, layered look while still letting the florals shine. This stamp set can be used for many occasions—for this card I chose to use the birthday sentiment from the Blissful Blossoms stamp set.


My second card takes on a completely different feel also using alcohol markers with a rich red color scheme. For this one, I used Master Layouts 10, die cutting the center of the card.  I added the frame panel to the card. I then layered the die cut piece with black and used foam squares to pop the panel onto the card.  The layout really allows the floral imagery from Blissful Blossoms to take center stage, creating a bold and confident card with lots of presence.

What I love most about Blissful Blossoms is how easily it adapts to different styles. With just a change in color and layout, you can create cards that feel completely unique. Whether you prefer soft and subtle or bold and dramatic, this stamp set delivers every time.

Thanks so much for stopping by—be sure to check out the rest of the new Gina K. Designs release for even more creative inspiration!

Here is a list of supplies I used on my cards. Affiliate Links used at no additional cost. Thank you for your support.

RETRO RUBBER CHALLENGE BLOG - Tic Tac Toe

Tuesday, August 13, 2024

Hello everyone!

I am here with Retro Rubber Challenge blog and we have a new challenge, which is a Tic Tac Toe Challenge. My tic tac toe is Pattern Paper, Ribbon/Twine, and my choice is to use a Die cut . Be sure to stop over on the Retro Rubber Challenge blog to get more inspiration, the design team has some wonderful creations!

The rules to play along with Retro Rubber Challenge is very simple, make sure the stamp you use on your project is at least one year or older. For more details on the rules, you can find them over on Retro Rubber Challenge blog.


Here is my card for your inspiration:

D. Idlet, MFT stamps, Big Birthday Wishes, All-Star High Top, birthday card, Retro Rubber Challenge Blog

I've created an A2 size card. The stamp set I am using from My Favorite Things (MFT) called "Big Birthday Wishes" that was released in February 2021 (it is retired, but if you google it, there are some stores that have it). I began with the background that was die cut from Newton's Nook Designs Fractured Card Layout Die using MFT paper.  I die cut the tennis shoes from MFT All-Star High Top.  I added the twin for the shoe laces.  I finished the card off by adding the sentiment from the Big Birthday Wishes.  I love how this card turned out, I made this for my granddaughters 13th birthday, and she loved it. 

Are you ready to play along? Be sure to stop over on the Retro Rubber Challenge blog to get some more inspiration! Thank you for stopping by, you have until August 23rd to join the fun!

Thank you for stopping by, please come back again soon.


Hello everyone!

I am here with Retro Rubber Challenge blog and we have a new challenge, which is to make a birthday card. Be sure to stop over on the Retro Rubber Challenge blog to get more inspiration, the design team has some wonderful creations!

The rules to play along with Retro Rubber Challenge is very simple, make sure the stamp you use on your project is at least one year or older. For more details on the rules, you can find them over on Retro Rubber Challenge blog.


Here is my card for your inspiration. I couldn't resist getting my Glimmer Hot Foil System out when I saw this challenge. I have had it for a long time and wanted to give it a try. I used the So Many Candles Glimmer Hot Foil Plate to create the background of the card. I used Gina K. Designs Birthday and Shadow die along with the sentiment also from Gina K. Designs Lace Flowers Stamp Set both were released in February 2021. I love how this card turned out; I can't wait to do some more hot foiling.


Are you ready to play along? Be sure to stop over on the Retro Rubber Challenge blog to get some more inspiration! Thank you for stopping by, you have until April 7th to join the fun!

Thank you for stopping by, please come back again soon.

Newton's Nook Designs - July 2022 RELEASE - REVEAL DAY 3

Wednesday, July 13, 2022


Hello everyone!

I am here with Newton's Nook Designs and today is Reveal Day 3 of the NEWLY released products that will be available on Friday, July 15th. The design team is featuring "Sky High Celebrations" stamp set  For more inspiration please visit Newton's Nook Design Blog to see what the design team has created.


Here is my card for your inspiration:


Here is how I created it:

  • Mini Slimline Card Base: 3 1/2" x 6" (7" x 6", scored at 3 1/2" on the 7" side).
  • Top layer measures 3 1/4 x 5 3/4
  • Inked blended the background using "Bokeh Balloons" stencil in rainbow colors. 
  • Stamped the image from the "Sky High Celebrations", colored the image with alcohol markers and die cut the with the coordinating die.
  • Stamped the sentiment from the "Sky High Celebrations" stamp set.
  • Assembled the card, for finishing touches added wink of stella to the balloons and added glossy accents.
Would you like to win the “Sky High Celebrations” Stamp Set? This stamp set will be given away to ONE lucky winner!

Here's how to win: Comment on the NND blog and Design Team blogs (see list below)! The winner will be chosen at random from the collective reveal posts. Make sure to check out each of their blogs and comment for your chance to win. You will not know which blog has been chosen so the more you comment on the better your chances are of winning! You have until Thursday July 14th at 9pm ET to comment -- winners will be announced on the blog post on Friday July 15th.

Check out all the awesome Design Team Blogs below to enter:

Newton's Nook Designs

Donna Idlet (YOU ARE HERE)

Ellen Haxelmans

Larissa Heskett

Samantha Mann

Zsofia Molnar

Farhana Sarker

Tatiana Trafimovich

Amanda Wilcox


Thank you for stopping by, please come back tomorrow for more inspiration!

Happy Birthday Newton's Nooks Designs - July 2022 RELEASE - REVEAL DAY 1

Monday, July 11, 2022


Hello everyone!

Happy Birthday Newton's Nook Designs!  Newton's Nook Designs is turning 9 and we will be celebrating all week with "birthday" themed cards.  It's Reveal Day 1 of the NEWLY released products that will be available on Friday, July 15th. The design team is featuring "Birthday Mice" stamp set and coordinating Dies, "Birthday Party" Paper Pad and "Bokeh Balloons" Two Piece Stencil. For more inspiration please visit Newton's Nook Design Blog to see what the design team has created.


Here is my card for your inspiration:


Here is how I created it:

  • A2 card measuring 4 1/4″ x 5 1/2.
  • Cute the background paper using the "Birthday Party" Paper Pad at 4 1/4 x 5 1/2.
  • The top layer, inked blended the balloons from the "Bokeh Balloons" Two Piece Stencil.
  • Stamped and die cut the mice from the "Birthday Mice" stamp set, colored with alcohol markers, and added the sentiment.
  • Assembled the card for finishing touches, added Wink of Stella to the hats, candle and presents.
Would you like to win the “Birthday Mice” Stamp Set? This stamp set will be given away to ONE lucky winner!

Here's how to win: Comment on the NND blog and Design Team blogs (see list below)! The winner will be chosen at random from the collective reveal posts. Make sure to check out each of their blogs and comment for your chance to win. You will not know which blog has been chosen so the more you comment on the better your chances are of winning! You have until Thursday July 14th at 9pm ET to comment -- winners will be announced on the blog post on Friday July 15th.

Check out all the awesome Design Team Blogs below to enter:

Newton's Nook Designs

Donna Idlet (YOU ARE HERE)

Ellen Haxelmans

Larissa Heskett

Samantha Mann

Zsofia Molnar

Farhana Sarker

Tatiana Trafimovich

Amanda Wilcox


Thank you for stopping by, please come back tomorrow for more inspiration!


Kat Scrappiness - Happy Birthday!

Thursday, June 30, 2022

Hello everyone!

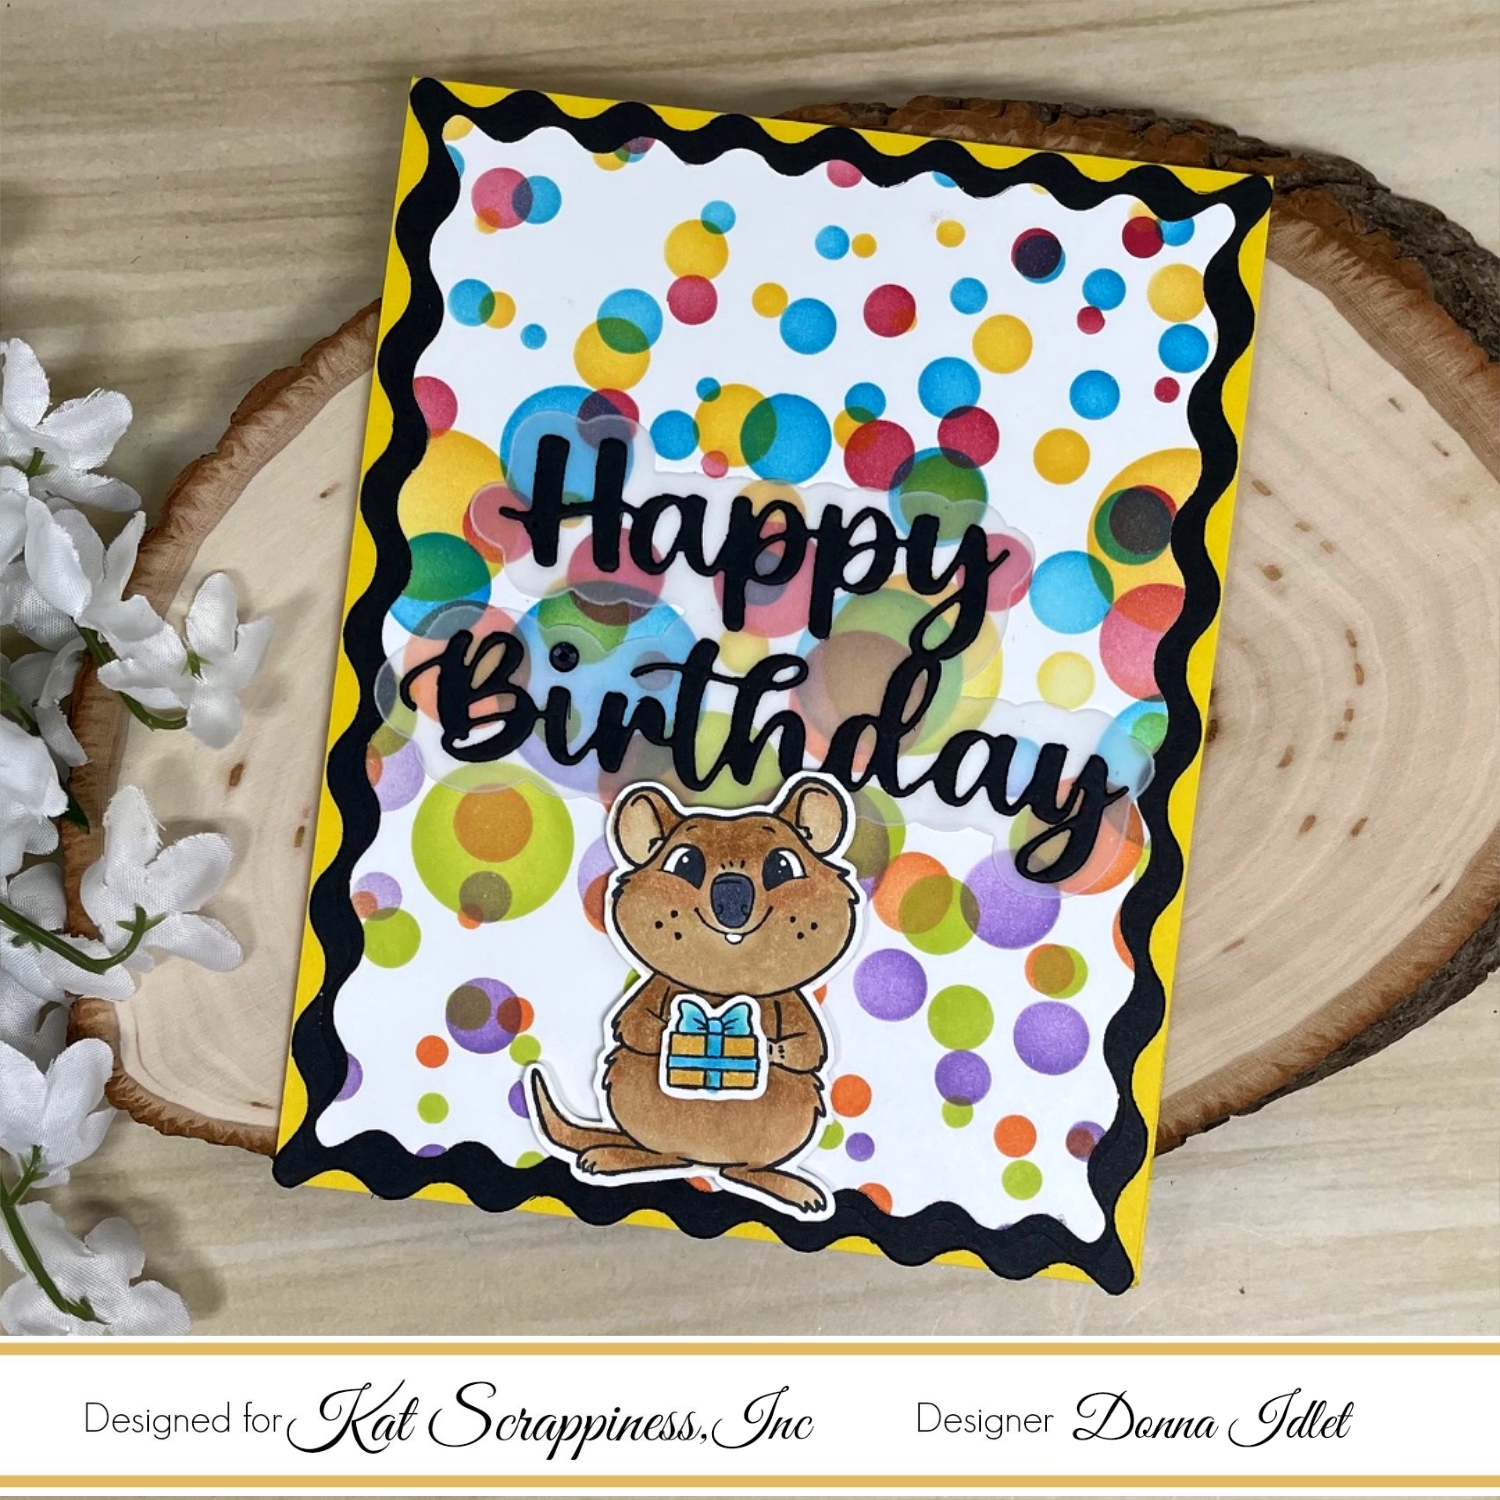
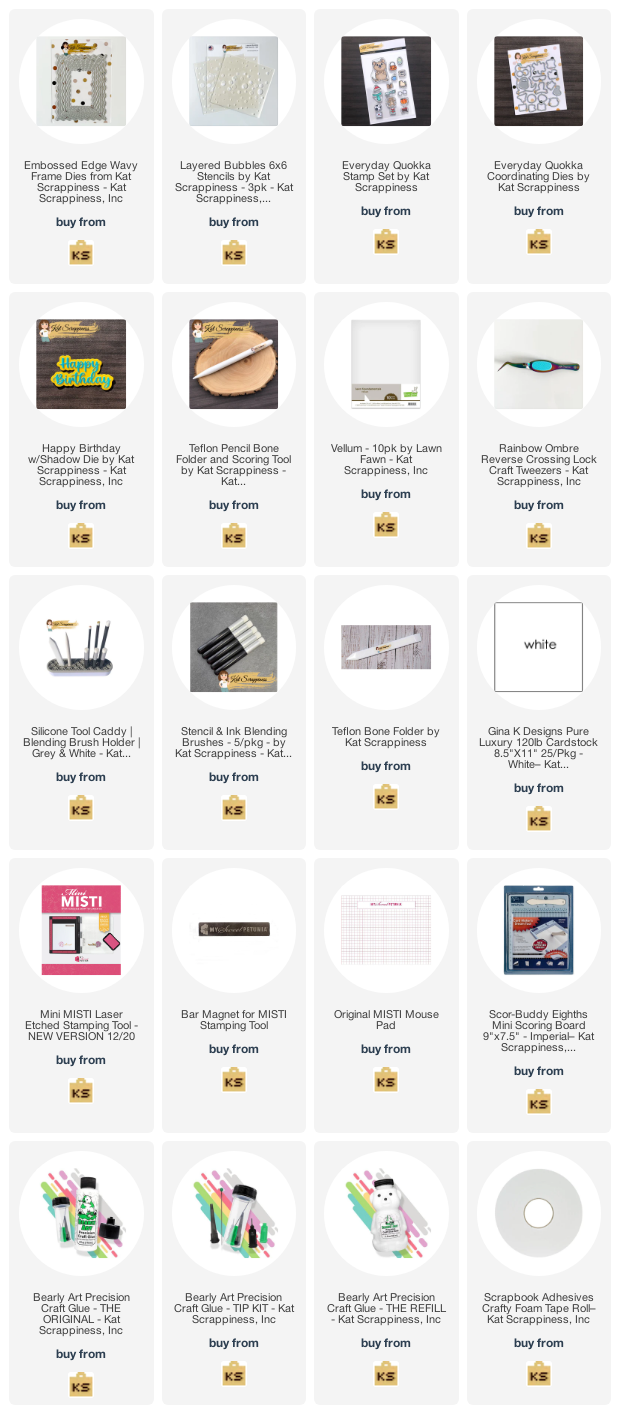
I am here with Kat Scrappiness with a fun and colorful Birthday card.  I am using the Layered Bubbles 6x6 Stencils for the background, The layers are die cut with the Embossed Edge Wavy Frame Dies and the cute Quokka is from the Everyday Quokka Stamp Set.


Here is how I created the card.

1. Card is an A2 size – 5 1/2 x 4 1/4 card base.

2. Stenciled the background with the Layered Bubbles 6x6 Stencils using  KS Stencil & Ink Blending Brushes with multiple inks.

3.  Die cut the layers using the Embossed Edge Wavy Frame Dies.

3. Die cut the Happy Birthday word with Shadow die, using black cardstock and vellum for the shadow.

4. Colored with alcohol markers, stamped and die cut the Quokka and gift from the Everyday Quokka Stamp Set.

5. Assembled the card.

Thank you so much for stopping by, please come back again soon.

Here is a list of supplies I used on my card, Affiliate Links used at no additional cost. Thank you for your support.

RETRO RUBBER CHALLENGE BLOG #180 - SKETCH CHALLENGE

Tuesday, April 12, 2022

Hello everyone!

I am here with Retro Rubber Challenge blog and we have a new challenge which is a sketch! Be sure to stop over on the Retro Rubber Challenge blog to get more inspiration, the design team has some wonderful creations!

The rules to play along with Retro Rubber Challenge is very simple, make sure the stamp you use on your project is at least one year or older. For more details on the rules, you can find them over on Retro Rubber Challenge blog.


Here is my card for your inspiration.  The bear is from Pretty Pink Posh stamp set called Cupcake Critters.  The stamp set was released in January 2019. The birthday sentiment is from Gina K. Designs Friendly Silhouettes (this set is not a year old).


Here is how I put the card together:
  • Created an A2 card measures 4 1/4 x 5 1/2
  • Used blending tool to ink the background using Taylored Expressions Stencil called  Sprinkles.
  • Stamped and die cut the bear from the Pretty Pink Posh Cupcake Critters, colored with Copics.
  • Cut the stripe paper to match the sketch
  • Stamped the sentiment in black ink from the GKD Friendly Silhouettes
  • Assembled the card and some sequence to finish off the card.

Thank you so much for stopping by, please come back again soon!

Kat Scrappiness - Happy Birthday

Sunday, February 13, 2022

Hello everyone! 

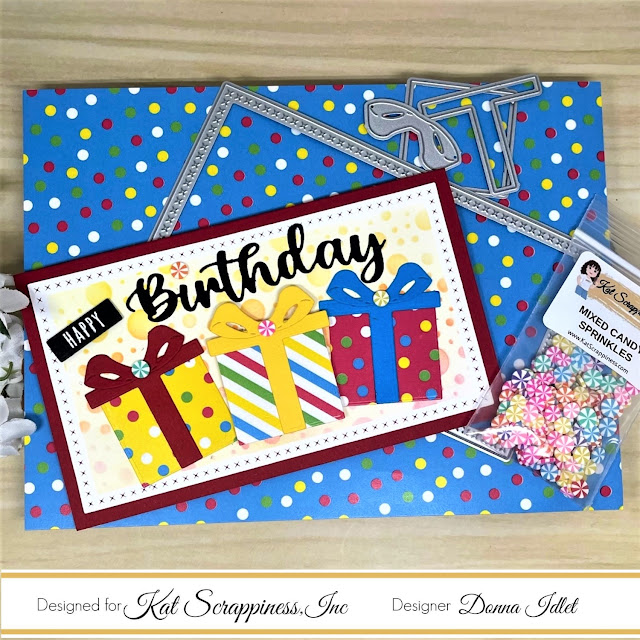
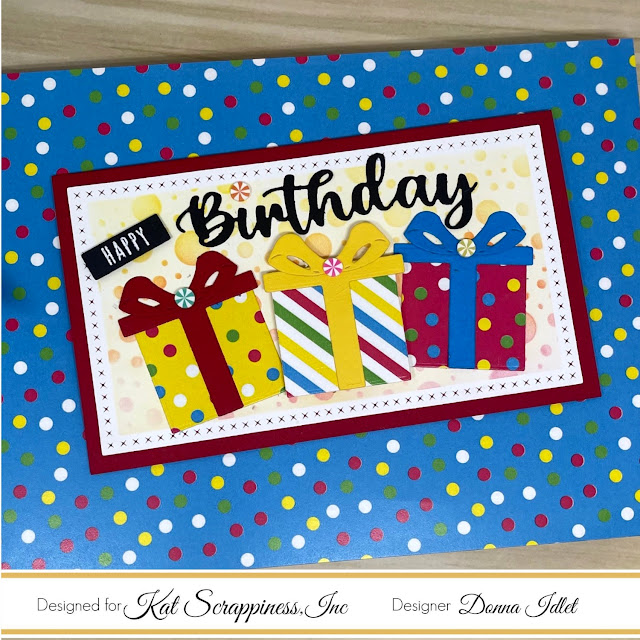
I am here with Kat Scrappiness sharing a slimline card I made using the newly released Birthday Essentials Dies and the Happy Birthday Sentiment die w/ Shadow and the 6x8 Birthday Essentials Paper Pad. The new Birthday release is so much fun!! I love the bright bold colors that makes a perfect birthday card.

Here is my card for your inspiration:

  • Created a mini slimline card measuring 6″ x 3 1/2″ (6″ x 7″, scored at 3 1/2″).
  • Die cut the top layer with KS Mini Slimline Cross Stitched die.
  • Used a stencil to create the pattern in the background.  Used the KS Mini Slimline Card Set for the card base.
  • Used the pattern paper from the  6x8 Birthday Essentials Paper Pad to die cut the presents from the Birthday Essentials Die Set.  The solid card stock for the ribbon and bow is card stock from my stash.
  • Die cut the top layer from the KS mini slimline zig zag and the bottom layer I used the mini slimline Double Stitched Dies. Die cut the birthday hats from the Birthday Essentials Die Set, using a couple of patterns from the Birthday Essentials Paper Pad, assembled and added some clear nuvo drops to the blue hat and Diamond Stickles to the yellow hat.
  • Die cut the Happy Birthday w/Shadow Die using only the word Birthday with black card stock.
  • Stamped and heat embossed with white embossing powder Happy from the KS Koala-Ty Time stamp set (masked off the "Mother's Day").
  • Added some sprinkles from the Mixed Candy Sprinkles.
  • Assembled the card.

Thank you so much for stopping by, I hope you have been inspired. I hope you will stop by the Kat Scrappiness Blog and see all the inspiration from the design team.

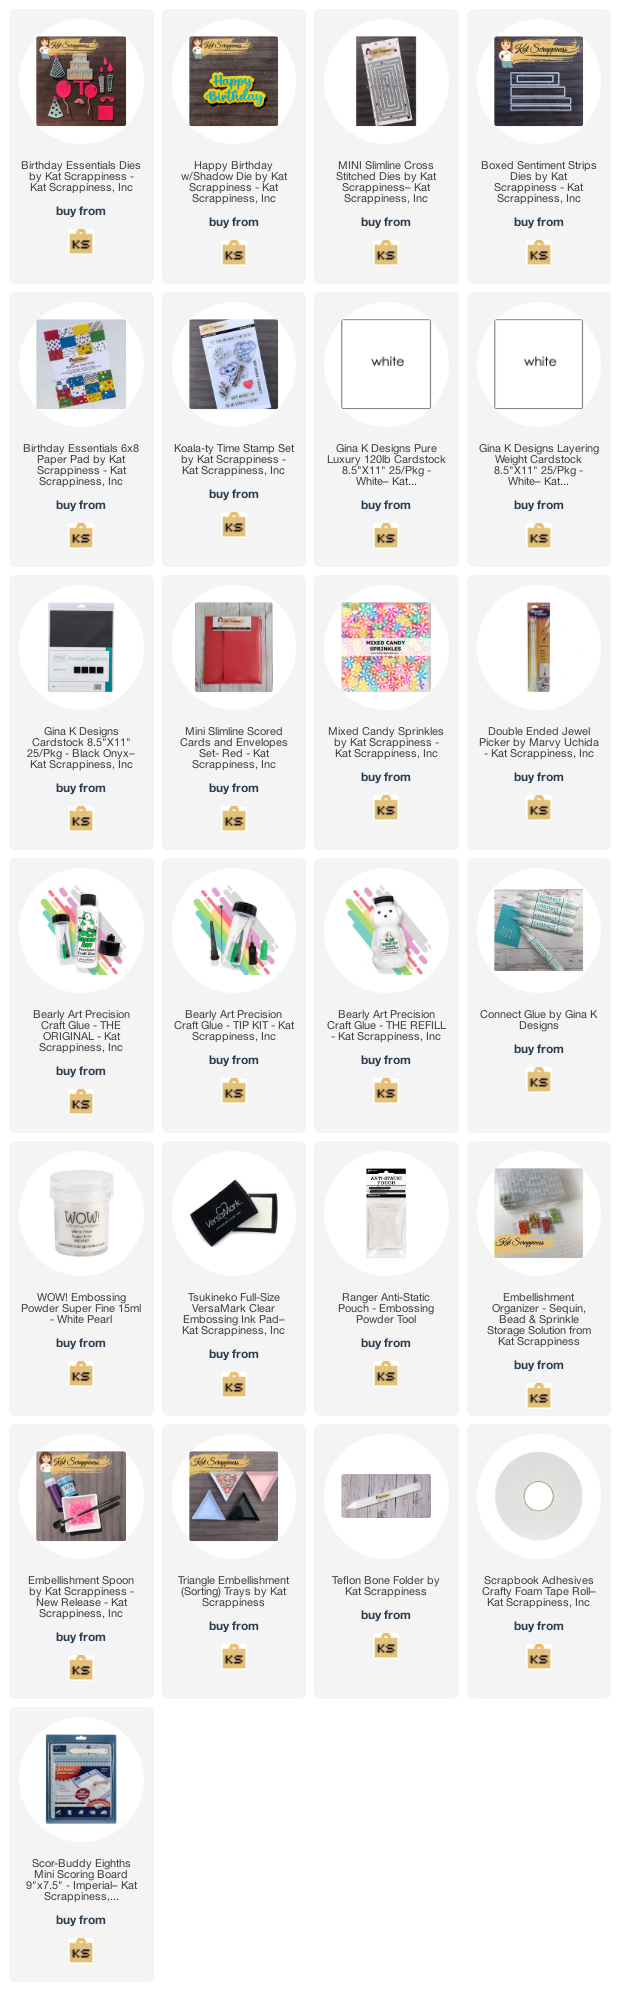
Here is a list of supplies I used on my cards. Affiliate Links used at no additional cost. Thank you for your support.

Kat Scrappiness - Happy Birthday

Friday, July 30, 2021

Hello everyone!

I am here with with Kat Scrappiness, Inc.,  featuring the Summer Fun Essentials die set along with the NEW Happy Day stamp set to create my card.  The enamel dots are also Kat Scrappiness, I love the new colors.  


Here is how I created my card:

  • Cut the White Slimline Card Base: 3-1/2″ x 8-1/2″ (scored at 3 1/2″).
  • Top layer is cut using the Cross Stitched Nesting Slimline Dies.
  • Cut Popsicles Summer Fun Essentials die set with cardstock. Added wing of stella for shimmer.
  • Stamp Birthday sentiment from the Happy Day stamp set in black ink and fuzzy cut the word and used foam tape to add it to the card.
  • Assemble card.
  • Finished with adding enamel dots.
Thank you so much for stopping by, please visit Kat Scrappiness blog for more inspiration.

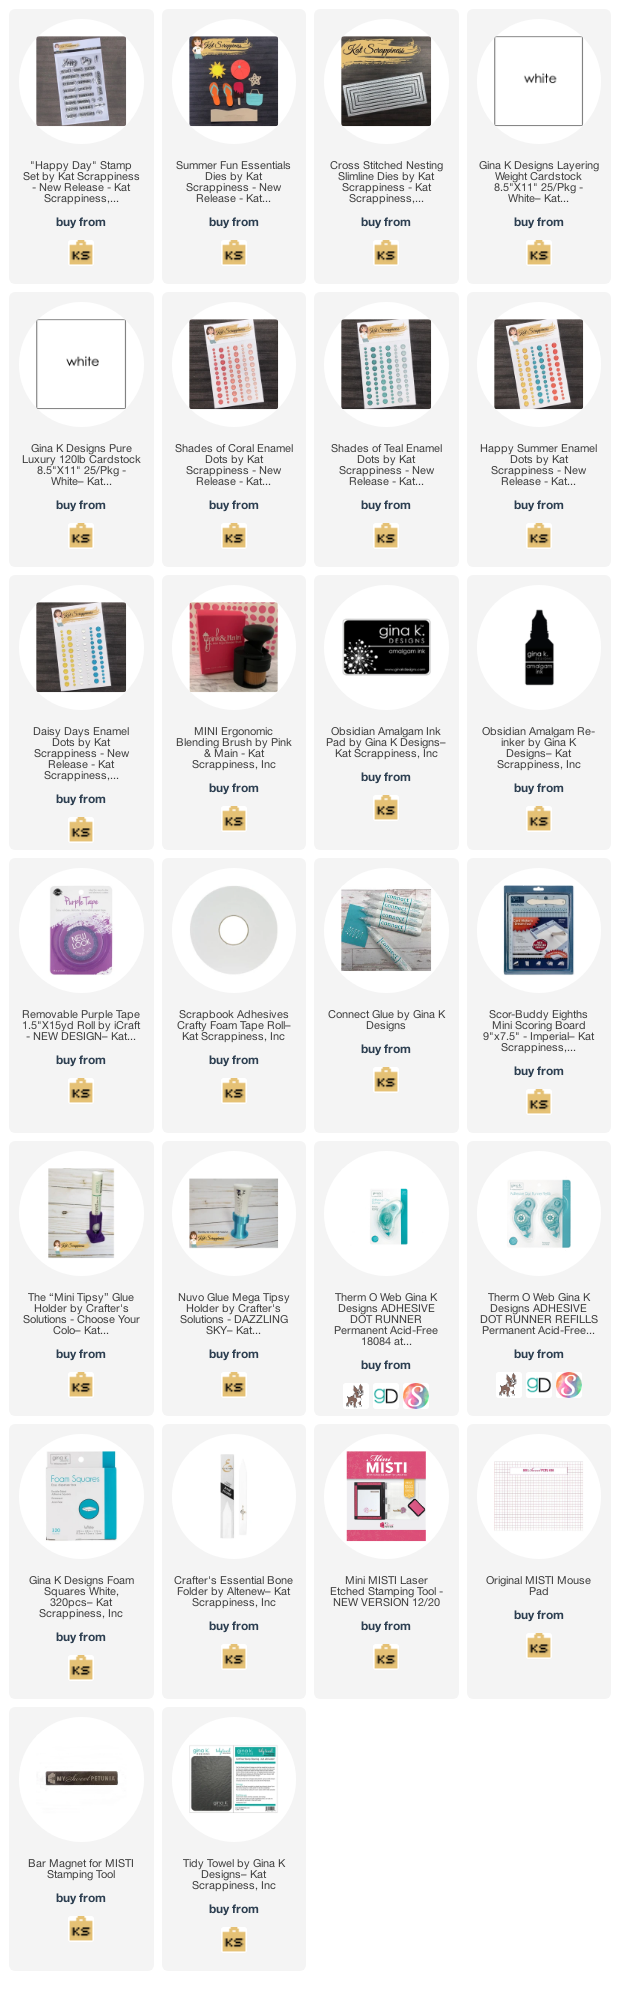
Here is a list of supplies I used on my card, Affiliate Links used at no additional cost. Thank you for your support.

Retro Rubber Challenge Blog #158 - Tic Tac Toe

Tuesday, May 11, 2021

 Hello everyone!

I am here with Retro Rubber Challenge Blog with a new challenge, which is a tic tac toe created by our own design team member Jan Clothier. I hope you will join in on the fun. Be sure to stop over on the Retro Rubber Challenge blog to get more inspiration, the design team has some wonderful creations!

The rules to play along with Retro Rubber Challenge is very simple, make sure the stamp you use on your project is at least one year or older. For more details on the rules, you can find them over on Retro Rubber Challenge blog.

*Entering this card into the Honey Bee Stamps Buzz Worthy Challenge #74.


Here is my card for your inspiration. I am using Honey Bee stamp set called Piece of Cake. The set was released in January 2019.


My card is an 4 1/4 x 5 1/2, I cut the background paper from a die in my stash. I then die cut the stitched circle die and added it to the card.  I stamped the images and colored them with copics.  I did cut them out and added them to the card.  I stamped the sentiment with versamark and added black embossing powder and heat set it.  I die cut it and added it to my card.  I finished off my card by adding some stickles to give the cake some sparkle. 

Thank you for stopping by, I hope you will stop by the Retro Rubber Challenge blog and join the fun and check out the beautiful projects the design team members have created.

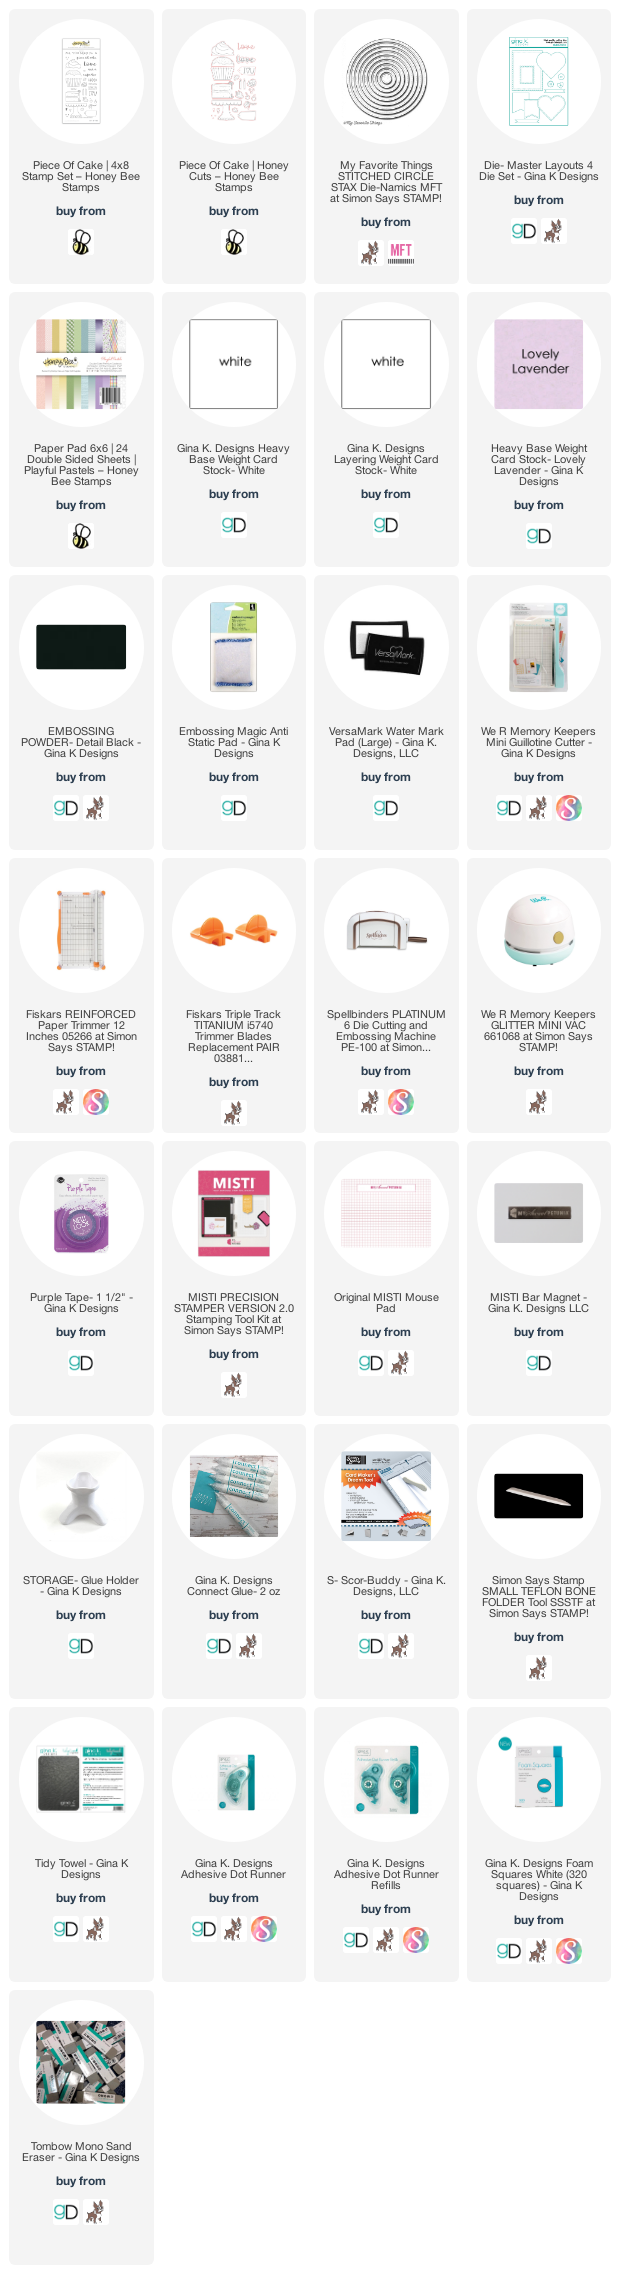
Here is a list of supplies I used on my card, Affiliate Links used at no additional cost. Thank you for your support.

Crackerbox & Suzy Stamps - Happy Birthday

Monday, September 21, 2020

Hello everyone!

I am here with Crackerbox Suzy Stamps and I have a birthday card to share today using Minion Stuart Playing and the sentiment is Happy Birthday script small.  This month the Birthday and Halloween stamps are 20% off, you still have a few more days to shop.

Here is my card for your inspiration:


Here is how I created my card:

I used design series paper to create the background of my card.  I then stamped the inks to create the background masking off the moon. I then stamped the image Minion Stuart Playing and colored it with copics.  I added some glossy accent to the eye to give it some dimension.  I then stamped the sentiment Happy Birthday script small.

Closer look at the card.


I hope I have inspired you. If you did not know, Crackerbox and Suzy Flaunt it if You Made it Facebook group there is a monthly card making "theme" and September's theme is Halloween and Birthday.

The monthly special is:


Thank you so much for stopping by, please come back again soon.

Crackerbox & Suzy Stamps - Happy Birthday

Thursday, May 21, 2020

Hello everyone!

I am here with Crackerbox & Suzy Stamps and I have a masculine birthday card for you today. I am using the new 2020 and Birthday 6 rubber stamps and the truck which is called Truck Old Pick Up. This card could be created into a Father's Day card too, just change the sentiment. I thought it would be fun to use the 2020 stamp set in the background since most states are still in quarantine and cannot go out and celebrate.

Here is how I created the card:

1. My card is an A2 landscape card,
2. I stamped the 2020 in the background in black ink,
3. I then cut a black piece of cardstock at 2 1/2 x 3 3/4 and then the top cardstock at 2 1/4 x 3 1/2, I stamped the Truck Old Pick Up and then stamped the Birthday 6. I adhered the two pieces together and added some foam tape and adhered it to the base of the card.


Another angle of the card.


Here are the May specials:


Thank you for stopping by, I hope you have been inspired, please come back again soon!

Retro Rubber Challenge Blog #135 - Tic Tac Toe

Tuesday, May 19, 2020

Hello everyone!

I am here with Retro Rubber Challenge blog and we have a new challenge, which is one of my favorite Challenge's, Tic Tac Toe.  My tic tac toe is die cut or punch, birthday and bright colors.  I hope you will join in on the fun!

If you have never played along with Retro Rubber Challenge blog, you can create what ever you want, the only thing we ask is to use at least one stamp on your project older than a year. You also must include the age (or approximate age) of the stamp in your blog post. I cannot wait to see your take on the challenge.


Here is my card for your inspiration. The stamp set is a Gina K. Designs mini set called "Wishes", which you could also buy the word "wishes". The set was released April 2019.


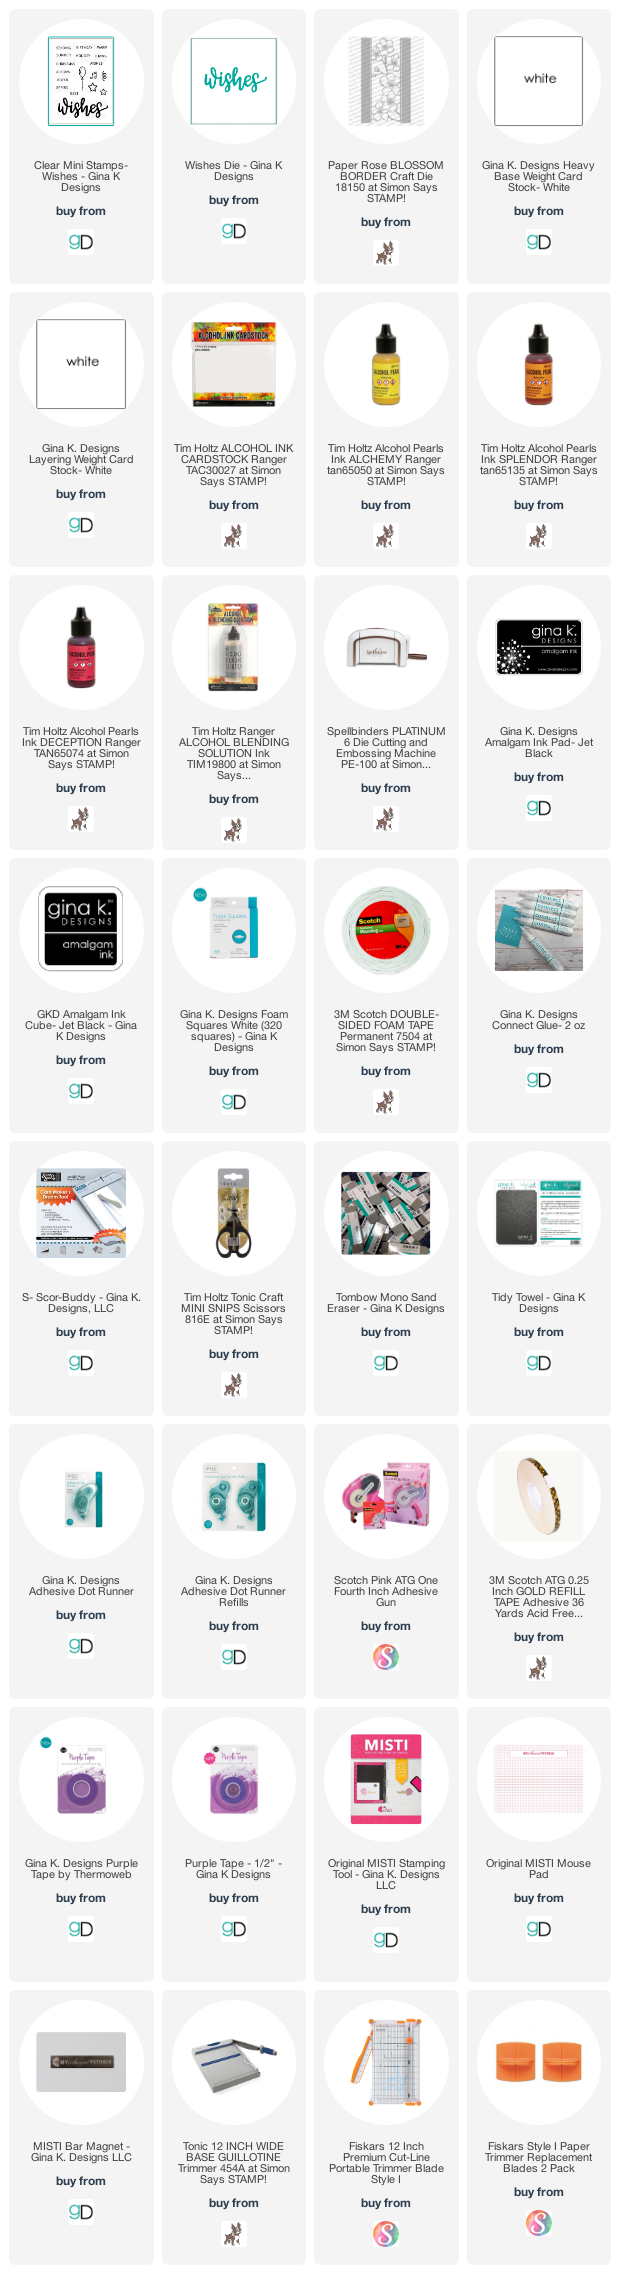
My card is an A2 size card (4 1/4 x 5 1/2), I die cut the front of the panel with the floral die cut, I had an alcohol background that I created and adhered it to the back of the front panel.  I often create alcohol backgrounds and when I need one, I can just reach for it.  I then die cut the word "wishes" with black card stock, added some wink of stella and then added some glossy accent.  I sat this aside to dry.  I then stamped the word birthday from the mini stamp set Wishes on white card stock and adhered it to the card and added the word "wishes".

Be sure to stop over on the Retro Rubber Challenge blog to get some more inspiration! Thank you for stopping by, you have until May 29th to join the fun!

Supplies used, affiliate Links used at no cost to you, thank you for your business.

Happy Birthday!

Thursday, April 19, 2018

Hello everyone,

I am stopping in and playing along with a couple of challenges.  I needed a birthday card so this was perfect to play along with Seize the Birthday, the challenge is to use bright colors!  I am also playing along with Mod Squad Challenge, the challenge is to make a birthday card and make sure there is a balloon on the card.

I am happy the way my card turned out, I believe I used nice and bright colors for the Seize the Birthday Challenge and I don't think you can miss the balloons on my card for the Mod Squad Challenge.

Here is my take on the challenges:


The stamp set I used is a retired set from Stampin Up called Celebrate Today.  I stamped the balloons with the new Gina K. Design inks and used my Scan and Cut to cut out the balloons.  I die cut the colorful layer and adhered it to my top folding card.  I added the balloons to the card with foam tape and added some twine from my stash.

Thanks for stopping by, please come back again soon!

Supplies Used:

Joy Clair - Music Makers Birthday Card

Tuesday, April 10, 2018

Hello everyone!

I am here with Joy Clair and I have a card to share with you today!  I pulled out an oldie but goodie stamp set called Music Makers.  This stamp set makes me happy!  It has several musical elements and many sentiments in the set.


Here is how I put my card together:

1. I started with an A2 card (4 1/4 x 5 1/2),
2. I cut the black layer (4 x 5 1/4) and white layer (3 7/8 x 5) for the card,
3.  I used my Misti to add the music notes on the white layer,
4.  I then masked off the music notes and added the piano keys to the bottom of the layer,
5. I die cut a circle with vellum,
6.  I then stamped the "happy" from the Joy Clair "Hello Sentiments" set with black memento ink,
7.  I then used my Brother Scan and Cut machine to cut it out,
8.  I then stamped the word "birthday" from the Joy Clair "Hello Sentiments" set in black memento ink and die cut it,
9.  I added the happy and birthday to the circle vellum and adhered it to the card,
10.  I finished off the card by adding some black enamel dots.

This card is clean and simple and was very easy to put together!

I hope you will play along with the Joy Clair Challenge this month. The theme is always anything goes and our Design Team uses a photo inspiration to create their project that you can use too. If you would like to join the challenge, you can find all the details here.  One lucky winner will have a chance to win a $25 Gift Certificate to the Joy Clair Store.

For more inspiration make sure to follow Joy Clair on their social media platforms: Joy Clair blog, facebook pageJoy Clair Stamp ProjectsColor By Faith Facebook Group, Instagram, TwitterPinterest and Youtube channel to be the first to hear the news, sales and giveaways!

Thank you for stopping by, please come back again soon!

Supplies Used:

Joy Clair - Let's Celebrate

Friday, April 28, 2017

Hello everyone!

I am here with Joy Clair featuring the newly release Everyday set called "Let's Celebrate". Isn't this little girl just adorable?  There are several images in the sent that you can use to create any kind of celebration card.  If you have not visited the Joy Clair blog, please stop by to see all the wonderful designs the design team has created.  You will definitely be inspired!

I hope you have had a chance to play along with the Joy Clair Challenge this month.  If not, you have one more day to join in the fun!   The theme is always anything goes and our Design Team uses a photo inspiration to create their project that you can use too.  If you would like to join the challenge, you can find all the details here.  As always, you will have a chance to win a $25 Gift Certificate to the Joy Clair Store

Here is my card.  This month theme for the design team is masking.  I will tell you how I created my card below.  


How I put my card together:

1.  A2 card 4 1/4 x 5 1/2,
2.  The black cardstock measures 4 x 5 1/4,
3.  The top piece of cardstock measures 3 7/8 x 5,
4.  I stamped the image on the white piece of cardstock, I then made a mask out of wide masking low tack tape and covered the stamped image and stamped my balloons.  I then stamped the round balloon and masked it with the low tack tape and stamped the balloon and star.


This is what it looked like after I took the masking off.


I also masked the present.  


5.  I paper pierced the dress, pockets and the bottom trim,
6.  I colored all the images with copics.
7.  I added the sentiments and used the SVG and stamped the cupcake and colored it with copics and used foam tape to pop it up on my card.

Please follow Joy Clair's facebook page, Color by Faith Bible Journaling Facebook page, Instagram and Twitter, be the first to hear the news, sales and giveaways! They also have a Pinterest page and YouTube channel for your inspiration!

Thank you for stopping by, please come back again soon!

Made With Love By The Dutch Lady Designs
Follow Me on Pinterest