Kat Scrappiness -,Happy New Year!

Thursday, December 30, 2021

Hello everyone!

Happy New Year a couple of days early! I am here with Kat Scrappiness sharing a New Year mini slimline card. I love the colors on this card, gold and black are so rich and elegant.  The Happy New Year die is a KS die and I offset if with some glitter black cardstock.
 
Here is my card for your inspiration:


Here is how I created the card:
  • Cut the white Slimline Card Base: 6″ x 3 1/2″ (6″ x 7″, scored at 3 1/2″).
  • I cut paper using my cutter with the black and gold cardstock (I didn't measure anything)
  • Die cut the strips using Mini Slimline Wonky Dies and adhered it to the base of the card.
  • Die cut the word die from KS "Happy New Year" Brush Script Word & Sentiment Die twice and offset the black glitter paper.
  • Assembled the card and added KS Gold and Onyx Black Pearl Mix.
Thank you so much for stopping by, please head over to Kat Scrappiness blog for more inspiration.

Here is a list of supplies I used on my card, Affiliate Links used at no additional cost. Thank you for your support.

GINA K. DESIGNS DECEMBER 2021 RELEASE

Monday, December 20, 2021

Hello everyone!

I am here sharing some cards from the Gina K. Designs NEWLY release products from the December 2021 release. This is another fabulous release as always! I am using the "Forest Friends" stamp set illustrated by Melanie Muenchinger. I am also using the "Friendly Silhouettes" stamp set. You can see more inspiration from the full release on the Gina K. Designs & StampTV Friends Facebook page. To see the full release, you can go HERE under the What's New section.

Here are my cards for your inspiration:


Card is an A2 measuring 4 1/4 x 5 1/2.  Ink blend a piece of cardstock with Passionate Pink, making an ombre look, Die cut the background using the Heart Cover Plate and adhered it to the pink layer which was cut using Master Layouts 2.  Die cut the GKD Gift Card Tag, cut the top off and adhered it to the card.  I stamped the sentiment from the Friendly Silhouettes" stamp set and the "friend" die is from Master Layouts 9.  Lastly, stamped the bear from the Forest Friends" stamp set, colored with color pencils and adhered it to the card.


Card is an A2 measuring 4 1/4 x 5 1/2, stamped the heart image onto card and colored it with copics.  Die cut the layers with Master Layouts 2.  Stamped the sentiment and owl (stamp the owl with Honey Mustard) colored with copics and used foam squares to adhere it to the card.  

Thank you so much for stopping by, I hope I have inspired you!

Here are the supplies I used for these cards, Affiliate Links used at no cost to you.

Kat Scrappiness - Merry Christmas

Monday, December 13, 2021

Hello everyone!

Can you believe it is only 13 days before Christmas?  For those of you who celebrate, have you gotten your Christmas shopping done and house decorated?  Have you gotten your Christmas cards mailed?  I'm almost finished everything except my Christmas cards.

I am here with Kat Scrappiness sharing a Christmas mini slimline card.  I love the color purple and I really love how this card came together.  It's clean and simple but elegant.  
 
Here is my card for your inspiration:


Here is how I created the card:
  • Cut the white Slimline Card Base: 6″ x 3 1/2″ (6″ x 7″, scored at 3 1/2″).
  • Die cut the top layer using Mini Slimline Zig Zag Dies using KS Sugar Plum Fairies slimline paper.
  • Die cut the word die from KS Merry Christmas W/Shadow Die, using vellum for the shadow and purple mirrored paper.
  • Die cut the snowflakes from KS Build A Stocking (Christmas) Dies.
  • Assembled the card and added some KS Violet Pearl Mix.

Thank you so much for stopping by, please head over to Kat Scrappiness blog for more inspiration.

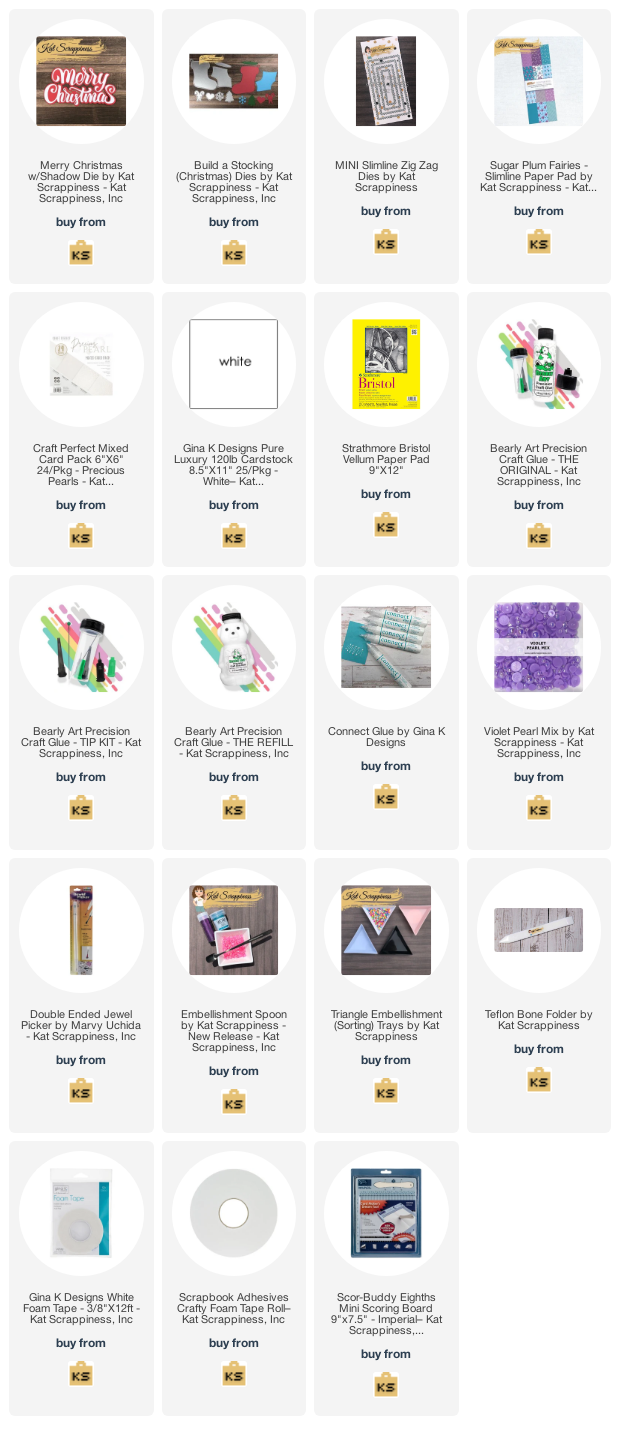
Here is a list of supplies I used on my card, Affiliate Links used at no additional cost. Thank you for your support.

Doodlebug Designs Christmas Hop - Night Before Christmas

Saturday, December 11, 2021

Hello everyone!

I am joining a group of ladies for a Doodlebug Designs Christmas Hop! Who doesn't love Doodlebug? I am using the "Night Before Christmas" 6x6 paper pad and the odds & ends ephemera. The sentiment is from Doodlebug stamp set I received which was excusive to Crop & Create called Deck the Halls.

What is there a hop without a prize? “Fresh and Renewed with Teresa”, is the sponsor for this hop and there is a prize valued at $50 of doodlebug products up for grabs. All you have to do is comment on every participates IG, blog and video by December 18th. The winner will be selected randomly and will be announced December 20th on Teresa Russell’s YouTube channel (https://youtu.be/HXzk7plP7Lc ).

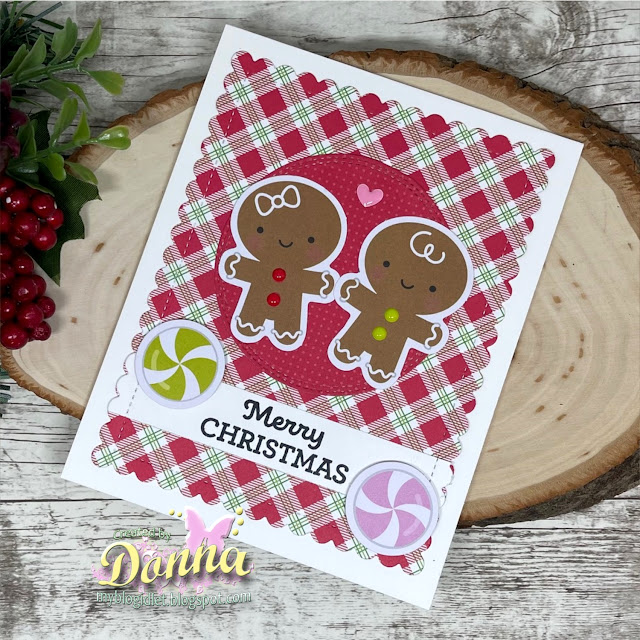
Here is my card for your inspiration:


Here is how I created my card:

  • Die cut the plaid paper with a scalloped die
  • Die cut the circle with a stitched circle die
  • Added the Gingerbread men from the odds and end ephemera added doodlebugs enamel dots
  • Stamped the sentiment, die cut with the scalloped die, added to card
  • Added the candy from the odds and end ephemera 
  • Added heart from doodlebug enamel dots
  • Assembled the card
Thank you so much for stopping by, don't forget to join the blog hop on instagram, my instagram is: https://www.instagram.com/didlet  

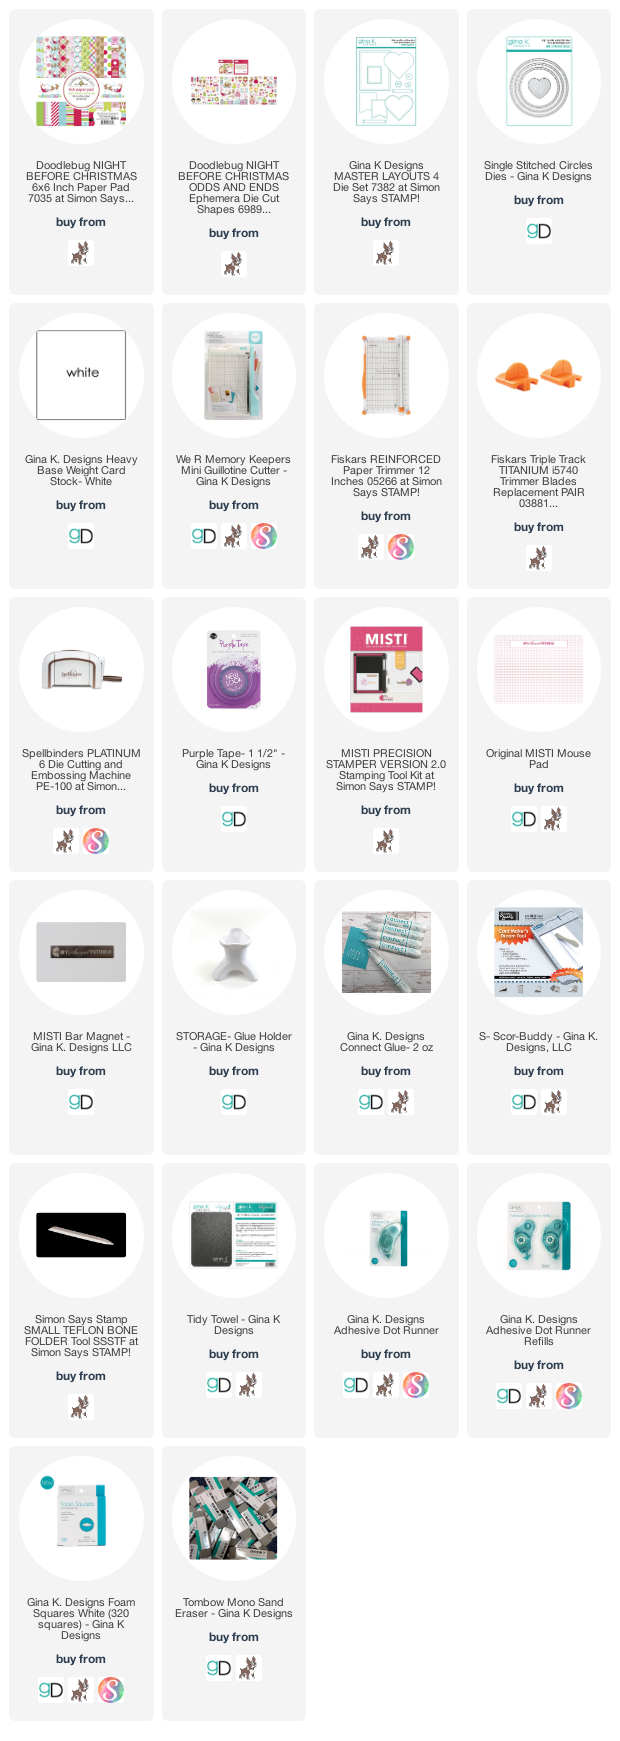
Here is a list of supplies I used on my card, Affiliate Links used at no additional cost. Thank you for your support.

RETRO RUBBER CHALLENGE BLOG #173 - Inspirational Photo

Tuesday, December 7, 2021

Hello everyone!

I am here with Retro Rubber Challenge blog and we have a new challenge, which is an inspirational photo.  I love this inspirational challenge and I love the card I created for your inspiration.  Be sure to stop over on the Retro Rubber Challenge blog to get more inspiration, the design team has some wonderful creations!

The rules to play along with Retro Rubber Challenge is very simple, make sure the stamp you use on your project is at least one year or older. For more details on the rules, you can find them over on Retro Rubber Challenge blog.


Here is my card for your inspiration. I am using Colorado Craft Company Stamp set called Pine Branch and Pinecones. The stamp set was released in November of 2019. 
  • Created aa A2 card measures 4 1/4 x 5 1/2
  • I stamped the image from the Colorado Craft Company Stamp set Pine Branch and Pinecones onto some wooden paper from my stash.  I colored the branches and stamped the image again onto some white card stock.  I colored the pinecones and then fuzzy cut them out and paper pieced the pinecones on the wooden background.  
  • Stamped the sentiment from the Pine Branch and Pinecones stamp set.
  • Added some white splatter onto the card.
  • Finished the card off by adding red sequins.

Are you ready to play along? Be sure to stop over on the Retro Rubber Challenge blog to get some more inspiration! Thank you for stopping by, you have until November 19th to join the fun!

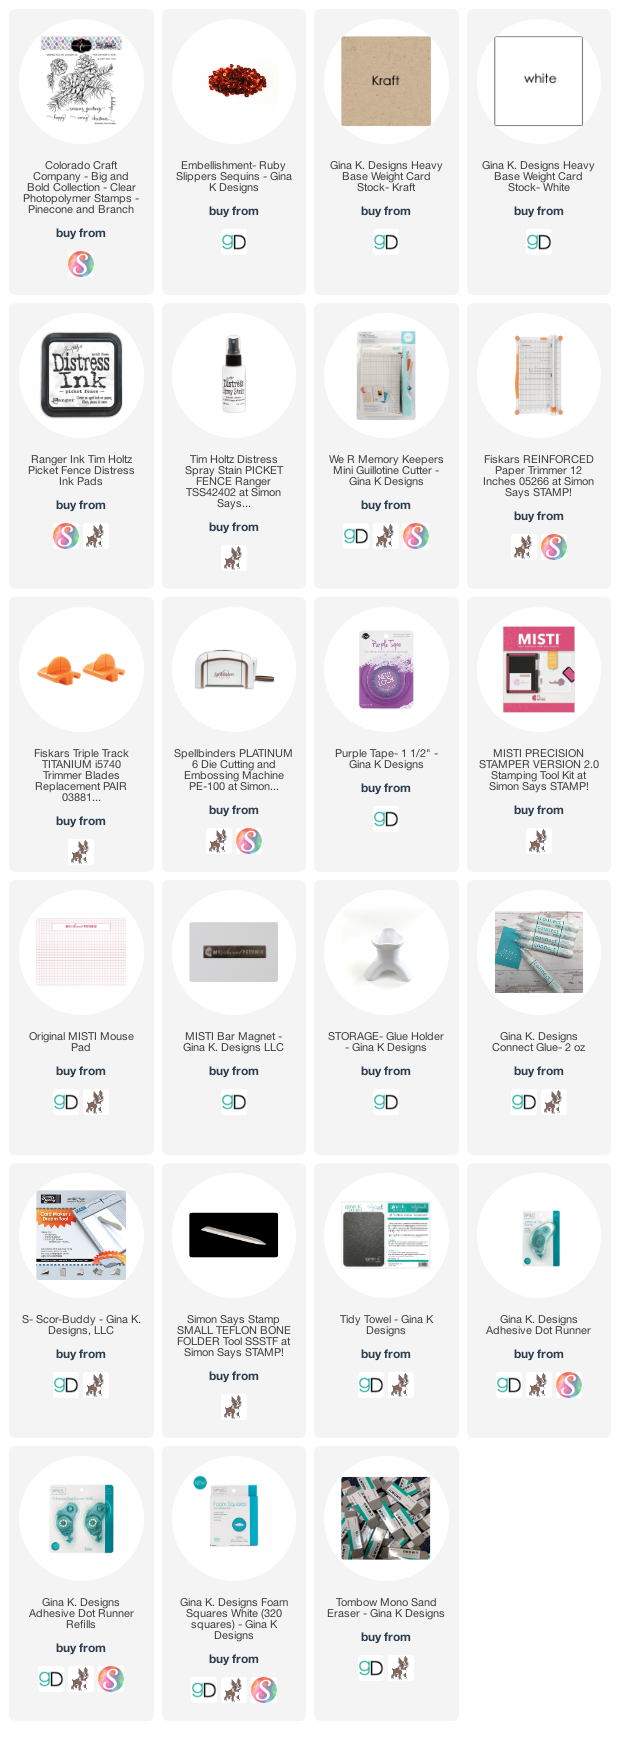
Here is a list of supplies I used on my card, Affiliate Links used at no additional cost. Thank you for your support.

Made With Love By The Dutch Lady Designs
Follow Me on Pinterest