Hello everyone!
I am here with Newton's Nook Designs featuring Spring Roundabout Stamp Set that goes perfectly with NND Circle Frames Die. There are six sentiments in this set that you can create cards for Spring or Easter. The sentiments also can be die cut from the Banner Duo Die Set.
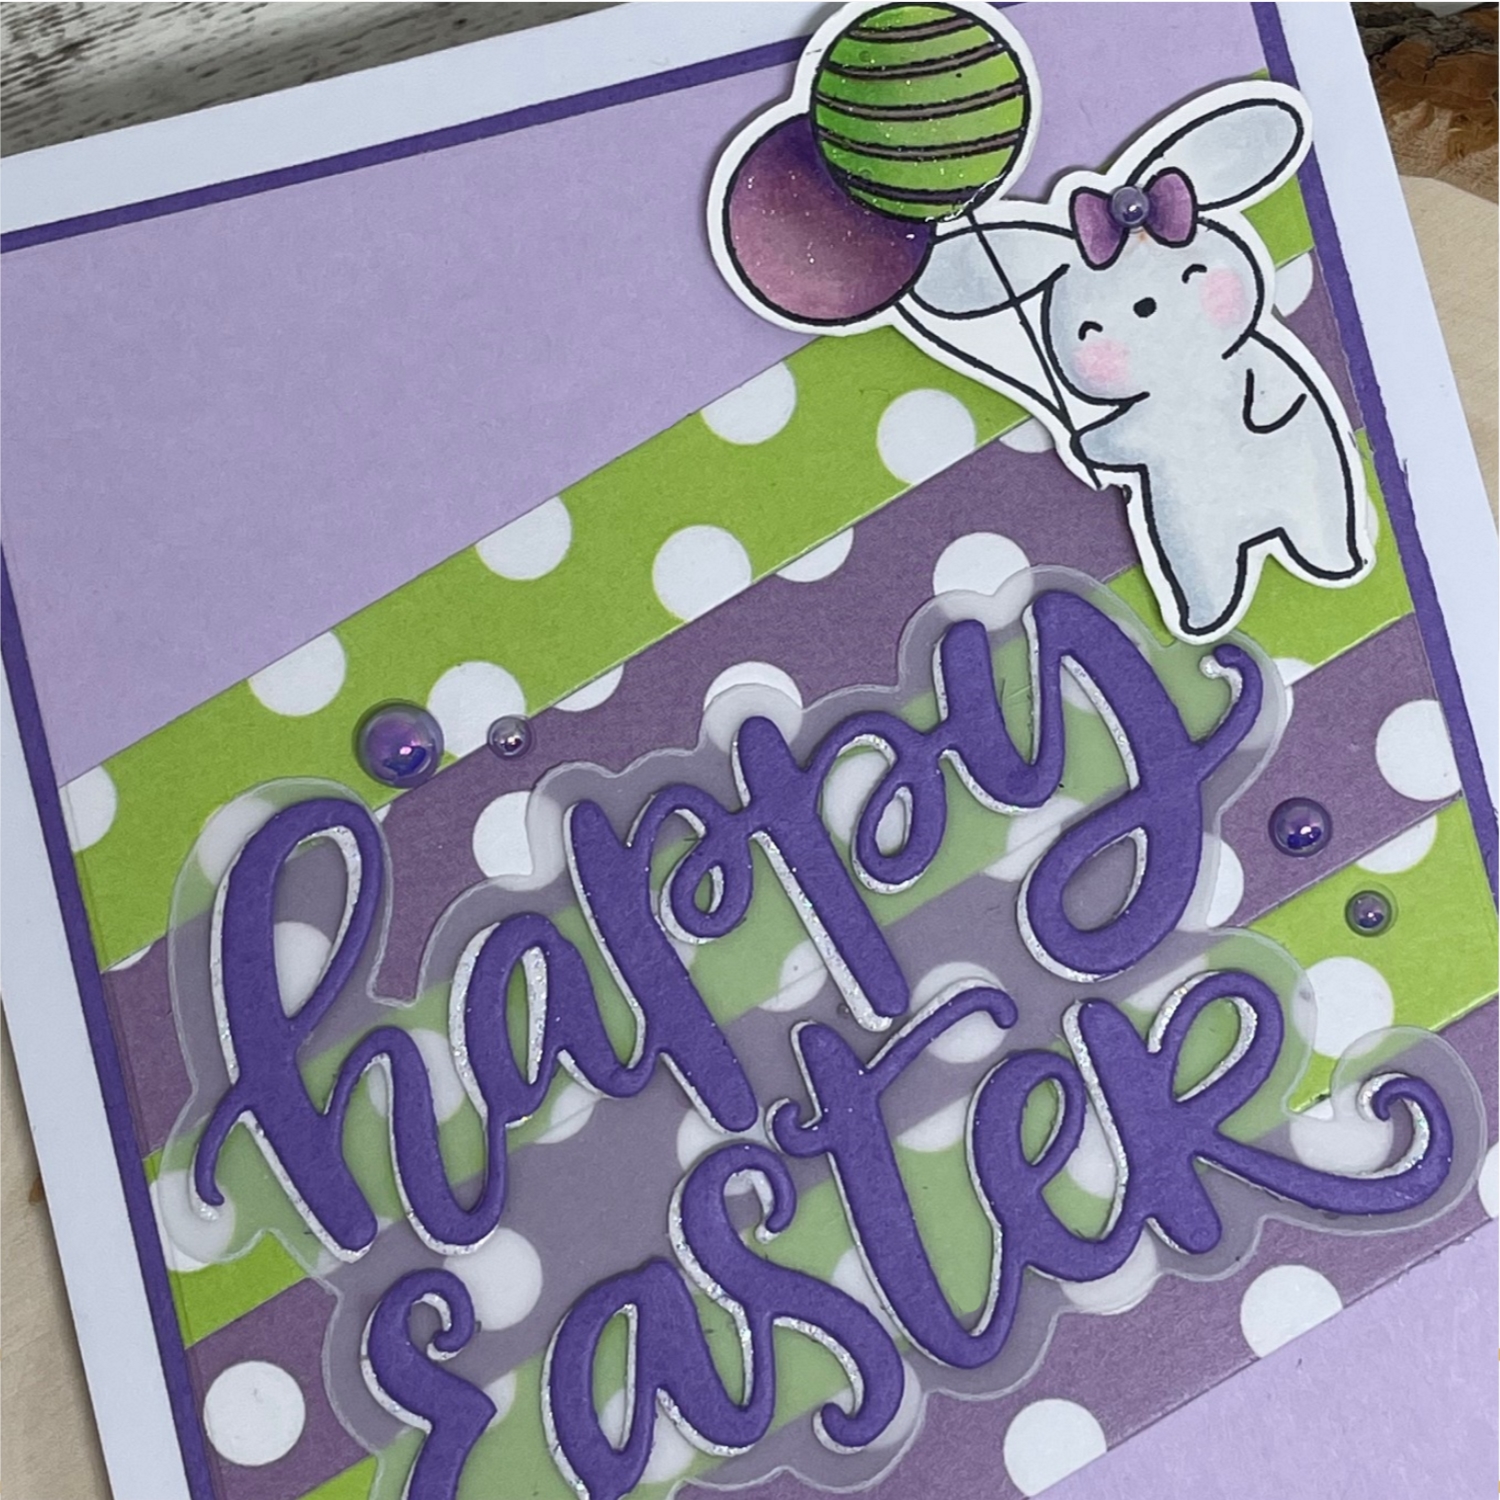
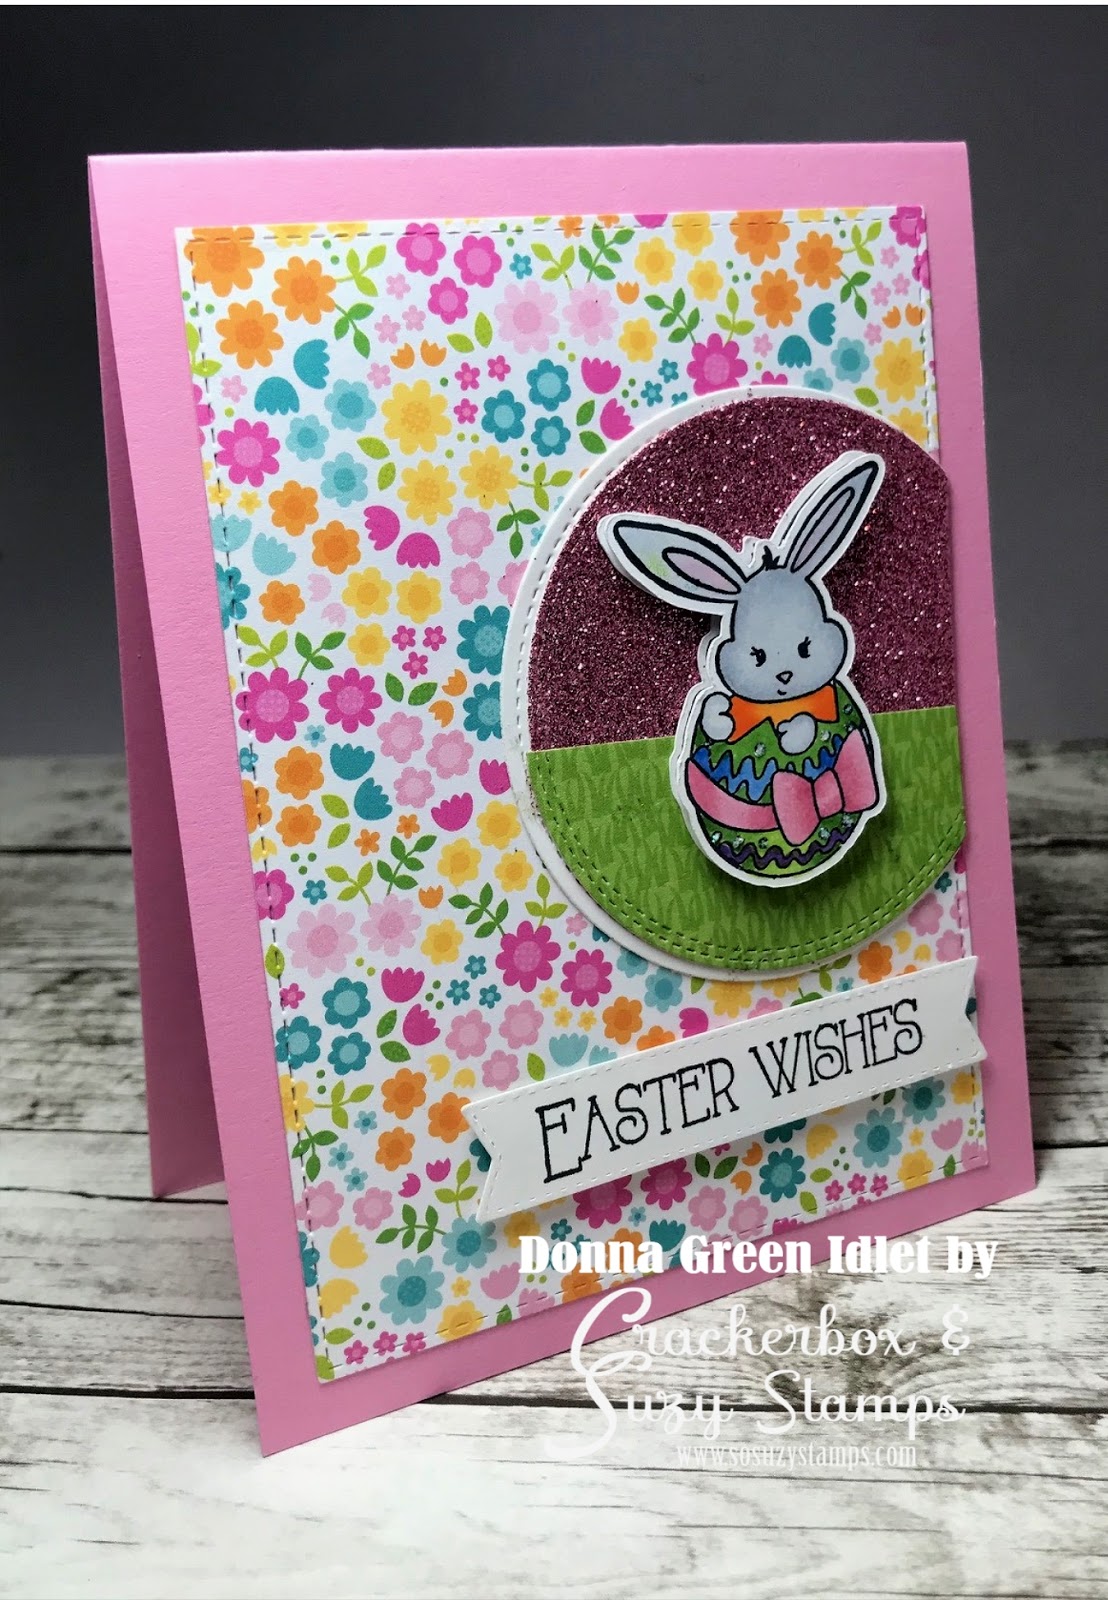
Here is my card for your inspiration:

My card is an A2 card, that I created a shaker. The background paper is from Newton's Nook Designs Spring Blooms Paper Pad, that I die cut the background with the Frames and Flags Die Set. I stamped the Spring Roundabout Stamp onto white card stock and colored the images with alcohol markers. I then die cut it with second scalloped circle from the Circle Frames Die Set. I die cut the scallop circle from again from the Circle Frames Die Set and used the second largest circle to cut the center. I added some accetate to the back of the scalloped circle, added some foam tape to the back and added some embellishmnets from my stash and adhered the image to the back. I adhered it to the base of my card. I then stamped and embossed the sentiment and added it to the card.
Thank you so much for stopping by, to see lots of inspiration using Newton's Nook Designs stamps and dies, please visit their blog.