Showing posts with label heat embossing. Show all posts

RETRO RUBBER CHALLENGE BLOG #194 - Color Challenge

Tuesday, October 25, 2022

Hello everyone!

I am here with Retro Rubber Challenge blog and we have a new challenge which is a color challenge. Be sure to stop over on the Retro Rubber Challenge blog to get more inspiration, the design team has some wonderful creations!

The rules to play along with Retro Rubber Challenge is very simple, make sure the stamp you use on your project is at least one year or older. For more details on the rules, you can find them over on Retro Rubber Challenge blog.


I am using a stamp set from Taylored Expressions called Diamond Botanical. The stamp set was released in February 2021. I have used earth tones on the card, reds, browns and greens.


Here is my card for your inspiration and how I put it together:
  • Created an A2 card measures 4 1/4 x 5 1/2
  • Die cut the strips from TE 1/2" Easy Strips in different card stocks and adhered to a piece of paper.  
  • Stamped the strips with a wooden background stamp with white pigment ink and then die cut it with a stitched die.
  • Stamped and heat embossed the triangle from the Diamond Botanical.
  • Die cut the center with the coordinating die.
  • Stamped and heat embossed the sentiment from the Diamond Botanical stamp set onto vellum and adhered it to the back of the triangle.
  • Assembled the card and added some clear bubbles to the card.
Thank you so much for stopping by, please come back again soon!

Sweet n' Sassy Stamps - You Are A Blessing!

Friday, April 8, 2022

Hello everyone!

I am with Sweet n' Sassy Stamps featuring this beautiful stamp set called "Precious Poppies". This is a beautiful set.  I have had this stamp set in my stash for a while, so happy I was able to get it inky!  This set is perfect to create a Mother's Day card or sending someone a card to let them know you are thinking of them.  

Here is my card for your inspiration:

Sweet n' Sassy Stamps, Precious Poppies, Script Stencil, copic coloring, ink blending, heat embossing
  • Mini Slimline card base measuring  3 1/2" x 6".
  • Black Panel: 3 1/8" x 5 7/8" and the white panel is 3" x 5 3/4".
  • Stamped the floral images from the "Precious Poppies" onto the white panel, masked the flowers and added the background with SNSS Script Stencil with a ink blending tool.  
  • Colored the flower images, then stamped the floral tops, fuzzy cut them and added them to the card with foam squares.
  • Stamped the sentiment from the "Precious Poppies" stamp set with versamark and heat embossed with white embossing powder.
  • Finished off the card by adding some embellishments.
Thank you so much for stopping by, please come back again soon.

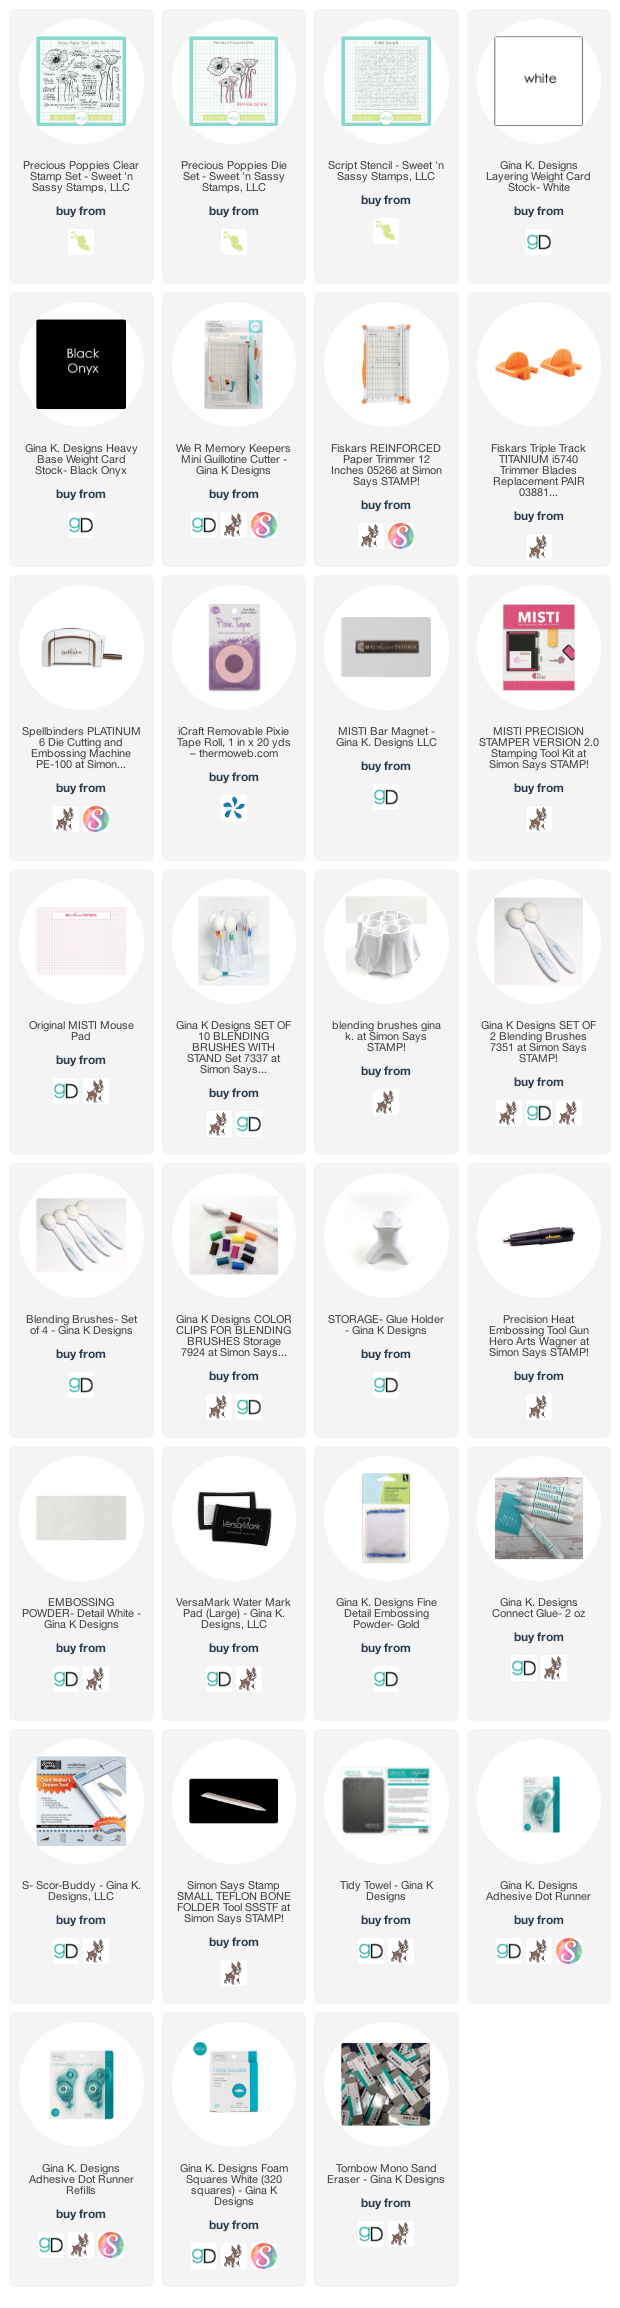
Here is a list of supplies I used on my card, Affiliate Links used at no additional cost. Thank you for your support.

Newton's Nook Designs - January Reveal Day 3

Wednesday, January 19, 2022

Hello everyone!

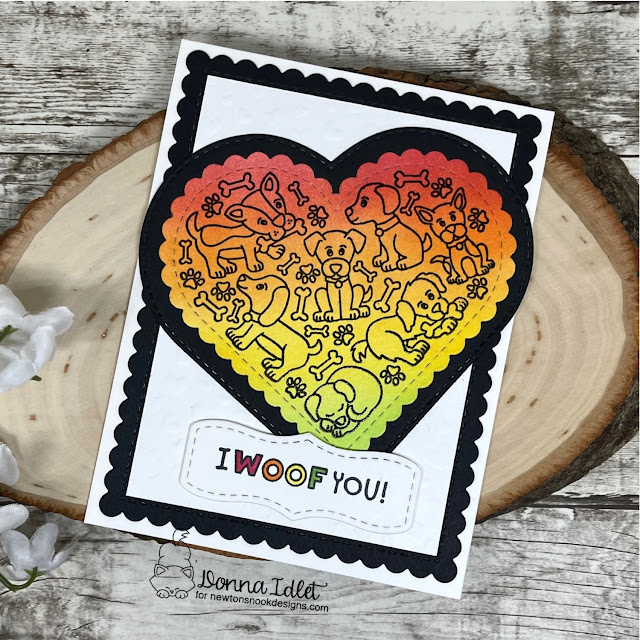
Welcome back to Day 3 of the January 2022 Newton's Nook product reveal. The design team is featuring the Heartfelt Meows and Heartfelt Woofs stamp sets.  I'm in love with these heart shape dogs and cats heart stamp sets.  These heart stamps work well with Newton's Nook Heart Frames Dies and Banner Trio Dies, which you can find here.


Here are my cards for your inspiration:

Newton's Nook Design January 2022 release Heartfelt Meows and Heartfelt Woofs stamp sets, copic coloring #newtonnooks #cardmaking

Here is how I created it:

  • Cut & Score black A2 Card Base: 4 1/4″ x 5 1/5″ (4 1/4″ x 11″, scored at 5 1/2″).
  • Cut the pattern paper from the Love & Meows Paper Pad and layered with gray cardstock.
  • Stamped the image from the Newton's Nook Heartfelt Meows and colored with copics.
  • Die cut the Heartfelt Meow Image using the Heart Frames Die Set.
  • Stamped the sentiment from the Heartfelt Meows stamp set, and die cut with the banner from the A7 Frames & Banners Die Set.
  • Assembled the card.
Newton's Nook Design January 2022 release Heartfelt Meows and Heartfelt Woofs stamp sets, copic coloring #newtonnooks #cardmaking

Here is how I created it:

  • Cut & Score black A2 Card Base: 4 1/4″ x 5 1/5″ (4 1/4″ x 11″, scored at 5 1/2″).
  • Die cut the black layer from the Newton's Nook Frames and Flag Die.
  • Cut a piece of white card stock and dry embossed with the Petite Hearts Stencil.
  • Stamped and embossed the image from the Newton's Nook Heartfelt Woof stamp set. 
  • Ink blended with distress inks.
  • Stamped the sentiment from the Heartfelt Woof stamp set, and die cut with the banner from the A7 Frames & Banners Die Set.
  • Assembled the card.
Would you like to win the  “Heartfelt Meows” or the “Heartfelt Woofs” Stamp Set? We will choose ONE lucky winner for each stamp set!

Here's how to win: Comment on the NND blog and Design Team blogs (see list below)! The winner will be chosen at random from the collective reveal posts. Make sure to check out each of their blogs and comment for your chance to win. You will not know which blog has been chosen so the more you comment on the better your chances are of winning! You have until Thursday January 20th at 9pm ET to comment -- winners will be announced on the blog post on Friday, January 21st.

Check out all the awesome Design Team Blogs below to enter:

Thank you for stopping by, please come back tomorrow for more inspiration!


Thanks and Graditude

Saturday, April 18, 2020

Hello everyone!

I'm here playing along with Photo Scraps Store color challenge, it's the last day of the challenge and it is all about pink and purple. I have had so much fun playing along this week.


Here is the take on the challenge.  I made stripes of paper of pinks and purples and added them to my card.  I then stamped a background stamp with versamark ink and embossed it with clear embossing powder.  I die cut the panel with a stitched die.  I then die cut the word thanks with the darkest purple and darkest pink and added it to my card.  I embossed a sentiment on the darkest purple.  I hope you get some inspiration from my card.


Thanks for stopping by, please come back again!

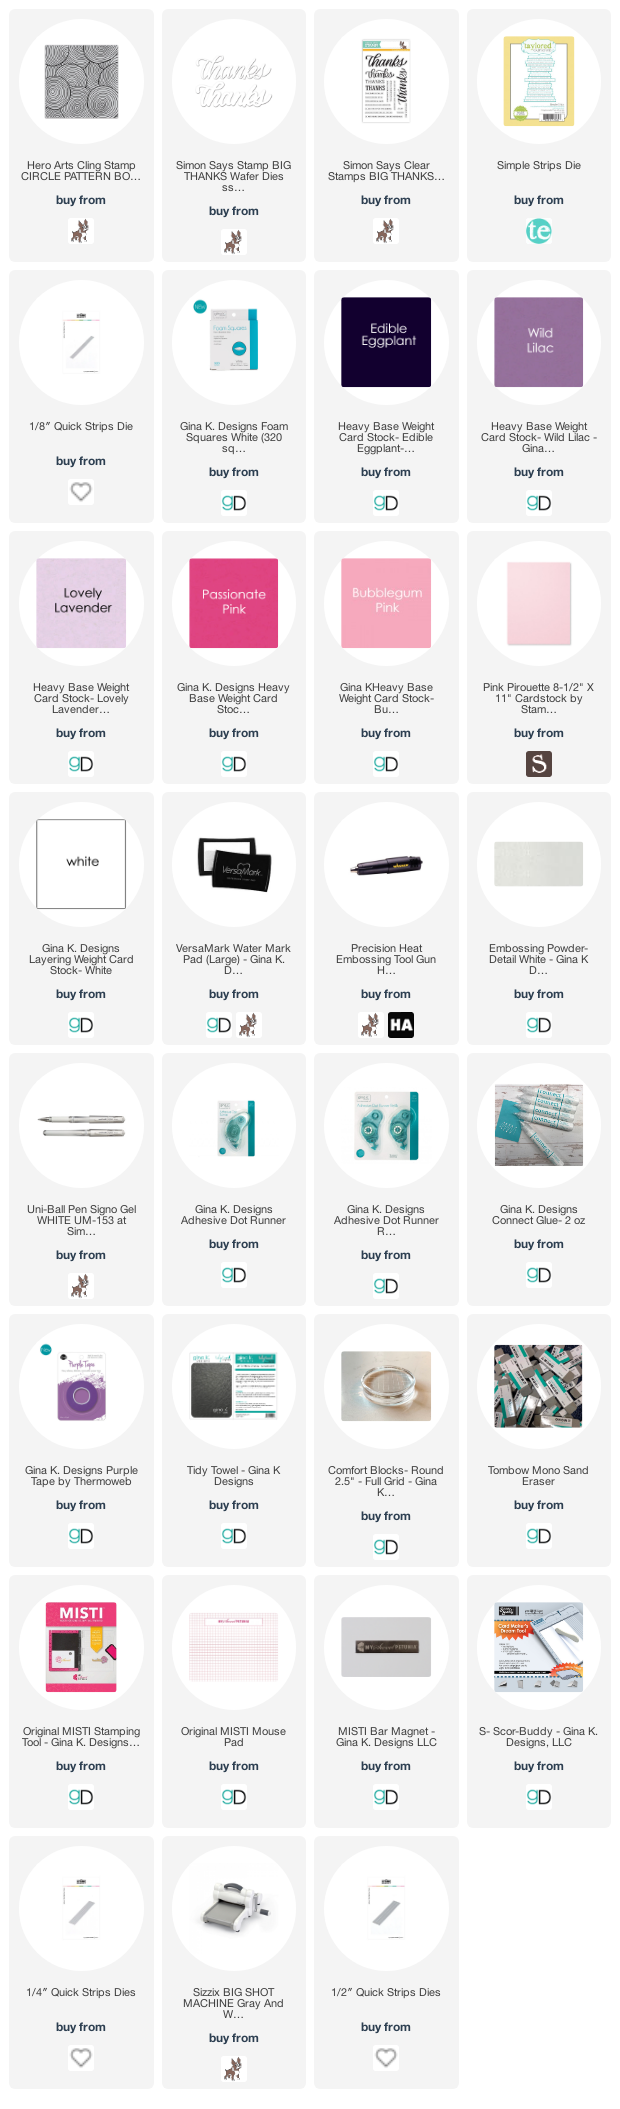
Supplies Used: Some affiliate Links used at no additional cost. Thank you for your support!


GINA K DESIGNS CELEBRATES 2019 STAMPTEMBER® WITH SIMON SAYS!

Thursday, September 5, 2019


Hello everyone!

I am here with Gina K Designs and Simon Says Stamp celebrating STAMPtember®! Simon Says Stamp has collaborated with Gina K. with an exclusive stamp set called "Festive Flowers". This set is only available this month over at Simon Says Stamp, while supplies last. So head on over to Simon Says store and get your set NOW before it is sold out.  The links are above each stamp set!
Here is my card and how I created it:


I stamped the image with Gina K. Amalgam Ink on a 4 1/4 x 5 1/2 piece of Gina K. layering white card stock,  I colored the image with copics (copics used listed below), after coloring I stamped the image again with Gina K. Embossing and Watermark Ink and added Gina K. Fine Detail Gold embossing powder and heat set it.  I stamped the sentiment from the Festive Flowers set with  Gina K. Embossing and Watermark Ink and added Gina K. Fine Detail Gold embossing powder and heat set it. I added the panel to Gina K. Fresh Asparagus card stock.

Thank you for stopping by, be sure to stop over to the Facebook group Gina K. Designs & StampTV Friends for more inspiration from the design team!

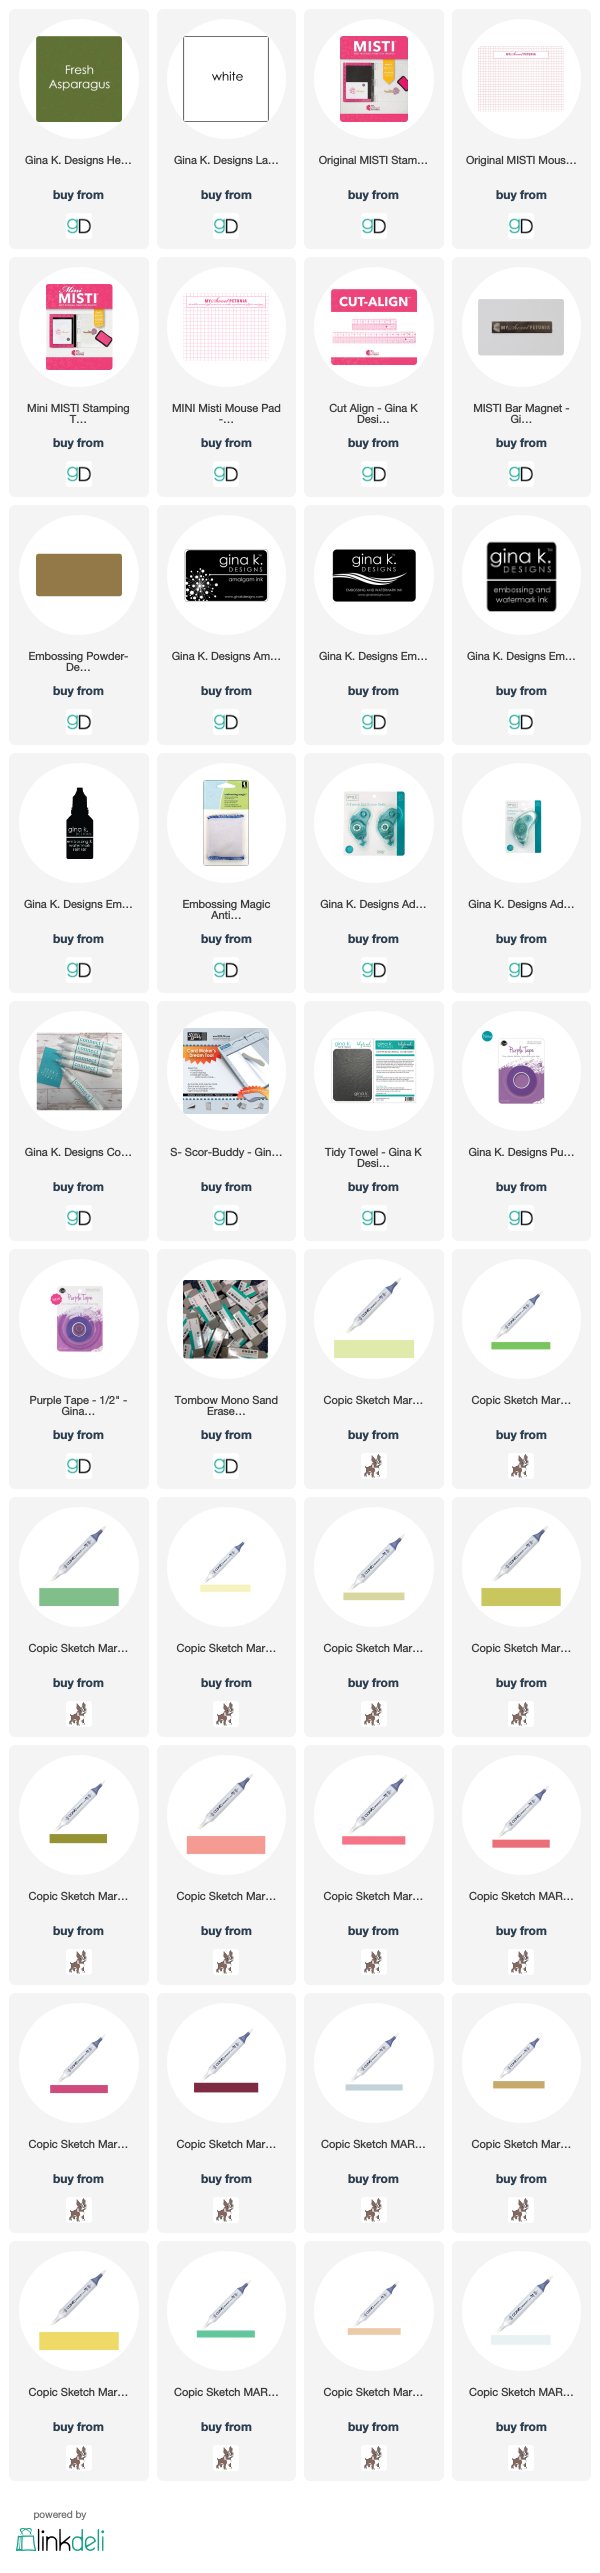
Supplies Used:  (Affiliate Links used at no additional cost to you. Thank you for your support!)

CAS-ual Friday Challenge #203 - Heat Embossing

Friday, July 6, 2018

Hello everyone!

I am here with CAS-ual Fridays challenge and it's all about heat embossing! This is my first post with CAS-ual Friday and I am so happy and honored to be on the challenge team.


If you have not played along with the challenges before it is very simple, there are no restrictions, just link your clean and simple card here. You can find all the stamps and fri-dies I used on my card here. There will be 10 lucky winners and you will be highlighted on the CAS-ual Friday's blog. Also, one lucky winner can win a $25 gift certificate and if you used CAS-ual Fridays stamps or dieson your card, you will win a $50 gift certificate. Sounds like fun!

Here is my card for the challenge. Please stop over to the CAS-ual Fridays blog and see all the wonderful projects from the design team!

My card is clean and simple, I did a little watercoloring in the background, I cut three stars from the CAS-ual Fri-dies Stars. I stamped them with versamark and added clear embossing powder to give the stars some dimension and shine. I stamped the sentiment from the Shenanigans Stamp set with red ink, then stamped it again with veramark and added some red embossing powder and heat embossed it.


Thank you so much for stopping by, I hope you decide to play along! You have until July 17th to join. Good luck and have fun!

Joy Clair - The Potter

Thursday, June 21, 2018

Hello everyone!

I am here with Joy Clair and the whole month of June we are collaborating with Imagine!  I was so excited to be collaborating with them and have the opportunity to work with their products! 

I am featuring the Joy Clair stamp set from the Bible Journaling line called "The Potter".  This stamp set is sooooo nice!  The design team has made some wonderful cards and bible journaling pages, please be sure to check them out over on the Joy Clair blog. 

Here is my card:

Closer look at the card.


Here is how I put my card together:

1.  My card is an A2 card, 4 1/4 x 5 1/2,
2.  The next layer I die cut it with a stitched die, measuring 4 x 5 1/4,
3.  I stamped the Joy Clair Broken Brick background stamp with the Imagine Emboss and heat embossed it with white embossing powder,


4.  I then used the VersaFine Acorn ink to do the heat resist technique for the background.  I wiped the background with a dry cloth so the background would stand out.


5.  After I blended the background with the VersaFine Acorn ink, I sprayed the background with Fireworks Desert Sand spray,


6.  I stamped the image, from the stamp set "The Potter", used my scan and cut to cut it out and colored it with copics, and added it to my card, using foam tape,
7.  I stamped the sentiment from the Joy Clair stamp set "The Potter" with VersaFine Nocturne (black), die cut it with a circle die and then added it to my card.

If you have not joined the Joy Clair Challenge this month. The theme is always anything goes but our Design Team uses a photo inspiration to create their project that you can use too. If you would like to join the challenge, you can find all the details here.  One lucky winner will have a chance to win a $25 Gift Certificate to the Joy Clair Store.

I hope you enjoyed my card as much as I enjoyed making it!  Please follow Joy Clair's facebook pageColor by Faith Bible Journaling facebook pageInstagram and Twitter, be the first to hear the news, sales and giveaways! They also have a Pinterest page and Youtube channel for your inspiration!

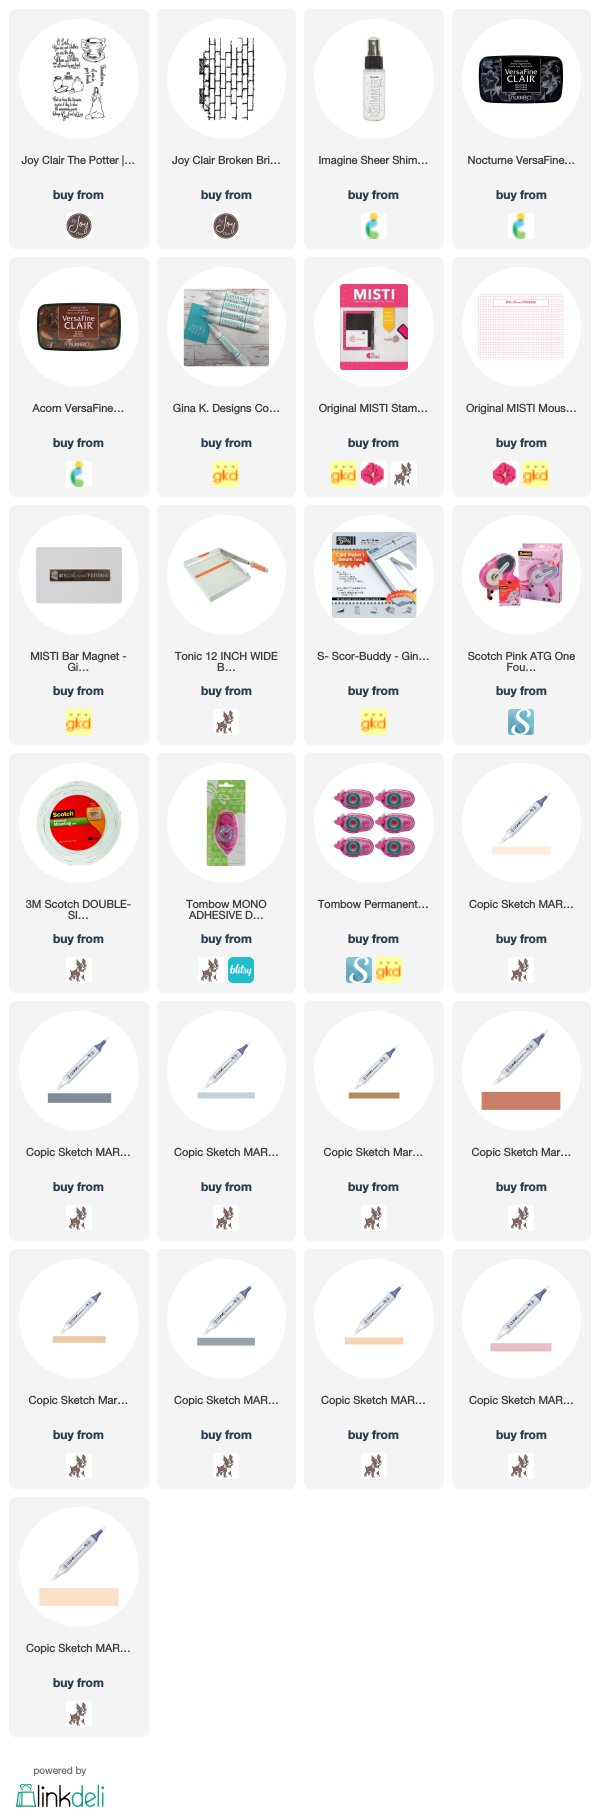
Supplies Used:


Joy Clair - Doodle Flowers

Tuesday, May 23, 2017

Hello everyone!

I am back again this month with Joy Clair.  I am featuring one of the newest stamp set called "Doodle Flowers" and the sentiment is from the Joy Clair set "Everyday Sentiments".  This month sure is flying by, if  you have not visited the Joy Clair blog, please stop by to see all the wonderful creations the design team has created.  You will definitely be inspired!

There is still about a week to play along with the Joy Clair Challenge this month.  The theme is always anything goes and our Design Team uses a photo inspiration to create their project that you can use too.  If you would like to join the challenge, you can find all the details here. As always, you will have a chance to win a $25 Gift Certificate to the Joy Clair Store

Here is my card for inspiration.  This months theme for the design team is layering.  I think I meant this requirement pretty well.  Below I will tell you how I put my card together.


How I put my card together:

1.  A2 card 4 1/4 x 5 1/2,
2.  I cut a few different design papers to make my layers, the flower piece measures 3 7/8 x 5 1/2, the stripe piece is 1" and the cardstock that is in between the design paper is just a small piece I put in between,
3.  I die cut the scallop piece from the Lawn Fawn Scallop die set,
4.  I stamped the image from the Joy Clair Doodle Flowers stamp set and colored them with copics,
5.  I stamped the sentiment from the Joy Clair Everyday Sentiment stamp set with versamark and then added some white embossing powder and heat embossed it,
6.  I then die cut the image out with the Lawn Fawn Stitched Rectangle set,
7.  I finished off my card with some black enamel dots. 


Please follow Joy Clair's facebook page, Color by Faith Bible Journaling Facebook page, Instagram and Twitter, be the first to hear the news, sales and giveaways! They also have a Pinterest page and YouTube channel for your inspiration!


Thank you for stopping by, please come back again soon!


Joy Clair - Happy Easter!

Wednesday, March 15, 2017


Hello everyone!


It's Donna here, can you believe it is almost Spring!  Well, here in Virginia, I think the weather is confused.  We have had high 60's to 70 degree weather.  I really feel the Spring is here because my allergies are in full swing....I had to bring out the Flonase and Allegra!  However, this morning on the news I heard we might have snow showers on Friday....stay tuned!
So, onto my card.  I am featuring the Joy Clair Happy Easter set.  This set was released last February 2016.  This set is a great set to own, there are several images and a couple of sentiments.  If you would like to see what I did last year with this set, click here.  I colored the bunny in gray last year, so I decided to color him brown this year.  What color would you have colored him?  There are endless possibilities with this set!  Also, search for this set on the Joy Clair blog for more inspiration.


JC_Happy Easter_D Idlet

Here is how I put my card together:
  1. My card is an A2 card (4 1/4 x 5 1/2),
  2.  I dried embossed the background with my big shot,
  3. I used the SVG file that you get free when you purchase any of the Joy Clair stamp sets,
  4. I stamped the image with Black Memento Ink and colored him with copics - using copic colors E31, E35, E57 and E79,
  5. I stamped the sentiment with versamark, added some white embossing powder and heat embossed it,
  6. I cut a 1/2 inch piece of design paper and angled it and angled the black embossed piece and added the stripes to my card. 
  7. I finished my card off by adding some enamel dots.
Please follow Joy Clair's facebook page, Color by Faith Bible Journaling facebook page, Instagram and Twitter, be the first to hear the news, sales and giveaways! They also have a Pinterest page and Youtube channel for your inspiration!
I hope I have inspired you in some way.  Thank you for stopping by, please come back tomorrow to see another beautiful creation from the design team.

Joy Clair - God's Treasures

Saturday, January 14, 2017

Hello everyone,

I am here  with Joy Clair showcasing the new stamp set "God's Treasures".  If you love bible journaling this is a perfect Stamp set for you.  I decided to make a card with the new set.  The theme this month is “embossing”, on my card I decided to do some heat embossing. 

Here is my card:

JC_God's Treasure_D Idlet_closer

closer look at the embossing
JC_God's Treasure_D Idlet_closer

Have you had time to join the blog hop?  If not, please join and see all the beautiful creations the design team has created.  Two lucky people have a chance to win a twenty-five dollar gift card to spend in the store, so please stop over and join the fun. 

If you have not had a chance to see the new stamp sets, here is a peak of them all.

No automatic alt text available.

Here is how I put my card together:
  1. A2 card 4 1/4 x 5 1/2,
  2. The black layer measures 4 x 5 ¼,
  3. The design papers measures (1 ¼ x 5 1/8, 3 x 5 1/8, the next layer is 2 7/8 x 3 7/8 (black piece), the layered design paper is 2 5/8 x 3 5/8, the black design paper at the bottom the layers measure 1 x 4 and 7/8 x 4),
  4. The circles were cut by the small and large spellbinders,
  5. I stamped the treasure box with stampin up crumb cake ink,
  6. I then stamped the sentiment with versamark and then heat embossed it with black embossing powder,
  7. I used foam tape and popped the circle onto my card.
Please follow Joy Clair's facebook page, Color by Faith Bible Journaling Facebook page, Instagram and Twitter, be the first to hear the news, sales and giveaways! They also have a Pinterest page and YouTube channel for your inspiration!

Thank you for stopping by, please come back again soon!
So Suzy December Guest Designer - Snowflake Tree

Sunday, December 4, 2016

I HAVE THREE POST TODAY, IF YOU ARE LOOKING FOR CHRISTMAS CHALLENGE BLOG, CLICK HERE.
IF YOU ARE LOOKING FOR COTTAGECUTZ, CLICK HERE.


Hello everyone!

I am so excited about being asked to be a guest designer for the month of December for So Suzy Stamps.  I am a fan of their stamps!  So Suzy is having an 'End of the Year Party" and she will be offering free shipping December 1st through the 15th!  You can also win free shipping for the whole year in 2017.  Details are on her blog!

So onto my card, I am using the newly released Snowflake Tree.  I decided to use the technique "triple time stamping". The black layers measures:  2-1/4" x 3-1/2", 3-1/4" x 4-1/2", 5-1/2" x 8-1/2" (score at 4 1/4), the silver layers measure:  2" x 3-1/4", 3" x 4-1/4" and 4" x 5-1/4".  I then stamped the image with versamark and the three layered black cardstock, and heat embossed it with silver embossing powder.  I then added the silver layers to the card.  So easy!  


Thank you so much for stopping by, what do you think?  I would love to hear from you.  Also, please stop over at So Suzy Stamps to see other projects created by the talented Design Team with this stamp. There are some great creations.

Supplies Used:

DAY 3 - PRICKLEY PEAR NEW RELEASE

Wednesday, November 16, 2016

I HAVE TWO POST TODAY IF YOU ARE LOOKING FOR GINA K AND CARDMAKING BLOG HOP CLICK HERE.  


Hello everyone, 

It's Day 3 of the Prickley Pear's release, today I am featuring  the Ornate Bell rubber stamp.  The sentiment is from the Christmas Banner Set.  Please stop by the blog to see all the beautiful samples the design team has created. We will be featuring new stamps all week! 


Ornate Bell


Here are my creations:


My card is an A2 card, I embossed the bells and the sentiment with silver embossing powder.  

If you have not stopped over to see ALL the new release stamps, please check them out. If you enter the coupon code FREESHIP you can get free domestic shipping until November 21. Also, be sure to check out the CLEARANCE sale going on as well. Once they are gone, they are gone!

Thank you for stopping by! Come back to the Prickley Pear blog tomorrow for more inspiration of the new release. Don't forget to follow Prickley Pear on Facebook, you don't want to miss any specials they may have.


Made With Love By The Dutch Lady Designs
Follow Me on Pinterest