Showing posts with label congratulations. Show all posts

Kat Scrappiness - Congrats!

Saturday, April 30, 2022

Hello everyone!

I am here with Kat Scrappiness featuring the NEWLY released Star Trio Shaker Card Kit.  I hope you were able to see all the newly released kits, if not you can find them here.  These shaker kits are adorable and so easy to put together.


Here is how I created the shaker:

  • Created an A2 card 4 1/4 x 5 1/2.
  • Die cut the black layer with KS Embossed Edged Dies.
  • Used the Falling Stars 6x6 Stencil in the background, used Transfer Gel Duo with the stencil, let it dry and added foil and ran through laminator.
  • Assembled two of the Star Shakers by adding Transfer Gel Duo to the stars, let it dry and added foil to the stars and ran it through the laminator. Next attached the acetate to the stars with a tape runner, added the foam star to the stars, filled with shaker bits, created another star acetate to sealed the shaker bits and added the stars to the card.
  • Die cut the Congrats with shadow die using alcohol ink paper and added it to the card.
Thank you so much for stopping by, please come back again soon.

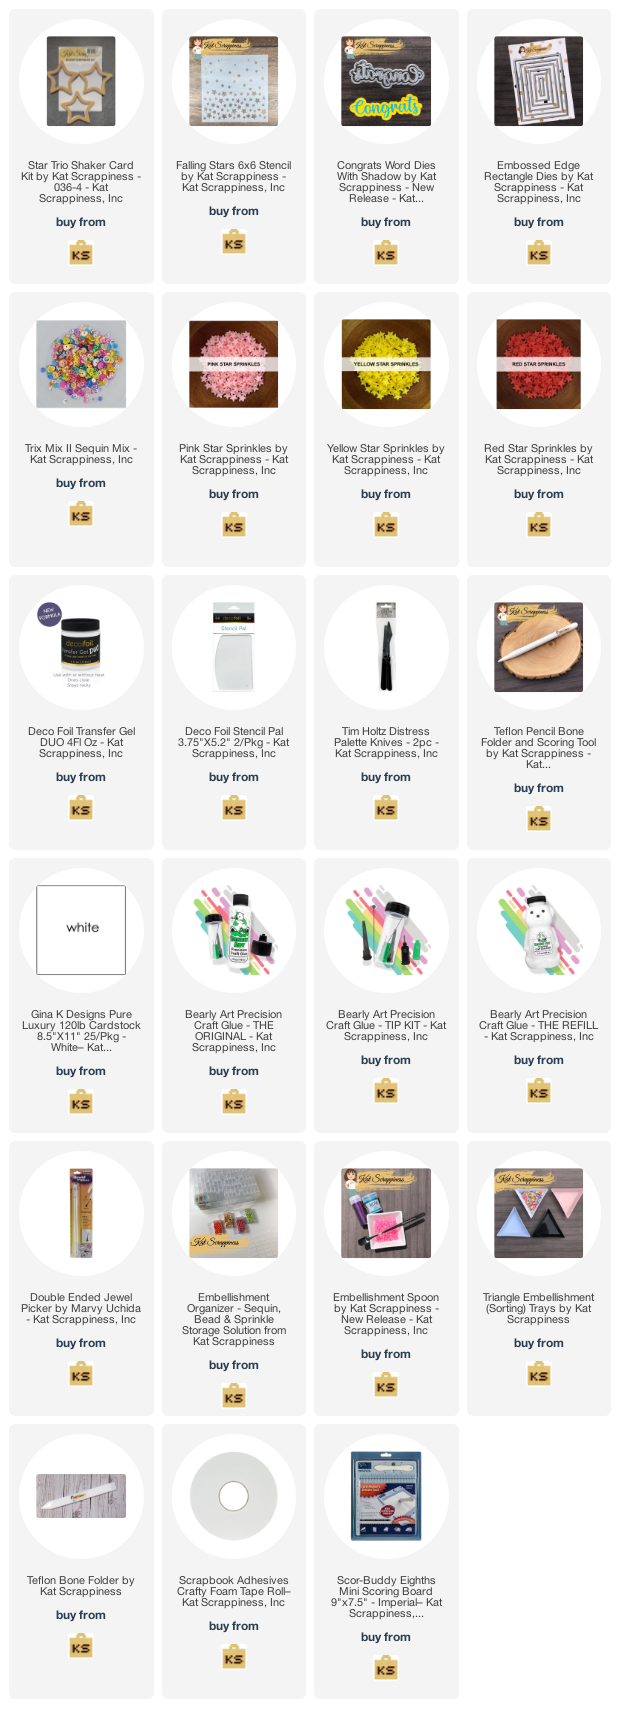
Here is a list of supplies I used on my card, Affiliate Links used at no additional cost. Thank you for your support.
Joy Clair - Rose Sentiment

Friday, August 25, 2017

Hello everyone!

I am here with Joy Clair, I am featuring one of the most recent newly released stamp set called Rose Sentiments.  This is a beautiful set, the sentiments are in a beautiful script.   The sent is so versatile you can make all kinds of card with this set such as  sympathy, get well, congrats and so on.  I have a wedding card that I made today.   The roses are beautiful, I have colored mine with copics, but you can use any media you would like.   If you have not seen all the beautiful designs the team has created, please stop by the Joy Clair blog to see them.

Here is my card for your inspiration:


How I put my card together:

1.  My card measures 5 1/2 x 4 1/4, the white layer measures 5 1/4 x 4,

2.  I embossed the white layer,

3.  I then die cut the Victorian looking die,

4.  I stamped my image with memento black ink (since I was coloring the image with copics),

5.  I then colored my image with copics using R27, 46 and 59, the leaves are YR03, 17, 68.  I then centered the stitched die over my image and die cut it out,

6.  I then took a piece of black cardstock and stamped my sentiment from the Rose Sentiments stamp set with versamark ink,

7.  I then heat embossed it with white embossing powder.  I die cut it out and adhered it to my rose image with foam tape,

8.  I finished the card off by adding some clear round drops with wet glue.

Here is a closer look at the image, so many details in the flower.  I am still learning shadows, I hope one day to really be a professional at coloring them.


If you have not had a chance to join the "anything goes" challenge, please take a minute and join.  Joy Clair will be giving away one $25 gift card to the Joy Clair Store, randomly selected to give everyone a chance to win.

Please follow Joy Clair's facebook pageColor by Faith Bible Journaling facebook page, Instagram and Twitter, be the first to hear the news, sales and giveaways! They also have  a Pinterest page and Youtube channel for your inspiration!


Made With Love By The Dutch Lady Designs
Follow Me on Pinterest