Showing posts with label glossy accents. Show all posts

Kat Scrappiness - Rainbow Hugs

Friday, May 13, 2022

Hello everyone!

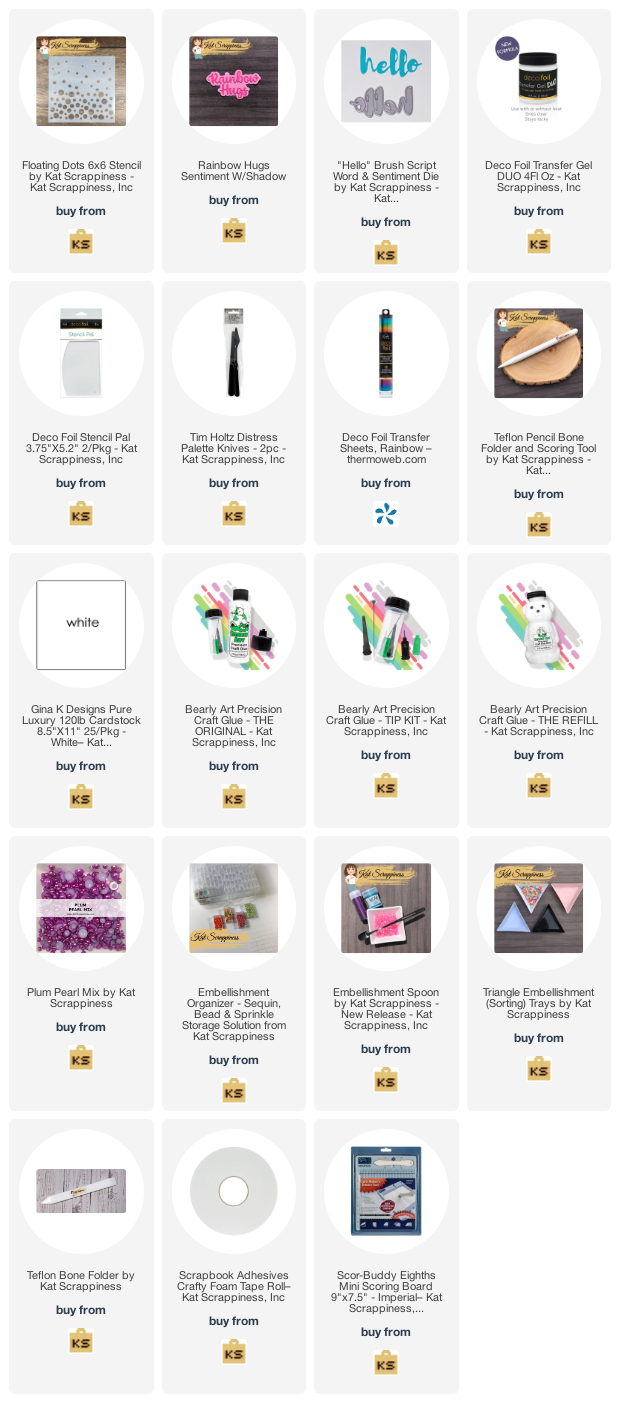
I am here with Kat Scrappiness featuring the NEWLY released "Floating Dots" 6x6 Stencil using Deco Foil Transfer Gel, Duo.  I am also using the KS Rainbow Hugs Sentiment W/Shadow and Hello Brush Script Word dies.  I have created two cards using the stencil with Deco Foil Transfer Gel Duo and foil.  


Here is my first card:

1.  A2 card measuring 4 1/4 x 5 1/2.
2.  Top layer measures 3 7/8 x 5.
3.  Added Deco Foil Gel to the stencil.
4.  Added the foil, shinny side down and ran it through the minc.
5.  Die cut the Rainbow Hugs Sentiment W/Shadow die from ink blended paper, and die cut the shadow with vellum, added a plum pearl for the tittle on the "i".
6. Assembled the card.


My second card is created using the reverse piece from the top card.  

1.  Used Thermoweb's toner paper with the reverse piece, again putting the shinny side onto the toner paper.  
2.  Ran it through the minc and adhered it to an A2 card.  
3.  Die cut the Hello Brush Script Word and adhered it to the card and added glossy accent.


Thank you so much for stopping by, please come back again soon.

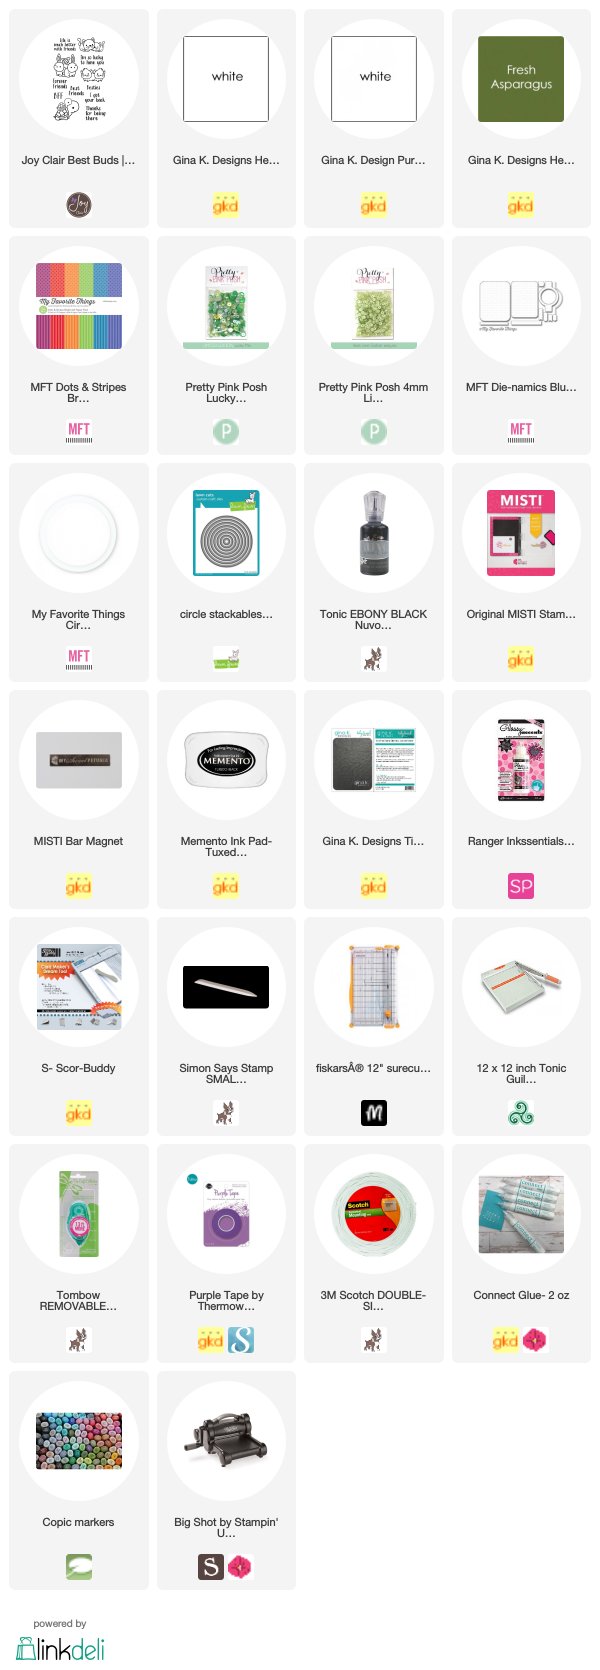
Here is a list of supplies I used on my card, Affiliate Links used at no additional cost. Thank you for your support.
Crackerbox & Suzy Stamps - Happy Birthday

Sunday, June 2, 2019

Hello everyone!

I am here with Crackerbox & Suzy Stamps sharing a fun colorful card I created.  I am using the Crackerbox & Suzy Stamps, the ice cream image is called Sundae and the sentiment is called My Sweet Friend.

Here is how I created my card:

1.  My card is an A2 top folding card,
2.  I cut the design colorful paper at 4 x 5 1/4,
3.  I stamped the Sundae, colored it with copics,
4.  I stamped the My Sweet Friend sentiment, I masked off the words "Happy Birthday My Friend" stamped the "Sweet" with red ink, I cleaned my stamped, masked the "Sweet" and stamped the "Happy Birthday My Friend" in black ink,
5.  I then die cut the image and sentiment with a rectangle die,
6.  I then used some glossy accent and put it on the ice cream and cookies, I let it dry and then adhered it to my card,
7.  I finished my card off by adding some glittery enamel dots from my stash.


Closer look at my card.


The special for the month of June is 20% off all animal related stamps, click here for the list and images.


Thank you for stopping by, please come back again soon.

Joy Clair Best Buds

Wednesday, April 25, 2018

Hello everyone!

I am here with Joy Clair with one of my favorite stamp set called "Best Buds".  This is an adorable stamp set, there are 4 cute images and about 8 sentiments. This set is a must for your stash!


Here is how I put my card together:

1. I started with an A2 card (4 1/4 x 5 1/2),
2. I die cut the rounded corner layer and adhered it to the base of the card,
3.  I die cut the center green element and made a shaker, and added some sequins,
4. I stamped the cute turtle image from the Joy Clair "Best Buds" stamp set with
Black Memento then colored the turtles with copics,
5.  I added the turtles to the front of the shaker with some foam tape,
6. I then stamped the sentiment with Black Memento from the Joy Clair set "Best Buds",
7.  To finish off my card, I added some glossy accent to the turtles shells and added some black nuvo drops for the eyes.

This card is clean and simple and was very easy to put together!

I hope you will play along with the Joy Clair Challenge this month. The theme is always anything goes and our Design Team uses a photo inspiration to create their project that you can use too. If you would like to join the challenge, you can find all the details here.  One lucky winner will have a chance to win a $25 Gift Certificate to the Joy Clair Store.

For more inspiration make sure to follow Joy Clair on their social media platforms: Joy Clair blog, facebook pageJoy Clair Stamp ProjectsColor By Faith Facebook Group, Instagram, TwitterPinterest and Youtube channel to be the first to hear the news, sales and giveaways!

Thank you for stopping by, please come back again soon!

Supplies Used:


a2z Scrapbooking - Valentine

Monday, January 9, 2017

Hello everyone,

I am here with a2z Scrapbooking and there is a new challenge that I hope you will play along with. The Challenge is "anything goes".  You can link your project here.  Please be sure that your project contains at least ONE main HERO ART Product as the focal element!
anything-goes
I am using the cute Hero Arts "Floral Heart Stamp & Cut.  I used some red glitter paper to cut the die out.  I then die cut the "Valentine" from the Hero Arts "Valentine Message and Three Hearts Fancy Dies".  I used liquid glue to adhere the "Valentine" to the heart die.  I then added some glossy accent to make the "Valentine" stand out.  The sentiment is from the Hero Arts "Floral Heart Stamp & Cut" set.  I stamped the sentiment with Versamark and added the Hero Arts White Embossing Powder and heated it with a hot glue gun.  I finished my card off by adding some Hero Arts rhinestones and twine.


If you like any of the products I used on my card, please stop over at the a2z Scrapbooking Esty store. You can also use the code "Donna15" to receive 15% off of a $25.00 order.

a2z Scrapbooking has a Twitter, Instagram and Facebook pages. Follow us on these different social media outlets so you won’t miss out on any of the promotions!

I hope I have inspired you to join the challenge this month! You will have a chance to win a $25 gift certificate to the store! Good luck and please come back again soon!

Supplies Used:
Made With Love By The Dutch Lady Designs
Follow Me on Pinterest