Hello everyone!
Welcome to the
Joy Clair Stamps collaboration with
Thermoweb! All week long the Joy Clair design team and Thermoweb team will be inspiring you with projects made with the beautiful foiling products that Thermoweb makes! Be sure to go over to the Joy Clair blog to see all the wonderful projects. All the items I used on my cards are listed below.
What's a celebration without gifts! Joy Clair Stamps and Thermoweb will be giving TWO lucky winners a $25 gift card to their store. All you have to do is keep coming back all week long and comment on each post.
Here are my cards for your inspiration:
Here is how I created my card:
1. My card is a top folding A2 card,
2. I cut the next layer at 4 x 5 1/4, the black layer is 3 7/8 x 5 and the embossed layer is 3 1/2 x 4 7/8,
3. I embossed the top layer,
4. The side layer measures 2 x 4 1/2 the top layer is Gina K. Designs/Thermoweb Foil-Mates™ Backgrounds -Bountiful Flourish, and I foiled it with Gina K. Designs/Thermoweb Fancy Foils™ - Glittering Green,
5. I then stamped the images from the Joy Clair Stamp "Fruit of the Spirit" which is from the Color by Faith line, with Thermoweb's Deco Foil™ Adhesive Pen and use the Gina K. Designs/Thermoweb Fancy Foils™ - Wild Dandelion and the fruit with Gina K. Designs/Thermoweb Fancy Foils™ - Red Velvet,
6. I colored the fruit with Copics,
7. I die cut the image using Gina K. Designs/Thermoweb Nested double and single Rectangle dies and used foam tape to adhere it to my card.
My next card, is using the negative pieces of the foil I used in my first card. I used Gina K. Designs connect glue to adhere the foil to the white card stock.
My last card I am using the newly released "Pearl of Great Price" stamp set.
1. The card is a side folding A2 card, I used the extra pieces from the Gina K. Designs/Thermoweb Foil-Mates™ Backgrounds -Bountiful Flourish, and Gina K. Designs/Thermoweb Fancy Foils™ - Grass Green. The sheet goes a long way, no need to throw any pieces away, you can always find a use for them. I save all of my pieces.
2. I stamp the sentiment from the Joy Clair Stamps "Pearl of Great Price", onto the Gina K. Designs/Thermoweb Foil-Mates Label Border frame with Gina K. Designs/Thermoweb Fancy Foils™ - Gold Sequins and then die cut it with Gina K. Designs/Thermoweb nested label dies.
3. I adhered the side foiled pieces, the sentiment frame, and used foam tape to pop the shell onto the card.
4. I finished the card off by adding some clear wink of stella and glossy accents onto the pearl.
Closer look at the card.
Thank you so much for stopping by, please come back again soon!
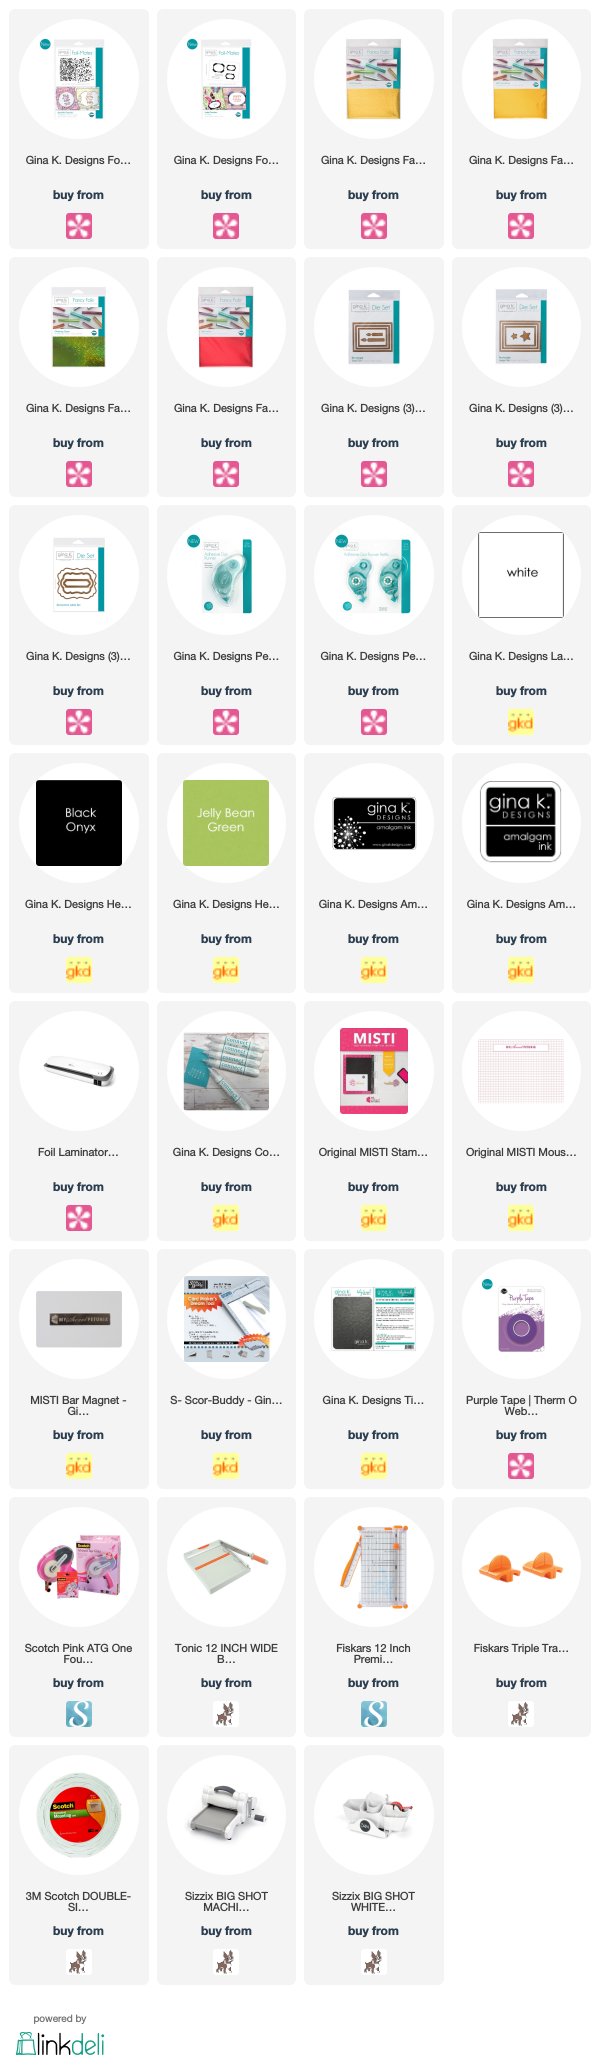
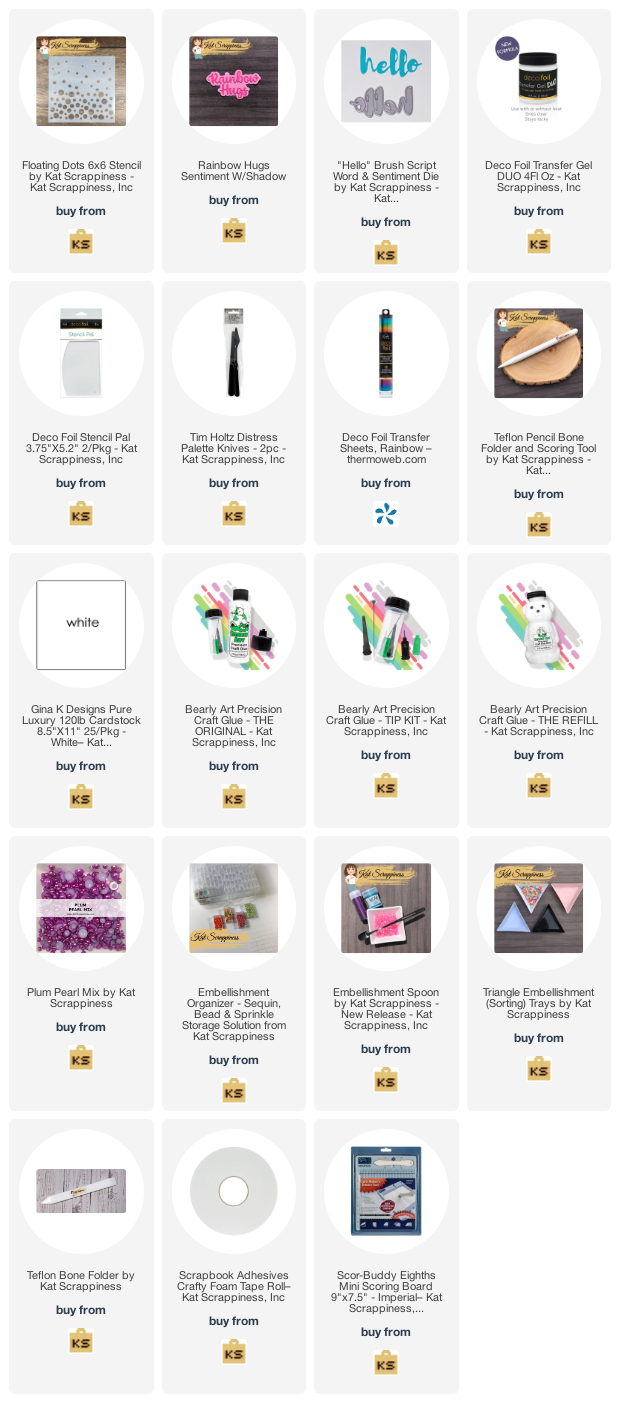
I’m listing the products I used below. Click on the link to go directly to the product. Where available I have used compensated affiliate links which means if you make a purchase I receive a small commission at no extra cost to you. Thank you so much for your support!
SUPPLIES: