Showing posts with label Cardmaking. Show all posts

Kat Scrappiness - Rainbow Hugs

Friday, May 13, 2022

Hello everyone!

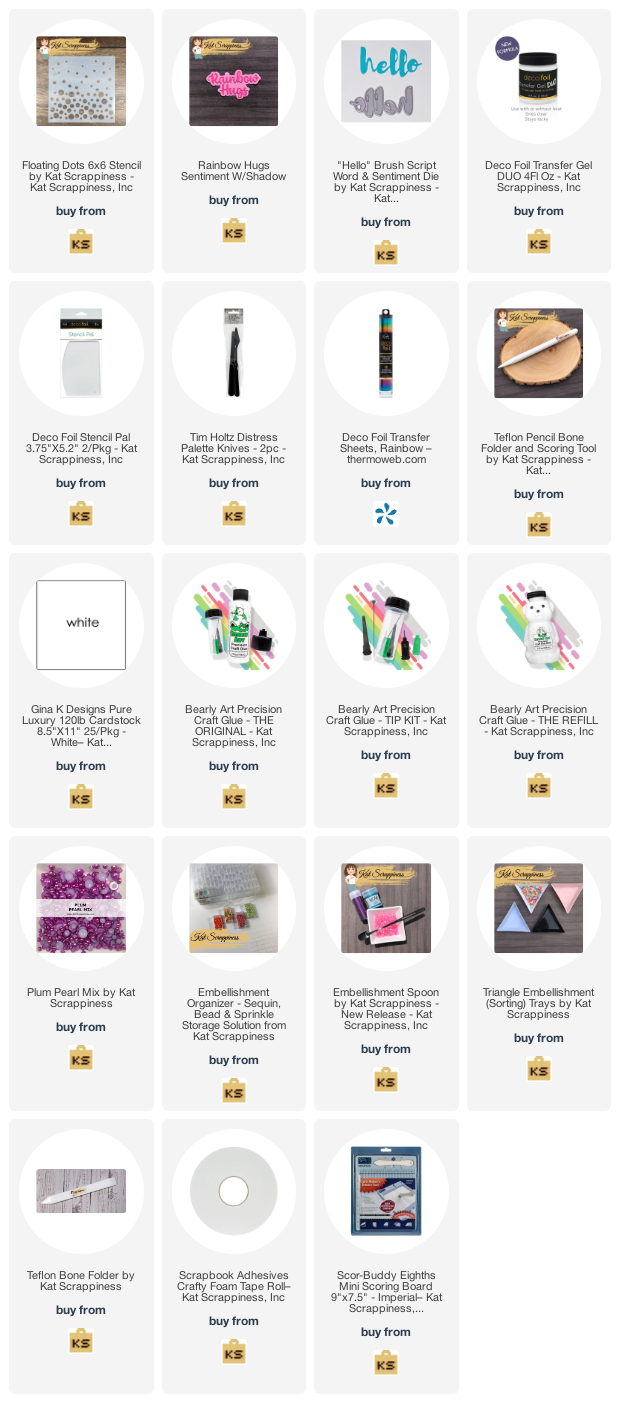
I am here with Kat Scrappiness featuring the NEWLY released "Floating Dots" 6x6 Stencil using Deco Foil Transfer Gel, Duo.  I am also using the KS Rainbow Hugs Sentiment W/Shadow and Hello Brush Script Word dies.  I have created two cards using the stencil with Deco Foil Transfer Gel Duo and foil.  


Here is my first card:

1.  A2 card measuring 4 1/4 x 5 1/2.
2.  Top layer measures 3 7/8 x 5.
3.  Added Deco Foil Gel to the stencil.
4.  Added the foil, shinny side down and ran it through the minc.
5.  Die cut the Rainbow Hugs Sentiment W/Shadow die from ink blended paper, and die cut the shadow with vellum, added a plum pearl for the tittle on the "i".
6. Assembled the card.


My second card is created using the reverse piece from the top card.  

1.  Used Thermoweb's toner paper with the reverse piece, again putting the shinny side onto the toner paper.  
2.  Ran it through the minc and adhered it to an A2 card.  
3.  Die cut the Hello Brush Script Word and adhered it to the card and added glossy accent.


Thank you so much for stopping by, please come back again soon.

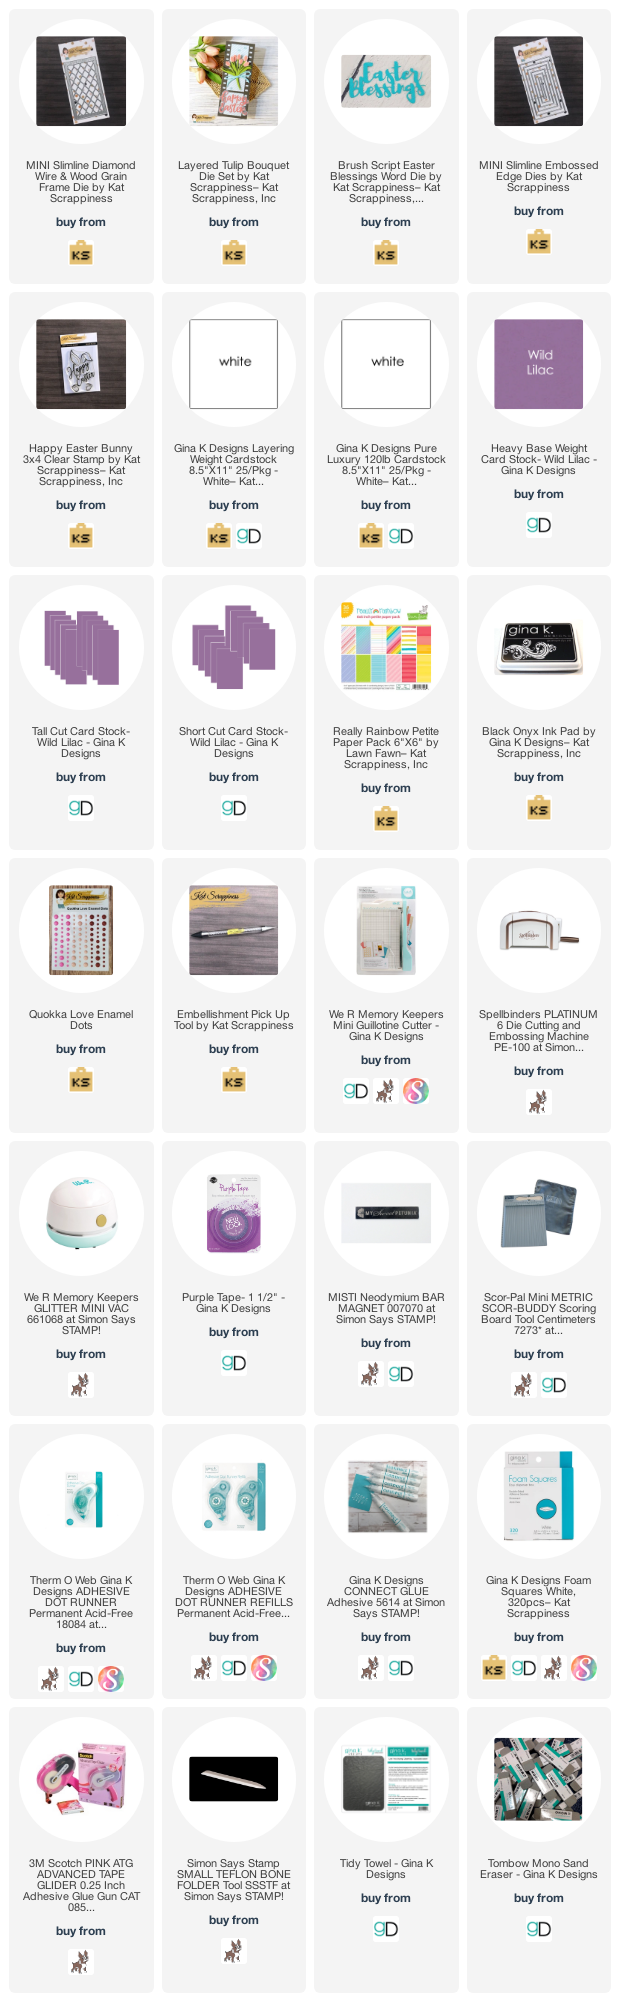
Here is a list of supplies I used on my card, Affiliate Links used at no additional cost. Thank you for your support.
Kat Scrappiness - Easter Blessings

Saturday, March 13, 2021

Hello everyone!

I am here with Kat Scrappiness with a couple of Easter cards I created using the newly release Easter dies.  My first card I used the newly released Layered Tulip Bouquet Die Set and my second card is created using the newly released Happy Easter Bunny clear stamp set.

Just a reminder, the Spring Sale is going on right now through March 14th.


My first card, is a mini slimline card which measures 3 x 6, I then die cut the Kat Scrappiness slimline Diamond Wire & Wood Grain die.  I used some design paper behind the slimline die and adhered everything together.  I then used some distress inks to color the tulips, leaves and bow from the Tulip Bouquet Die Set.  I adhered everything together to create the bouquet and added it to my card.  I then die cut the Kat Scrappiness Brush Script Happy Easter word die and colored it with distress inks and adhered it to the card.  To finish off the card I used the Kat Scrappiness Gold Sequin cross at the base of the bouquet.


Here is another look of the card.


My next card I created using the Kat Scrappiness Happy Easter Bunny clear stamp set.  I love this stamp set, it measures 3x4, but makes an adorable card.  My card is a top folding slimline card.  I masked off the top layer and added some distress inks.  I die cut this with Kat Scrappiness mini slimline Embossed Edge Die.  I then stamped the the image from the Happy Easter Bunny clear stamp set.  I also stamped the image again, I colored the ears and feet with copics and then fuzzy cut them out and used foam squares and popped them up onto the card.  I finished the card off by adding some Kat Scrappiness Quokka Love Enamel Dots.


Thank you so much for stopping by, I hope you have been inspired. Please come back again soon!

Here is a list of supplies I used on my card, Affiliate Links used at no additional cost. Thank you for your support.

Kat Scrappiness - Got Coffee?

Monday, November 9, 2020


Hello everyone!

I am here with another card to link up for the Coffee Lovers Blog Hop using Kat Scrappiness NEWLY released slimline paper Cuppa Christmas  On this card I have no stamping, I fuzzy cut the cute coffee mugs from one of the papers from the Cuppa Christmas paper. The sentiment is a die cut from Kat Scrappiness called Got Coffee?.

Kat Scrappiness has15% off all Fall, Autumn, Coffee, Halloween and Thanksgiving items, just use coupon code FALLCOFFEE2020 at check out.


 Thank you for stopping by, please come back again soon!


Crackerbox & Suzy Stamps - Snarky Minion Lucy

Thursday, March 12, 2020

Hello everyone!

I’m here with Crackerbox & Suzy Stamps featuring a snarky sentiment Number of Years and Minion Lucy.

Every month Crackerbox & Suzy Stamps will have a theme, this months theme is die cuts, Snarky,
Sweet Sentiments and Get well. If you would like to join, please feel free to share on the Crackerbox & Suzy Stamps Flaunt It If You Made It Facebook page. Each week one person will be chosen to receive a $5 store credit. It will be added to your account to spend on any rubber stamps from the store. All you have to do is make a card with at least one stamp from the sales category and use the technique and post it on the facebook page!

This months sale is 20% off snark, sweet sentiments and get well.


Here is my card for your inspiration:


My card measures 5 1/2 x 4 1/4. The design paper measures 5 1/4 x 4. I stamped the Minion Lucy and the sentiment is Number of Years with black memento ink, I colored the Minion Lucy with copics. I die cut the image with a rectangle stitched die and adhered it to the card base.

Thank you so much for stopping by, please come back again soon.

Gina K. Designs February 2019 New Release Blog Hop - Day 1

Wednesday, February 20, 2019

Hello everyone!

Welcome to Day 1 of the three day Gina K. Designs 2019 February blog hop! The release is now available over at Gina K. Designs and can be found HERE under the "what's new" tab. Today the design team is featuring two new sets which are "Crafty Notes by Gina K. Designs" and  "Cake Toppers by Emily Loggan".  I am also using one of the mini stamp sets called "Crafty and Creative".

There is a prize up for grabs for each day of the hop. Just leave a comment on each stop of the hop for a chance to WIN a $50 Gina K. Designs gift certificate! A total of THREE certificates will be awarded. The winners will be announced over in Gina K. Designs blog on March 1. 

Here is the first two stamp set I am featuring.

No photo description available.

Crafty and Creative


I love this set so much I made two cards.  The first card I stamped the images from the Crafty Notes, I colored the images with colored pencils.  I die cut the paper with a stitched frame and added it to my card base.  The sentiment is from the mini stamp set Crafty and Creative.  I love the sentiments in this set.


My second card a little note cards I created using the Crafty Notes by Gina K. Designs.  I stamped a few images from the set, die cut them out and colored them with copics.  I die cut the double and single stitched dies from Gina K. Designs and stamped the images onto the top layer.  I added the images with foam squares.


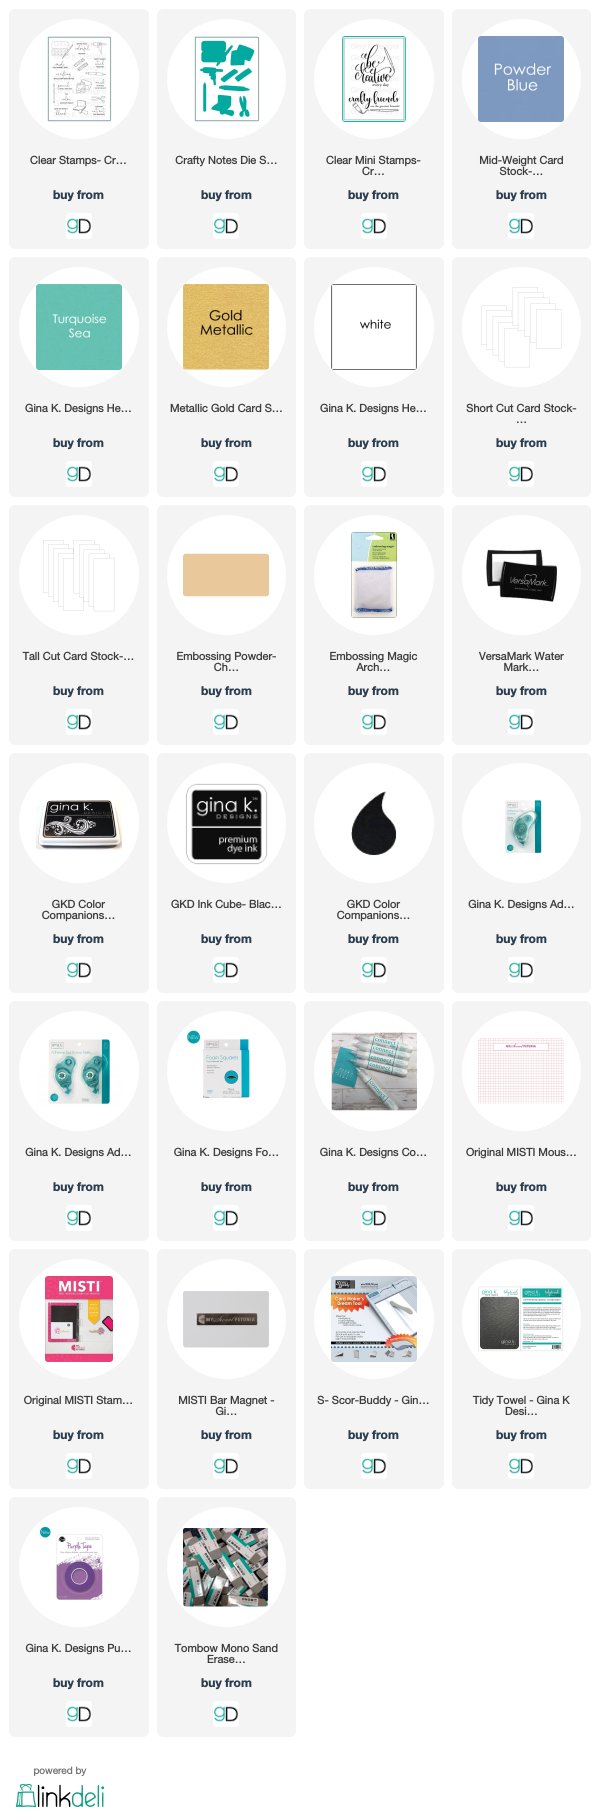
Listed below are the products I used. Click on the link to go directly to the product. Where available I have used compensated affiliate links which means if you make a purchase I will receive a small commission at no extra cost to you. Thank you so much for your support!

Supplies Used:


My last set I am featuring is the Cake Topper by Emily Loggan.

No photo description available.
This is a square card, I cut two layers and adhered them together.  I die cut the heart circle image from Gina K. Designs Heart Circle die with the gold metallic paper from Gina K. Designs.  I embossed the image from the Cake Toppers by Emily Loggan with the new Gina K. Designs Champagne embossing powder, I die cut the image out and adhered it to my card.  I adhered the circle heart die with Gina K. foam dots.


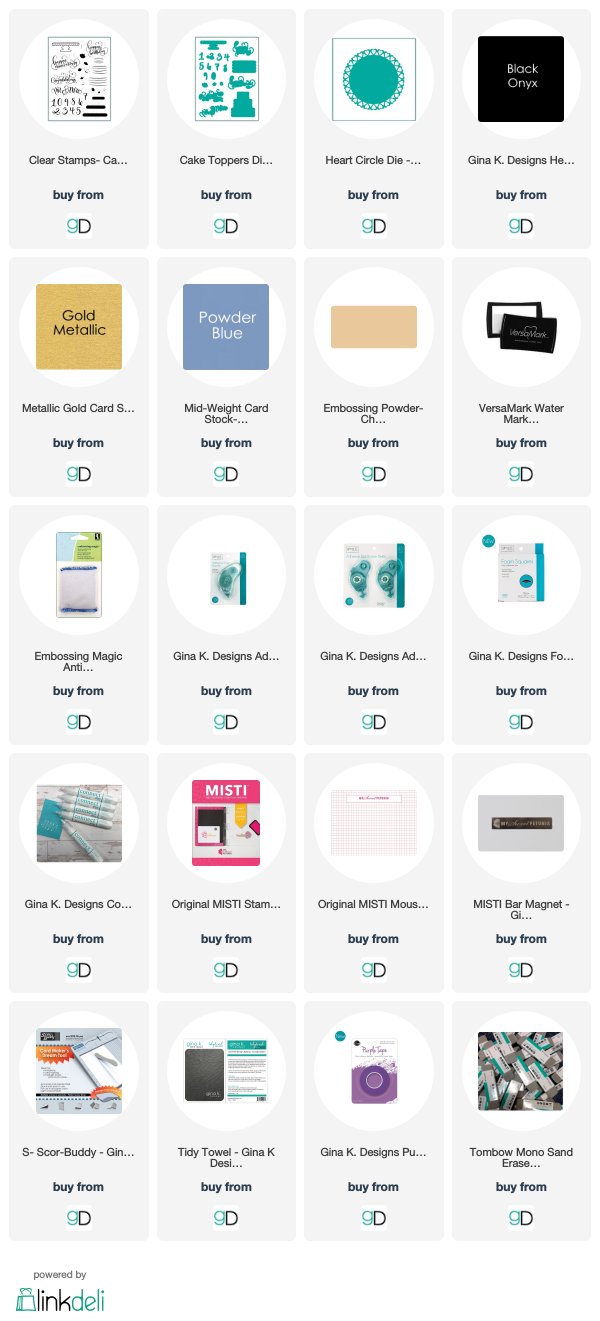
Listed below are the products I used. Click on the link to go directly to the product. Where available I have used compensated affiliate links which means if you make a purchase I will receive a small commission at no extra cost to you. Thank you so much for your support!

SUPPLIES USED:

Here is the list of designers, don't forget to comment on everyone's creations, you have a better chance of winning one of three $50 prizes!

Gina K. - Illustrator of Crafty Notes
Emily Loggans - Illustrator of Cake Toppers
Arjita Singh
Beth Silaika
Cathy Tidwell

Joy Clair - Barn Party

Saturday, August 4, 2018

Hello everyone!

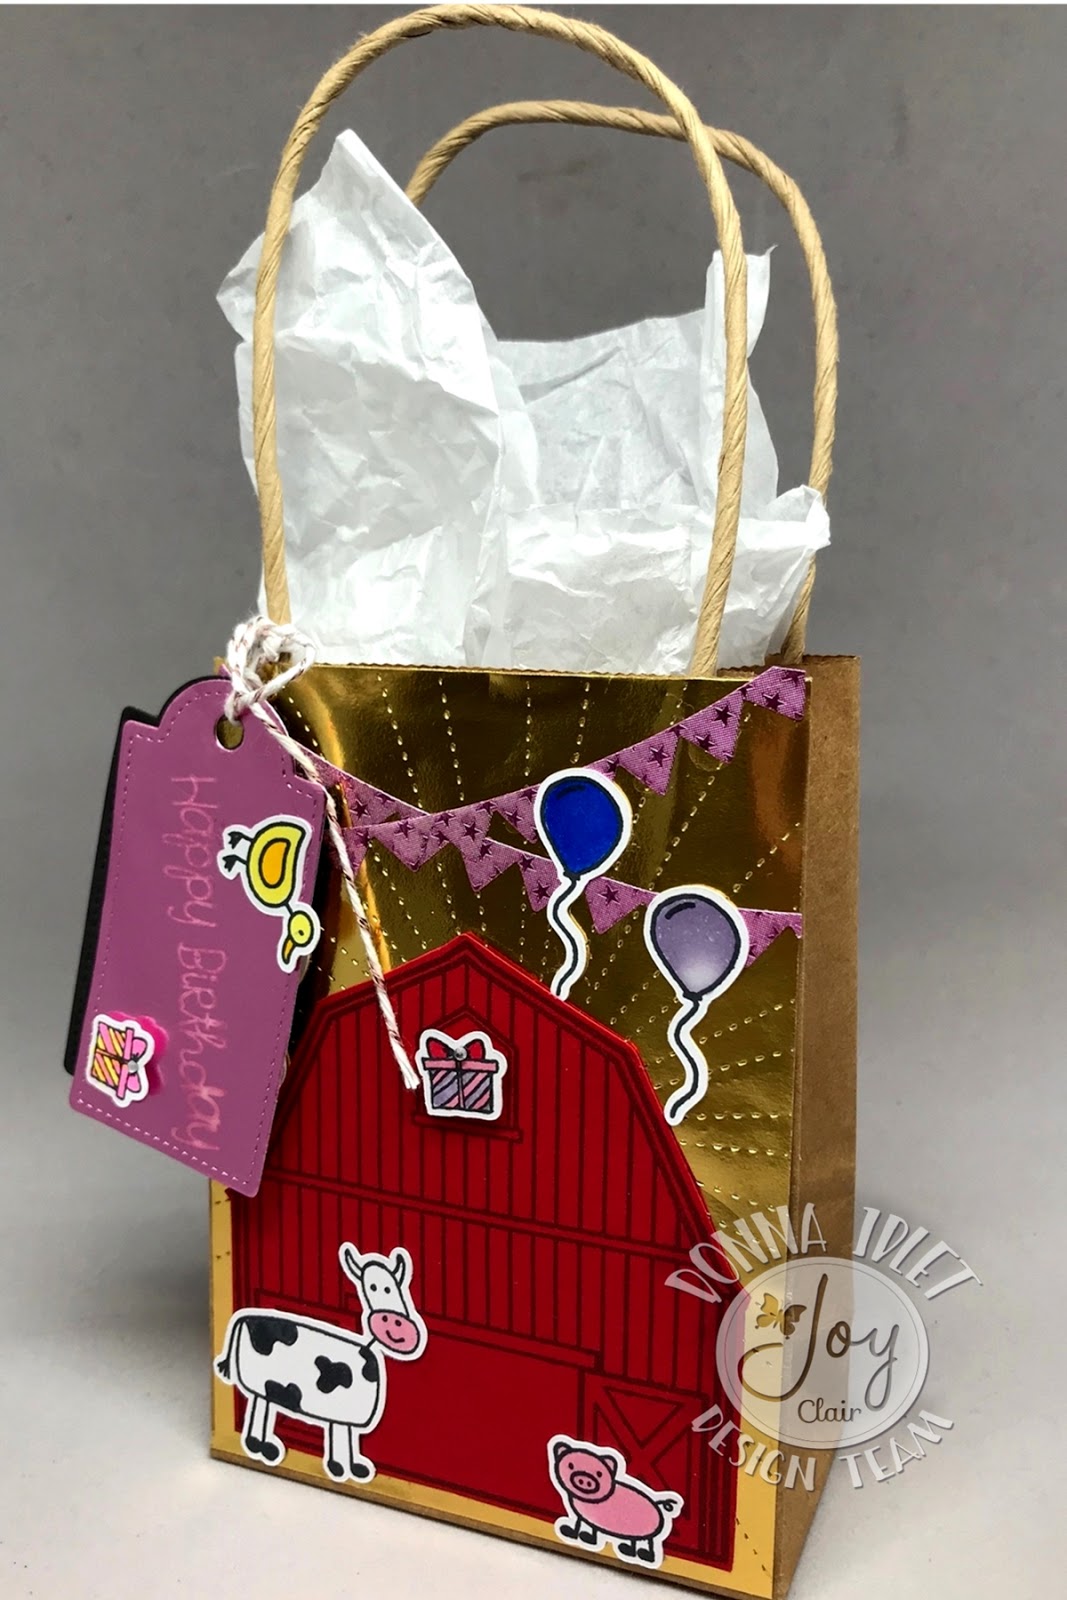
I'm here with Joy Clair and we are collaborating with Rinea for the whole month of August! I am featuring the newly released  Joy Clair stamp set Barn Yard, this is the cutest stamp set, it has several animal images and lots of elements to create your cards.  I am showcasing a birthday gift bag for you today.


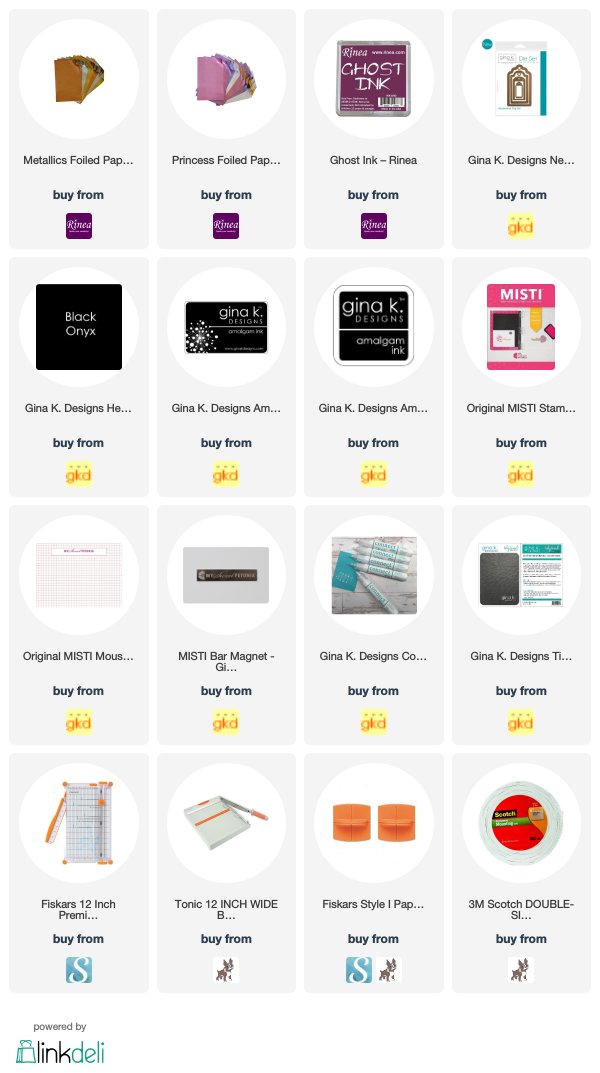
I created the gift bag by creating a back panel with the Rinea Metallics Foiled Paper Variety Pack, I adhered this to the bag with wet glue (I find it easier to use wet glue when I am adhering the foiled paper).  I then stamped the images from the Joy Clair stamp set Barn Yard to use on the gift bag and colored them with copics.  I added all the elements to the bag.  I then die cut a couple of banners from the Rinea Princess Variety Foiled Pack and added them to the bag with wet glue.  I then created a gift tag with the Rinea Princess Variety Pack and then stamped the Happy Birthday from the Joy Clair stamp set Barn Party with the Rinea Ghost Ink.  I attached a black piece of cardstock to the tag and then used some twine to attach the tag to my bag.

Here is another look at the birthday gift bag.

Thank you so much for stopping by, stop over at the Joy Clair blog and see all the wonderful designs from the design team. Please follow Joy Clair's facebook page, Color by Faith Bible Journaling facebook page, Instagram and Twitter, be the first to hear the news, sales and giveaways! They also have a Pinterest page and Youtube channel for your inspiration!

Supplies Used:
Made With Love By The Dutch Lady Designs
Follow Me on Pinterest