Showing posts with label distress inks. Show all posts

Kat Scrappiness, Inc. - Hang in There

Tuesday, April 20, 2021

Hello everyone!

I am here with Kat Scrappiness, Inc., featuring the newly released stamp set called Summer Quokka the Never-Ending Rectangle mini slimline dies.  There are 8 new slimline dies that have been added to the mini slimline collection.  Be sure to visit the store and see the collection.  Do you love the new release?  Kat Scrappiness, Inc is GIVING AWAY the whole release, click here to enter!  You have until tomorrow, April 21st  to enter.  Kat Scrappiness also has a clearance section in the store, there are some great buy, you can find it here.


Here is my card I created using the Kat Scrappiness, Inc. Summer Quokka the Never-Ending Rectangle mini slimline dies.


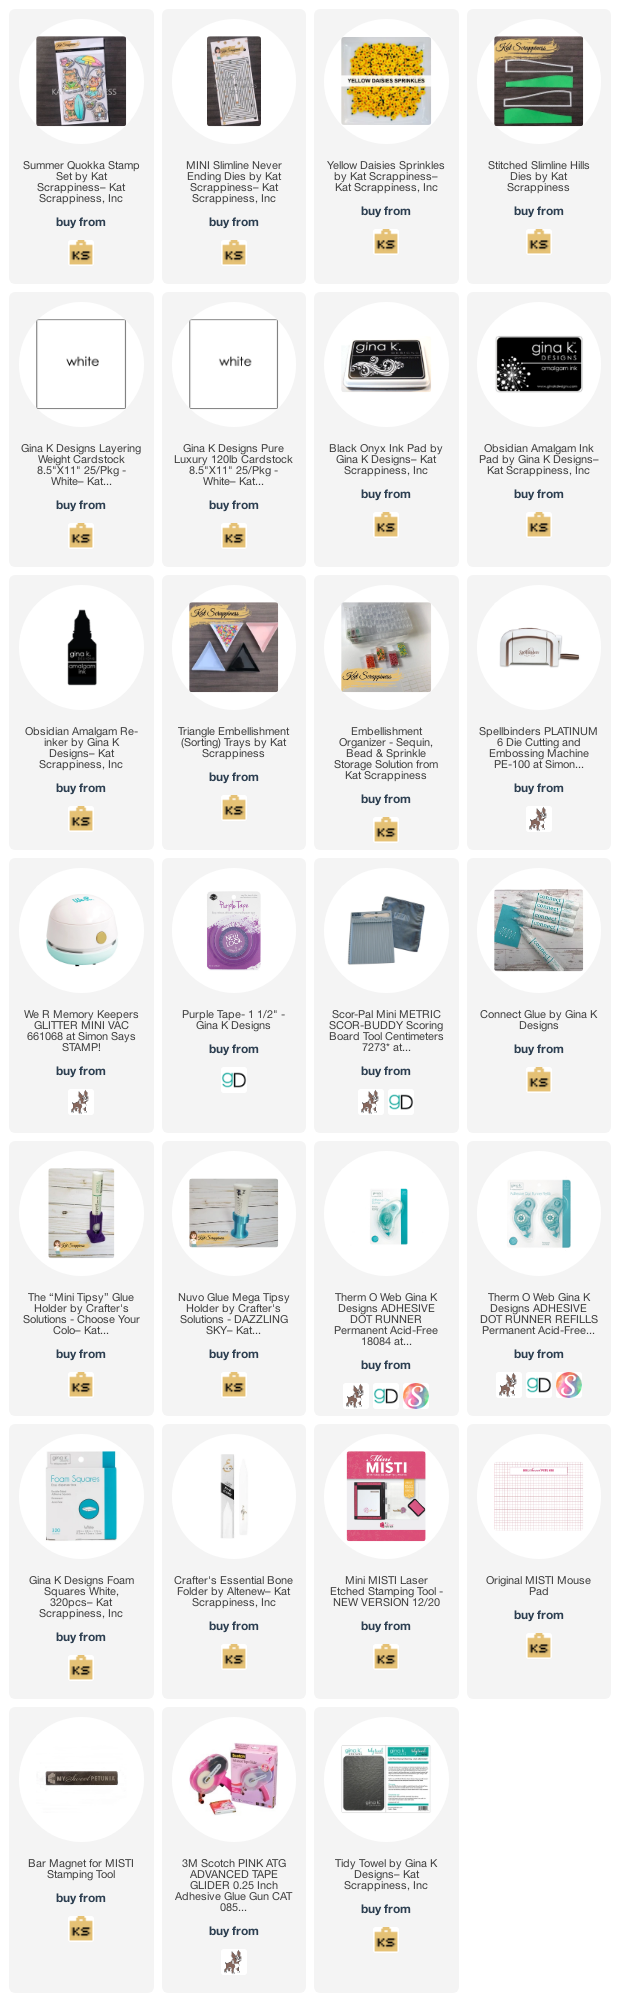
I created my card by cutting the base mini slimline card measuring 3 1/2 x 6 1/4.   I then used the second die from the Never-Ending Rectangle mini slimline die set.  I used some distress ink to create the background.  I then die cut the sand with the Kat Scrappiness Inc., Stitched Slimline Hills.  I used some distress ink around the edges.  I stamped and cut the images from the Kat Scrappiness Inc., Summer Quokka stamp set and colored them with copics and added them to my card.  I added some Yellow Daisies Sprinkles to give some interest to the surf boardI finished the card off by adding the sentiment from the Kat Scrappiness Inc., stamp set Stewart the Sloth.


Thank you so much for stopping by, please visit Kat Scrappiness blog for more inspiration.

Here is a list of supplies I used on my card, Affiliate Links used at no additional cost. Thank you for your support.

Retro Rubber Challenge Blog #153 - Tic Tac Toe

Tuesday, March 2, 2021

Hello everyone!

I am here with Retro Rubber Challenge Blog with a new challenge, which is one of my favorite "Tic Tac Toe". I hope you will join in on the fun. Be sure to stop over on the Retro Rubber Challenge blog to get more inspiration, the design team has some wonderful creations!

The rules to play along with Retro Rubber Challenge is very simple, make sure the stamp you use on your project is at least one year or older. For more details on the rules, you can find them over on Retro Rubber Challenge blog.


Here is my card for your inspiration. My tic tac toe is Birthday, The Ocean and Blue.  The back ground image is a Hero Arts background stamp called jellyfish party bold print.   This background stamp was released in March 2019.
 

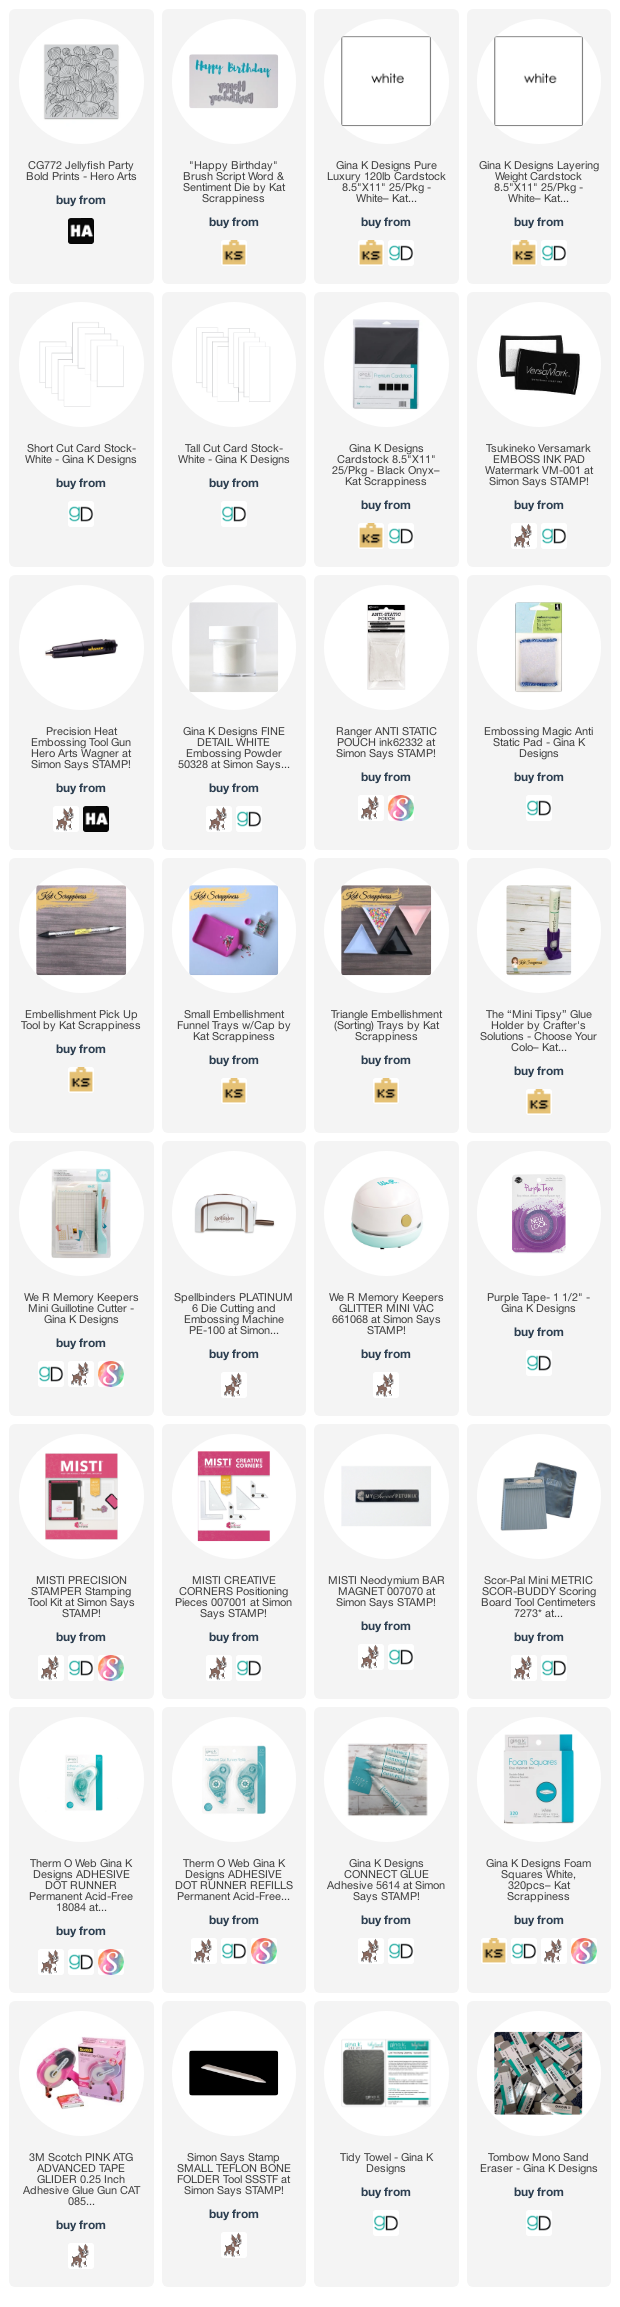
My card is an A2 card, I stamped the background image from the Hero Arts Jellyfish party bold print with white embossing powder an heat set it.  I then used some distress ink and did the smooshing technique to create the blue background.  The Happy Birthday die is from Kat Scrappiness called "Happy Birthday" Brush Script Word die, I die cut the die with blue cardstock three times, and adhered them all together to give the word some interest.  I finished it off by adding some wink of stella on the words and added some dew drops.  

Thank you for stopping by, I hope you will stop by the Retro Rubber Challenge blog and join the fun and check out the beautiful projects the design team members have created.

Here is a list of supplies I used on my card, Affiliate Links used at no additional cost. Thank you for your support.

Fall/Winter 2020 Coffee Lovers Blog Hop - Thanks a Latte

Friday, November 13, 2020


Hello everyone!

I am back sharing another card I created for the Fall/Winter 2020 Coffee Lovers Blog Hop. I am featuring a stamp set called Need to Venti by Super Sponsor Pink and Main.  This is a great set for any coffee lover, there are several sentiments in the set for any occasion.

Here is my card:


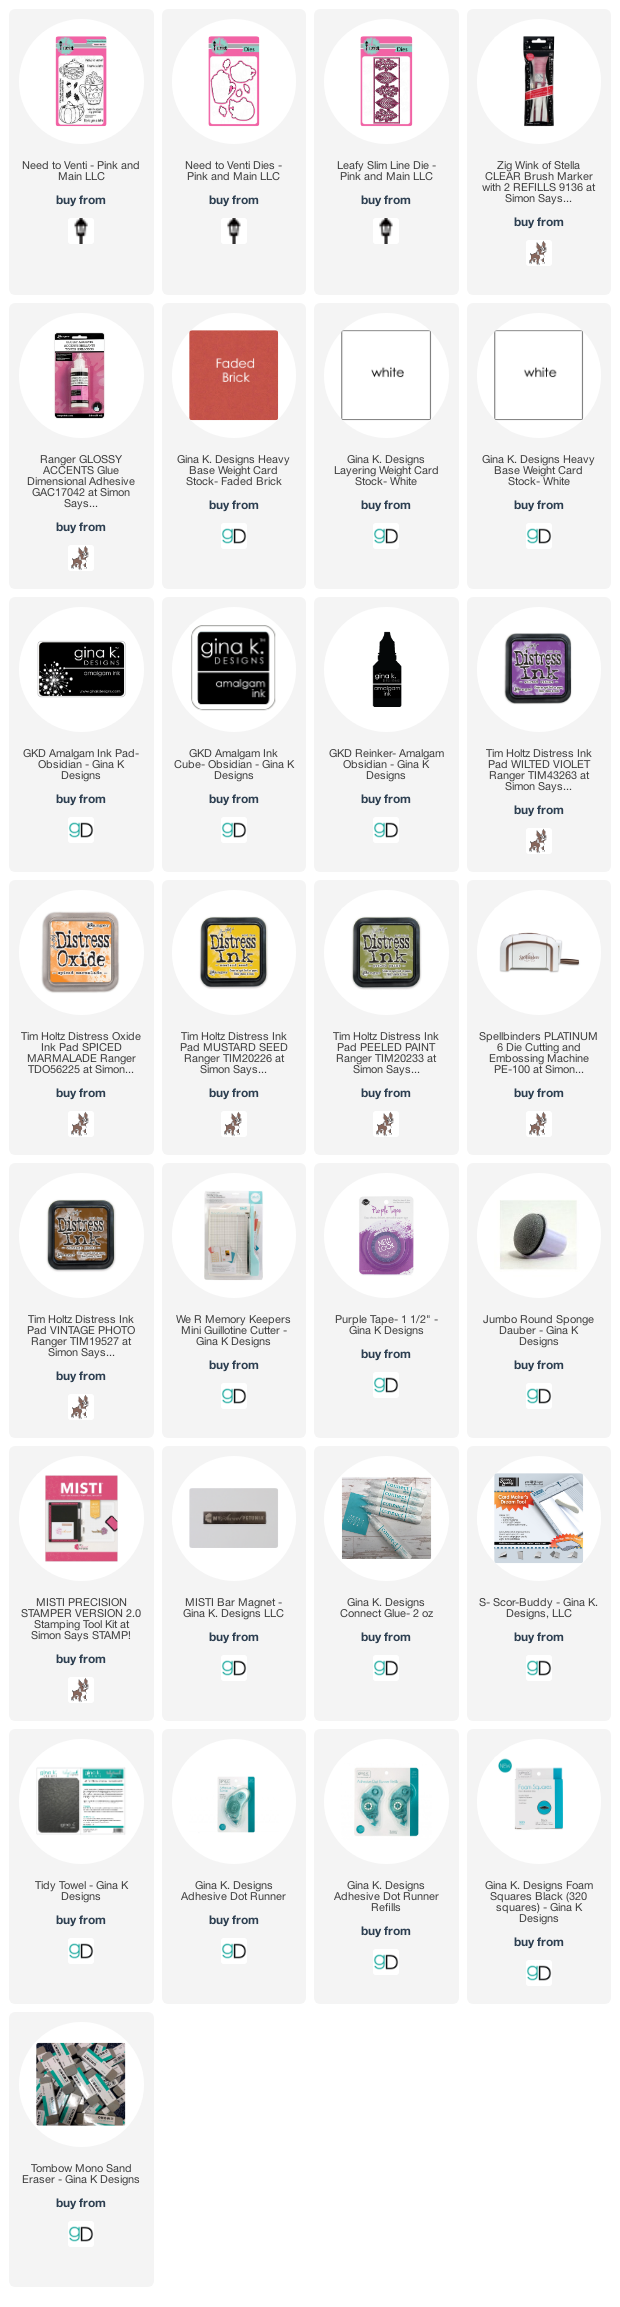
My card is a slimline card measuring 3 1/2 x 8 /2.  I cut the bottom panel and inked it with distress inks, I used the Pink and Main Leafy Slimline Die for the top layer, I then die cut the cups from the Need to Venti stamp set, colored them with copics, added some glossy accent and wink of stella to give the cups some definition.  

Thank you so much for stopping by, please come back again soon.

Here is a list of supplies I used on my card, Affiliate Links used at no additional cost. Thank you for your support.

Crackerbox & Suzy Stamps - Trick or Treat

Saturday, September 12, 2020

Hello everyone!

I am here with Crackerbox Suzy Stamps and I have another another Halloween card to share, using a few Halloween stamps Halloween Kids, Trick or Treat and Bats Flying By. Crackerbox has lots of amazing Halloween rubber stamps and the best part about it, is they are 20% off this month.

Here is my card for your inspiration:


Here is how I created my card:

I used distress inks to create the background masking off the moon.  I then stamped the images Halloween KidsBats Flying By and the sentiment Trick or Treat with versafine onyx black ink using my Misti.  Very clean and simple. 


Here is a closer look at the card.

I hope I have inspired you. If you did not know, Crackerbox and Suzy Flaunt it if You Made it Facebook group there is a monthly card making "theme" and September's theme is Halloween and Birthday.  If you post your creation on the facebook page using the theme and a stamp from the sale category, you get a 5.00 store credit towards you next purchase.

The September special is:


Thank you so much for stopping by, please come back again soon.

CRACKERBOX & SUZY STAMPS - Happy Halloween

Wednesday, September 2, 2020

Hello everyone!

I am here with Crackerbox Suzy Stamps and I have a Halloween card to share with you today, using two Halloween stamps Halloween Tree and Happy Halloween. Crackerbox has lots of amazing Halloween rubber stamps and the best part about it, is they are 20% off this month.

Here is how I created my card:


My card is an A2 card measuring 4 1/4 x 5 1/2, the top panel, I cut at 4 1/4 x 5 1/2.  I masked off the full moon with a circle and used distress inks to create the background.  I stamped the Halloween Tree  and sentiment Happy Halloween.   I splattered some white ink onto the panel and let it dry.  


Here is a closer look at the card.

I hope I have inspired you. If you did not know, Crackerbox and Suzy Flaunt it if You Made it Facebook group there is a monthly card making "theme" and September's theme is Halloween and Birthday.  If you post your creation on the facebook page using the theme and a stamp from the sale category, you get a 5.00 store credit towards you next purchase.

The September special is:


Thank you so much for stopping by, please come back again soon!

Hello Beautiful - Mermaid at Heart

Friday, July 24, 2020

Hello everyone!

I am here with Joy Clair Designs sharing a card I created using the Mermaid at Heart and the Whale Hello There stamp sets.  I had some much fun creating this card with the Mermaid tails from the Mermaid at Heart set, this is one of my favorites.


Here is how I created my card:

1.  My card is an A2 card (4 1/2 x 5 1//2),

2.  I die cut the background from a die in my stash, I inked the background with distress inks,

3.  I stamped the mermaid tails from the Mermaid at Heart and stamped the other elements from the Whale Hello There stamp sets.  I used my scan and cut to cut them out,

4.  I then colored all the elements with copics, I love the rich colors I used.  I then added all the elements where I wanted them on my card and used adhesive and foam squares.  I then stamped the sentiment from the Mermaid at Heart stamp set,

5.  To finish off my card, I added sequins randomly onto my card.


Here is another view of my card.

Thank you so much for stopping by, please be sure to sign up for Joy Clair Designs newsletters to receive notifications of new releases, sales and exclusive offers to subscribers. You can also follow Joy Clair Designs on Facebook Page, Joy Clair Stamp Projects Group Facebook Group, Color by Faith Bible Journaling Facebook Group, Instagram, Twitter, Pinterest.

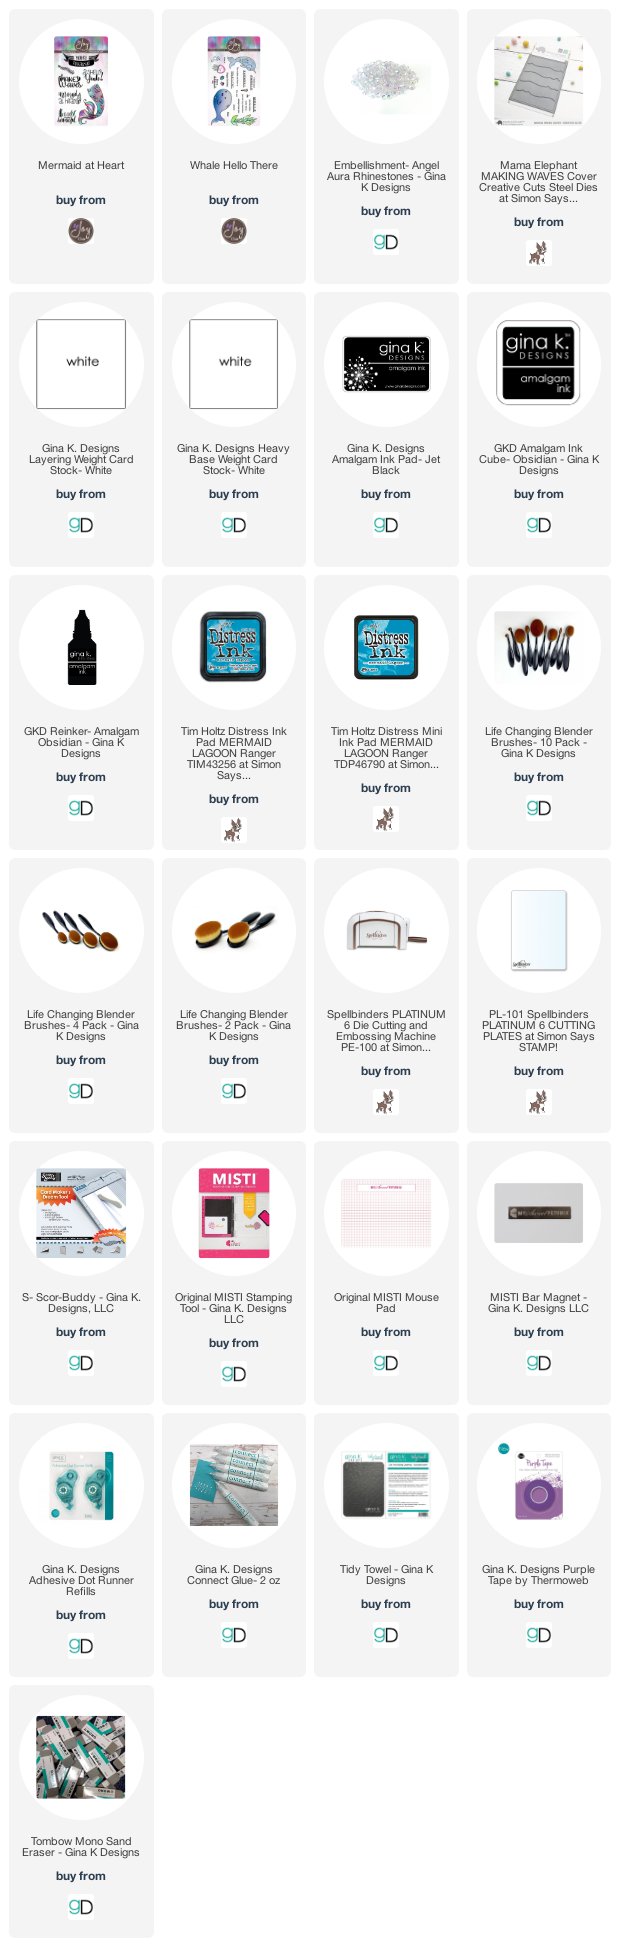
Supplies used on the cards above, affiliate links used. Thank you for your support.

Joy Clair Designs June 2020 New Release

Tuesday, June 30, 2020


Hello everyone

Welcome to the Joy Clair Designs June2020 Release! The design team has been working hard creating a variety of projects that are sure to spark your creativity juices!  To see everyone's creations, hop over to Joy Clair Designs to see what they created.  To see the NEW release you may click here.  The NEW release comes in digitals and clear stamps.  I am using the digital sets in all my creations.

Here are my cards for your inspiration.

My first card I created using the new digital stamp set called Ooh La La.  The clear stamp set can be found here.


My card is an A2 card, I printed the card panel with the sentiment ooh la la and then masked off each side of the panel and inked the center with distress inks.  I then used a stitched die from my stash to cut the panel out, then adhered it to the card base.  Since I used the digital set, I die a little altering with my digital program.  I added the compact to her hand.  I colored the images with copics.  The dog I used R81, 83, 85.


My second card I created two cards using the NEW digital stamp set called A Little Wine.  The clear stamp set can be found here.

  
I used A Little Wine digital stamp set to create this card.  I colored the dog with copics (E30, E35, E57 and E79)) , and the wine in the glass with copics (r27, R46 and R59.  I added some Nuvo Crystal Drops to give the win some dimension.


This card I created using the digital stamp set A Little Wine.  I arrange the images and sentiment, then took a circle die to cut it out.  I colored the images with Copics, the mouse with (W1, W5 and W7), the cat I used (Y32, YR21, and YR24).  The background I used a stencil called Diamond Fade Stencil, I used distress inks in rainbow colors to brighten the card.


My last card is created using the NEW digital stamp set Big Hugs.  The clear stamp set can be found here.


My card is an A2 card, I am using the digital set to create my card.  I created the background by using the digital program.  I die cut the panel with a stitched die.  I printed the sentiment and cut it out added a black trim around it and adhered it to the card with foam tape.


My second card using Big Hugs, I printed the images I wanted to use on my card, I colored the dog and dog bowl with copics .  I then die cut the background die and used distress inks to create the sky and sun.  I adhered this panel to my card base and used foam tape to pop it up.  I die cut the sentiment with a circle die and added it to the card to look like the sun.  I then added the grass and the colored images to the card.


Thank you so much for stopping by, please be sure to sign up for Joy Clair Designs newsletters to be sure to receive notifications of new releases, sales and exclusive offers to subscribers. You can also follow Joy Clair Designs on facebook page, Color by Faith Bible Journaling facebook page, Instagram and Twitter. They also have a Pinterest page and Youtube channel for your inspiration!

Crackerbox & Suzy Stamps - April 2020 New Release Blog Hop - Week 2

Wednesday, April 8, 2020

Hello everyone!

Welcome to week 2 of the Crackerbox & Suzy Stamps new release blog hop! You should be coming here from Cornelia Wenokor blog, next you will be going to Maria Pilar blog. The full list of designer's blog is below. I hope you were inspired by week 1 of the Crackerbox & Suzy blog hop. 

We are continuing to celebrate week 2 of the New Release, Crackerbox & Suzy Stamps is giving away a four (4) $25 dollar gift cards to FOUR lucky winners to be used in their store. All you have to do is leave a comment on each blog for the four weeks. Winners will be chosen at random from the comments left on participating blogs listed below, so make sure to visit each stop and leave a comment. Wait there is more! Each week the new release will be 30% OFF plus FREE SHIPPING in the US and FREE INTERNATIONAL SHIPPING with orders over $35.00.

Here is my card for your inspiration.

I am using the new birthday rubber stamp called "Unicorn Sweetie" and the sentiment is "Friends Make Bright".  My card is an A2 card, I used distress inks to create my background and stamped the "Unicorn Sweetie" and the sentiment "Friends Make Bright"onto the layer of the card.  To finish my card off  by adding some heart enamel dots.  


Closer look at the card.


Joy Clair Potted Succulents Digital Stamp Set

Saturday, March 28, 2020

Hello everyone,

I am here with Joy Clair Designs sharing with you a newly released digital stamp set created by one of Joy Clair's design team member Lindsay Adreon.  The set is called Potted Succulents Digital Set and it is available now.  For more inspiration, click here to go to the Joy Clair Design Blog to see what else the design team has created.  There are two other digital background sets that the design team has created some beautiful designs. 
Here is some inspiration:


My card is an A2 card, I die cut the frame, I used the Triburst Background Stencil to create my background using distress inks. I stamped and colored the images from the Potted Succulents Digital Set, the sentiment is from the Classic Father’s Day Stamp Set , I used the Dual Tip Glue Pen to glue the panel, frame and one of the images to the card base, and used foam tape to pop the other image.


My second card is an A2 card, I used a stitched die cut from my stash for the top panel.  I used a window frame to cut the window onto the top panel and used distress inks to create the color in the window.  I stamped and cut the image from the  Potted Succulents Digital Set and the sentiment is from the Joy Clair Designs Faith Quotes stamp set.

Thank you for stopping by, please come back on March 30-31 for the new release from Joy Clair Designs!  Don't forget Joy Clair has a blow out sale happening now, all the sets are here.


Joy Clair Stamps - Happy Holidays!

Monday, December 9, 2019

Happy Holiday's everyone!

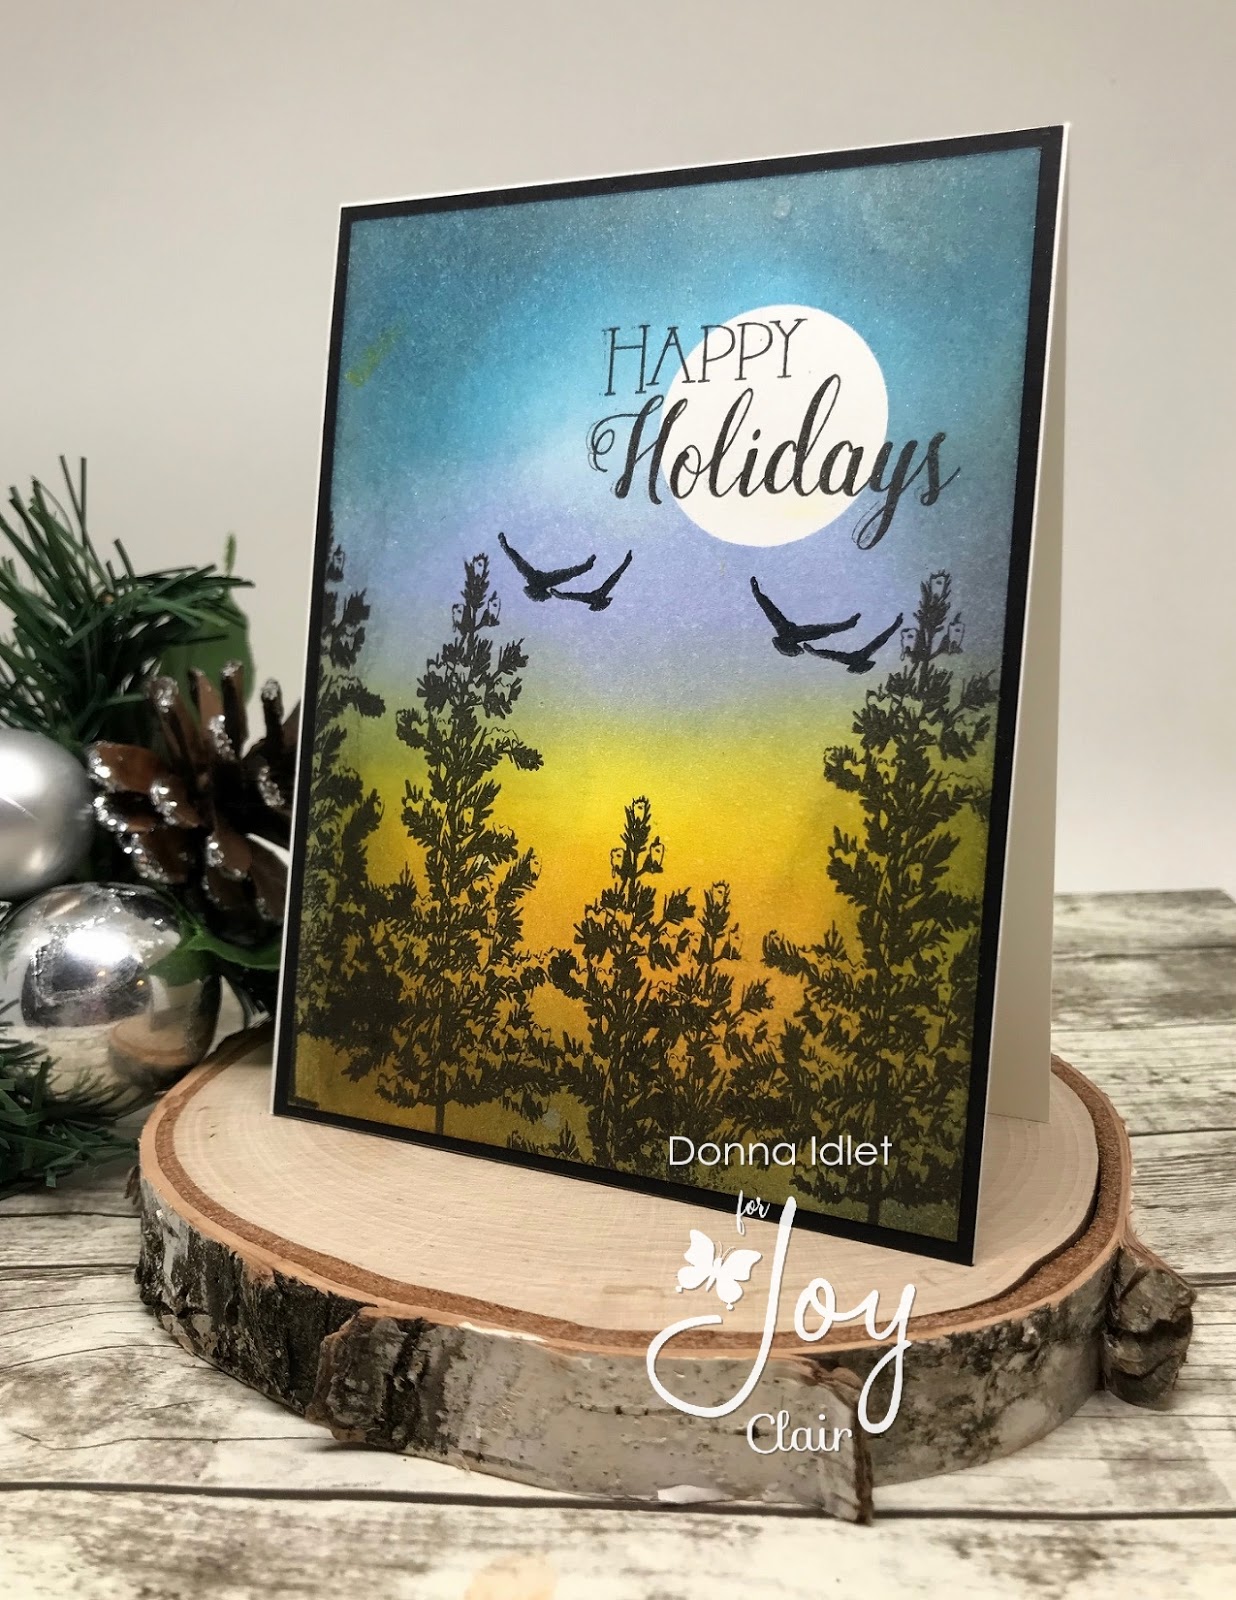
I am here with Joy Clair Stamps sharing a card I created using the Joy Clair Stamps the trees and the sentiment came from the stamp set called "Merry Christmoose ", the birds are from the stamp set called "Noah's Ark". 

Here is my card and how I created it.

My card is an A2 card, I first masked off the moon and used distress inks on the background.   I stamped the trees and the sentiment with Versafine Clair Onyx Black.  After everything dried I sprayed the background with Sheer Shimmer Craft Spray Sparkle.


Closer look at the card.


Thank you for stopping by! Please follow Joy Clair's facebook page, Color by Faith Bible Journaling facebook page, Instagramand Twitter, be the first to hear the news, sales and giveaways! They also have a Pinterest page and Youtube channel for your inspiration!

Joy Clair Stamps - Happy Haunting!

Saturday, August 24, 2019

Hello everyone!

Can you believe we are already at the end of August? Whew, Summer sure did fly by.  I am here with Joy Clair with a Halloween card which I am using Joy Clair's October Fun stamp set.

Here is my card:


Here is how I created my card....

My card is an A2 card, I used a background die to create the frame and trees.  I used distress ink to create the background.  I used a Wink of Stella marker to make the ground look like gravel.  I then stamped and used my scan and cut with the images from October Fun, the pumpkin is from the Trick or Treat Stamp set.  Before I adhered my images to the card I stamped the bats, spider and sentiment from  October Fun.  

Here is a closer look at the card.


Please be sure to come back to my blog or Joy Clair's blog for their 5th Anniversary celebration and blog hop next Friday, August 30th!  Of course there will be prizes.

Thank you for stopping by! Please follow Joy Clair's facebook page, Color by Faith Bible Journaling facebook page, Instagramand Twitter, be the first to hear the news, sales and giveaways! They also have a Pinterest page and Youtube channel for your inspiration!

Supplies Used, Affiliate Links used at no additional cost to you. Thanks for your support!


Crackerbox & Suzy Stamps - Swimming By to Say Hi

Sunday, July 21, 2019

Hello everyone!

I am here with Crackerbox & Suzy Stamps a card using the Crackerbox and Suzy Stamp called "Marco - Sea Turtle" and the sentiment is "Swimming By".  I love how it turned out and I think this would be a perfect card for a male or a female.

Here is my card and how I put it together:

My card is an A2 size card, I used distressed inks to create the back ground, the white streaks I used a stencil from my stash inking it with a white pigment ink using the Life Changing Brushes.  I stamped and used my scan and cut to cut the "Marco - Sea Turtle" out, I colored it with copics and added some glossy accents to his back to give the turtle more dimension.  I added the sentiment from Crackerbox and Suzy Stamps called "Swimming By", do you notice the sentiment looks like it's floating in the water?  I finished the card off my adding some clear droplets and adding some white gel pen on the turtle for interest.


Here is another look at the card.


Here is the current promotion for July:


Thank you so much for stopping by, please come back again soon!

Crackerbox & Suzy Stamps - You are the one for Me

Friday, July 12, 2019

Hello everyone!

I hope you all are enjoying your summer!  I can't believe we are already half way through July!  I am here with Crackerbox & Suzy Stamps with this adorable slider card.

Here is my card and how I put it together:

I die cut the frame of the card and then inked it with distressed inks.  I splashed water on the panel so I could get white splatters to look like bubbles in the water.  I had a square wavy frame that I thought would be perfect for the waves on the card, I die cut that out and used distress ink and adhered it to the card. I stamped the fish from the Crackerbox & Suzy Stamps called Fish Striped and Fish Polka Dot  and colored them with my new Spectrum Noir Tri-Blend markers.  I love these markers, it takes the guessing out of which colors will blend.  I added some glossy accent to the Polka Dot Fish and on the green stripe on the Striped Fish.  I adhered the fish to the slider card and added some droplets to finish the outside of my card.


Here is another view of the slider card, I wrote the word "pull" with a black marker.


Here I pulled the slider up and the sentiment is from Crackerbox & Suzy Stamps called Fish in the Sea.  The background I used distress inks and splattered some water to the look of the ocean.  


Here is a side view of the slider card, this is by far one of my favorite cards I created this year.


Here is the current promotion for July:

Thank you so much for stopping by, please come back again soon!

Supplies Used:  (Affiliate Links used at no additional cost to you. Thanks so much for support!)

Crackerbox & Suzy Stamps - God Bless America!

Tuesday, July 2, 2019

Hello everyone!

Happy Independence Day to all that celebrate!  I am here with Crackerbox & Suzy Stamps with a Patriotic card for your inspiration.  June flew by, I can't believe we are already into July!  This month Crackerbox & Suzy friendship stamps are 20% off, don't miss out on getting the stamps that you have been eyeing!

Here is my card and how I created it:

1.  My card is an A2 card,
2.  I used the Tim Holtz star stencil from Crackerbox & Suzy store, I used StazOn white pigment ink for the background,
3.  I then had a patriotic stencil in my stash with fireworks, I used some red glitter gel to create the fireworks in the background,
4.  I stamped the image from Crackerbox & Suzy Stamps "4th of July Kids" with Versafine Onyx black ink and cut it out with a rectangle die, before removing the die from the cut piece, I inked the image background with Tim Holtz Tumbled Glass, Peacock Feathers and Chipped Sapphire distress inks,
5.  I then stamped the sentiment from Crackerbox & Suzy Stamps God Bless, and die cut it with a flag die,
6.  I adhered the 4th of July Kids with foam tape and the God Bless sentiment to my card.


Closer look at the card


Here is the current promotion for July:


Enjoy your 4th of July and eat plenty of good barbecue and enjoy the fireworks in your local area.  Thank you so much for stopping by, please come back again soon!


Made With Love By The Dutch Lady Designs
Follow Me on Pinterest