Showing posts with label holiday. Show all posts

STAMPtember® 2025 Gina K Designs Shimmering Christmas

Monday, September 15, 2025

Hello everyone!

I am here with Gina K. Designs and Simon Says Stamp celebrating STAMPtember®! Simon Says Stamp has collaborated with Gina K with an exclusive stamp set designed by Gina K. called "Shimmering Christmas". This set is only available while supplies last, so don't wait, head over to Simon Says Stamps and get this set. For more inspiration, please stop by Simon Says Stamps blog.


Here are my cards for your inspiration:

D. Idlet, STAMPtember 2025, Gina K. Designs, Shimmering Christmas, Simon Says Stamps, shaker card, Christmas, Holiday

My card is an A2 card. I created a shaker card.  I stamped and heat embossed the tree image from the Shimmering Christmas with GKD Silver embossing powder.  I then die cut the top layer with GKD ML 2 and then used the tree die cut to cut out the center.  I added acetate to this panel, added GKD 
Double-sided Adhesive Foam Shaker Strips to the back of the acetate panel.  I added the GKD Clear Quartz Solid Sequins onto the embossed panel and added the acetate panel ontop.  I added the panels to the A2 card.  I stamped the sentiment from the Shimmering Christmas stamp set and added it to the front of the card.

D. Idlet, STAMPtember 2025, Gina K. Designs, Shimmering Christmas, Simon Says Stamps, shaker card, Christmas, Holiday

My second card is an A2 card also, but I have created a fun fold.  This is not my design, I found it on youtube and the fun fold is called "diagonal card fold" if you want to search Youtube for the dimensions.  I used the GKD Snowflakes embossing folder for the background.  I stamped, embossed and die cut the tree from the Shimmering Christmas stamp set and added to the top layer of the card.  I finished it off by adding the sentiment from the Shimmering Christmas stamp set.

D. Idlet, STAMPtember 2025, Gina K. Designs, Shimmering Christmas, Simon Says Stamps, shaker card, Christmas, Holiday

This is the inside of the card.  I did the two stamp technique on the inside using the oranment from the Shimmering Christmas stamp set.  I then stamped the Merry Christmas sentiment also from the Shimmering Christmas stamp set.

I hope you were inspired and was able to get this set, remember this is while supplies last!

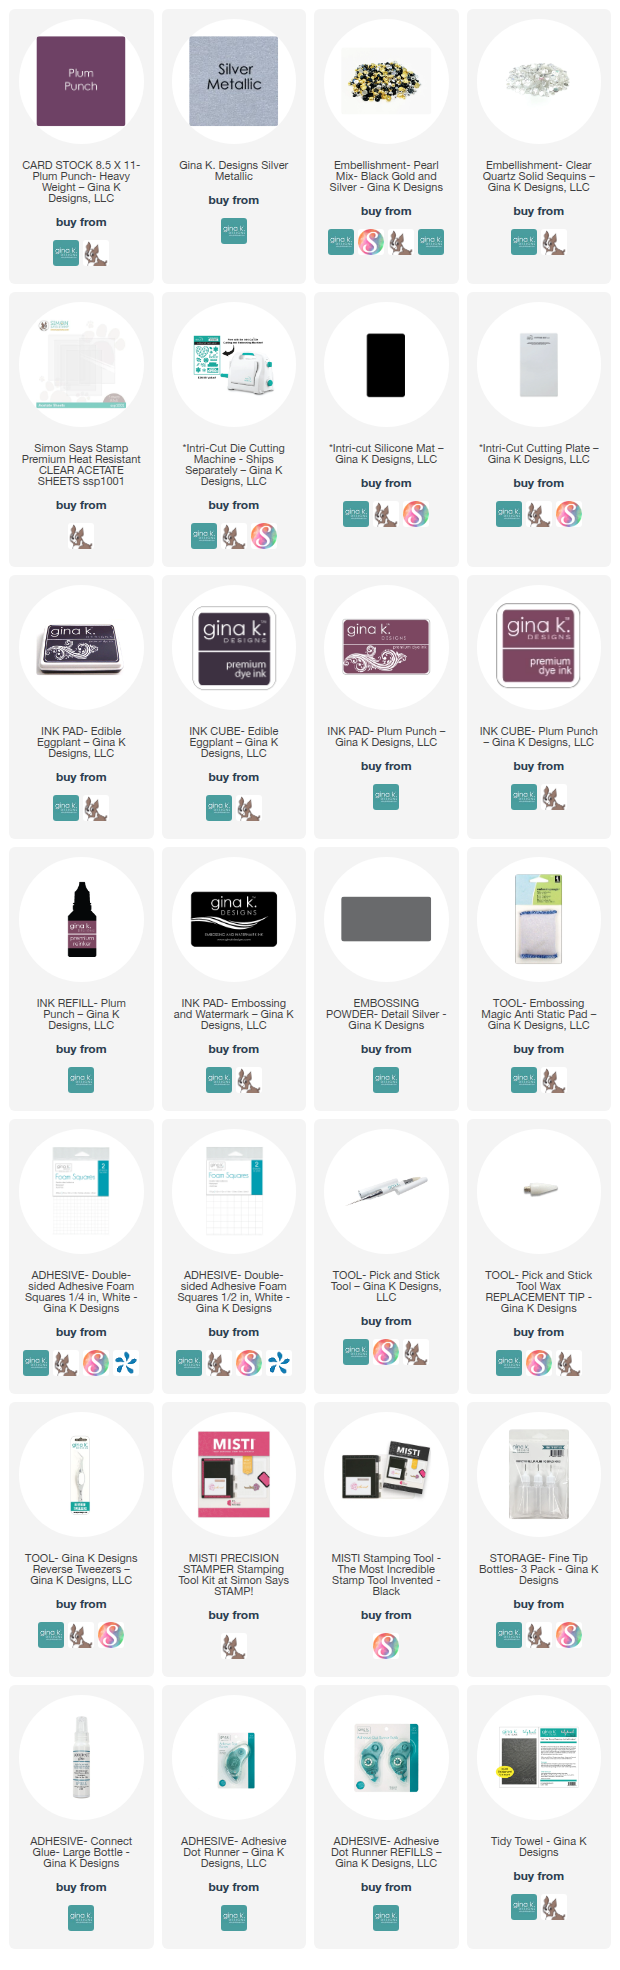
Here is a list of supplies I used on my cards. Affiliate Links used at no additional cost. Thank you for your support and thank you for stopping by, I hope you have been inspired.


CottageCutz and Peachy Keen - Merry Christmas

Sunday, November 13, 2016

Hello everyone!

I'm here again with CottageCutz  and Peachy Keen Stamps to celebrate their new release of face stamps that work well with the CottageCutz Christmas ornament dies. TWO NEW SIZES of Face Stamps have been added to their release, 1 5/8" and 1 7/8" to fit the super fun ornaments by CottageCutz. Please stop over at Peachy Keen Stamps because Kathy is offering some promotional pricing on her new stamps sets that will go perfectly with the CottageCutz dies.

Here is my card using the Peachy Keen stamp sets Ornament 1 1/8" Face Set.  I am using the Cottagecutz Nested Ornaments: Star.  I am using the smallest star of the set.


Here is how I put my card together:
  1. The card is an A2 card 4 1/4 x 5 1/2,
  2. The black layer is 4 x 5,
  3. The next layer is 3 7/8 x 4 7/8, I embossed the branches and added some wink of stella to give it some dimension,
  4. The star ornament is die cut from the smallest die in the Nested Ornaments: Star set, 
  5. I colored the  face with copics. I used YG13 for the eyes, YR68 for the nose, and R29 for the mouth.  The cheeks I used R00,  
  6.  finished my card off by adding the sentiment by CottageCutz "Merry Christmas".

Closer look at the star ornament, I added some clear wink o stella around the edges.

 Closer look at the Merry Christmas sentiment.

Thank you so much for stopping by, please come back again soon.

Dies used:


a2z Scrapbooking - Peace, Love, & Joy

Saturday, September 24, 2016

I am back again with a2z Scrapbooking  challenge which is "Make It A Tag"! I hope you have had a chance to join the fun.  You have to use at least one Hero Arts image on your card. Please go to the a2z blog and see what the talented design team has created. You can add your project to the inlinkz  here.

Here is my take on the tag challenge.


Closer look at the tag

Here is how I assembled the tag card:

I am using the Hero Arts Joy Stamp and Cut set.  The tag is the new Hero Arts Nesting Tag Dies.   I made the tag into a card, I took at piece of paper 4 x 5 and scored.  I then took the die and placed it on the paper, making sure the top of the tag was above the scroe line. I added the layers on the tag.  I die cut the joy out of some red cardstock, I placed it on the tag where I wanted it to be and stamped the sentiment.  To finish the tag, I added some ribbon, twine and some little bells I had in my stash.  

If you like any of the products I used on my card, please stop over at the a2z Scrapbooking Esty store. You can also use the code "Donna15" to receive 15% off of a $25.00 order.  The Joy Stamp and Cut has sold out, but you can request it on the left side of the blog.  and don't forget you can get 15% off your order.

I hope I have inspired you to join the challenge this month! You will have a chance to win a $25 gift certificate to the store! Good luck and please come back again soon!

Supplies Used:


Made With Love By The Dutch Lady Designs
Follow Me on Pinterest