Showing posts with label hello. Show all posts

Newton's Nook Designs - April 2025 Release Day 2

Thursday, April 17, 2025


Hello everyone!

Today Newtons Nook Designs is releasing another beautiful background die called Filigree Oval Frame Die. This is another die that is so versatile and can be used with so many images. Today, I am using the Newton's Blooms Stamp Set with the Fligree Oval Frame Die. For more inspiration, be sure to head over to the Newtons Nook Designs blog. What's a new release without a prize, see details below on how you can win $25 store credit to the Newton's Nook Designs store.


Here is my card for your inspiration:

D. Idlet, Newton's Nook Designs, Filigree Oval Frame, Newton's Blooms Stamp Set, flowers, alcohol markers, hello,April Mini Release,

My card is an A2 card.  I die cut the Filigree Oval Frame with white cardstock and added a white piece behind the Filigree Oval Frame and adhered the layers to the black card base.  I die cut the "hello" from the Filigree Oval Frame with black cardstock.  I used glossy accent to give it some dimension, after it dried I adhered it to the card.  I then stamped, colored and die cut the image from the Newton's Blooms Stamp Set  and added it to the card with foam squares.  I love this card, the image is so cute with the filigree frame.  

One lucky winner will receive a $25 store credit to spend at Newton's Nook Designs online shop! The winner will be chosen at random from the collective blog posts featuring our new products this week. For a chance to win, leave comments on the Design Team Member Blog Posts (see list below) from Wednesday, April 16 and Thursday April 17th. You will not know which blog has been chosen so the more you comment on the better your chances are of winning! You have until Thursday, April 17th at 9 pm ET to comment -- winners will be announced on the NND blog on Friday, April 18th.

Check out all the awesome Design Team Blogs below to enter:

Want another chance to win? We will be having an Instagram hop on Friday with a second prize! Please join us over on Instagram on Friday, April 29th for details!

Thank you so much for stopping by, please come back tomorrow for Day 2 of the release and lots more inspiration!


Gina K. Designs - May 2021 Monthly Mix Challenge

Saturday, May 1, 2021

Hello everyone!

I am hosting the Gina K. Designs May 2021 Monthly Mix Challenge! This month’s challenge is, “Create a floral background with your stencils”. If you don’t have a floral stencil, use any one of Gina K. Designs stencils to create a background.
 
I am using the newly released “A Little Hello” Layering Stencil Bundle. I can’t get enough of this stencil it is so versatile. I love the floral image on the stencil and I love making slimline cards. I used Gina K. Designs measurements for my slimline card, below is the diagram for your reference. If you would like more inspiration head over to the Gina K Designs & StampTV Friends page and look in the album.


Dimensions for slimline card:

I hope you enjoyed today’s inspiration and will play along with us! We will have THREE winners of a $25 gift certificate each. You can upload your card here. You have until May 31st to enter and the winners will be announced on June 1st.

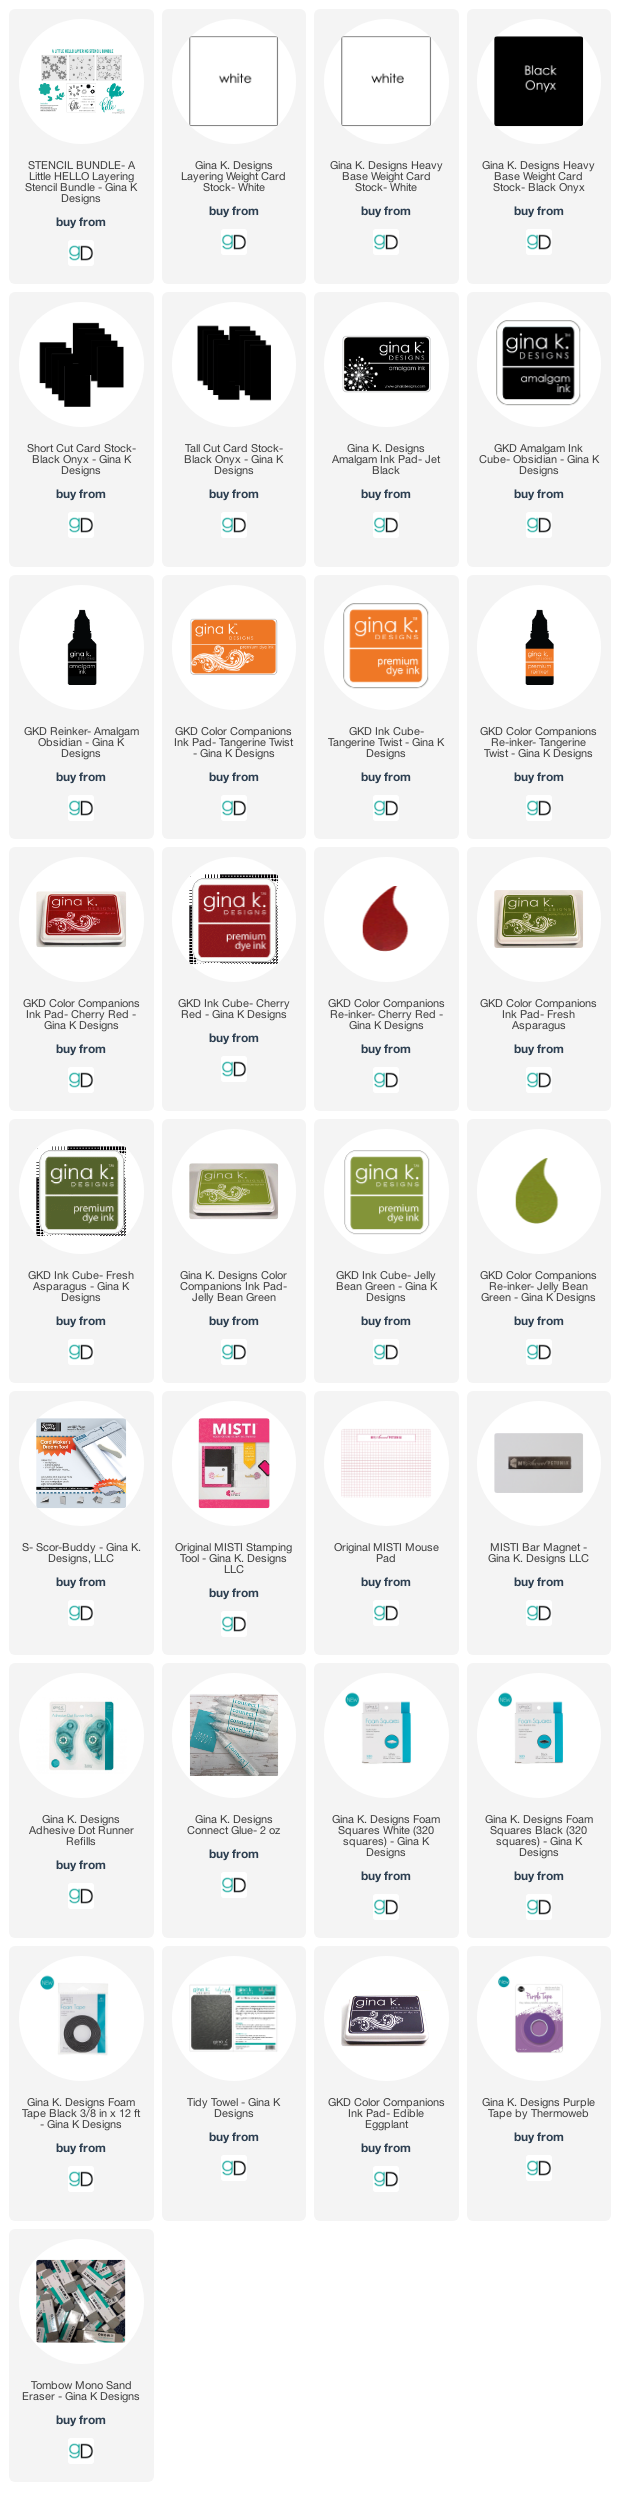
Supplies used: Some affiliate Links used at no additional cost. Thank you for your support!

RETRO RUBBER CHALLENGE BLOG #133 - Anything Goes

Tuesday, April 21, 2020

Hello everyone!

I am here with Retro Rubber Challenge blog and we have a new challenge, which I think is everyone's favorite, "anything goes".  You can create what ever you want, the only thing we ask is to use at least one stamp on your project older than a year and you must include the age (or approximate age) of the stamp in your blog post. I cannot wait to see your take on the challenge.


Here is my card for your inspiration.  The stamp set I used on the background is from Concord & 9th called Butterfly Love Turnabout which was released in June 2019 (thought it was older), the sentiment is from the Taylored Expressions Simple Strips stamp set which was released November 2019.  

My card is an A2 card, I used the Butterfly Love Turnabout stamp with several colors.  I die cut it with a rectangle stitched die.  I then die cut four of the "hello" word and adhered them together and added it to my card.  I then stamped the sentiment from the simple Strips and embossed it with white embossing powder and used foam squares to add it to my card.


Are you ready to play along? Be sure to stop over on the Retro Rubber Challenge blog to get some more inspiration! Thank you for stopping by, you have until May 1st to join the fun!

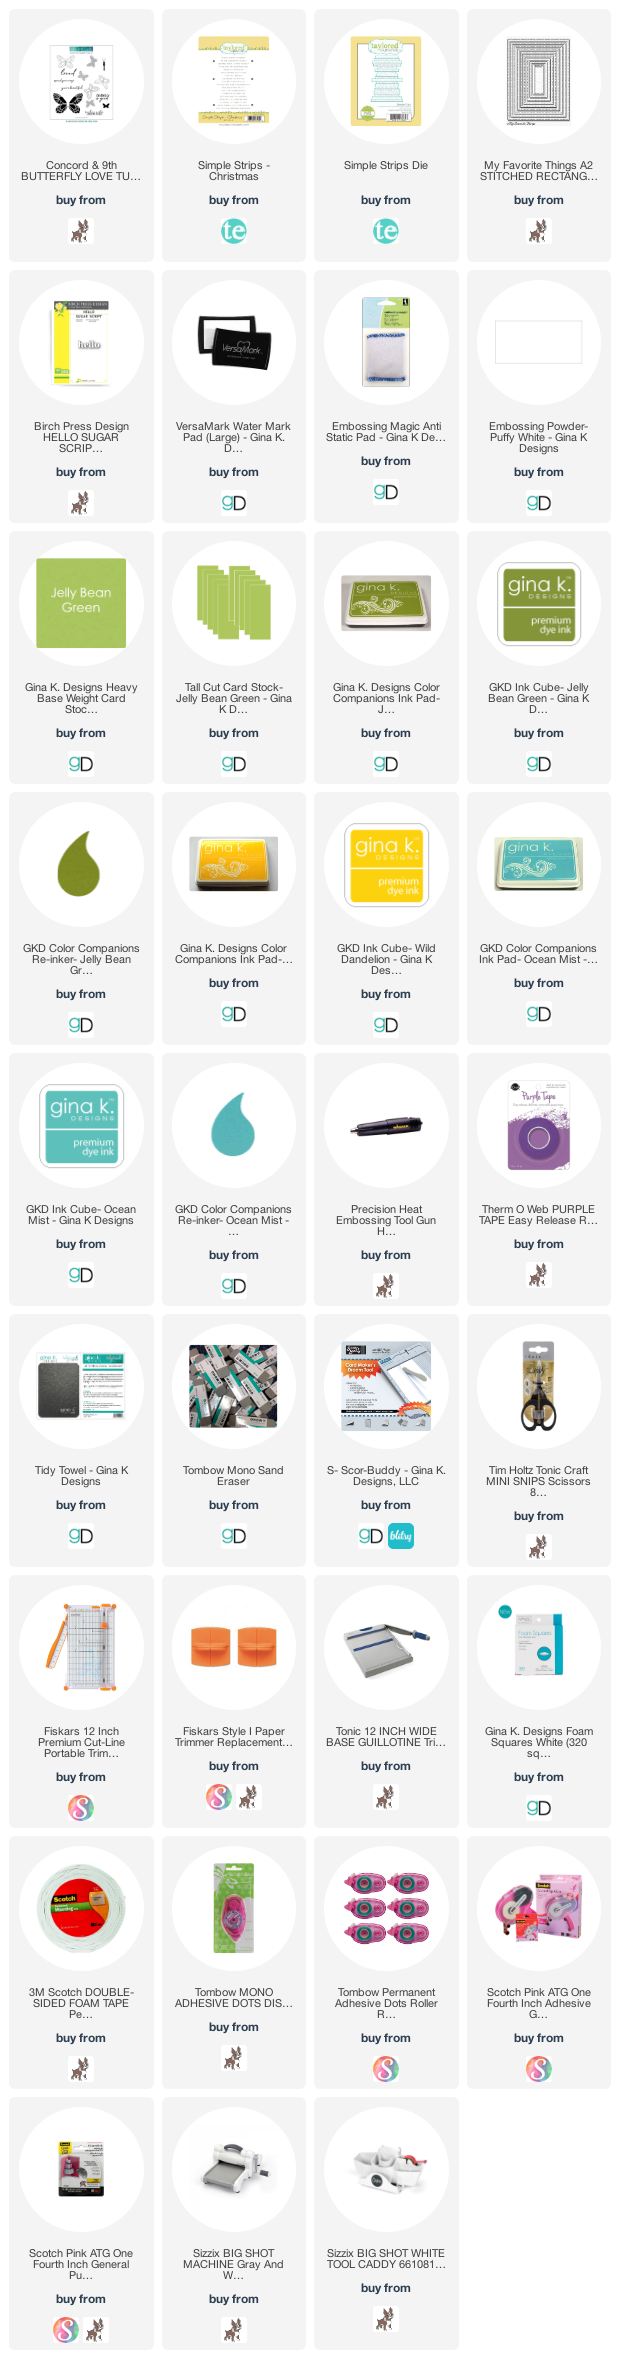
Supplies Used: Some affiliate Links used at no additional cost. Thank you for your support!

Joy Clair July Challenge - Happy Birthday Wishes

Saturday, July 1, 2017

Hello everyone!


I am here with Joy Clair and we have a new challenge for this month, every month Joy Clair has a challenge starting at the beginning of the month.  There may be an inspiration photo, but the challenges are "Anything Goes".  Joy Clair will be giving away one $25 gift card to the Joy Clair Store, randomly selected to give everyone a chance to win.

Here is my card for your inspiration:

My card is a clean and simple one.  I am using the Joy Clair stamp set "Hello Sentiments".  I used a die from Lawn Fawn to cut the "x" layer.  I stamped the word hello three different times with different colors.  I then took a piece of place cardstock and stamped the word "birthday" and "wishes" with versamark and then used white embossing powder and heat set it.  I cut it into a pennant and popped it up on my card.  I finished off the card by adding enamel dots that coordinate colors with the word "happy".


The Joy Clair rules are very simple, you can use any stamp set, the them is  Anything Goes, post your project on your personal blog or an online gallery and link back to Joy Clair.
  • MUST directly link to the Joy Clair blog in your post. (Or entry will not count)
  • Projects must be NEW, no back linking, please.
  • Number of entries is unlimited.
  • Add a direct link to your project using the InLinkz below.

Please follow Joy Clair's facebook pageColor by Faith Bible Journaling facebook pageInstagram and Twitter, be the first to hear the news, sales and giveaways! They also have a Pinterest page and Youtube channel for your inspiration!

Thanks so much for stopping by, please leave me a comment if you like my card, I love reading them. If you are not a follower, please follow my blog to stay up to date on what's going on.


A Sailor's Hello

Thursday, March 17, 2016

Hello everyone,

I am her with CottageCutz to share with you how to make a square box card. I have lots of pictures to share with you so sit down with a cup of coffee to check out my tutorial. This card box was so much fun to make and I love these sailior dies with lots of other dies that go perfect with them. Here is my square box card.


Here is a closer look of all the elements....a list of each die I used is at the bottom of this post.


Let's get started on how I put this square box card together. To put this box together you will need a cutting board, score board, bone folde, and liquid glue or score tape.   Pictures are below the instructions for your viewing.

1. You will need your cardstock cut to 6" x 12" (I cut a 12 x 12 inch cardstock in half)

2. You will need to score your card stock on the short side at 2", 6", 7 5/8" and 11 1/2. Turn your sheet on the long side and score at 2 7/8 down to the score line of 7 5/8".

3. Take your scissors or cutting board and cut the 2", 6" and 7 5/8 score line down to the 2 7/8 score line (half way down). Cut the 11 1/2 score line half way down. So now you are ready to add your paper to the base of the square box card.

4. This is a picture of the inside of the box. You will need one piece of cardstock cut at 5 5/8" x 3 5/8"4 pieces of cardstock cut at 1 7/8" x 2 3/4 and two pieces at 3 5/8" x 2 3/4". As you can see I used several different patterns.

5. This is a picture of the outside of the box. I used the same measurements I used for the inside of the box.

6. This is your finish box. You will tape the small tab around so that the box closes up.

7.  The box is almost complete.


To put the tabs inside of the card you will need a piece of white card stock 1" x 4 5/8" scored at 1/2" and 4 1/4".  The last step is to cut all your pieces from your dies and put them together and add attach them inside the box card.


The card is complete! I hope you will take a shot at making a box card, they are so much fun.


Made With Love By The Dutch Lady Designs
Follow Me on Pinterest