Showing posts with label floral. Show all posts

Gina K. Designs - FEBRUARY 2024 NEW RELEASE

Tuesday, February 20, 2024

The Gina K. Designs February 2024 Release is NOW available and can be found HERE.


Hello everyone!

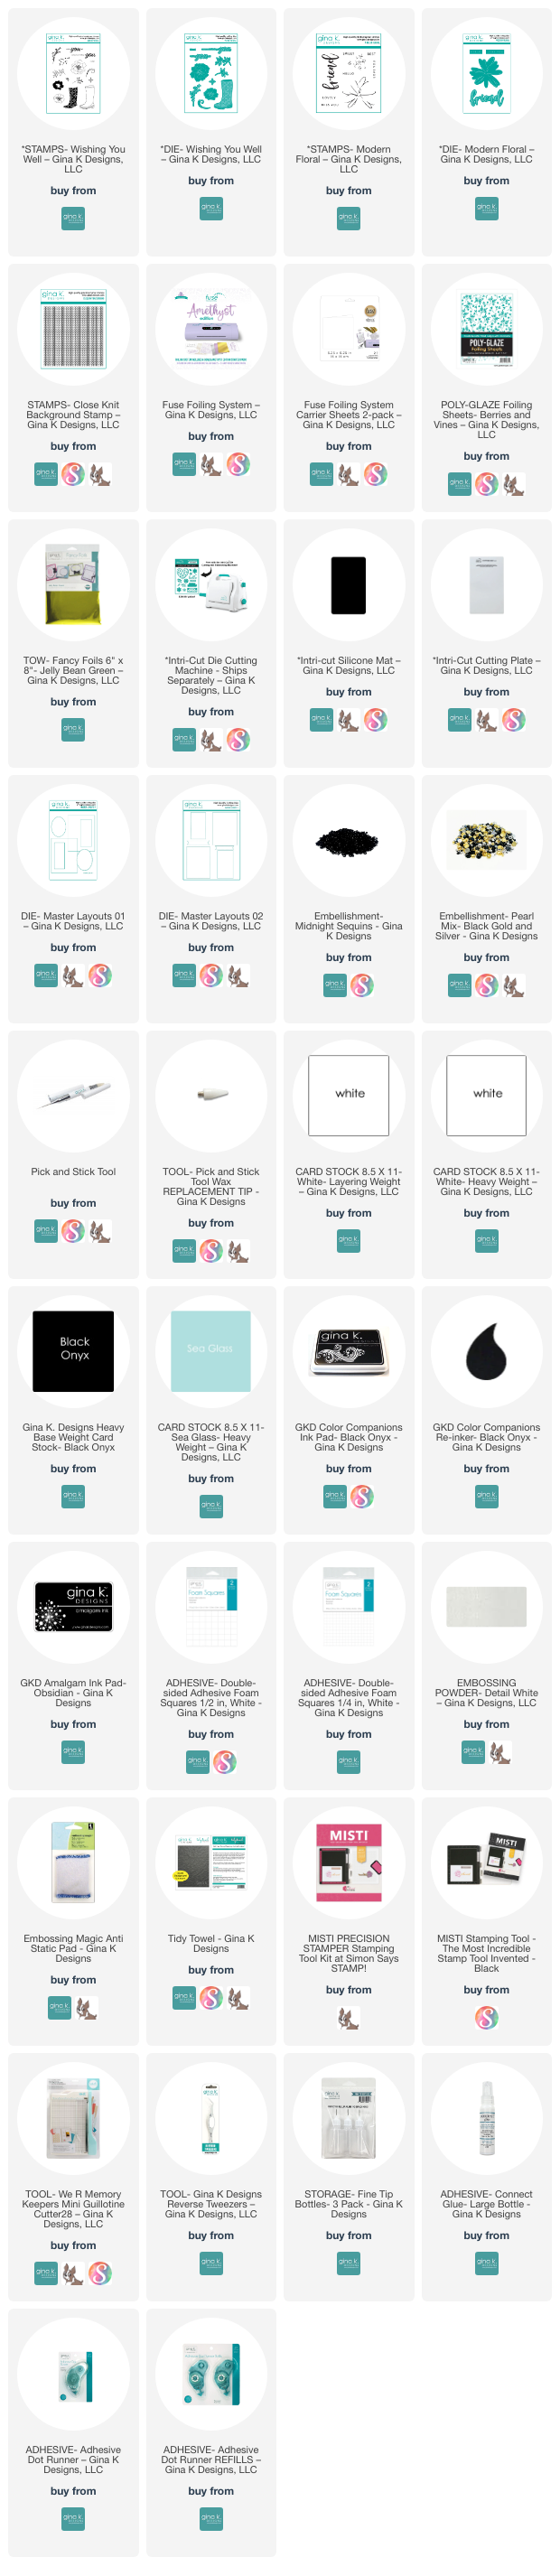
I am here today featuring the NEW Gina K. Designs "Wishing You Well" stamp set and dies illustrated by Lisa Hetrick!  Be sure to check out ALL the new products, released this month. You can also find lots of inspiration over at Gina K. Designs & StampTV Friends Facebook page. All supplies I used are listed below.

Here are my cards for your inspiration:

D Idlet, Gina K. Designs, Wishing You Well Stamp Set, Lisa Hetrick, Floral, Rainboots, February 2024 New Release

My card is an A2 card, I die cut the layers using GKD Master Layouts 1.  I stamped the white piece with the GKD Close Knit Background Stamp using Kraft ink.  I adhered this piece to the black layer and added it to the card.  I stamped the boots from the "Wishing You Well" stamp set onto GKD Passionate Pink cardstock using black onyx ink.  I stamped the flowers and leaves from the "Wishing You Well" stamp set, used alcohol markers to color the flowers and added some midnight sequins in the centers of the flowers.  I arranged the boots, flowers and leaves onto the card and adhered to the card.  I stamped and embossed the sentiment using white detail embossing powder and used the coordinating die to die cut the sentiment.  I adhered it to the card and finished it off by adding the black pearls from the black, gold and silver pearl mix.  

D Idlet, Gina K. Designs, Wishing You Well Stamp Set, Lisa Hetrick, Floral, Rainboots, February 2024 New Release

My last card is an A2 card. I foiled the Poly-glaze Berries and Vines with Fancy Foils - Jelly Bean Green using the Fuse Foiling System.  I die cut the poly-glaze layer and the black layer using GKD Master Layouts 2.  I stamped and die cut the flowers and leaves, coloring the flowers with alcohol markers.  I added some midnight sequins in Florals centers of the flowers.  I stamped and embossed the sentiment from the Wishing You Well stamp set using white detail embossing powder and used the coordinating die to die cut the sentiment. The word friend is from the "Modern Floral" stamp set, that I also embossed and used the coordinating die to die cut the word.  

Thank you so much for stopping by! Please come back again soon.

Here is a list of supplies I used on my cards. Affiliate Links used at no additional cost. Thank you for your support.

Newton's Nook Designs March 2022 Release - Reveal Day 3

Wednesday, March 16, 2022

Hello everyone!

Welcome back to Day 3 of the March 2022 Newton's Nook product reveal. The design team is featuring the Tulips and coordinating dies and Newton’s Blooms and coordinating dies which you can find here.  I am in love with all the floral stamp sets that has been released this week.  I think Spring is here!  Yesterday it was sunny and 70 degrees and today the temperature will be the same!

 
Here are my cards for your inspiration:


Here is how I created my first card using the Welcome New Dog stamp set and coordinating dies:

  • Mini Slimline Card Base: 3 1/2" x 6" (7" x 6", scored at 3 1/2" on the 7" side).
  • Black Panel: 3 1/4" x 5 3/4"
  • Top Panel:  3" x 5 1/4"
  • Ink blended the top panel with blue ink and splattered with water and black paint.
  • Stamped the tulip and the butterfly images (die cut the tulip twice) die cut with the coordinating dies and colored the images with alcohol markers.
  • Added the tulips to the card base using foam squares to pop them up, then adhered the butterflies randomly on the card.
  • Finished the card off by adding the sentiment from the Tulip Stamp Set.


Here is my second card using the Newton’s Blooms and coordinating dies and the Springtime Paper Pad .


  • A2 Top Fold Card Base: 4 1/4" x 5 1/2" (4 1/4" x 11", scored at 5 1/2")
  • Black Panel:   4" x 5 1/4"
  • Floral Panel:  3 7/8 x 5
  • Die cut the black oval frame from the Newton's Oval Frames Die Set.
  • Stamped the images from the Newton’s Blooms Stamp Set, Colored with alcohol markers, and die cut with the coordinating dies.
  • Stamped the sentiment with versamark and heat embossed with white embossing powder.
  • Assembled the card.


Would you like to win the “Tulips” or the “Newton’s Blooms” Stamp Set? We will choose ONE lucky winner for each stamp set!  

Here's how to win: Comment on the NND blog and Design Team blogs (see list below)! The winner will be chosen at random from the collective reveal posts. Make sure to check out each of their blogs and comment for your chance to win. You will not know which blog has been chosen so the more you comment on the better your chances are of winning! You have until Wednesday March 16th at 9pm ET to comment -- winners will be announced on the blog post on Thursday March 17th.

Check out all the awesome Design Team Blogs below to enter:

Donna Idlet YOU ARE HERE

Joy Clair Designs - Cup of Joy Feel Better

Friday, May 29, 2020

Hello everyone,

I am here with Super Sponsor Joy Clair Designs playing along with the Spring/Summer Coffee Lovers Blog Hop! Today is the last day to play along and my last post for the hop.  I have enjoyed the hop as always.

I am using the "Cup of Joy " digital stamp set. This set is a beautiful set and has lots of images and sentiments.  I used pencils and watercolor to color the image, the sentiment is from the Spring Floral Basket Digital Set.


Closer look at the card.

Thank you so much for stopping by, please come back again soon.


RETRO RUBBER CHALLENGE #115 - Color Challenge

Tuesday, July 16, 2019

Hello everyone!

I'm here with Retro Rubber Challenge Blog with a new challenge which is "Color Me", use any of the colors in the inspiration photo below and use at least one stamp older than a year. 


Here is my take on the challenge. I am using a stamp set by Altenew called Springtime Azalea which was released in December 2017.  The sentiment is from the Altenew stamp set called  Sakura Blossom which was released January 2018.   I enjoyed stamping this layering stamp using the colors in the inspirational photo.  I can't wait to see what you create! 


Here is a closer look at my card.  


Thank you so much for stopping by, please stop over at Retro Rubber and join the fun!  You have until July 26.

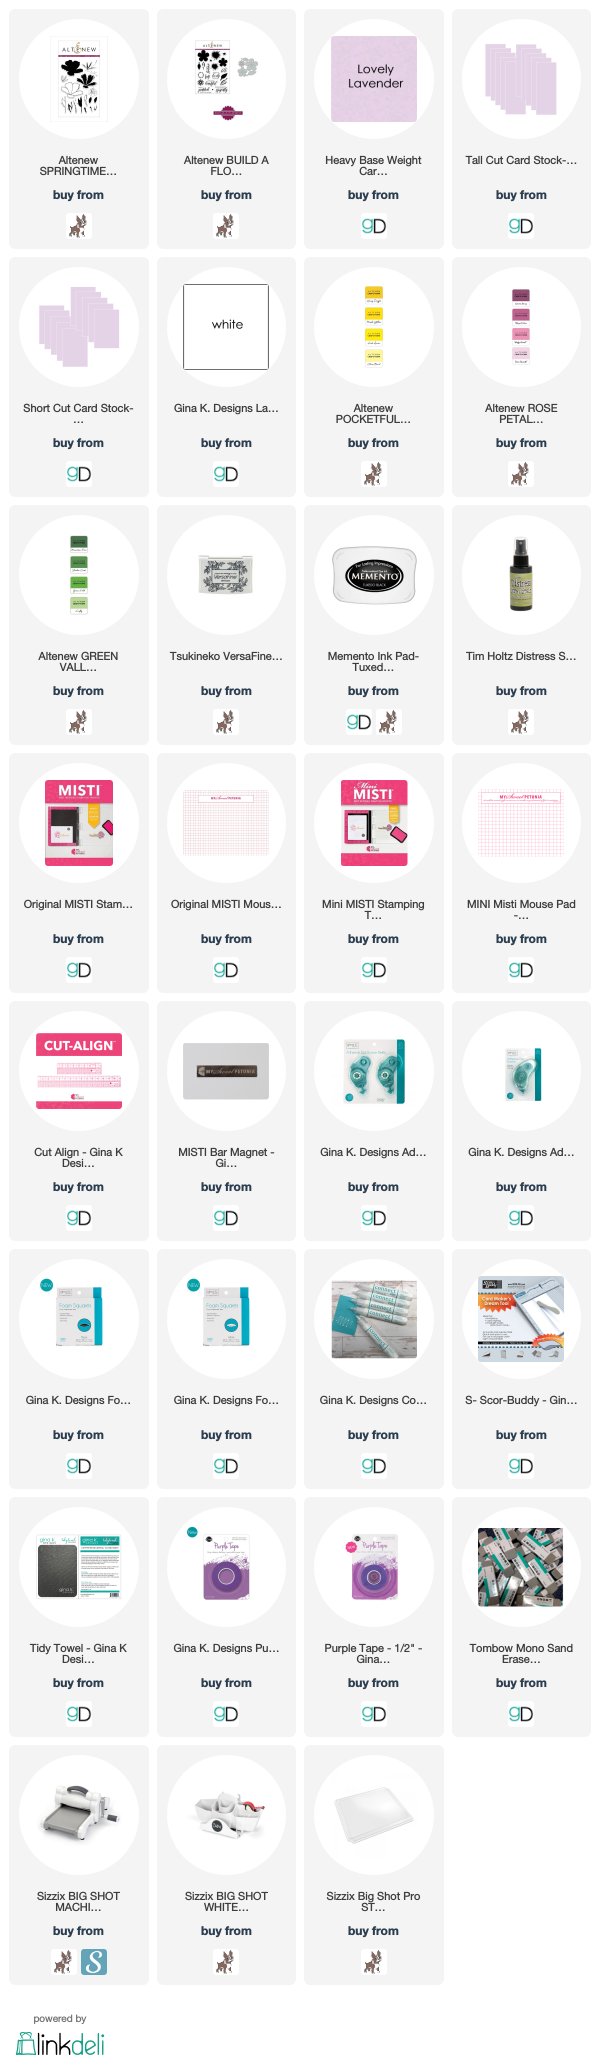
Supplies Used:  (Affiliate Links used at no additional cost to you. Thanks so much for support!)
Made With Love By The Dutch Lady Designs
Follow Me on Pinterest