Showing posts with label Rinea Violet Foil Paper. Show all posts

Rinea - You're So Precious to Me

Monday, May 4, 2020

Hello everyone!

I am here with Rinea and I am sharing a Mother's Day card with you today. I hope you all have had a chance to get your mother's day cards done and are in the mail by now. I am using the Rinea Blush/Blush Starstruck Foiled Paper, Fuchsia/Fuchsia Starstruck Foiled Paper, Violet/Gold Glossy Foiled Paper, Lavendar/Gold Glossy Foiled Paper and Arctic/Gold Glossy Foiled Paper

Here is how I created my card.

1. My card is an A2 card measuring 4 1/4 x 5 1/2,

2. I cut the Rinea Blush/Blush Starstruck Foiled Paper to 4 1/4 x 5 1/2 and adhered it to my card,

3. I then die cut a background from the  Fuchsia/Fuchsia Starstruck Foiled Paper and adhered it to the card,

4. I then die cut the word mom  with  Violet/Gold Glossy Foiled Paper and Lavendar/Gold Glossy Foiled Paper  and used foam dots to adhered to the card,

5.  I stamped the sentiment with Black Stazon Ink, then die cut the sentiment with a stitched die.


Closer look of the card.


I hope you have been inspired by my project today. Thank you so much for stopping by, please come back again soon!


Rinea - Spring

Saturday, March 21, 2020

Hello everyone!

I am here with Rinea and this month we are collaborating with Creative Embellishments. Creative Embellishments has chipboard, wood veneers and other crafty supplies. I am sharing a Spring card with you today. I am using the Rinea Blush Starstruck, Blush/Gold Glossy Solid Pack
Ebony Starstruck Solid Pack, Violet Starstruck Solid Pack, and Lavender/Gold Glossy Solid Pack.

Here is my card for inspiration.


Closer look at the card.  


Here is how I created my card.

1. My card is an A2 card measuring 4 1/4 x 5 1/2,

2. I die cut the top layer with Violet Starstruck Solid Pack, I cut a piece of Lavender/Gold Glossy Solid Pack the same size as the top layer and adhered it to the card base,

3. I then painted the tulips and the Spring word by Creative Embellishments with distress inks, I let it dry and added some Sheer Shimmer onto the tulips and leaves.  The picture doesn't show it very well, but the card is beautiful in person,

4. I then die cut the butterfly with Rinea Blush Starstruck, Blush/Gold Glossy Solid Pack
Ebony Starstruck Solid Pack adhered the pieces together and adhered  it to my card.
I hope my card has inspired you.  I know in my area it is already feeling like Spring, the flowers are growing and looks like they will be blooming soon.

Thank you so much for stopping by, please come back again soon!
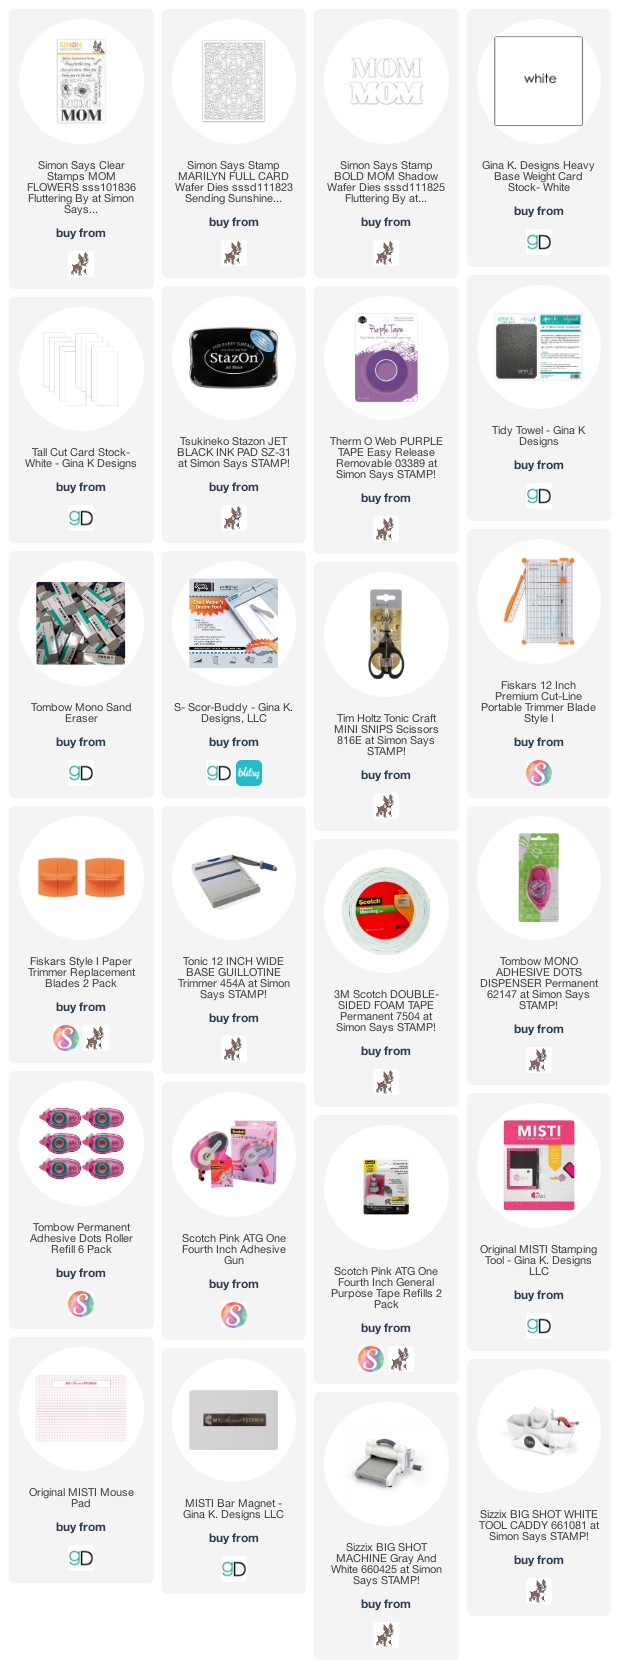
Listed below are the products I used. Click on the link to go directly to the product. Where available I have used compensated affiliate links which means if you make a purchase I will receive a small commission at no extra cost to you. Thank you so much for your support!

SUPPLIES USED:


Rinea - Peacock Frame

Friday, October 4, 2019

Hello everyone!

I am here with Rinea with a cute frame that I created using the peacock as the vocal image. To create the peacock I had to cut many layers. The background I used the Rinea Violet/Gold Glossy Solid Foiled Pack. The layers on the peacock are Rinea Sapphire/Gold Glossy Solid Foiled Pack, Rinea Lavendar/Gold Glossy and Solid Foiled Pack, Rinea Blush Gold Glossy Solid Foiled Pack.


Here is how I put my frame together:

1. The frame is a 6x6 frame with a 5x5 opening,

2. I cut a piece of the Rinea Violet/Gold Glossy Solid Foiled  paper to 5x5, I used a stencil I had with peacock feathers and ran it through my die cutting machine  I die cut the pieces of the peacock and used liquid glue to put it together.  I then adhered the peacock in the center of the frame.  After everything was dried I added the glass to the frame.

Here is a closer look:


Thank you so much for stopping by, please come back again soon.

Rinea - Thanks!

Wednesday, July 24, 2019

Hello everyone!

I'm here with Rinea with another beautiful project created with the Rinea foiled papers.  I have created a thank you card that I have created using various die cuts.  Die cuts are so easy to use with the foil papers and makes beautiful projects.

Here is how I created my project.

1.  I cut the Silver/Gold Glossy foiled paper with a stitched rectangle die, I then die cut the butterfly several times using Fuchsia/Gold Glossy, Ebony/Gold Glossy, Violet/Gold Glossy and Jade/Gold Glossy Solid foiled papers, because I pieced the colors into the butterfly, after I got all the pieces back in I cut a piece of Ebony/Gold Glossy solid foiled paper and adhered the butterfly piece to it and mounted it to an A2 top folding card base. 

2.  I die cut the thanks with Ebony/Gold Glossy and Fuchsia/Gold Glossy foiled paper and adhered them together with liquid glue, I adhered it to my card,

3.  I then stamped the sentiment with versafine, and heat embossed it with white embossing powder and die cut it and adhered it to my card with foam tape.


Closer look at my card.


Thank you so much for stopping by, please come back again soon!

Supply List (affiliate links used):

Made With Love By The Dutch Lady Designs
Follow Me on Pinterest