Showing posts with label Rinea Jade/Gold Glossy Solid paper. Show all posts

Rinea - Thanks!

Wednesday, July 24, 2019

Hello everyone!

I'm here with Rinea with another beautiful project created with the Rinea foiled papers.  I have created a thank you card that I have created using various die cuts.  Die cuts are so easy to use with the foil papers and makes beautiful projects.

Here is how I created my project.

1.  I cut the Silver/Gold Glossy foiled paper with a stitched rectangle die, I then die cut the butterfly several times using Fuchsia/Gold Glossy, Ebony/Gold Glossy, Violet/Gold Glossy and Jade/Gold Glossy Solid foiled papers, because I pieced the colors into the butterfly, after I got all the pieces back in I cut a piece of Ebony/Gold Glossy solid foiled paper and adhered the butterfly piece to it and mounted it to an A2 top folding card base. 

2.  I die cut the thanks with Ebony/Gold Glossy and Fuchsia/Gold Glossy foiled paper and adhered them together with liquid glue, I adhered it to my card,

3.  I then stamped the sentiment with versafine, and heat embossed it with white embossing powder and die cut it and adhered it to my card with foam tape.


Closer look at my card.


Thank you so much for stopping by, please come back again soon!

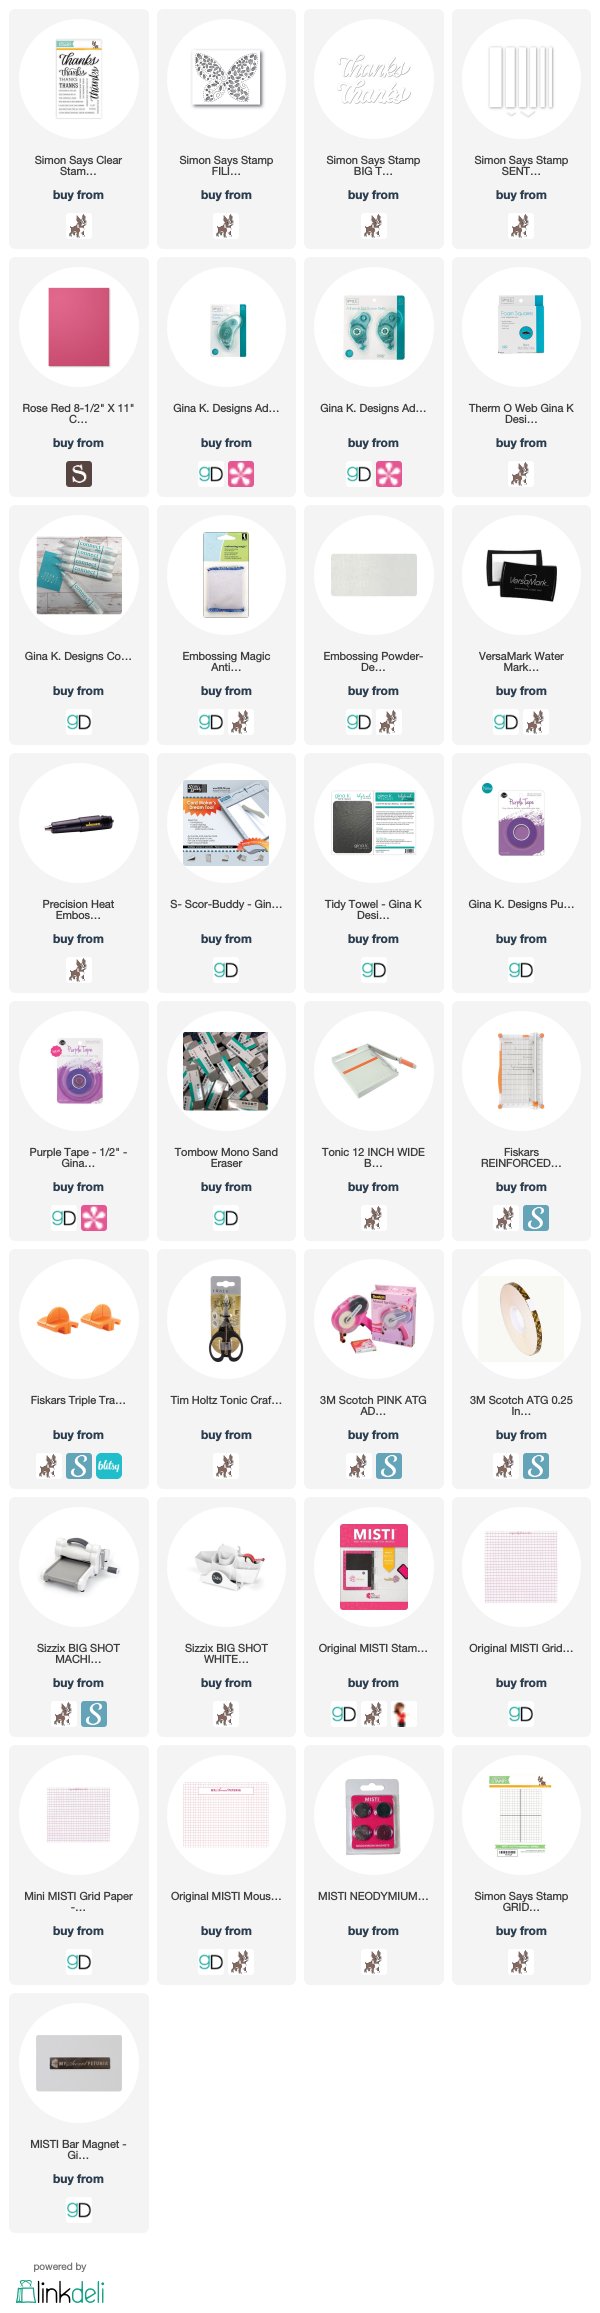
Supply List (affiliate links used):
Rinea - Foiled Box

Friday, June 21, 2019

Hello everyone!

I am here with Rinea again this month sharing a thank you box I created using Rinea Foiled papers. This box is great for a small gift for a birthday or gifts for a wedding party with the beautiful papers. On this box I used the Rinea Jade/Gold Glossy Solid paper and the Rinea Fushsia/Gold Glossy Paper.  The stamps I used on my project are Crackerbox & Suzy Stamps, the flower is called Flower Swirl  and the Thank You is from the Tiny Words set of 4 stamp set.

Here is how I put my box together:

1. I cut four panels of the Rinea Jade/Gold Glossy Solid paper,


2. I then added double sided strong tape to the tabs on the cut pieces,


3. I then attached all the sides together and here is what it looked like,


4. I then die cut three panels for the sides and 4 pieces for the top using Rinea Fushsia/Gold Glossy Paper and adhered them to my box,

5. I then stamped the front panel using Crackerbox & Suzy Stamps and sentiment, die cut it out with a stitched die and adhered it to my card.

The box was very easy to put together, adding the panels onto the box really makes it sturdy.

Thank Thank you so much for stopping by, please come back again soon!

Made With Love By The Dutch Lady Designs
Follow Me on Pinterest