Showing posts with label Happy New Year. Show all posts

Kat Scrappiness -,Happy New Year!

Thursday, December 30, 2021

Hello everyone!

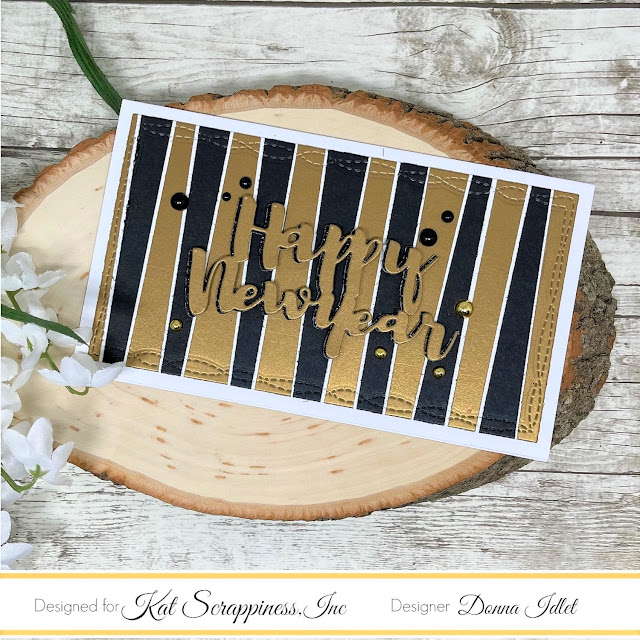
Happy New Year a couple of days early! I am here with Kat Scrappiness sharing a New Year mini slimline card. I love the colors on this card, gold and black are so rich and elegant.  The Happy New Year die is a KS die and I offset if with some glitter black cardstock.
 
Here is my card for your inspiration:


Here is how I created the card:
  • Cut the white Slimline Card Base: 6″ x 3 1/2″ (6″ x 7″, scored at 3 1/2″).
  • I cut paper using my cutter with the black and gold cardstock (I didn't measure anything)
  • Die cut the strips using Mini Slimline Wonky Dies and adhered it to the base of the card.
  • Die cut the word die from KS "Happy New Year" Brush Script Word & Sentiment Die twice and offset the black glitter paper.
  • Assembled the card and added KS Gold and Onyx Black Pearl Mix.
Thank you so much for stopping by, please head over to Kat Scrappiness blog for more inspiration.

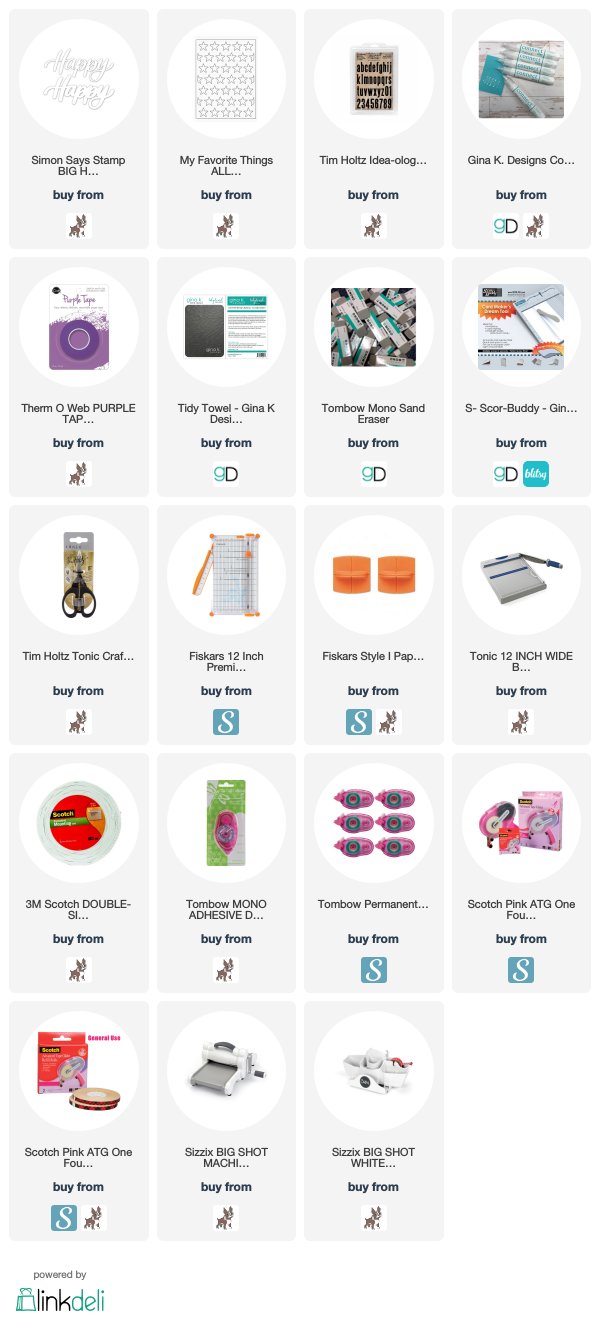
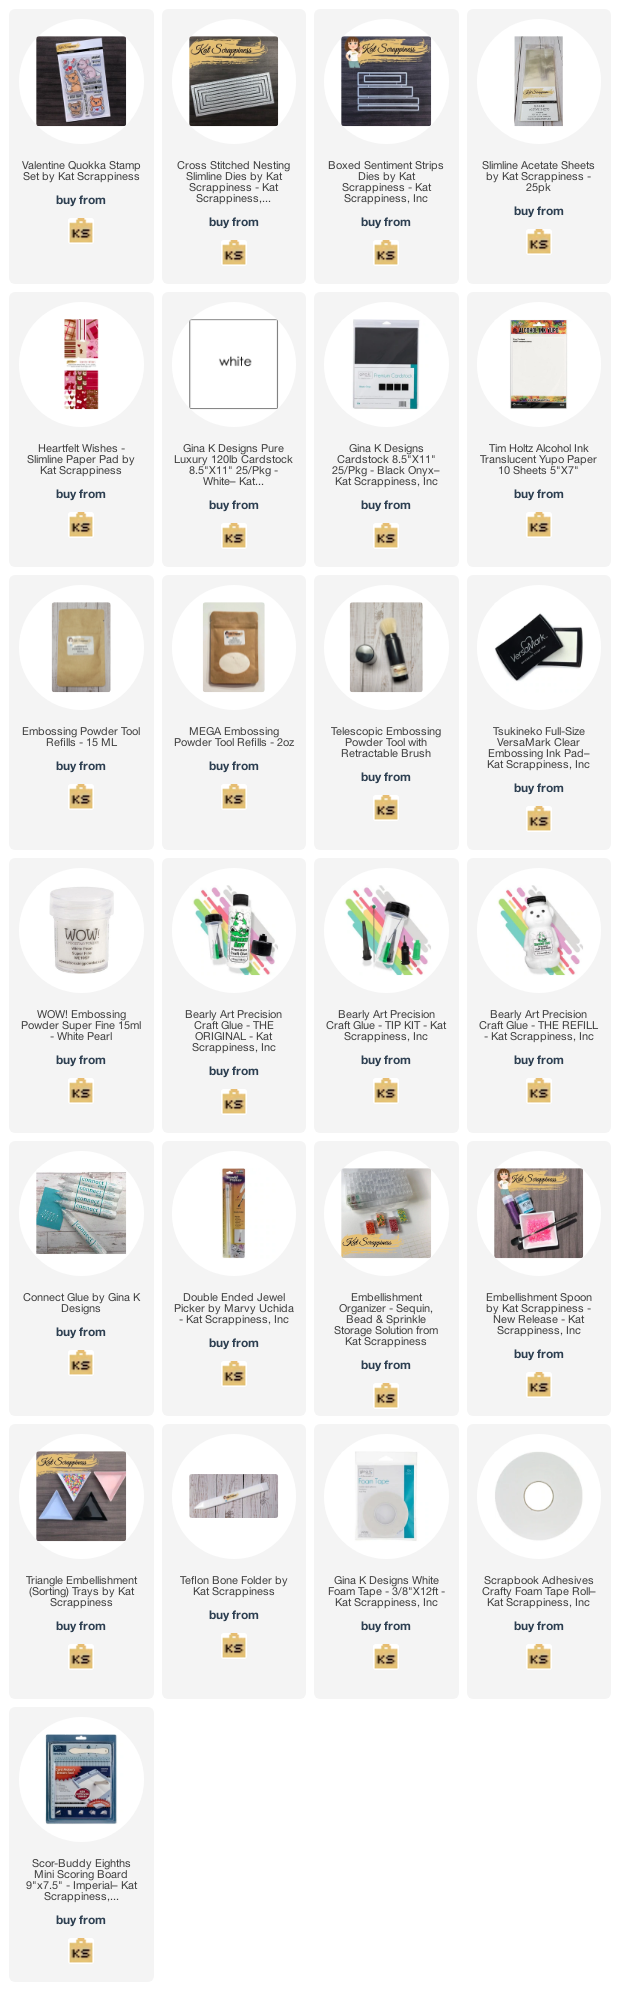
Here is a list of supplies I used on my card, Affiliate Links used at no additional cost. Thank you for your support.
Rinea - Happy New Year!

Saturday, January 4, 2020

Happy New Year!

I hope everyone's New Year has started out to be a great one. This is my first post for Rinea and I am sharing with you a New Year's card. Here are the Rinea Foiled papers I used on my project:
Rinea Ebony/Gold Glossy Solid Foiled Pack, Rinea Gold/Gold Glossy Solid Packs & Rolls and
Ebony/Ebony Starstruck Solid Packs & Rolls.

Here is how I created my card:

My card is an A2 card measuring 4 1/4 x 5 1/2.  I cut a piece of Rinea Gold Paper at 4 1/4 x 5 1/2 and glued it to the base of my card, I then took a piece of the Ebony Starstruck Paper and die cut it with a star background die I have in my stash, I added this to the base of my card.  I then die cut the "Happy" out with Rinea Gold Paper and Rinea Ebony Paper and adhered it to my card, and lastly I die cut the numbers out with Rinea Gold Paper and Rinea Ebony Paper  and adhered them.  I love how my card looks, very festive and ready for a new year!


Closer look at my card.


Thank you so much for stopping by, I wish all of you a Happy New Year! I look forward to creating and inspiring you this year!

Listed below are the products I used. Click on the link to go directly to the product. Where available I have used compensated affiliate links which means if you make a purchase I will receive a small commission at no extra cost to you. Thank you so much for your support!
 

Retro Rubber Challenge Blog Challenge #78 - White Out

Tuesday, January 16, 2018

Happy New Year!

I am so happy to be back with Retro Rubber Challenge Blog Team!  I hope that you all are ready to get creative again for the new year.  Dust those stamps off that you haven't used in a while or have never used and join the challenges!  The challenge is "White Out", your card should be mainly white with an accent of one of the colors on the inspirational photo below.

No automatic alt text available.

Today I am sharing a "Happy New Year" card.  The sentiment I am using is from a Hero Arts Stamp and Cut stamp set called Merry.  I believe this set was released sometime in October 2016.

Here is my card, I started out by die cutting the background with the Hero Arts background Party Confetti Fancy Die.  I used some gold glitter paper on the back of the die cut.  I cut the champagne glasses with my silhouette, I then stamped my sentiment with versamark and used some gold embossing powder.


Are you ready to play along?  The rules to play along with Retro Rubber are very simple, make sure the stamp you use on your project is at least one year or older.   For more details on the rules, you can find them over on Retro Rubber Challenge blog.  Be sure to stop over on the Retro Rubber Challenge blog to get more inspiration, the design team has some wonderful creations!

Thank you for stopping by, you have until January 26 to join the fun!


Made With Love By The Dutch Lady Designs
Follow Me on Pinterest