Hello everyone!
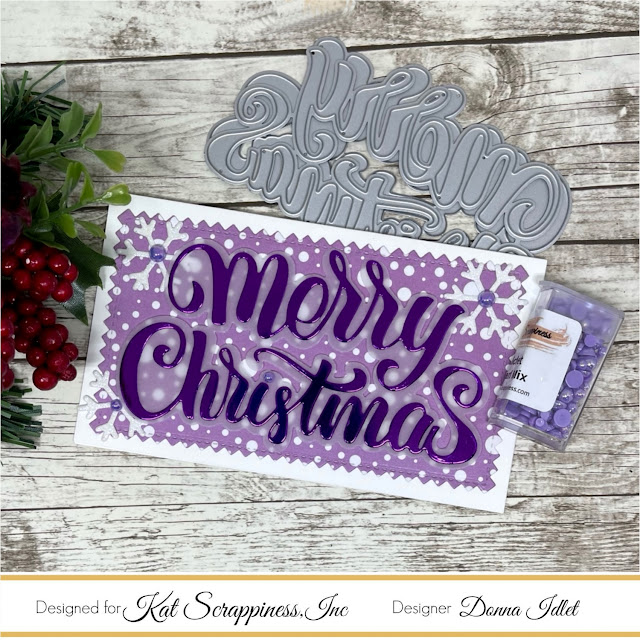
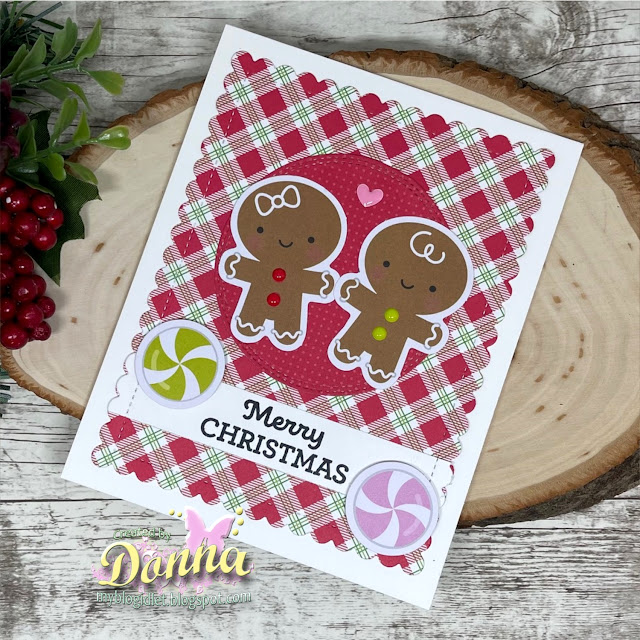
Happy New Year a couple of days early! I am here with Kat Scrappiness sharing a New Year mini slimline card. I love the colors on this card, gold and black are so rich and elegant. The Happy New Year die is a KS die and I offset if with some glitter black cardstock.Here is my card for your inspiration:
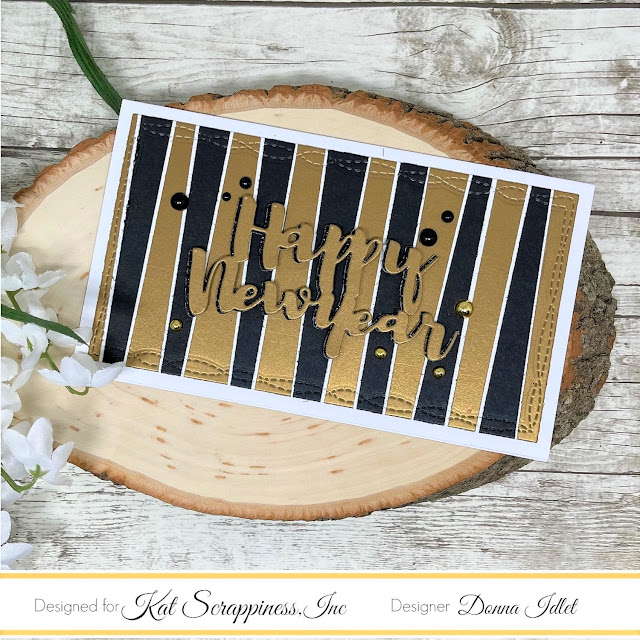
Here is how I created the card:
- Cut the white Slimline Card Base: 6″ x 3 1/2″ (6″ x 7″, scored at 3 1/2″).
- I cut paper using my cutter with the black and gold cardstock (I didn't measure anything)
- Die cut the strips using Mini Slimline Wonky Dies and adhered it to the base of the card.
- Die cut the word die from KS "Happy New Year" Brush Script Word & Sentiment Die twice and offset the black glitter paper.
- Assembled the card and added KS Gold and Onyx Black Pearl Mix.
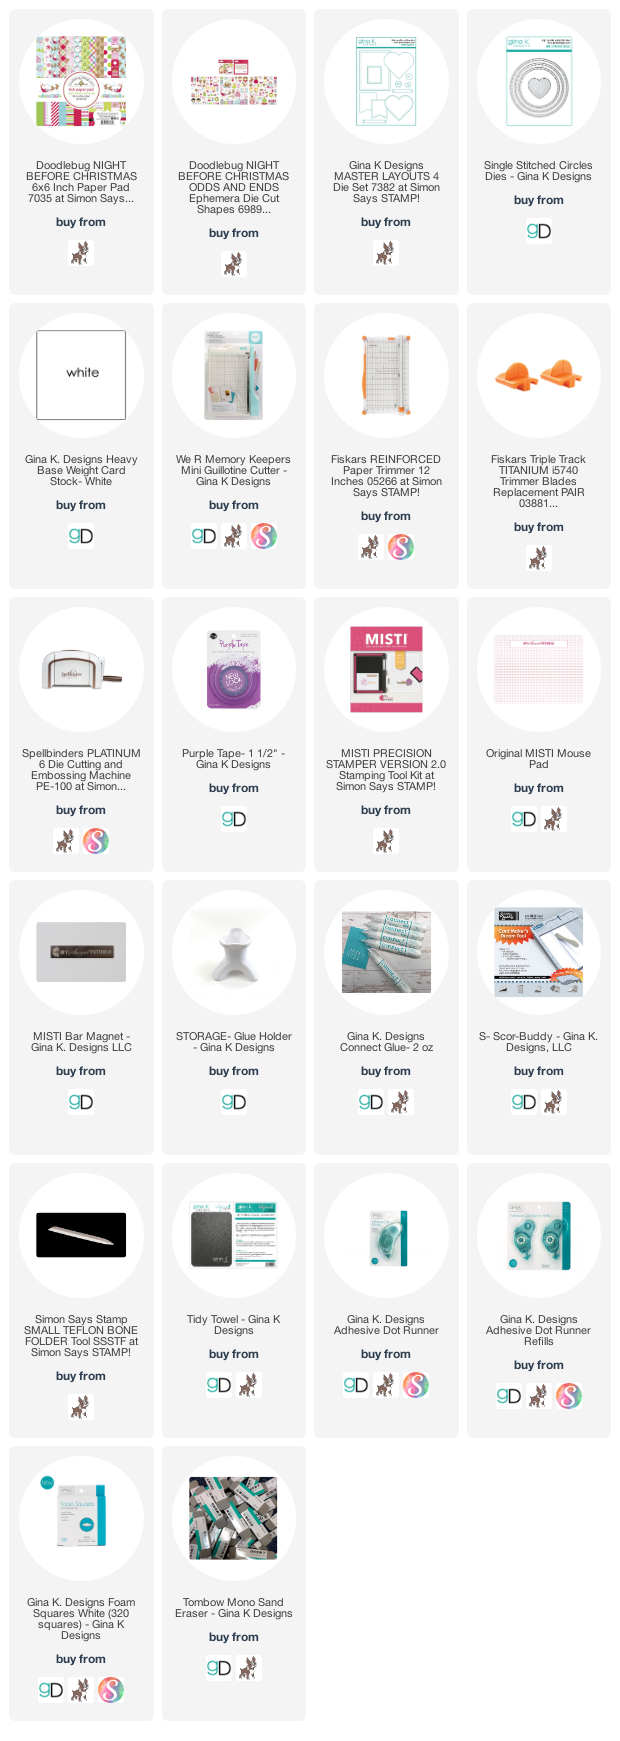
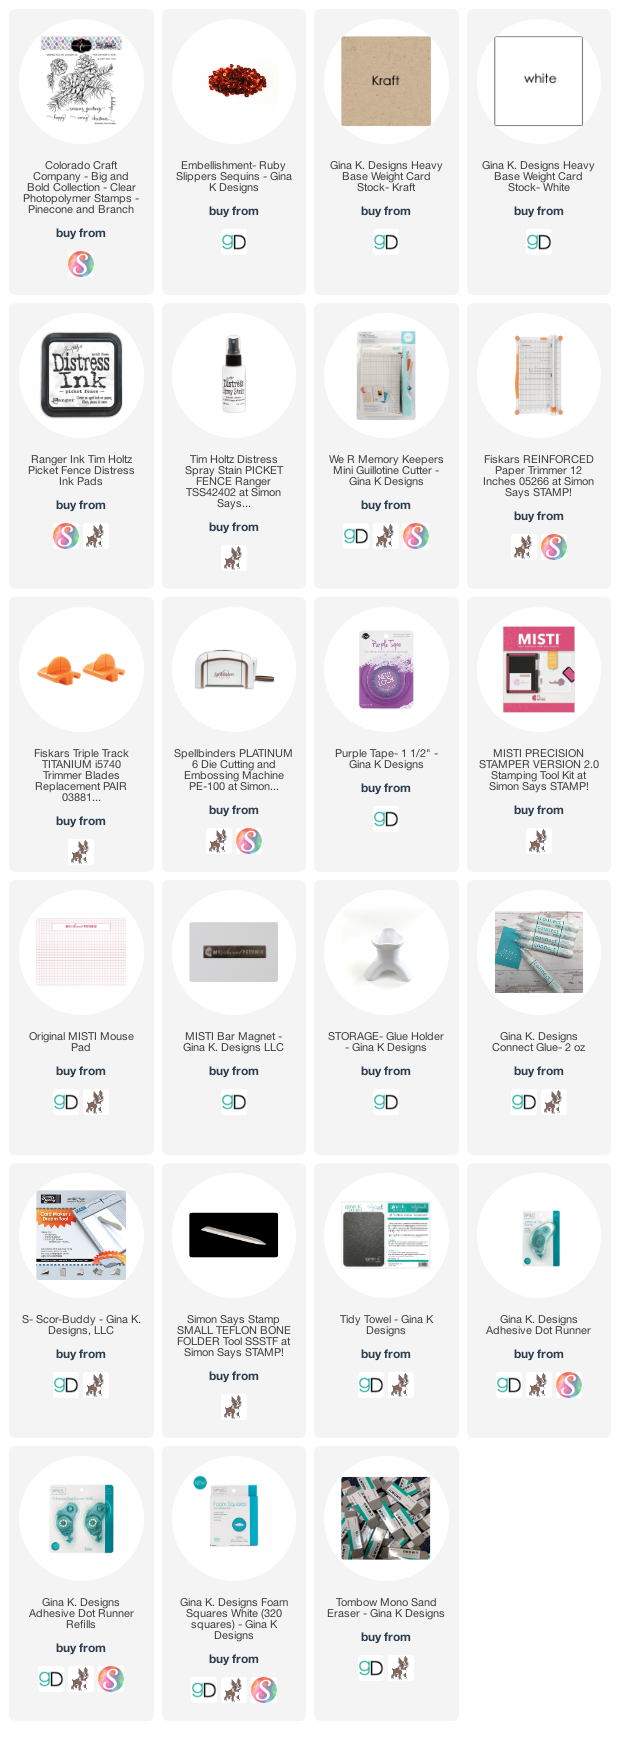
Here is a list of supplies I used on my card, Affiliate Links used at no additional cost. Thank you for your support.