Showing posts with label slimline card. Show all posts

Maker's Movement - Summer

Friday, May 27, 2022

Hello everyone!

I am here with The Maker’s Movement with my first post on their Design Team! I am so happy to be a design team member and to be able to share with you their wonderful products. Today I am featuring the NEW Summer Sentiments Stamp & Die Set and the Flip Flop Die Set.

Here is my card for your inspiration:


Here is how I created the card:

1. Die cut the layers from the Slimline Essentials Die Set using the Crossover II die cutting machine in Kraft card stock.  Card base measures 3 1/2 x 8.

2. Die cut the flip flops from the Flip Flop Die Set using card stock from my stash, the thongs are die cut from the Maker's Movement 6x6 paper pad called Rainbow Sprinkles. Added some enamel dots on top of the flip flops.

3. Stamped and die cut the word "Summer" from the Summer Sentiments Stamp & Die Set, the thongs were die cut using the Maker's Movement 6x6 paper pad Rainbow Sprinkles.

4. Stamped the sentiment from the Summer Sentiments Stamp & Die Set and used the flag die from the  Summer Sentiments Stamp & Die Set and adhered it to the card.

5. Assembled the card and to finish it off added some enamel dots to finish off the card.

Thank you so much for stopping by, please come back again soon!


Kat Scrappiness - Happy Birthday

Friday, July 30, 2021

Hello everyone!

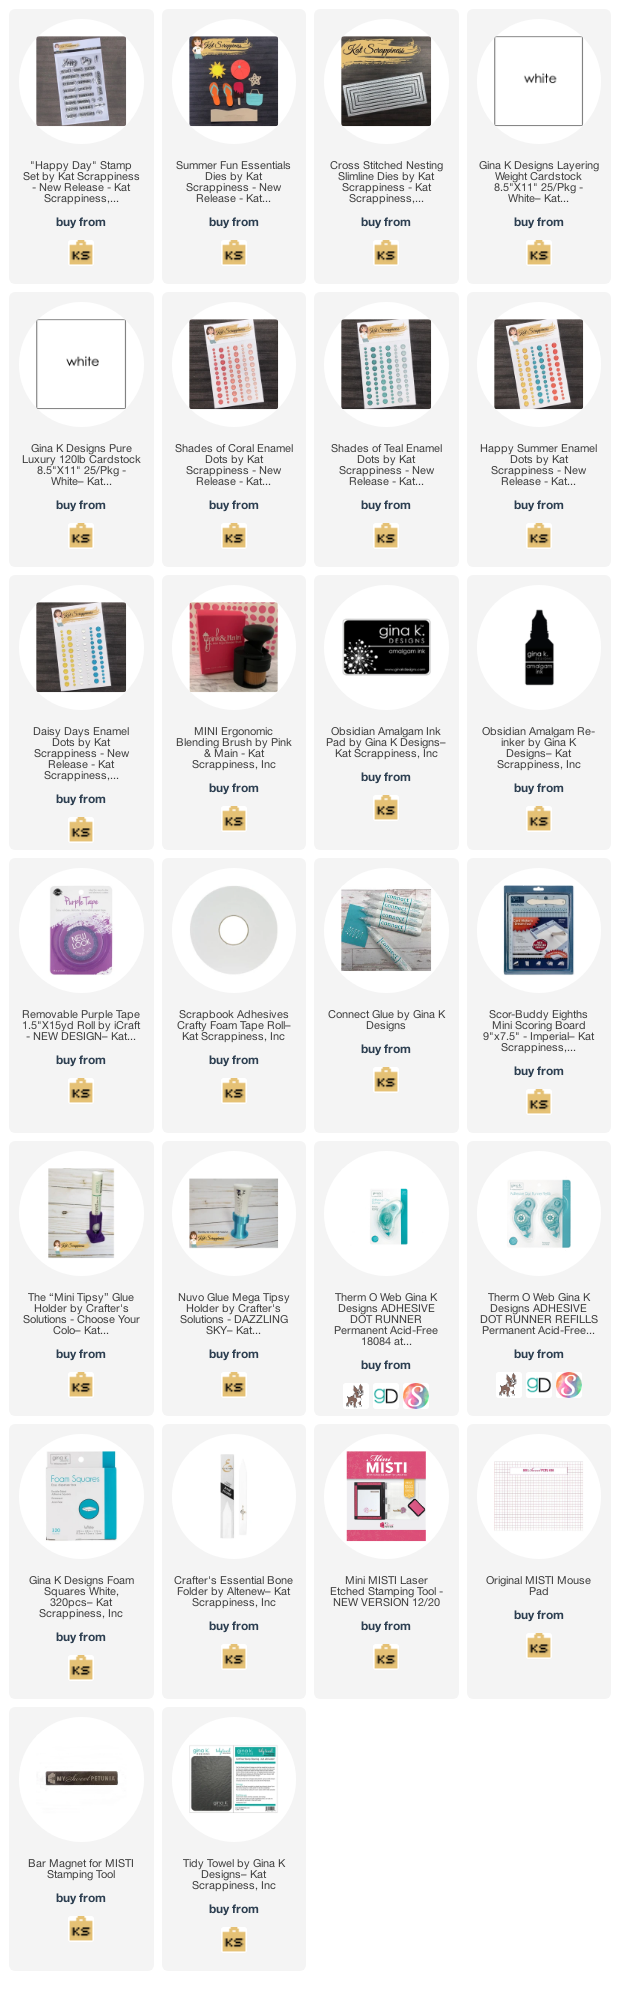
I am here with with Kat Scrappiness, Inc.,  featuring the Summer Fun Essentials die set along with the NEW Happy Day stamp set to create my card.  The enamel dots are also Kat Scrappiness, I love the new colors.  


Here is how I created my card:

  • Cut the White Slimline Card Base: 3-1/2″ x 8-1/2″ (scored at 3 1/2″).
  • Top layer is cut using the Cross Stitched Nesting Slimline Dies.
  • Cut Popsicles Summer Fun Essentials die set with cardstock. Added wing of stella for shimmer.
  • Stamp Birthday sentiment from the Happy Day stamp set in black ink and fuzzy cut the word and used foam tape to add it to the card.
  • Assemble card.
  • Finished with adding enamel dots.
Thank you so much for stopping by, please visit Kat Scrappiness blog for more inspiration.

Here is a list of supplies I used on my card, Affiliate Links used at no additional cost. Thank you for your support.

Kat Scrappiness - Crafty Friend

Sunday, June 20, 2021

Hello everyone!

I am here with Kat Scrappiness, Inc., sharing a slimline card using the newly released "Hello My Crafty Friend" word die with shadow.  This word die is perfect to send to one of your crafty friends.  The words can also be used separately if you wanted to.  This is a great die to have in your stash. 


Here are the steps to create this card:

  • Cut the White Slimline Card Base: 6″ x 3 1/2″ (6″ x 7″, scored at 3 1/2″).
  • Top layer is cut using the Zig Zag Nesting Slimline Dies.
  • Die cut the rainbow using the Slimline Rainbow die with Starlights Jewel and Bright slimline paper.
  • Die cut the Hello My Crafty Friend word die with shadow.
  • Stamped and cut the crafty elements from the Crafters Gonna Craft Stamp set.  Colored them with copics.
  • Assembled the card and finished off with adding white stars from the Black & White Star Sprinkles.


Thank you so much for stopping by, please visit Kat Scrappiness blog for more inspiration.

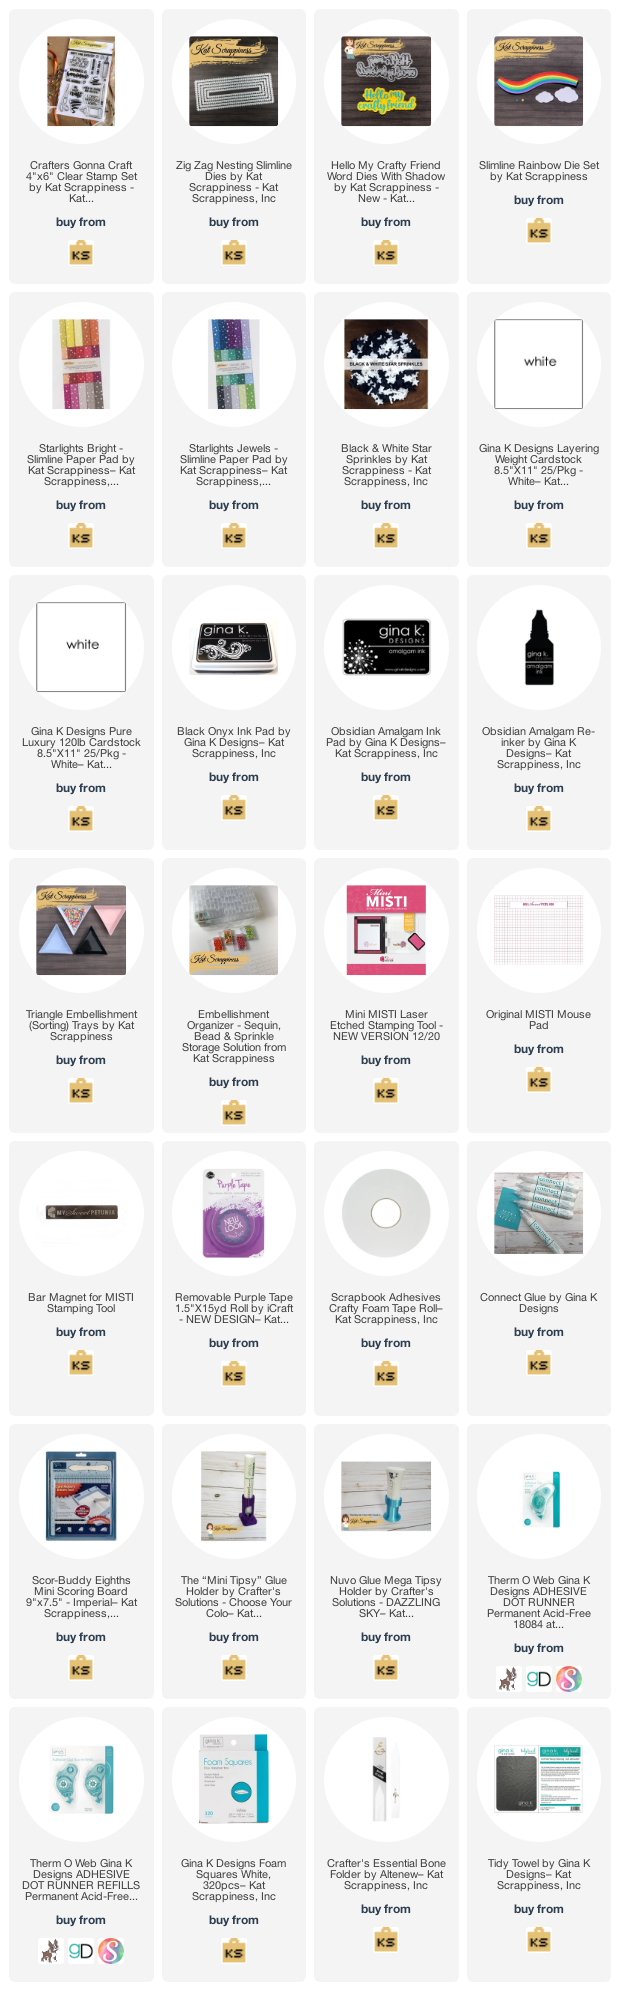
Here is a list of supplies I used on my card, Affiliate Links used at no additional cost. Thank you for your support.

Gina K. Designs - May 2021 Monthly Mix Challenge

Saturday, May 1, 2021

Hello everyone!

I am hosting the Gina K. Designs May 2021 Monthly Mix Challenge! This month’s challenge is, “Create a floral background with your stencils”. If you don’t have a floral stencil, use any one of Gina K. Designs stencils to create a background.
 
I am using the newly released “A Little Hello” Layering Stencil Bundle. I can’t get enough of this stencil it is so versatile. I love the floral image on the stencil and I love making slimline cards. I used Gina K. Designs measurements for my slimline card, below is the diagram for your reference. If you would like more inspiration head over to the Gina K Designs & StampTV Friends page and look in the album.


Dimensions for slimline card:

I hope you enjoyed today’s inspiration and will play along with us! We will have THREE winners of a $25 gift certificate each. You can upload your card here. You have until May 31st to enter and the winners will be announced on June 1st.

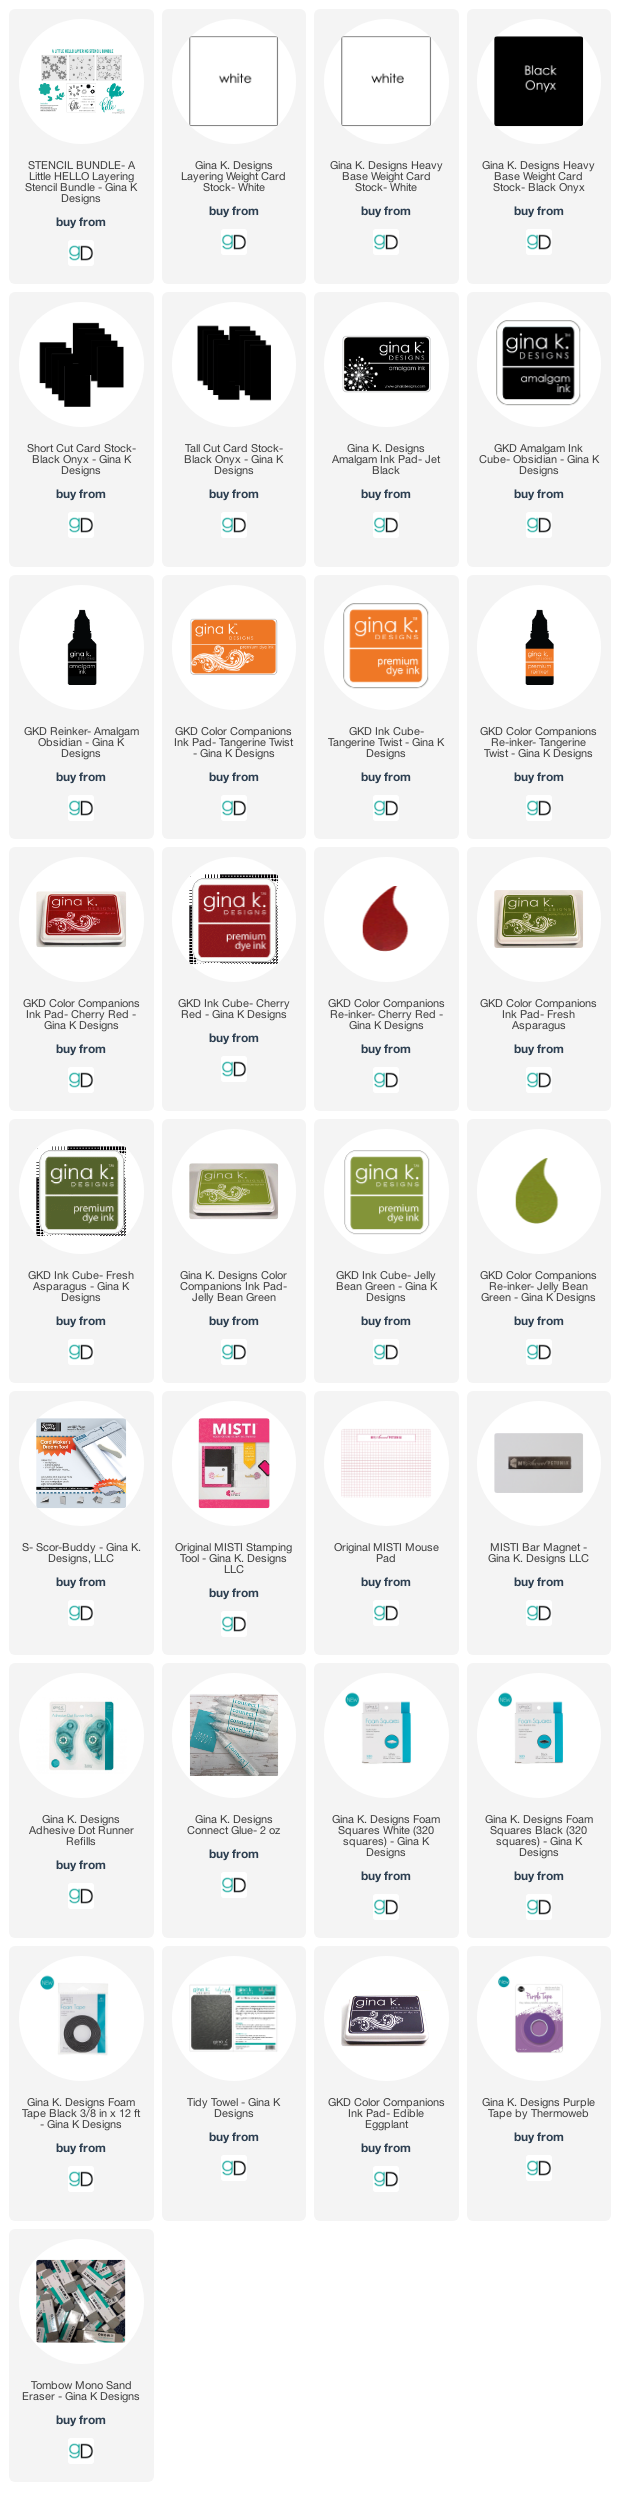
Supplies used: Some affiliate Links used at no additional cost. Thank you for your support!

Joy Clair Stamps - Just Butterflies

Thursday, April 15, 2021

Hello everyone!

I am so excited to be a guest designer for Joy Clair Designs!  I am a big fan of Joy Clair Stamps, I was on the design team for a few years and so happy the owner, Martha Lucia Gomez invited me back for the month of April.

I am using the Joy Clair Designs Just Butterflies digital stamp set to create my slimline card.  I could not help myself, I needed to use rainbow colors now that Spring is here (to be honest rainbow colors are wonderful all year round). 

Details

My card is a slimline card approximately 3 5/8 x 8 5/8.  I die cut a variety of cardstock in rainbow colors.  I adhered them together on a piece of thin paper and then die cut it with a slimline die.  I then added a piece of black cardstock to the background to give the butterflies more interest.  I then resized the butterflies to the size I wanted them (that's the great thing about digital stamps) and printed them on my laser printer.  I then colored them with copics in rainbow colors.  I added each butterfly flat onto the base of my card and then used foam tape to add the butterflies to my card.  I also added the sentiment from the Beautiful Butterflies to my card.


Here is a closer look of the card.....I love all the dimension and colors. 

Thank you so much for stopping by, please come back again soon!

Follow Joy Clair

Be sure to sign up for Joy Clair Designs newsletters. You will receive notifications of new releases, sales and exclusive offers to subscribers. In addition, you can follow Joy Clair Designs on Facebook Page, Joy Clair Stamp Projects Facebook Group, Instagram , Twitter, Pinterest and YouTube!

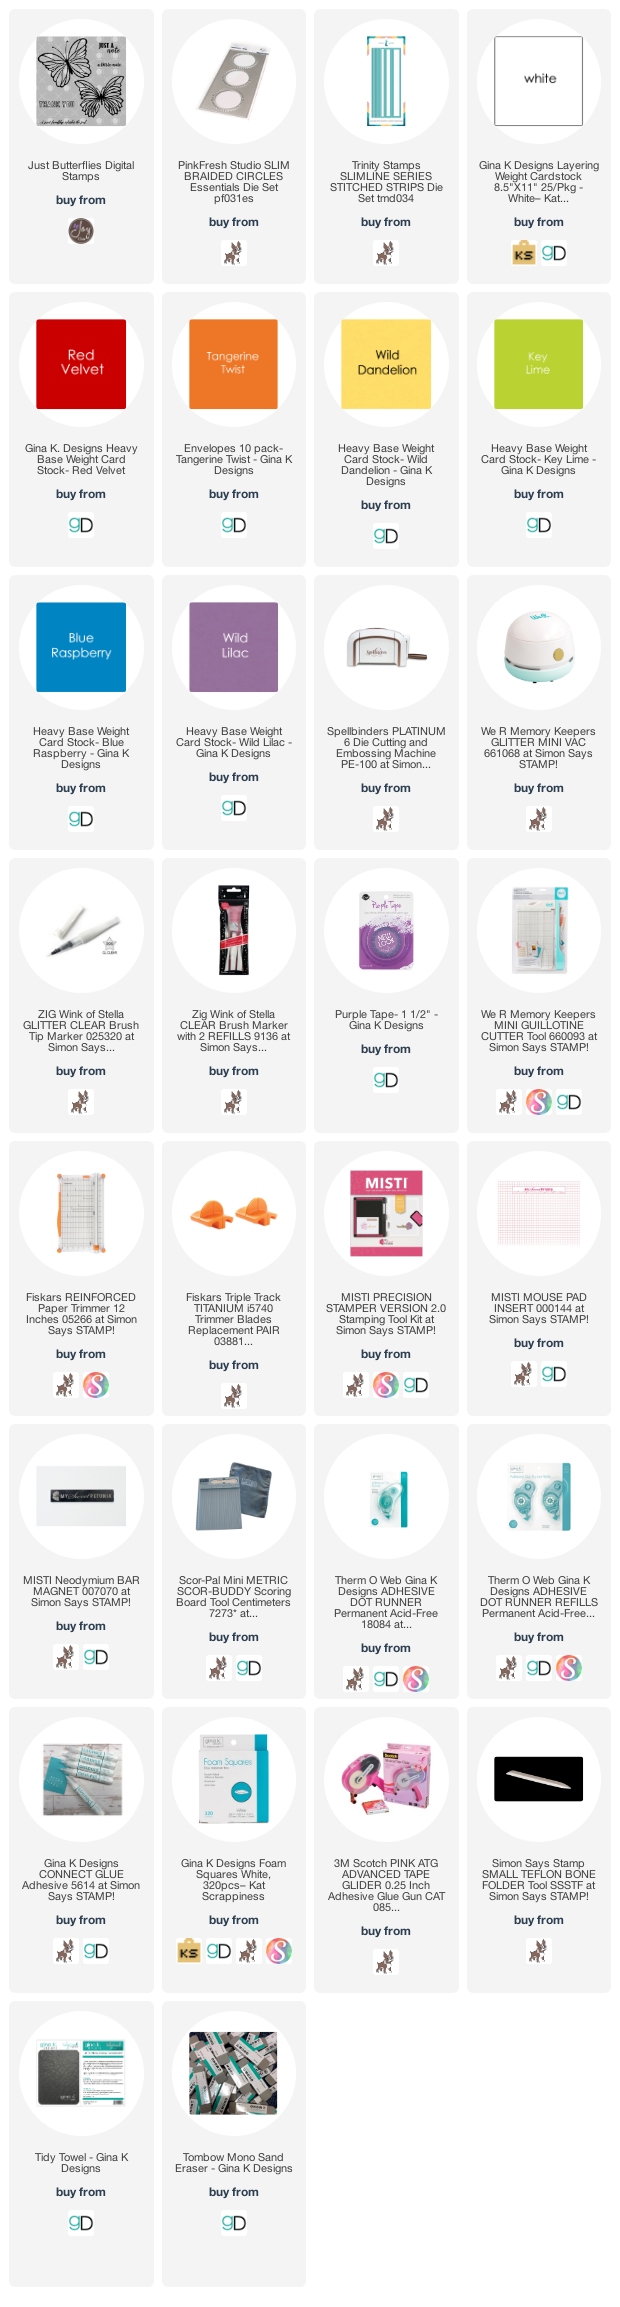
Here is a list of supplies I used on my card, Affiliate Links used at no additional cost. Thank you for your support.


Gina K. Designs and Thermoweb - Gnome for the Holidays Stamp n’ Stencil Craft Kit Instagram Hop

Wednesday, October 14, 2020

Hello everyone!

I am here with Gina K. Designs featuring the newly released "Gnome for the Holiday" Stamp n' Stencil™ Craft Kit.  Gina K. Designs and Thermoweb Designers have joined together for an Instagram Hop to show off this wonderful Craft Kit.  You can start the instagram hop here, be sure to join.  There will be two random winners from BOTH companies IG hops & designer IG accounts. The hop will end on Sunday, October 18th at 11:59 pm CST. Winners will be announced on the 19th.

I have created two cards for your inspiration:

My first card is a slimline card, here are Gina K. Designs measurements if you want to create one for yourself.


I cut the top layer at 3 5/8 x 8 5/8 I stamped the mountains from the Gnome for the Holiday stamp set with GKD ink.  I then masked the mountains and inked the sky with GKD inks. 

I then added some Glitz Glitter Gel Iridescent to the mountain top using the stencil from the Craft Kit, I let that dry and then added some snow in the sky using GKD Stencil Snowfall.  I set this aside to dry.

The gnomes I die cut the body with Deco Foil Toner Sheets and then foiled it with the GKD/ Thermoweb Fancy Foils.

I die cut the hats with GKD cardstock and used the Deco foil Transfer Gel Duo with the stencil from the craft kit and then used the Fancy Foils after the gel dried, I ran it through the foiling machine.

The beards I die cut using Thermoweb White Flock.  The balls on the Gnomes hats are also cut from Thermoweb White Flock.  I assembled their bodies and wallah they are all together.

I die cut the trees and added the Transfer Gel Duo and added the Fancy Foils and ran it through the foiling machine.

I cut a snow bank at the bottom of my card, added the sentiment from the Craft Kit and added it to my card and then assembled the card.


My next card, I created an A2 shaker card.  I cut the top panel at 4 x 5 1/4, I die cut a circle toward the top of the panel.  I stamped the sentiment from the stamp set in the craft kit.  

I added some acetate in the back of the circle panel and added some of GKD foam tape cutting it in thin strips around the back of the panel.  I sat this aside to create the gnome.  

The gnomes I die cut the body with Deco Foil Toner Sheets and then foiled it with the GKD/ Thermoweb Fancy Foils.

I die cut the hats with GKD cardstock and used the Deco foil Transfer Gel Duo with the stencil from the craft kit and then used the Fancy Foils after the gel dried, I ran it through the foiling machine.

The beards I die cut using Thermoweb White Flock.  The ball on the Gnome hat is also cut from Thermoweb White Flock.  I assembled his body.

I added the sequins from the GKD mermaid tail and added the piece of cardstock I created a background scene using the technique above.  I added this panel to the card base.  I added the Gnome to the front of the shaker card and added the blue heart from the GKD Rainbow hearts to finish the card off.


Thank you so much for stopping by, I hope you have been inspired and will join the hop.

Here are the supplies I used for this card. Affiliate Links used at no cost to you.

GINA K. DESIGNS SEPTEMBER 2020 NEW RELEASE BLOG HOP - DAY 2

Wednesday, September 23, 2020

Hello everyone!

Welcome to Day 2 of Gina K. Designs September 2020 new release blog hop! If you are coming here from Cathy Tidwell blog, you are in the right place. If you get lost along the way, you can get the full list over at Gina K. Designs blog. The release is available over at Gina K. Designs and can be found HERE under the "what's new" tab. Today the design team is featuring Timeless Poppies by Arjita Singh and Bloomin' Wild by Lisa Hetrick .

There is a prize up for grabs for each day of the hop. Just leave a comment on each stop of the hop for a chance to WIN a $50 Gina K. Designs gift certificate! A total of THREE certificates will be awarded (one for each day of the hop). The winners will be announced over at Gina K. Designs blog.

Here are my cards for your inspiration!

TIMELESS POPPIES  Illustrated by Arjita Singh


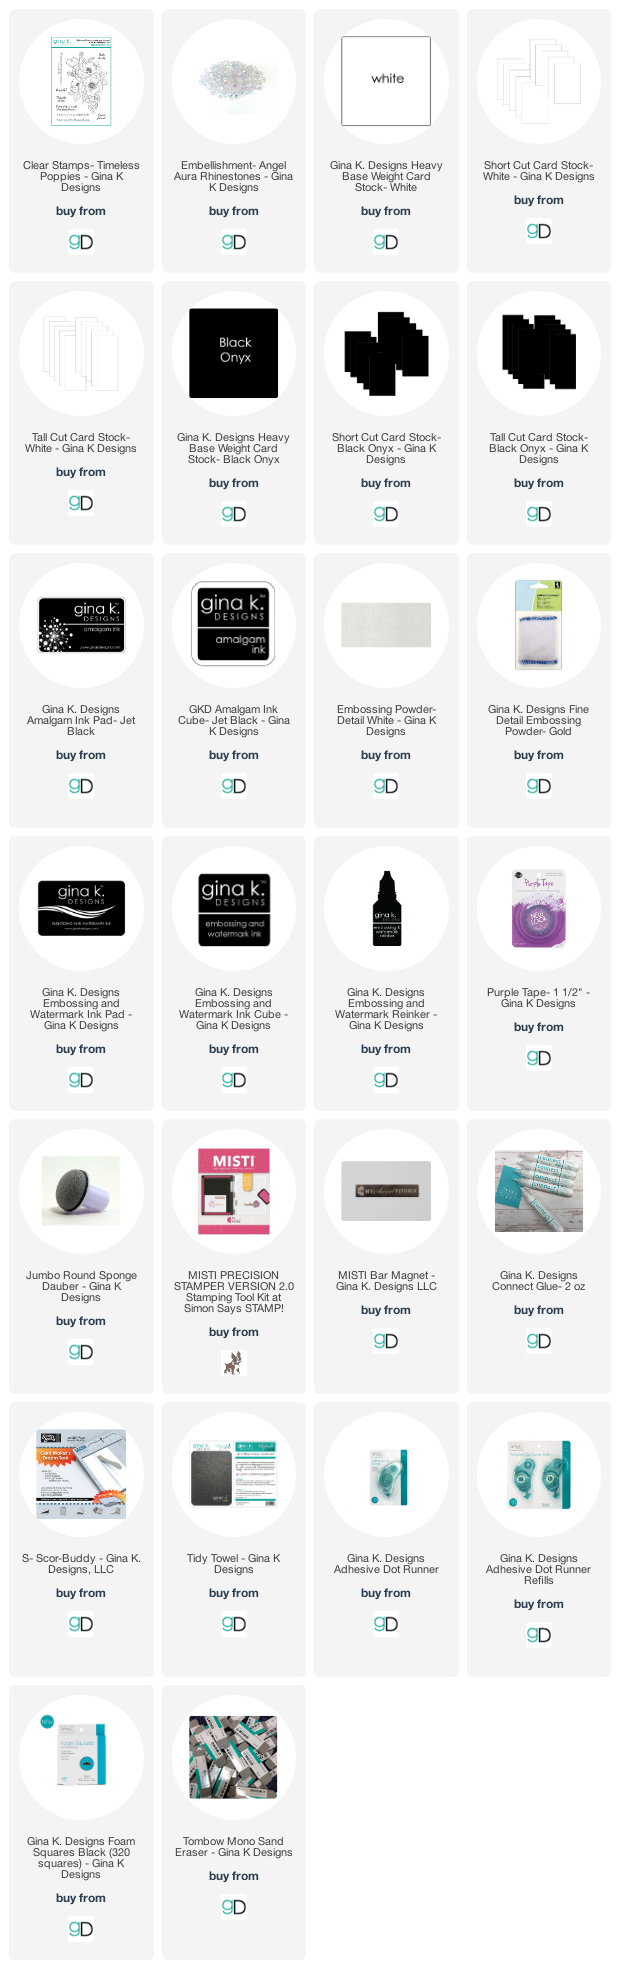
I can't seem to stop making slimline cards, I am using the Timeless Poppies illustrated by Arjita Singh, I stamped the image at the top and bottom of the panel. I colored the image with copics, then using GKD embossing and watermark ink, I heat embossed the sentiment from the Timeless Poppies set with GKD fine detail white embossing powder. Here are Gina K. measurements for slimline cards.

Here are the supplies I used for this card. Affiliate Links used at no cost to you.


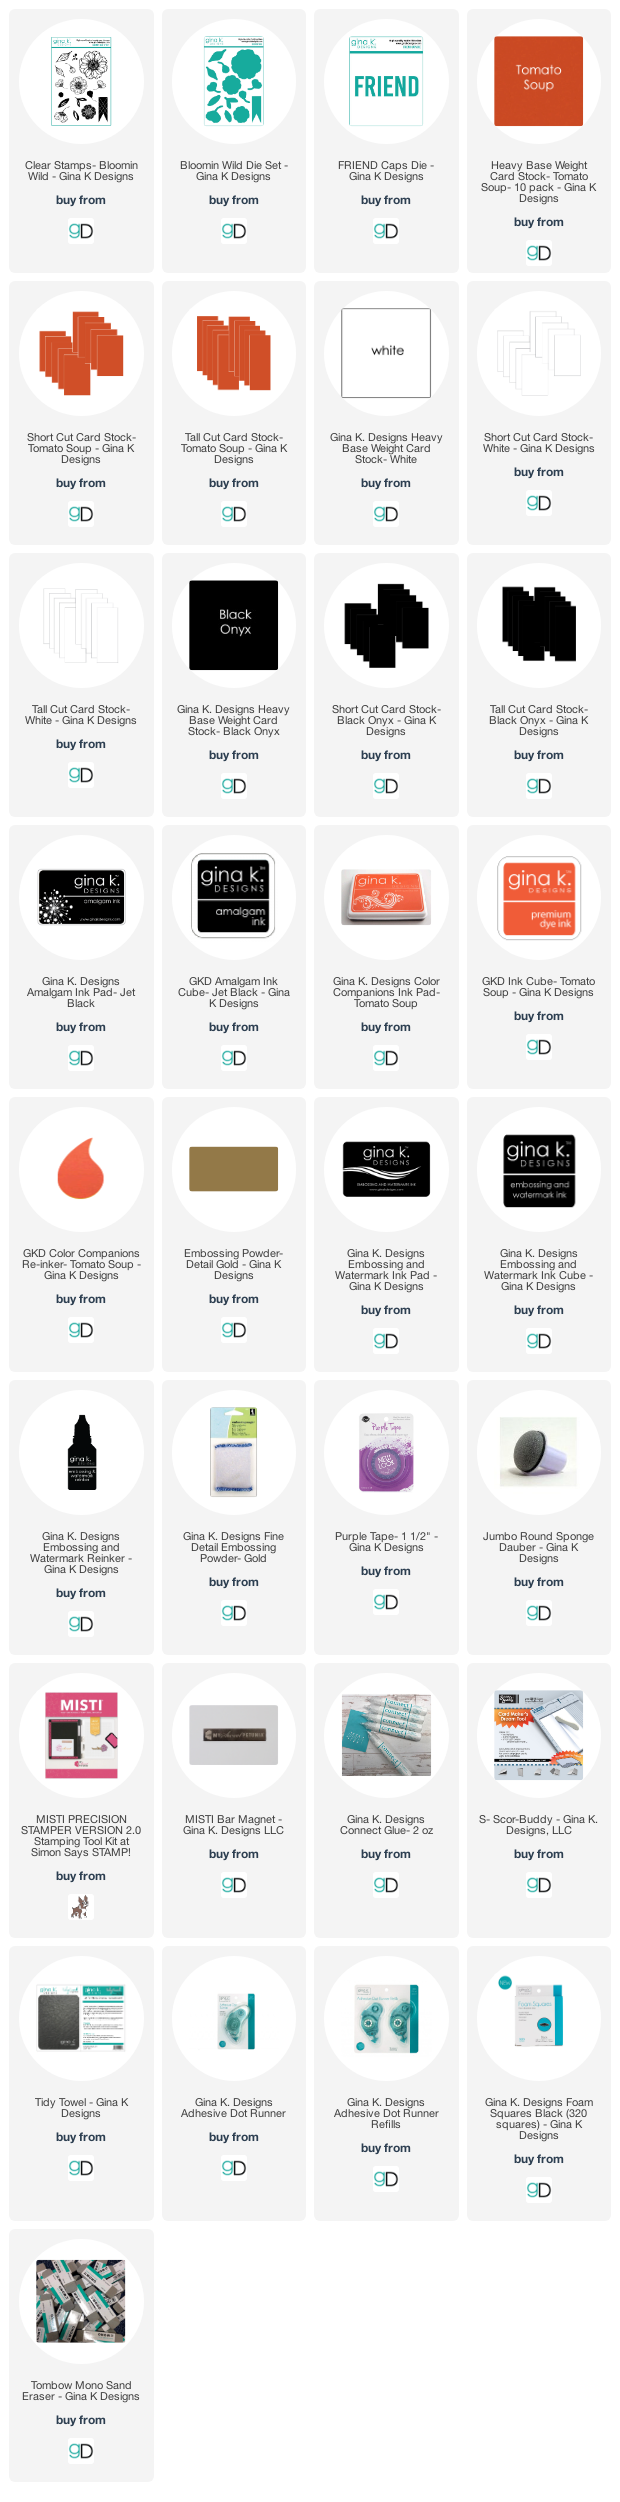
My next card, I am using Bloomin' Wild illustrated by Lisa Hetrick. I used the Master Layouts 1 die set to cut my layers. Using GKD embossing and watermark ink, I heat embossed the flower from the Bloomin' Wild stamp set with GKD fine detail gold embossing powder. I then die cut the GKD Friend die and stamped the sentiment from the GKD Wealth of Wishes stamp set.

Here are the supplies I used for this card. Affiliate Links used at no cost to you.


I hope you have been inspired! Please stop over to Facebook page for more inspiration! Come back tomorrow for Day 3 for the Gina K. Designs September 2020 new release blog hop. Don't forget your NEXT stop will be Karen Hightower. If you get lost or looking for the full hop list you can find it over on the Gina K. Designs blog.

Crackerbox & Suzy Stamps - Hippie Birthday

Wednesday, August 12, 2020

Hello everyone!

I am here with Crackerbox & Suzy Stamps featuring a couple of rubber stamps from the NEWLY 60's release.  The girl stamp is called Girl Front & Back and the sentiment is Hippie Birthday.  ALL the 60's stamps are 15% off.

Here is my card for your inspiration.


I have a fun card to share with you today.  I have created a slimline card which I made a spinner card. 

Here is how I created the card: 

I die cut the base layer with a slimline die from my stash out of 110 lbs cardstock, I stamped and used my scan and cut to cut the image, I colored it using copics.  I then added the string between the image and attached it to the top layer and base of the card. Here is a video of the image spinning.


I hope I have inspired you. If you did not know, Crackerbox and Suzy Flaunt it if You Made it Facebook group there is a monthly card making "theme" and August's technique of the month is to create a FRAME with stamps! If you post your creation on the facebook page using the technique and a stamp from the sale category, you get a 5.00 store credit towards you next purchase.

The August special is:


Thank you so much for stopping by, please come back again soon!

Joy Clair Designs - August 2020 New Release Blog Hop

Friday, July 31, 2020

Hello everyone!

Welcome to Joy Clair Designs NEW August 2020 Release Blog Hop! The Brand Ambassadors have been working hard creating a variety of projects that are sure to give you lots of inspiration! To see the NEW digital release you may click here.

What's a blog hop without a prize?  You have until Sunday, August 2nd at 11:59 pm EST to post a comment and answer the question in the pink box to be eligible to win one of the two $15.00 gift cards from Joy Clair Designs, valid on stamps and Digital Sets. Only one comment per person please. Two randomly selected winners will be announced on Joy Clair Designs Blog on August 12th. Thank you for joining Joy Clair Designs August New Release Blog Hops and best of luck with the contest!


Here is my card for your inspiration.


Here is how I created my card:

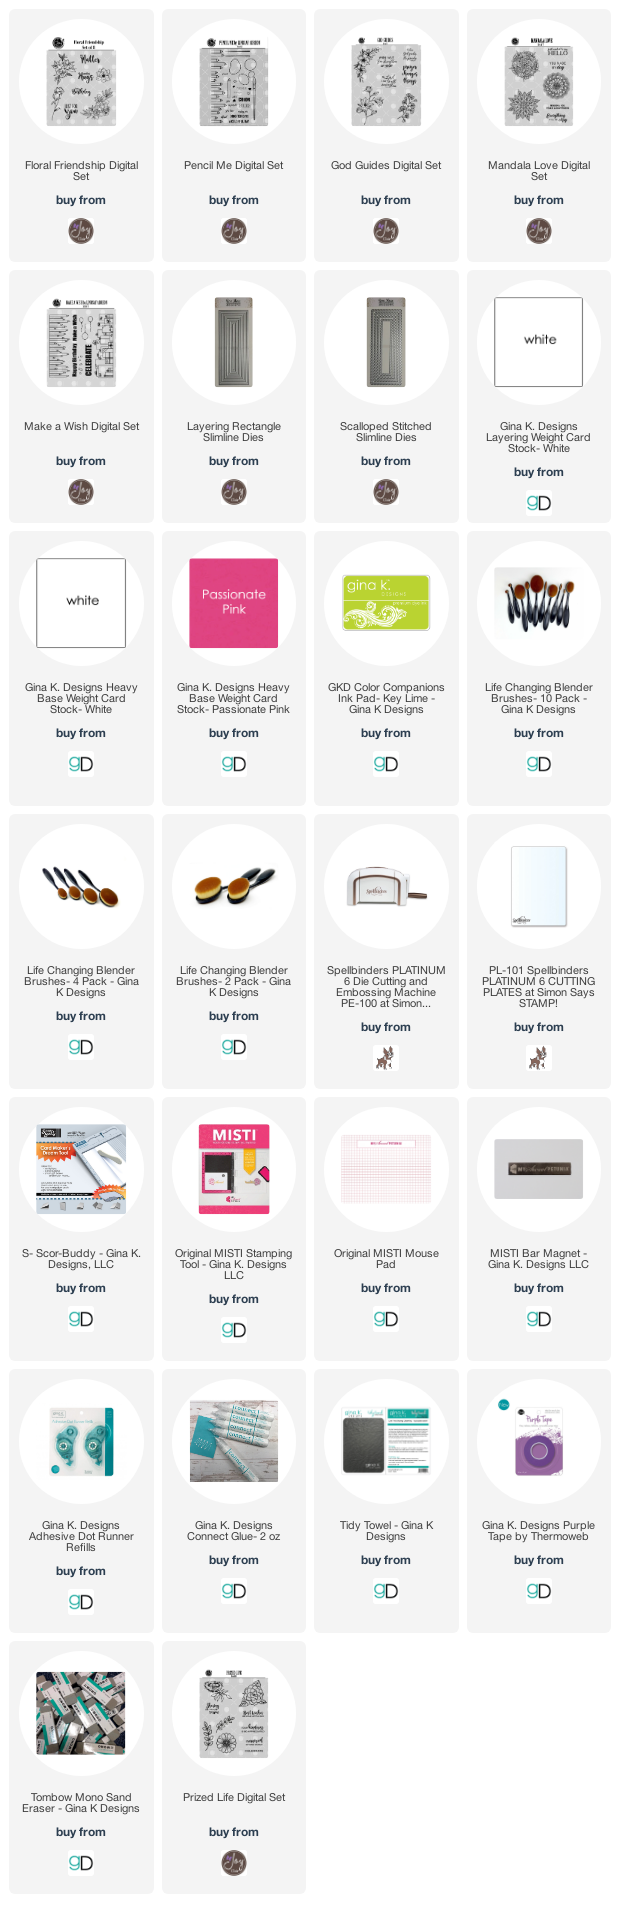
My card is a Slimline card, I am using the Gina Marie slimline dies that is available in the Joy Clair Design store.  I created my layout on my computer using the digital set Floral Friendship, I printed it out on cardstock.  I then die cut the panel, I used a stencil on the background and then colored the images with copics (R81, 83, and 85 for the flowers, YG03, 17 and 68 for the leaves and Y17, Y38 and YR68 for the orange flower).  To finish the card off, I added dew drops onto my card.

Thank you so much for stopping by, please be sure to sign up for Joy Clair Designs newsletters to be sure to receive notifications of new releases, sales and exclusive offers to subscribers. You can also follow Joy Clair Designs on facebook page, Color by Faith Bible Journaling facebook page, Instagram and Twitter. They also have a Pinterest page and Youtube channel for your inspiration!

Supplies used and the new digital sets, affiliate Links used at no cost to you, thank you for your business.


Start blog hopping here!
You are invited to the Inlinkz link party!
Click here to enter

Joy Clair Designs - Wanna Grab A Sloffee

Saturday, May 23, 2020


Hello everyone!

I'm back with another coffee card featuring the Joy Clair Designs stamp set called Feeling Slothy. I'm loving creating slimline cards, they make your project look really cool. If you want to see more inspiration, hop over to Joy Clair Designs blog to see all the coffee related stamps they have in the store.  Also the Joy Clair store is having a sitewide sale on all items in the store (a full list of coffee related stamps are listed at the bottom of this post) ....don't forget to use MEMORIALDAY at checkout.

 
I am playing along with the Spring/Summer Coffee Lovers Blog Hop! Joy Clair is a Super Sponsor again this year. There are lots of sponsors and prizes if you would like to play along.

1.  The card I created with a slimline die from Trinity Stamps, I die cut the front panel and used a stencil to create the grass and clouds,

2.  I then stamped the images from the Joy Clair Feeling Slothy stamp set.

3.  The second sloth on my project I used the technique mirror stamping. I used the Waffle Flower Water Media Mat, I put the mat in my Misti, stamped the image onto the mat with versafine onyx ink, put my paper on top, rubbed it really well to get a clear image (love this technique),

4.  I heat embossed all the images with clear embossing powder because I colored them with copics (versafine ink is not alcohol friendly). I cut the images with a scan and cut, and adhered them to the card.  The bottom sloth I added foam dots to pop him up.

I hope you enjoyed my card as much as I enjoyed making it.


Thank you so much for stopping by, please follow Joy Clair's facebook page, Color by Faith Bible Journaling facebook page, Instagram and Twitter, be the first to hear the news, sales and giveaways! They also have a Pinterest page and Youtube channel for your inspiration!

Supplies used, affiliate Links used at no cost to you, thank you for your business.
Made With Love By The Dutch Lady Designs
Follow Me on Pinterest