Showing posts with label enamel dots. Show all posts

Kat Scrappiness - Happy Birthday

Friday, July 30, 2021

Hello everyone!

I am here with with Kat Scrappiness, Inc.,  featuring the Summer Fun Essentials die set along with the NEW Happy Day stamp set to create my card.  The enamel dots are also Kat Scrappiness, I love the new colors.  


Here is how I created my card:

  • Cut the White Slimline Card Base: 3-1/2″ x 8-1/2″ (scored at 3 1/2″).
  • Top layer is cut using the Cross Stitched Nesting Slimline Dies.
  • Cut Popsicles Summer Fun Essentials die set with cardstock. Added wing of stella for shimmer.
  • Stamp Birthday sentiment from the Happy Day stamp set in black ink and fuzzy cut the word and used foam tape to add it to the card.
  • Assemble card.
  • Finished with adding enamel dots.
Thank you so much for stopping by, please visit Kat Scrappiness blog for more inspiration.

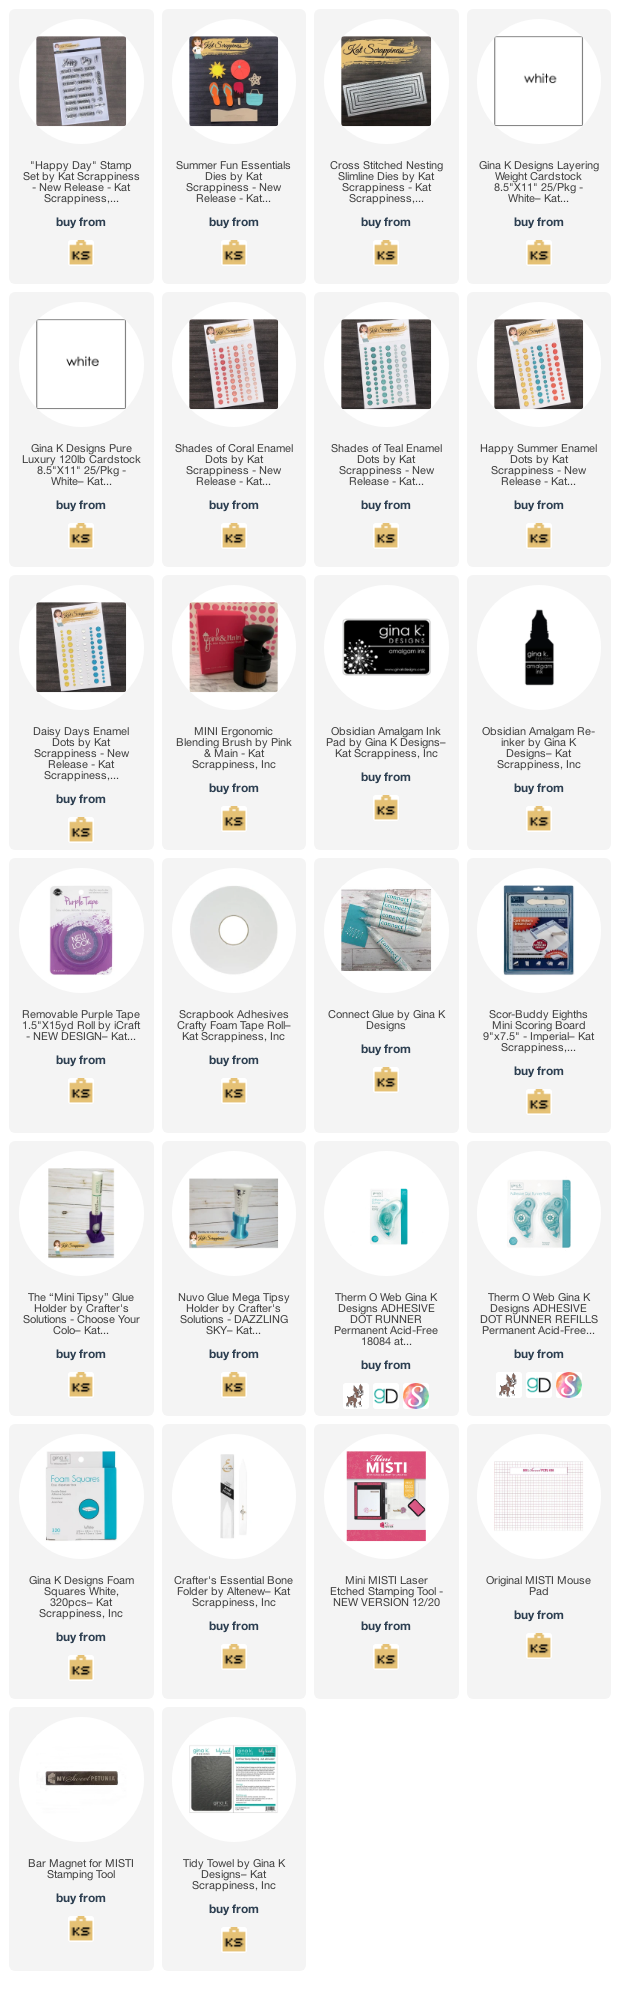
Here is a list of supplies I used on my card, Affiliate Links used at no additional cost. Thank you for your support.

Retro Rubber Challenge Blog #73 - Halloween

Tuesday, October 10, 2017

Hello everyone!

Welcome to another wonderful challenge with Retro Rubber!  The challenge for the next couple of weeks is "Make a Halloween Card".  I love making autumn cards, I love the rich colors of orange, brown, green and purple.  I hope you will play along with us!  To play along with the Retro Rubber Challenges you must use a stamp set that is at least a year old and tell us how old your stamp set is.


No automatic alt text available.

Here is my take on the challenge.  The adorable pumpkins are made by Joy Clair, called Trick or Treat.  The set was  released sometime in October 2015.  This set is adorable it has many elements in the set that you can add to the pumpkins.


Here is how I created my card:

1.  A2 card, 4 1/14 x 5 1/2, the orange layer is 4 x 5 1/4, the white layer is 3 7/8 x 5 1/8,
2.  I stamped the pumpkin images from the Joy Clair stamp set called Trick or Treat, I masked the images so they could be in a group,
3.  I colored the pumpkins with copics - Y17, Y38 and YR68, the stem is YG67,
4.  I stamped the images on the pumpkins with onyx black versafine ink pad,
5.  I die cut the  "Happy Halloween", I cut it out with black cardstock, but before I did that I added some 1/2 inch score tape to the back of the paper so when I die cut the words it would be ready to stick down on my card.  The words are so thin it would have been hard to add any adhesive to it,
6.  I added some black splatter to the card,
7.  I finished the card off by adding some orange enamel dots.

Thanks again for stopping by, please don't forget to stop over at the Retro Rubber Challenge blog and join the fun and check out the beautiful projects the design team members have created. You have until October 20th to join in on the fun!


Joy Clair - Seasons Greetings

Tuesday, October 25, 2016

I HAVE TWO POST TODAY, IF YOU ARE LOOKING FOR RETRO RUBBER, CLICK HERE.


Hello everyone,

I am here with Joy Clair showcasing the new release "Merry Christmoose" stamp set. I decided not to use the images, I love the bold script font, so I am just showcasing the "Merry Christmas" sentiment. Make sure to stop over at the Joy Clair blog to see what the other design team members have done with this set!


Again, I have a clean and simple card. I used some design paper and then added my sentiment. I finished off the card with some enamel dots.
 

Don't forget to play along with the October Color Challenge you have until the end of October. We would love to see your creations. You will have a chance to win a $25.00 gift card to purchase anything in the store. Good luck if you decide to play!

Please follow Joy Clair's facebook page, Color by Faith Bible Journaling facebook page, Instagram and Twitter, be the first to hear the news, sales and giveaways! They also have a Pinterest page and Youtube channel for your inspiration!

Thank you for stopping by and please come back again soon!
Made With Love By The Dutch Lady Designs
Follow Me on Pinterest