Showing posts with label birthday. Show all posts

Newton's Nook Designs - Happy Birthday Big Cheese!

Wednesday, July 27, 2022

Hello everyone!

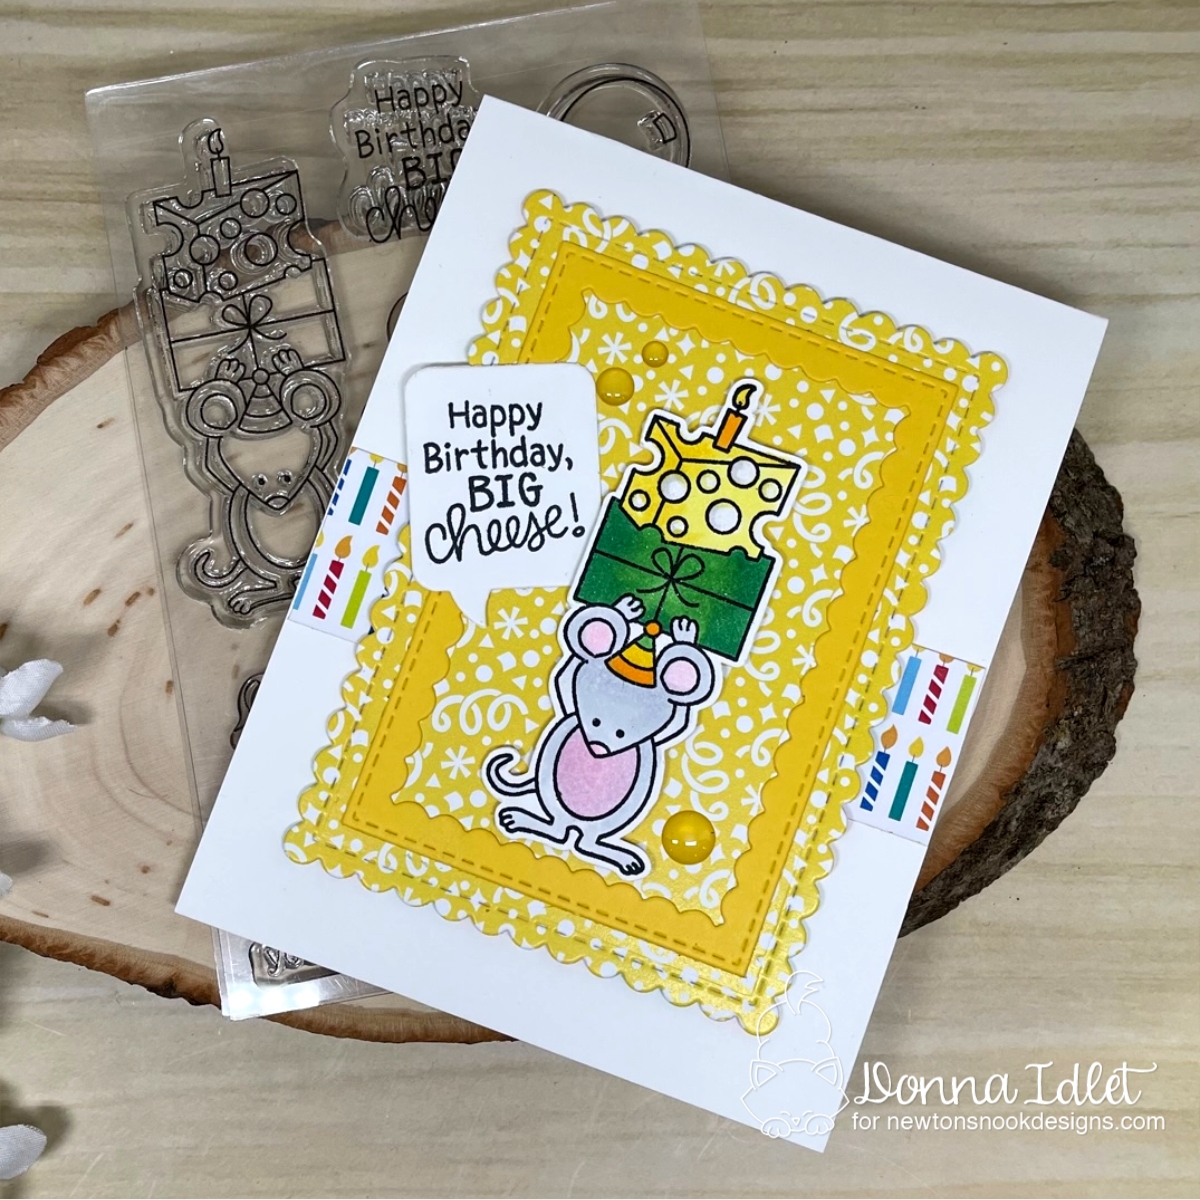
I am here with Newton's Nook Designs featuring Birthday Mouse Stamp Set with the coordinating die. I love how my card turned out with the coordinating colors. The Paper in the background is die cut using the 6x6 Birthday Party Paper Pad and die cut using the Framework Die Set.


Here is how I created my card:

1.  Card is an A2 card measuring 4 1/4 x 5 1/2. 

2.  Die cut the top panel using the 6x6 Birthday Party Paper Pad and die cut using the Framework Die Set.

3.  Stamped, die cut and colored the image from the Birthday Mouse Stamp Set.

4.   Stamped the sentiment from the Birthday Mouse Stamp Set and die cut the sentiment using the Speech Bubbles Die.

5.  Assembled the card and added some enamel dots to finish off the card.


Thank you so much for stopping by, please come back again soon.


Gina K. Designs - July 2022 RELEASE

Tuesday, July 26, 2022

Hello everyone!

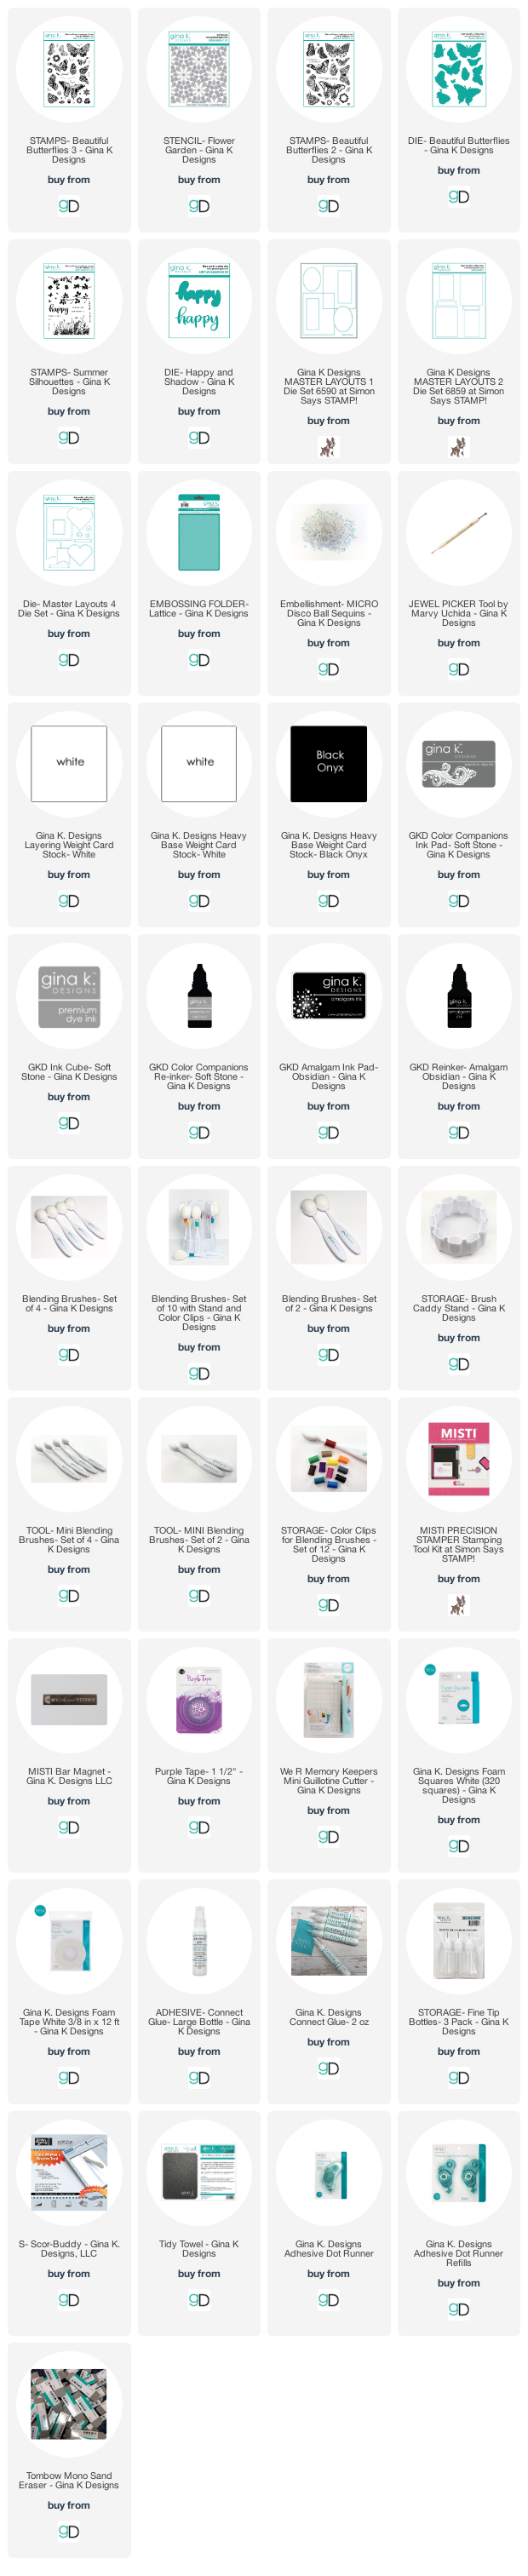
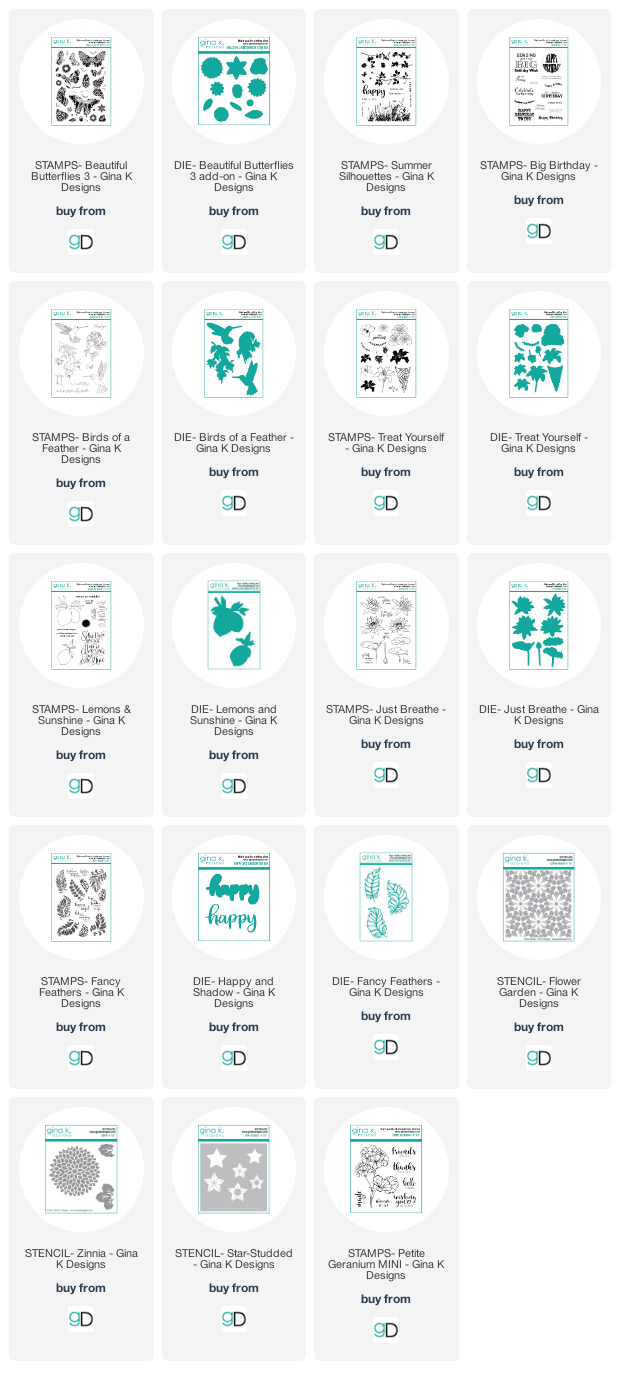
I am excited to be here sharing a couple of cards I created from the Gina K. Designs NEWLY July 2022 release, that is available NOW. I am using the NEWLY released "Beautiful Butterflies 3" stamp set and coordinating dies illustrated by Melanie Muenchinger.  I listed the new release at the bottom of this blog post.


You can see more inspiration from the full release on the Gina K. Designs & StampTV Friends Facebook page. To see the full release, you can go HERE under the What's New section.

Here are my cards for your inspiration:


My first card is an A2 card, I cut the layers using the GKD Master Layouts 2 and the scallop layer is cut from GKD Master Layouts 4.  I embossed the white layer with GKD Lattice embossing folder.  I stamped the largest butterfly from the "Beautiful Butterflies 2" first using black ink and then used the newly released "Beautiful Butterflies 3" stamp set, stamped in green.  I die cut the butterfly using the coordinating die.  The sentiment is from the Summer Silhouette Stamp Set and the "happy" is from the Happy and Shadow die.

My second card, I made as a monochromatic card.  The layers are die cut from the GKD Master Layouts 1.  For the background I used the Flower Garden stencil using soft stone ink.  I then stamped the butterflies and sentiments from the "Beautiful Butterflies 3" stamp set.  

I hope you have been inspired, these cards are so clean and simple and easy to reproduce.  Thank you for stopping by, please come back again soon.

Supplies used for these cards, Affiliate Links used at no cost to you. Thank you for your support.


NEW JULY 2022 PRODUCTS RELEASED:

Lawn Fawn - Happy Bee-Day!

Saturday, July 9, 2022

Hello everyone!

I received the Hive Five Kit from Lawn Fawn yesterday and could not wait to get it inky!  It's a gloomy day today and I was looking at the samples on Lawn Fawn's store and saw Mindy Eggen's background and could not help myself to do a rainbow background too.   

I just looked in the store and the kit has sold out. I hope you were able to get it. If you did not get an opportunity to get it, you can get notified when the set is back in stock.

If you haven't seen Kelly the owner of Lawn Fawn and Jenn Shurkus is having another fun craft and chat on Friday, July 15 at 4PM Pacific Daylight featuring the Hive Five Kit! If you don't have the kit, you can always substitute something else you have in your stash.  You can find all the details here.  

Here is my card for your inspiration:


Here is how I created the card:

1.  Card is an A2 card, measuring 4 1/4 x 5 1/2.
2.  Background paper is from the 6x6 Really Rainbow petite paper pack, I die cut the panel using LF Large Stitched Rectangle Dies (5 1/2 X 4 1/4).  The white panel is die cut from the LF Small Stitched Rectangle Stackable (5 X 3 3/4).  
3.  Ink blended the background using the honeycomb stencil and GKD Inks.
4.  Stamped, die cut and colored the images using Copic colors.
5.  Assembled the card.

Thank you for stopping by, please come back again soon.

Here is a list of supplies I used on my card, Affiliate Links used at no additional cost. Thank you for your support.

Gina K. Designs - MAY 2022 RELEASE

Tuesday, May 17, 2022

Hello everyone!

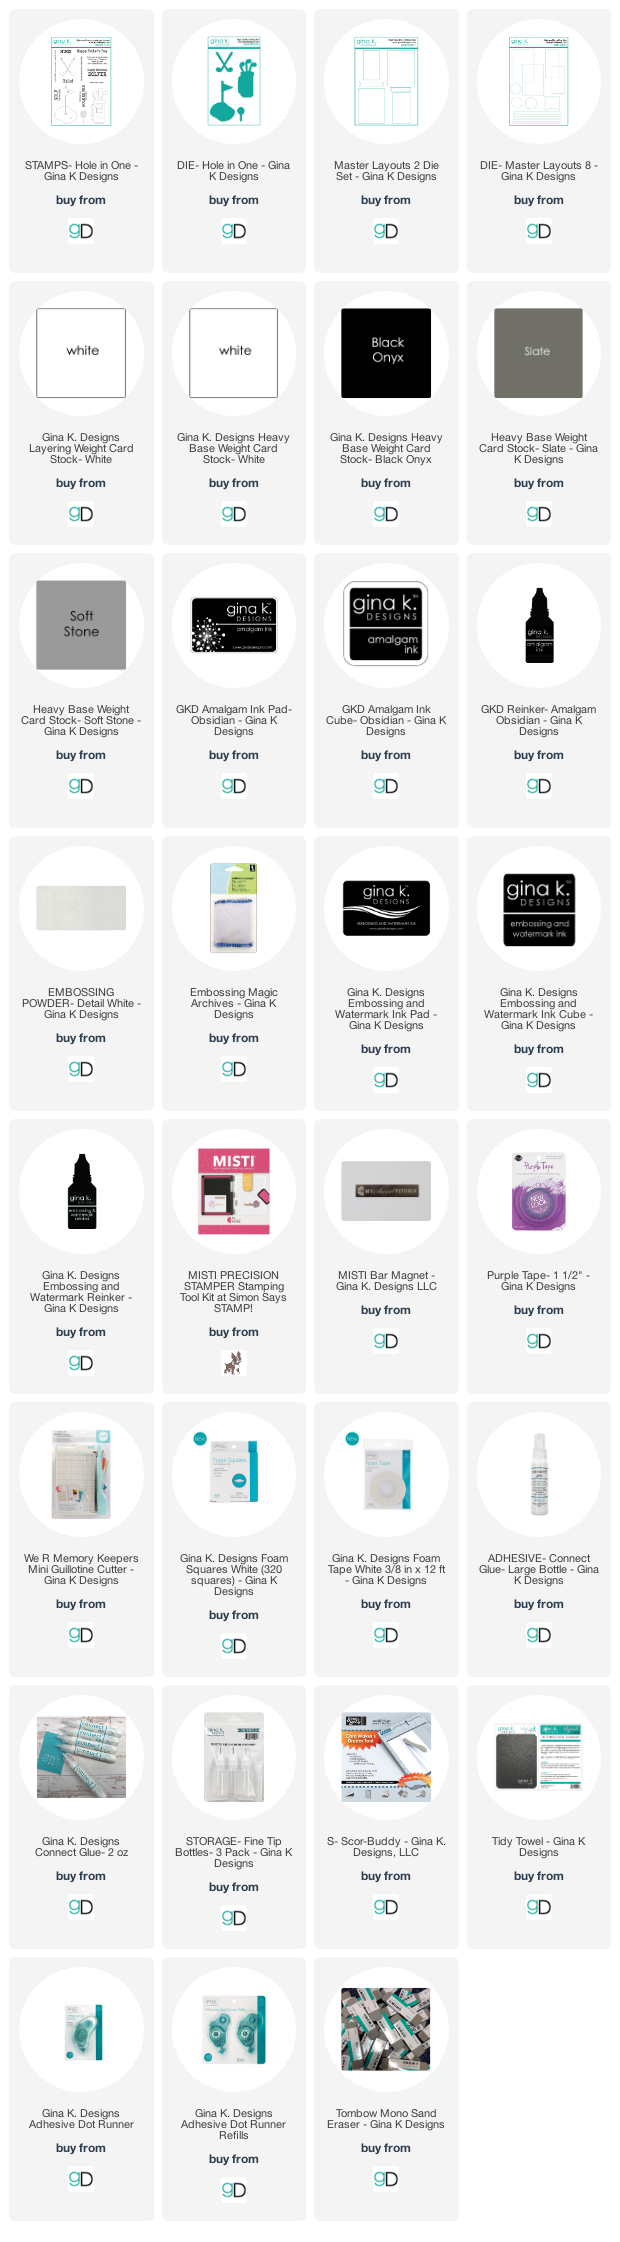
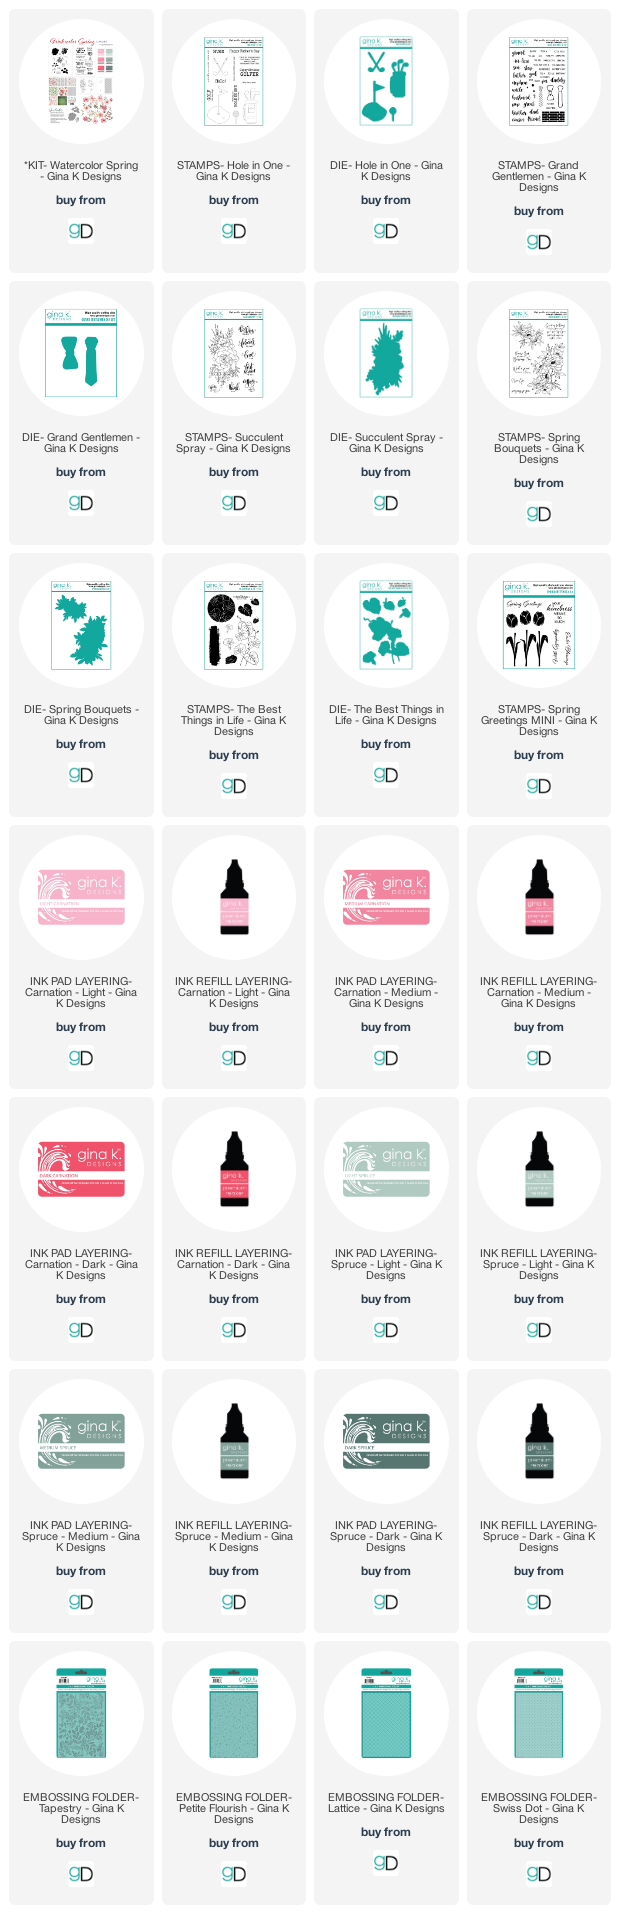
I am excited to be here sharing some cards I created from the Gina K. Designs NEWLY May 2022 release, that is available NOW.  I am using the NEWLY released "Grand Gentlemen" and dies  illustrated by Beth Silaika and "Hole in One" and dies illustrated by Debrah Warner.  

You can see more inspiration from the full release on the Gina K. Designs & StampTV Friends Facebook page. To see the full release, you can go HERE under the What's New section.

I have created two cards from the Grand Gentlemen Stamp and Die Set and 1 from the Hole in One Stamp and dies Set.  

Here are my cards for your inspiration:


My first card I used the "Grand Gentlemen" and dies illustrated by Beth Silaika. This set is a great set for all the special men in your life!  There are lots of sentiments and coordinating sayings for any occasion too.  I just couldn't help myself, I had to make a rainbow card out of the ties!

Here is how I created the card:
  • Card is a slimline card, measuring  6"x 3 1/4" (6"x 6 1/2", scored at 3 1/4" on the 6 1/2" side).
  • Used the Master Layout 8 to cut the strips.  
  • Used Master Layout 7 to die cut the strips panel and the black layer.
  • Stamped and die cut the ties and colored with alcohol markers.  Added them to the card with foam squares.
  • Added the sentiment from Grand Gentlemen stamp set, die cut the sentiment from Master Layout 9.
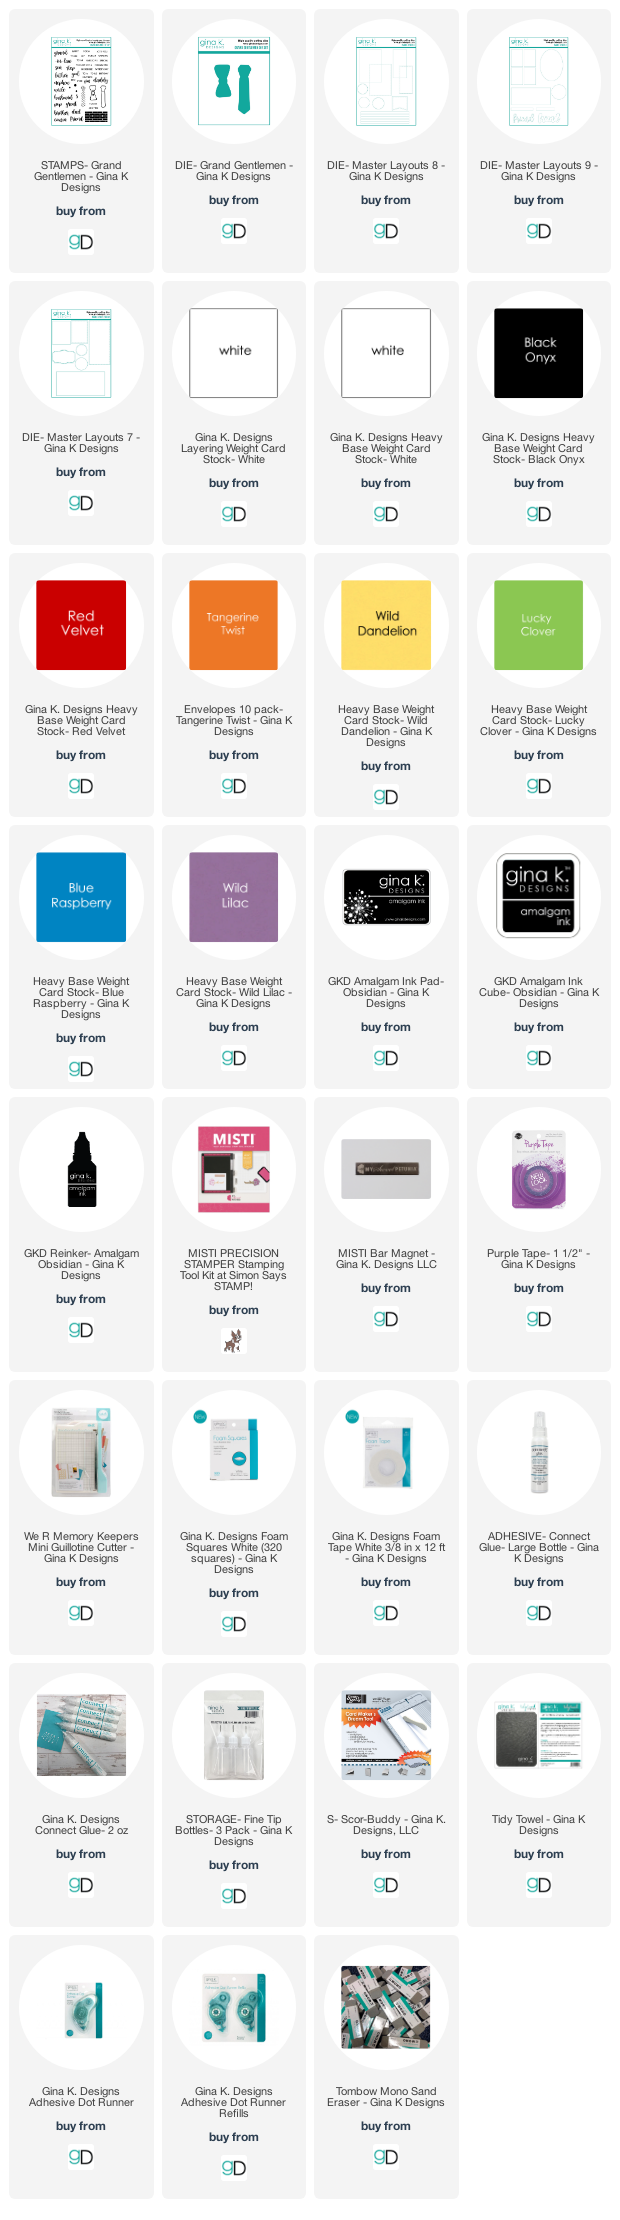
Supplies used for this cards, Affiliate Links used at no cost to you. Thank you for your support!


My second card for your inspiration:


I created another card using the Grand Gentlemen set using Monochromatic color scheme.  The sentiment is from Hole in One Stamp Set illustrated by Debrah Warner.   
  • Card is an A2 measuring 4 1/4 x 5 1/2.
  • Used the Master Layout 8 to cut the strips.  
  • Die cut the panel and the black using Master Layouts 2.
  • Stamped and die cut the ties and colored with alcohol markers.  Added them to the card with foam squares.
  • Stamped and heat embossed the sentiment from Hole in One with white embossing powder.

Supplies used for this cards, Affiliate Links used at no cost to you. Thank you for your support!

My next card I created using the "Hole in One" and dies illustrated by Debrah Warner.  This is such a fun stamp and die set, perfect for the men in your life that loves golfing!  The set is also a great card to create the perfect Father's Day card.


Here is how I created the card:
  • Card is an A2 measuring 4 1/4 x 5 1/2.
  • Used the Master Layout 1 to cut the layers.  
  • Stamped the golf balls from the Hole in One stamp set with Embossign & Watermark ink, heat embossed with white embossing powder.  Added vellum onto of the stamped images.
  • Stamped and die cut the image from the Hole in One stamp set and colored with alcohol markers.  Added them to the card with foam squares.
  • Stamped the sentiment from the Hole in One stamped set with black ink and heat embossed with clear embossing powder. 
Supplies used for this cards, Affiliate Links used at no cost to you. Thank you for your support!

GINA K. DESIGNS MAY 2022 RELEASE 

(affiliate links used at no cost to you)

Newton's Nook Designs - Let's Get Meow-GARITAS

Monday, April 25, 2022

Hello everyone!

I am here with Newton's Nook Design to share this cute clean and simple Birthday card. I created this card by using the NEWLY released stamp set "Newton Loves Tacos”. 


Here is how I created my card:
  • Card is an A2 card which measures 4 1/4 x 5 1/2.
  • The plaid piece on the side measures 1/2 x 51/2, this paper is from the Sringtime 6x6 paper pad.
  • Ink blended the circle using the Circle Frames Die.
  • Stamped and colored the image with alcohol markers from the of the "Newton Loves Tacos" Stamp Set and die cut with the coordinating die.
  • Stamped the image from the Newton Loves Tacos Stamp Set
  • Assembled the card and added some enamel dots for finishing touches.


Thank you so much for stopping by, please come back again soon!


Kat Scrappiness - Birthday Wishes

Wednesday, March 30, 2022

Hello everyone!

I am here with Kat Scrappiness sharing a bright and cheerful birthday card.  I love all the bold colors from the Birthday Essentials 6x8 paper pad from Kat Scrappiness.  This card I think will brighten anyone's day if they received it.  

Here is my card for your inspiration:


Here is how I created my card:
  • Created an A2 card measuring 4 2/4 x 5 1/2.
  • Die cut the top layer using Birthday Essentials paper with KS Embossed Edge Rectangle die.  
  • Cut the start paper from the Birthday Essentials paper pad at 3 x 4 1/4.
  • Cut the top layer with the Embossed Edge Rectangle, created some clouds in rainbow colors.
  • Stamped and die cut the bunny from the KS Hoppity Bunnies Stamp Set, added a MINI Action Wobble Spring to the back for an interactive card.
  • Die cut the Birthday from the KS Happy Birthday with shadow die.
  • Die cut the Birthday from the KS Christmas Wishes Word dies w/shadow
  • The sentiment is from the KS Hippity Hoppity Sentiments stamp Set, stamped and heat embossed it with white embossing powder.  Die cut the sentiment using KS Box Sentiment Dies.
  • Die cut the basket using the Hop Into Easter paper, the grass, the bunnies and bow using the Crafters Essentials - Easter Edition Dies.
  • Stamped, die cut and colored the cute bunny image from the KS Hoppity Bunnies Stamp.
  • Stamped and heat embossed with white embossing powder from the sentiment from the Hippity Hoppity sentiment stamp set.
  • Assembled the card.
Here is a short clip on how the bunny moves with the Wobble Spring.


Thank you so much for stopping by, I hope you have been inspired!

Here is a list of supplies I used on my card, Affiliate Links used at no additional cost. Thank you for your support.

Retro Rubber Challenge Blog #148 - Birthday Card

Tuesday, November 17, 2020

Hello everyone!

I am here with Retro Rubber Challenge Blog with a new challenge "birthday". I hope you will join in on the fun. Be sure to stop over on the Retro Rubber Challenge blog to get more inspiration, the design team has some wonderful creations!

The rules to play along with Retro Rubber Challenge is very simple, make sure the stamp you use on your project is at least one year or older. For more details on the rules, you can find them over on Retro Rubber Challenge blog.


Here is my card for your inspiration. The set I am using is from Stampin Up which is called Perennial Birthday stamp set. The set was released in June 2018. 
 

My card is an A2 card, I embossed the background with an embossing folder in my stash.  I cut the pennants with woodgrain paper and added it to my card.  I stamp the sentiment from the stamp set Perennial Birthday.  I finished off the card by adding some sequins.  This would be a great masculine card.

Thanks again for stopping by, please don't forget to stop over at the Retro Rubber Challenge blog and join the fun and check out the beautiful projects the design team members have created.

Joy Clair - May 2019 New Release Blog Hop - Everyday Stamp Set No Prob-llama

Monday, May 13, 2019

Hello everyone!

I am here with Joy Clair Stamps we have a two day inspirational blog hop, you should be coming from Helen Gullet blog.  I am featuring the Everyday newly released stamp set called "No Prob-llama".  The month of May, Joy Clair is collaborating with Bazzill Basics Paper.  Bazzill has a variety of papers that can make any project stand out.

The best part of a new release from Joy Clair is you have the opportunity to win a $25.00 gift card to spend at the Joy Clair Store.  All you have to do is leave a comment on each designer's blog  and leave a comment on Joy Clair's Blog (listed below).

Here is my card for your inspiration:

I created my card by starting out with an A2 card using Bazzill cardstock, I then stamped the maracas and the confetti  from the No Prob-llama stamp set on the background in different ink colors.  I stamped the llama and sentiment on a piece of cardstock by Bazzil Basics Paper and colored the llama with copics.  I used a Polaroid die to die cut the llama, sentiment and frame.  I then stamped the cactus the flags, colored them with copics, used my scan and cut to cut them out.


Closer look at my card


Please follow Joy Clair's facebook page, Color by Faith Bible Journaling facebook page, Instagram and Twitter, be the first to hear the news, sales and giveaways! They also have a Pinterest page and Youtube channel for your inspiration!

Ready for more awesome creations?! Just click on the links below, don't forget to leave a comment on each blog listed below.  You will have a chance to win one $25.00 gift card from the Joy Clair Store!

Crackerbox & Suzy Stamps - You're a Classic

Thursday, May 2, 2019

Hello everyone,

I am here with Crackerbox & Suzy Stamps and I have a masculine card to share with you today.  I am using the Crackerbox & Suzy Stamps "olds" and the sentiment is "you're a classic".

Here is how I created my card:

1.  My card is an A2 size card,
2.  I stamped the image and sentiment, I colored the car with copics and then die cut it out with an oval die,
3.  I die cut the strip layer and added it to the base of my card,
4.  I finished my card off by adding the oval image with foam tape.


Closer look at my card:


Thank you so much for stopping by, Crackerbox & Suzy Stamps has the following promotions until May 6:


Supplies Used:

Joy Clair 4 Year Anniversary Celebration!

Wednesday, August 29, 2018

Hello everyone!

I am here with Joy Clair stamps and the design team is continuing our celebration of  Joy Clair's 4 year anniversary! Since we are all celebrating Joy Clair turning 4, we are all showcasing the newly release Party Animals stamp set. On behalf of Joy Clair Stamps I want to thank you for continued support!  We hope you will continue to support them and enjoy the wonderful products they release!

Be sure to stop by the Joy Clair blog to get some more inspiration using this set. There are some amazing projects, you will want to add this set to your wish list, it's a must have set.

I am just using two of the images from the stamp set, I colored them with copics and added them to my card.  The sentiment is also from the Party Animals stamp set.


Closer look


If you do not , please follow Joy Clair's facebook page, Color by Faith Bible Journaling facebook page, Instagram and Twitter, be the first to hear the news, sales and giveaways! They also have a Pinterest page and Youtube channel for your inspiration!

Thank you for stopping by and please come back again soon!


Gina K. Designs - Stamp-n-Foil Blog Hop

Thursday, March 1, 2018

Hello everyone!

I am here with Gina K. Designs showcasing the beautiful Stamp n Foil™ Collections along with Stamp n Foil™ Craft Dies to go with the stamps!  These new products by Gina K. allow you to stamp, die cut, and foil your projects for your cards, scrapbook pages, art journals and more.

All of the new Stamp n Foil™ are available in the Gina K. Designs store under the tab "What's New". We hope to inspire you with some beautiful projects as you hop along to each of the designer’s blogs!

The best part of the hop is you have a chance to win a $50 gift card for the Gina K. store, all you have to do is visit and comment on each designers blog post.  Have fun!


Ready for some inspiration? Here are a few of the projects I have created for today’s hop:

For my first card, I used the  Stamp n Foil™ Background Patterns "Where's the Party".  I am in love with these patterns!  My card is an A2 card, I used the gift from the  Stamp n Foil™ Foil-Mate™ "Time to Celebrate" and stamped the solid image onto the gift and then foiled it.  I then stamped the sentiment from the Stamp n Foil™ Clear Stamps "Where's the Party"and  die cut it with the Stamp n Foil™ Craft Dies "Where Flowers Bloom Collection".  I stamped the sentiment and then die cut it with the Gina K. Designs Double Stitched and Stitched Circle Die.  I then popped the gift above the words with a foam square and adhered it to my card.  I finished the card off by adding some matching bling.


I had so much fun creating the card above with the same Stamp n Foil™ Background Patterns "Where's the Party", I created another card using the left over pieces from the foiled pattern.  I created the solid piece by foiling some Deco Foil Toner Sheet using the Brilliant Blue.  I die cut the balloons with the Stamp n Foil™ Craft Dies "Where Flowers Bloom Collection",  I then foiled them with the new Glitter Foils Brilliant Blue, Twinkling Pink and Dazzling Orange and I also used the Glitter Foils Glittering Green  and Sparkling Silver.  The sentiment is from the Stamp n Foil™ Foil-Mate™ "Time to Celebrate" and I foiled it with the Brilliant Blue.  I love all these glitter foils!  They are so much fun and makes your project really stand out.


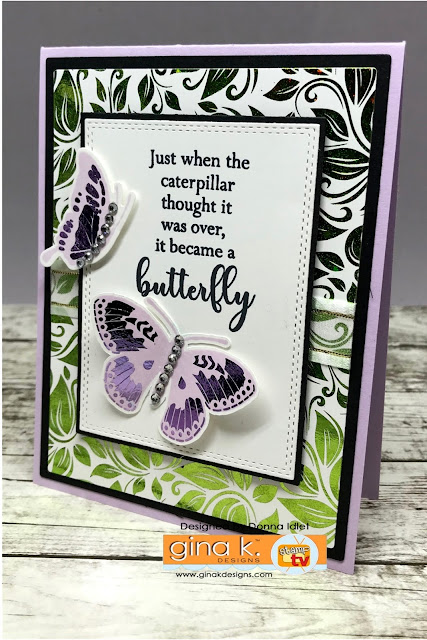
My next card is an A2 card, the base of the card I used Gina K. Designs Lovely Lavender card stock.  I am using the Foil Mates™ Background Patterns "Vibrant Vines".  I foiled the background with Foil Mates™ Glittering Green.  I stamped the butterflies with Gina K. Designs ink Lovely Lavender, I then die cut the butterflies from the from the Stamp n Foil™ Foil-Mate "Butterfly Kisses" with the Stamp n Foil™ Craft Dies "Butterfly Kisses Dies", I then foiled them with  Gina K. Designs Fancy Foils™ Wild Lilac.  I stamped the sentiment from the Gina K. Designs Stamp n Foil™ Clear Stamps"Butterfly Kisses" and then die cut it out with the Gina K. Designs Double Stitched Rectangle Die and cut the black layer out with the Gina K. Designs Stitched Rectangle Die.   I used foam tape to pop this up on my card and finished the card off by adding some rhinestones to the butterflies.

My next card is an A2 card, the solid card stock layer I used Gina K. Designs Blue Raspberry. I am using the Foil Mates™ Background Patterns Bold Backdrops.  I foiled the background with Foil Mates™ Brilliant Blue and Twinkly Pink.  I stamped the butterflies with Gina K. Designs ink Blue Raspberry, I then die cut the butterflies from the from the Stamp n Foil™ Foil-Mate "Butterfly Kisses",  using the Stamp n Foil™ Craft Dies "Butterfly Kisses Dies".  I then foiled them with  Gina K. Designs Fancy Foils™ Brilliant Blue.  I stamped the sentiment from the Gina K. Designs Stamp n Foil™ Foil-Mate "Butterfly Kisses" and then die cut it out with the Gina K. Designs Double Stitched Square Die and cut the blue layer with the Gina K. Designs Stitched Square Die.  I used foam tape to pop this up on my card and finished the card off with adding some rhinestones to the butterflies.


My last card is from the Stamp n Foil™ Foil Mates™ Detail Sheets "Where Flowers Bloom".  I am using the Foil Mates™ Background Patterns "Vibrant Vines".   I stamped the flowers with Gina K. Designs ink Lovely Lavender.  I then die cut the flowers and leaves from the Stamp n Foil™ Foil-Mate "Where Flowers Bloom", I then foiled them with  Gina K. Designs Fancy Foils™ Wild Lilac.  I stamped the sentiment from the Gina K. Designs  Stamp n Foil™ Foil-Mate "Where Flowers Bloom", then die cut it with the Gina K. Designs Double Stitched Rectangle Die and cut the black layer out with the Gina K. Designs Stitched Rectangle Die.  I finished my card off by adding some Nuvo Glitter Drops Purple Rain to the center of the flowers.


I hope I have inspired you and you are ready to use this wonderful product!  I am in love with the foils and foil mates!  Enjoy the gorgeous inspiration samples from the team and then comment on each blog for your chance to win a $50 Gina K. Designs gift certificate! To see who won, check the Big News Forum at StampTV a few days after the hop.  

Here is the list of designers, be sure to visit everyone and leave a comment for a better chance to win!  Thanks so much for stopping by, please come back again soon!


A Blog Named Hero - Let's Party!

Monday, March 20, 2017

Hello everyone,

I am here again with A Blog Named Hero featuring Hero Arts products and Studio Katia.  Studio Katia is collaborating with A Blog Named Hero this month and she has sent some wonderful sequins which I have used on my project.  If you have not had a chance to join the challenge over at A Blog Named Hero, please come play along!  It's all about "blinging it up"....details are over at A Blog Named Hero and you can link your project here.


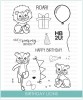
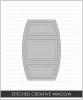
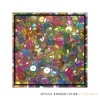
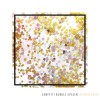
I am featuring the Birthday Lions by Studio Katia and the Purr Clear Stamp by Hero Arts.  I have a shaker card to share with you today.  My card is an A2 card, I created the shaker part of my card by cutting out the Studio Katia Stitched Creative Window, I then cut it out again with some fuseable clear sheet.  I then used my fuse tool and closed the sheet all the way around leaving the longer side open.  I then used the blue piece to close the center piece to make three pockets.  I then added the Studio Katia Crystal Rainbow Fusion sequins and Confetti Bundle Special.  I closed the side I left open with my fuse tool.  I then popped the Katia Stitched Creative Window on the card.

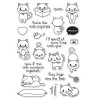
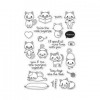
Next I stamped the lion from the Studio Katia Lion and the cute kitty from the Hero Arts Purr set and colored them with copics.  I die cut the party hats and balloons and added everything to my card.  The sentiment is from Hero Arts Birthday Animal Silhouette set.


Closer look at the cute little critters!

A View on the side to see how I added all the elements to my card.


I hope you have enjoyed seeing my card. Thank you Studio Katia for collaborating with A Blog Named Hero!  I really enjoyed working with your products!  If you have not stopped over at A Blog Named Hero to see what the other Design Team members have created, please stop by.

Please come back again soon!

Made With Love By The Dutch Lady Designs
Follow Me on Pinterest