Showing posts with label shaker card. Show all posts

STAMPtember® 2025 Gina K Designs Shimmering Christmas

Monday, September 15, 2025

Hello everyone!

I am here with Gina K. Designs and Simon Says Stamp celebrating STAMPtember®! Simon Says Stamp has collaborated with Gina K with an exclusive stamp set designed by Gina K. called "Shimmering Christmas". This set is only available while supplies last, so don't wait, head over to Simon Says Stamps and get this set. For more inspiration, please stop by Simon Says Stamps blog.


Here are my cards for your inspiration:

D. Idlet, STAMPtember 2025, Gina K. Designs, Shimmering Christmas, Simon Says Stamps, shaker card, Christmas, Holiday

My card is an A2 card. I created a shaker card.  I stamped and heat embossed the tree image from the Shimmering Christmas with GKD Silver embossing powder.  I then die cut the top layer with GKD ML 2 and then used the tree die cut to cut out the center.  I added acetate to this panel, added GKD 
Double-sided Adhesive Foam Shaker Strips to the back of the acetate panel.  I added the GKD Clear Quartz Solid Sequins onto the embossed panel and added the acetate panel ontop.  I added the panels to the A2 card.  I stamped the sentiment from the Shimmering Christmas stamp set and added it to the front of the card.

D. Idlet, STAMPtember 2025, Gina K. Designs, Shimmering Christmas, Simon Says Stamps, shaker card, Christmas, Holiday

My second card is an A2 card also, but I have created a fun fold.  This is not my design, I found it on youtube and the fun fold is called "diagonal card fold" if you want to search Youtube for the dimensions.  I used the GKD Snowflakes embossing folder for the background.  I stamped, embossed and die cut the tree from the Shimmering Christmas stamp set and added to the top layer of the card.  I finished it off by adding the sentiment from the Shimmering Christmas stamp set.

D. Idlet, STAMPtember 2025, Gina K. Designs, Shimmering Christmas, Simon Says Stamps, shaker card, Christmas, Holiday

This is the inside of the card.  I did the two stamp technique on the inside using the oranment from the Shimmering Christmas stamp set.  I then stamped the Merry Christmas sentiment also from the Shimmering Christmas stamp set.

I hope you were inspired and was able to get this set, remember this is while supplies last!

Here is a list of supplies I used on my cards. Affiliate Links used at no additional cost. Thank you for your support and thank you for stopping by, I hope you have been inspired.


Newton's Nook Designs - Welcome Spring!

Wednesday, March 13, 2024

Hello everyone!

I am here with Newton's Nook Designs featuring Spring Roundabout Stamp Set that goes perfectly with NND Circle Frames Die. There are six sentiments in this set that you can create cards for Spring or Easter.  The sentiments also can be die cut from the Banner Duo Die Set.


Here is my card for your inspiration:

D Idlet, Newtons Nook Designs, Spring Roundabout Stamp Set, Spring, Easter, Shaker card


My card is an A2 card, that I created a shaker.  The background paper is from Newton's Nook Designs Spring Blooms Paper Pad, that I die cut the background with the Frames and Flags Die Set.  I stamped the Spring Roundabout Stamp onto white card stock and colored the images with alcohol markers.  I then die cut it with second scalloped circle from the Circle Frames Die Set. I die cut the scallop circle from again from the Circle Frames Die Set and used the second largest circle to cut the center.  I added some accetate to the back of the scalloped circle, added some foam tape to the back and added some embellishmnets from my stash and adhered the image to the back.  I adhered it to the base of my card.  I then stamped and embossed the sentiment and added it to the card.

Thank you so much for stopping by, to see lots of inspiration using Newton's Nook Designs stamps and dies, please visit their blog.


Kat Scrappiness - Congrats!

Saturday, April 30, 2022

Hello everyone!

I am here with Kat Scrappiness featuring the NEWLY released Star Trio Shaker Card Kit.  I hope you were able to see all the newly released kits, if not you can find them here.  These shaker kits are adorable and so easy to put together.


Here is how I created the shaker:

  • Created an A2 card 4 1/4 x 5 1/2.
  • Die cut the black layer with KS Embossed Edged Dies.
  • Used the Falling Stars 6x6 Stencil in the background, used Transfer Gel Duo with the stencil, let it dry and added foil and ran through laminator.
  • Assembled two of the Star Shakers by adding Transfer Gel Duo to the stars, let it dry and added foil to the stars and ran it through the laminator. Next attached the acetate to the stars with a tape runner, added the foam star to the stars, filled with shaker bits, created another star acetate to sealed the shaker bits and added the stars to the card.
  • Die cut the Congrats with shadow die using alcohol ink paper and added it to the card.
Thank you so much for stopping by, please come back again soon.

Here is a list of supplies I used on my card, Affiliate Links used at no additional cost. Thank you for your support.

KAT SCRAPPINESS - FEBRUARY 2022 BIRTHDAY ESSENTIALS NEW RELEASE!

Saturday, February 5, 2022

Hello everyone!

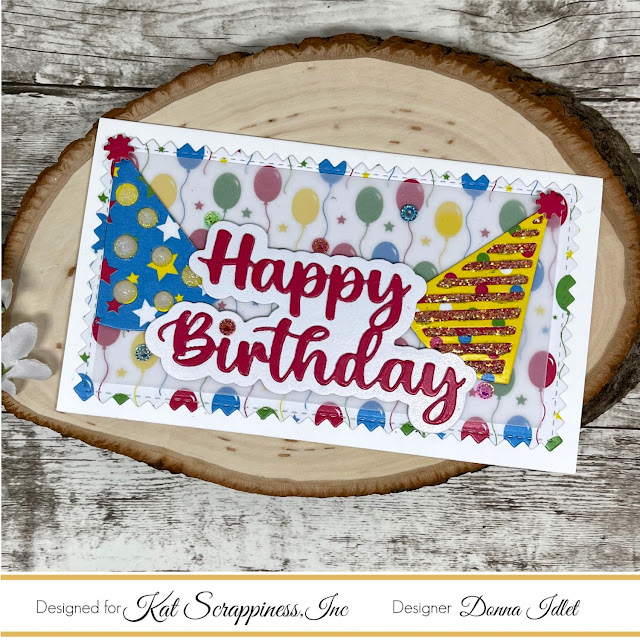
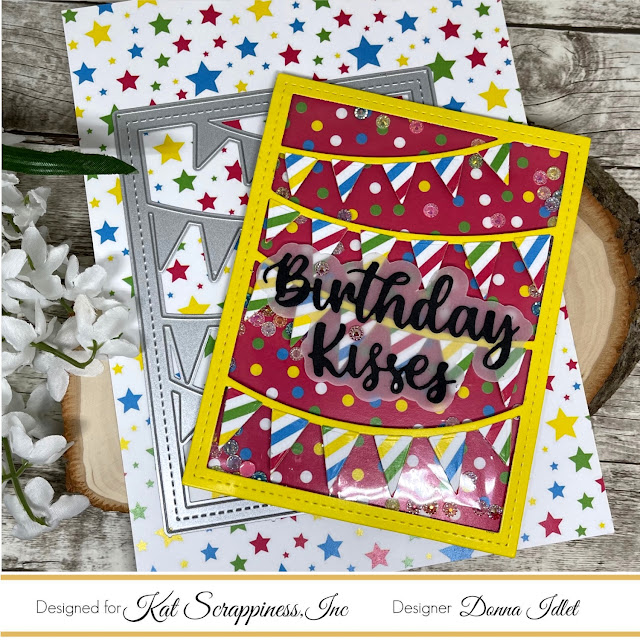
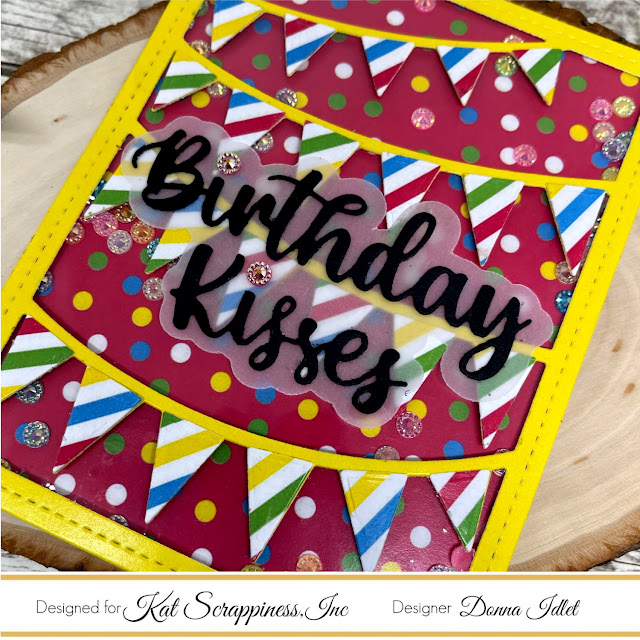
I am here with Kat Scrappiness, Inc., and we have a new release for this month! I am showcasing two cards that I created using several of the NEWLY release products. What's a new release without a giveaway? Kat Scrappiness is giving away dies and paper pad from the new release. Leave a comment on the Kat Scrappiness blog and a winner will be chosen randomly and announced on KS Blog February 14th.

Here are my cards for your inspiration:

Donna Idlet - Kat Scrappiness Birthday Release, Birthday Essentials Paper Pad, Birthday Essentials Die Set, Happy Birthday with shadow die, Birthday Kisses with shadow die, shaker card

My first card:
  •  Created a mini slimline card measuring 6″ x 3 1/2″ (6″ x 7″, scored at 3 1/2″).
  •  Used the Balloon pattern paper from the released 6x8 Birthday Essentials Paper Pad for the background.
  • Die cut the top layer from the KS mini slimline zig zag and the bottom layer I used the mini slimline Double Stitched Dies. Die cut the birthday hats from the Birthday Essentials  Die Set, using a couple of patterns from the Birthday Essentials Paper Pad, assembled and added some clear nuvo drops to the blue hat and Diamond Stickles to the yellow hat.
  • Die cut the Happy Birthday w/Shadow Die with red and white card stock.
  • Added some vellum so he hats and he sentiment would stand out.
  • Assembled the card.
Donna Idlet - Kat Scrappiness Birthday Release, Birthday Essentials Paper Pad, Birthday Essentials Die Set, Happy Birthday with shadow die, Birthday Kisses with shadow die, shaker card

Here is my second card:

Donna Idlet - Kat Scrappiness Birthday Release, Birthday Essentials Paper Pad, Birthday Essentials Die Set, Happy Birthday with shadow die, Birthday Kisses with shadow die, shaker card

My second card:
Donna Idlet - Kat Scrappiness Birthday Release, Birthday Essentials Paper Pad, Birthday Essentials Die Set, Happy Birthday with shadow die, Birthday Kisses with shadow die, shaker card

Donna Idlet - Kat Scrappiness Birthday Release, Birthday Essentials Paper Pad, Birthday Essentials Die Set, Happy Birthday with shadow die, Birthday Kisses with shadow die, shaker card

ALSO… For more inspiration be sure to check out the Instagram Hop (#ksvalentinesrelease2022) starting at 12noon EST today February 5, 2022 there is a special prize to be given away over there as well.  Instagram hop will start @katscrappiness IG page. 

Thank you so much for stopping by, I hope you have been inspired. I hope you will stop by the Kat Scrappiness Blog and see all the inspiration from the design team.

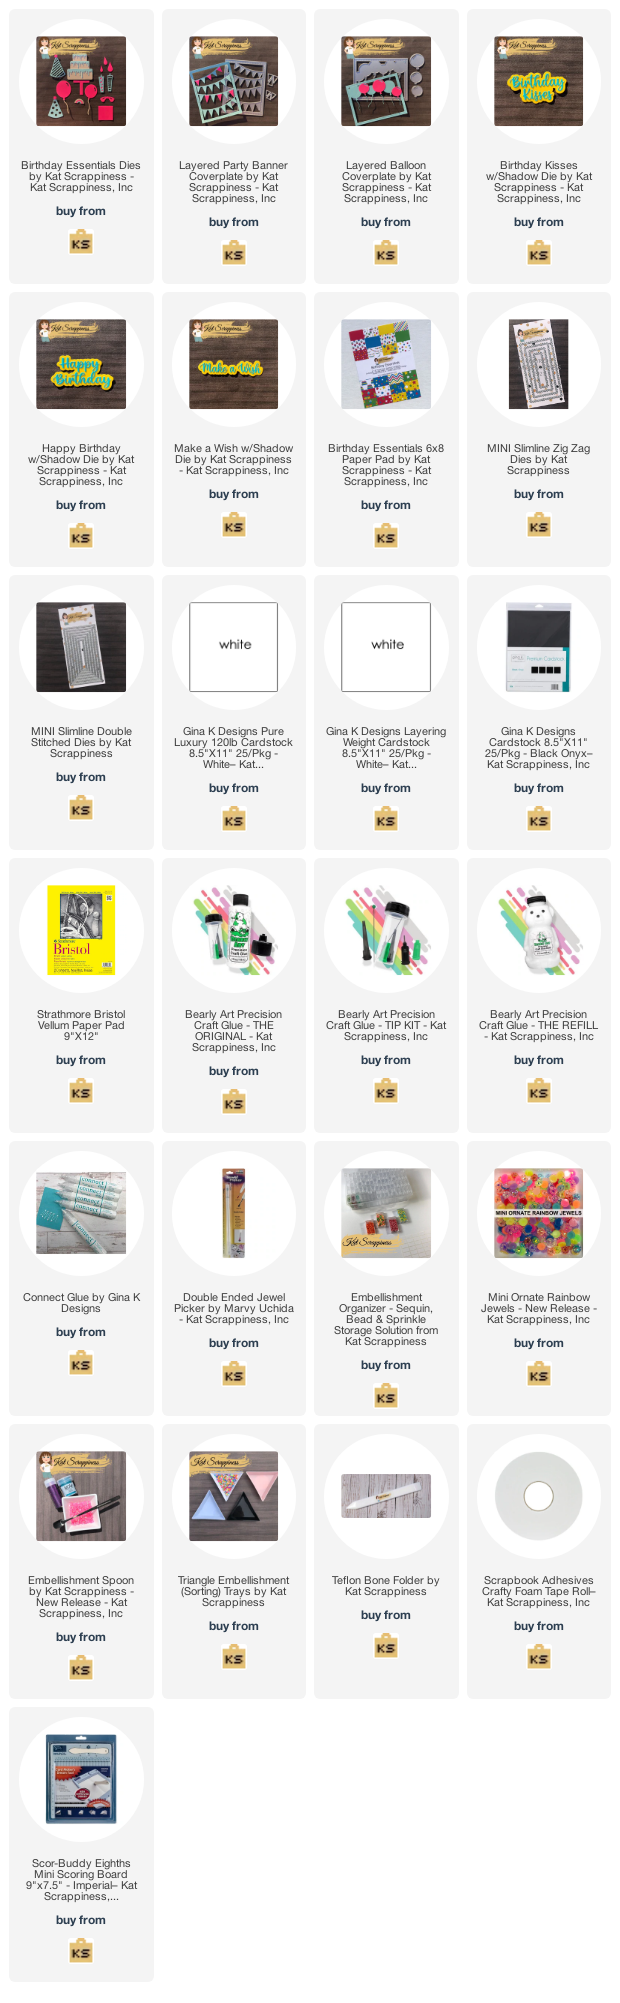
Here is a list of supplies I used on my cards. Affiliate Links used at no additional cost. Thank you for your support.

Kat Scrappiness - Happy Valentine's Day

Monday, January 25, 2021

Hello everyone!

I am here again guest designing for Kat Scrappiness.  Have you seen the NEW release?  Kat Scrappiness has 6 new mini slimline dies, an adorable Quokka Valentine Stamp set and several Valentine Sprinkles.  I am in love with the slimline dies, they make the perfect sized card.  You can find the full collection here.

Today, I am sharing two cards, on both cards I am using the newly released Valentine Quokka stamp set.  The first card I am using the newly released mini slimline Diamond Wire & Wood Grain die and my second card I used the newly released mini slimline Scalloped Edge and Embossed Edge dies.

My first card, I created the card base at 3 x 6, I then die cut the slimline Diamond Wire & Wood Grain die.  I used some acetate on the back of the diamond slimline and created a shaker card.  I added the newly released Love Hearts and Talk About It Sprinkles for the shaker.  I then stamped and die cut the Quokkas from the Valentine Quokka stamp set and colored them with copics.  For more interest I added the Kat Scrappiness Wonky Wavy Stitched die in the back of the Quokkas.  To finish the card off, I heat embossed the sentiment from the Valentine Quokka stamp set with white embossing powder.

My second card, I created a mini slimline card measuring 3 x 6.  I die cut the scalloped layer with the Scalloped Edge mini slimline die, the next layer I used some design paper called Be My Valentine by Echo Park and die cut it using the mini slimline Embossed Edge dies.  I stamped and colored the Quokka from the Valentine Quokka stamp set.  I added the image to my card and stamped the sentiment from the Valentine Quokka stamp set.  


Thank you so much for stopping by, I hope you have been inspired.  Please come back again soon!
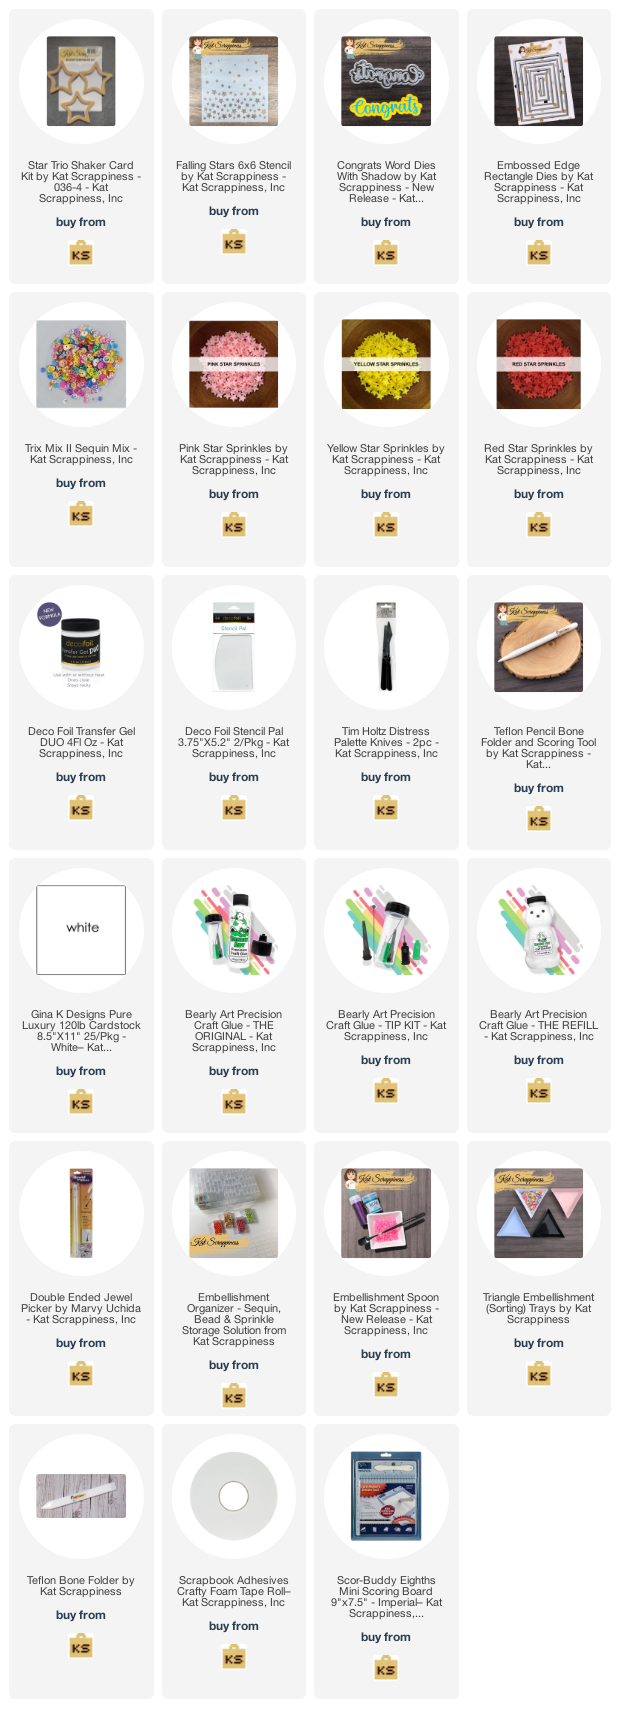
Here is a list of supplies I used on my card, Affiliate Links used at no additional cost. Thank you for your support.

Crackerbox & Suzy Stamps - Happy Birthday

Thursday, April 2, 2020

Hello everyone!

I’m here with Crackerbox & Suzy Stamps featuring a few rubber stamps one which is from the new release called "Birthday 7", you can also get this in a set called "Birthday 7 & Reach the Age" and two swans (not part of the new release) which are called "Swan Outline" and 'Swan Solid'. The nice thing about the new release, it is 30% off the whole month of April. I hope you have a chance to hop along with the design team to see all the new stamps that were released yesterday. The hop will be all week, and of course there is a prize to be won. All the details can be found here!


Every month Crackerbox & Suzy Stamps will have a theme, this months theme is die cuts, Snarky,
Sweet Sentiments and Get Well. If you would like to join, please feel free to share on the Crackerbox & Suzy Stamps Flaunt It If You Made It Facebook page. Each week one person will be chosen to receive a $5 store credit. It will be added to your account to spend on any rubber stamps from the store. All you have to do is make a card with at least one stamp from the sales category and use the technique and post it on the facebook page!

Here is my card for your inspiration:

1.  My card is an A2 shaker card,

2.  I cut the first layer the same size as my card, 

3.  I used some distress ink to color the layer, I then die cut the center,

4.  I put a piece of acetate in the back of the layer, added some foam tape and added the 3mm sequins onto the sequin and added another sheet of paper with the glitter paper to the back, and added this to the base of the card,

5.  I stamped the swans and added some stickles to give the swans some dimension and added them to the card,

6.  I stamped the sentiment "Birthday 7" and die cut it with a circle and added it to my card.


Closer look at the picture.


Thank you so much for stopping by, please come back again soon.

Birthday Celebration!

Thursday, March 31, 2016

Hello everyone,

I'm here with CottageCutz sharing with you a birthday card which is another shaker card!  Here is my card:


Closer look at the presents and shaker


How I made this card........

The size of my card is an A2(4 1/4 X 5 1/2), the solid layer is the same size and the design layer is 4 x 5.  Who has used the Stitched Wide Frames?  They are wonderful to make shaker cards.  The circle stitched frame on my card is from the Stitched Wide Circle Frame Set.  There are three sizes in the set.  I used the largest circle.   To make the shaker I cut a circle from a clear plastic sheet and fused the edges leaving an opening to put my sequins in.  Once I filled it, I fused the small opening I left open.  I then used my tape runner to tape the circle and the pouch I made.  Then I taped it to the card.  So simple, no message glue to deal with!

I used the Present die to cut the two presents.  After cutting the two presents, I shaded the edges with ink and cut small boxes for the back of the presents so you could not see through the back.  Also, you can see the hearts that run down the center of the box.

I finished the card off with a sentiment.  That was easy peasy!  Why don't you give it a try and make this card with the Present die!

Please come back soon to see some more creations from the design team!

Made With Love By The Dutch Lady Designs
Follow Me on Pinterest