Showing posts with label Tulips. Show all posts

Gina K. Designs - Tranquil Tulips Birthday Wishes Card

Tuesday, July 7, 2026

Gina K. Designs June 2026 Release is NOW available and can be found HERE.

Hello everyone!

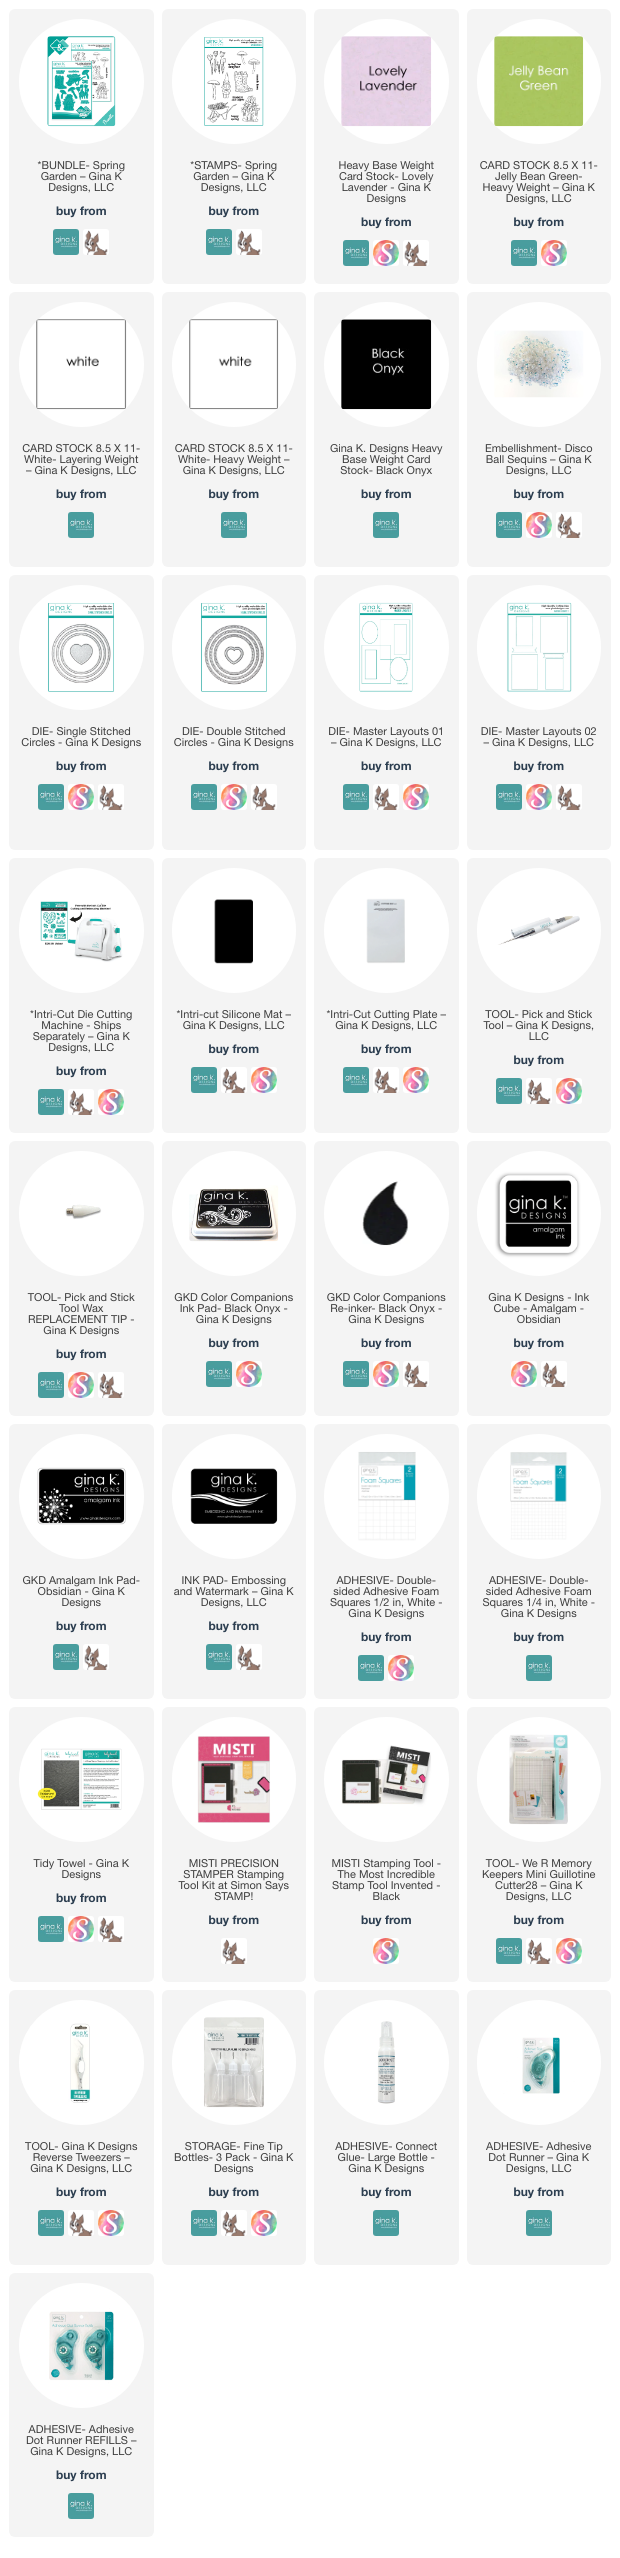
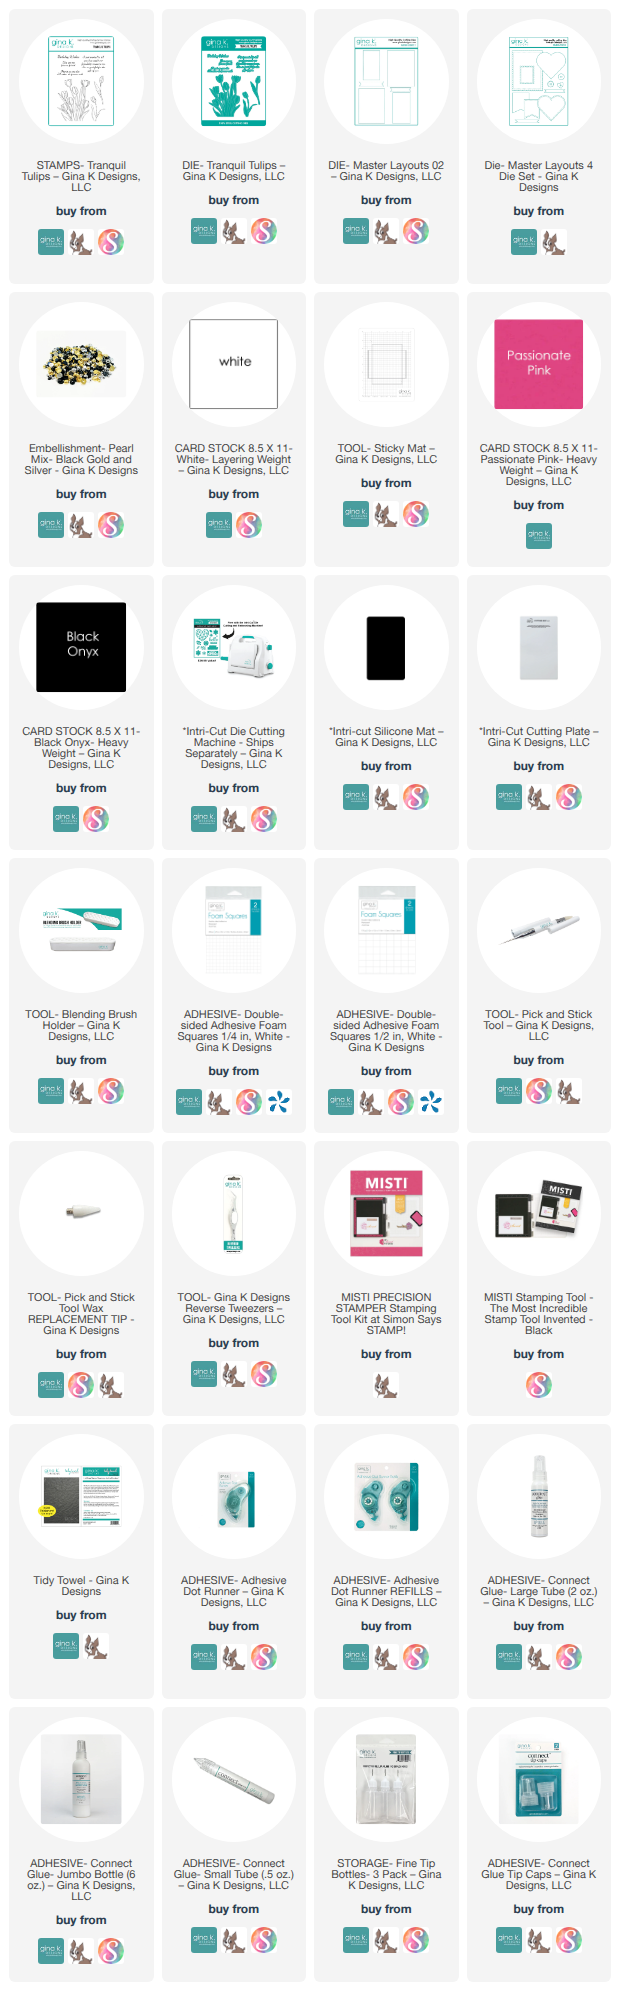
I am here featuring Gina K. Designs newly released Tranquil Tulips Stamp Set, I created a clean and colorful birthday design with a little extra dimension.  Be sure to check out ALL the new products release this month.  You can also find lots of inspiration over at Gina K. Designs & Stamp TV Friends Facebook page.  All supplies I used are listed below.

Here is my card for inspiration:


I began by stamping the tulip arrangement onto white cardstock and coloring everything with alcohol markers, blending shades of pink for the flowers and vibrant greens for the leaves. Once the coloring was complete, I die cut the panel using Master Layouts 2, giving it a beautiful stitched border.

To help the focal panel stand out, I layered it onto the black scalloped frame from Master Layouts 4 before adhering everything to a bright pink card base. The black scalloped layer creates a bold contrast that really makes the tulips pop.

For added depth, I stamped and die cut the two separate tulips included in the stamp set and attached them with foam squares over the main image. This simple step adds wonderful dimension and brings the bouquet to life.

I finished the card by stamping and die cutting the “Birthday Wishes” sentiment from the set and placing it across the bottom of the floral arrangement. A few black pearls scattered around the design provide the perfect finishing touch and tie in beautifully with the black scalloped frame.

This card came together quickly but has lots of interest thanks to the layered dies, dimensional flowers, and vibrant coloring. The Tranquil Tulips Stamp Set is perfect for birthdays, thinking of you cards, Mother’s Day, and so many other occasions.

Thank you so much for stopping by today! I hope this card inspires you to create your own beautiful floral designs with the new Tranquil Tulips release. Happy crafting!🌷

Here is a list of supplies I used on my card, affiliate links used at no cost to you.  Thank you for your support.  

Retro Rubber Challenge Blog - Inspirational Challenge

Tuesday, May 6, 2025

Hello everyone!


I am here with Retro Rubber Challenge blog and we have a new challenge, which is an inspirational challenge to use spring flowers on your card. Be sure to stop over on the Retro Rubber Challenge blog to get more inspiration, the design team has some wonderful creations!

The rules to play along with Retro Rubber Challenge is very simple, make sure the stamp you use on your project is at least one year or older. For more details on the rules, you can find them over on Retro Rubber Challenge blog.


Here is my card for your inspiration:

D. Idlet, Retro Rubber Challenge Blog,Challenge Inspirational Photo, spring flowers, tulips, Twirling tulips, On Occasion Stamp Set,taylored expressions,

My card is an A2 card, the tulips is an embossing folder from Spellbinders called Twirling Tulips, this embossing folder was released March 2024.  I embossed a piece of cardstock and then did the technique called Blackout.  I used small ink blending tools to add the color with ink pads and then took a black ink pad and covered the whole panel with black ink.  I stamped and embossed the sentiment from Taylored Expressions called On Occasions Stamp Set.  This stamp set was released in July 2022.

GINA K. DESIGNS - MARCH 2024 NEW RELEASE

Tuesday, March 26, 2024

 The Gina K. Designs March 2024 Release is NOW available and can be found HERE.


Hello everyone! 

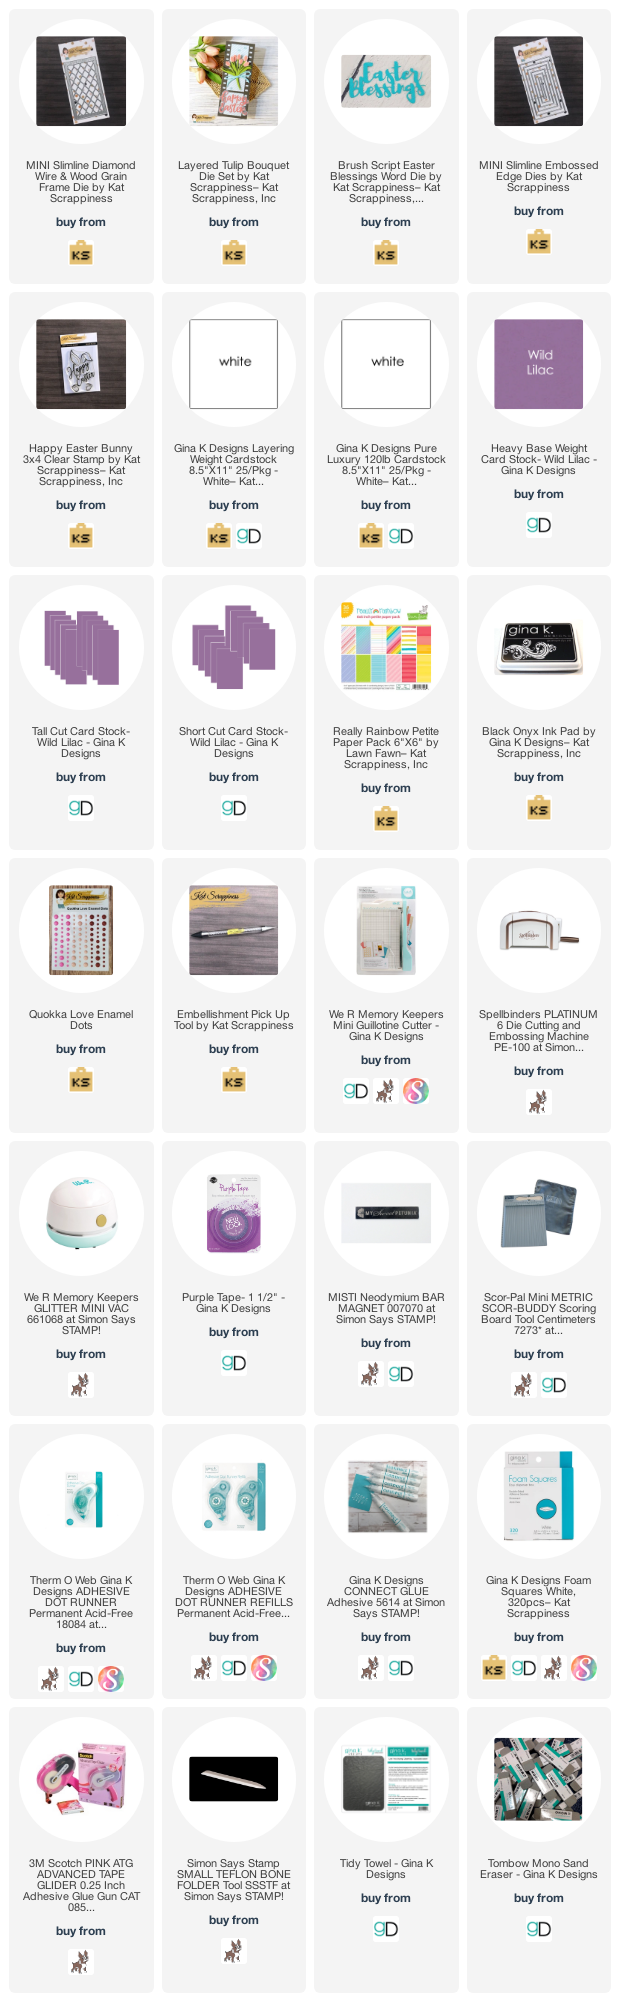
I am here today featuring the NEW Gina K. Designs "Spring Gardens" stamp set and dies illustrated by Hannah Schroepfer Drapinski! This set is so versatile, if you love gnomes like I do. All the elements are interchangeable and will make great Spring cards. Be sure to check out ALL the new products, released this month. You can also find lots of inspiration over at Gina K. Designs & StampTV Friends Facebook page. All supplies I used are listed below.

Here are my cards for your inspiration:

D Idlet, Gina K. Designs, March 2024 release, spring, gnomes, Spring Gardens stamp set, Master Layouts

My card is an A2 card, I die cut the layers using GKD Master Layouts 1. The top layer I ink blended with sea glass and jellybean green. I stamped the images and colored them with copics. I added them to the card and used foam squares on the house. To finish off the card I added the sentiment from the Springs Garden stamp set.
 
Gina K. Designs, March 2024 release, spring, gnomes, Spring Gardens stamp set, Master Layouts

My card is an A2 card, I die cut the layers using GKD Master Layouts 2. The top layer I used embossing and watermark ink to add the tulips from the Springs Green stamp set.  I then stamped and die cut the wheel barrow and colored it with copics.  I die cut the circles from the single and double circles and added foam squares to the barrow and added it to the card. I stamped the sentiment from the Springs Garden stamp set.  I finished off the card by adding some disco balls.

Thank you so much for stopping by! Please come back again soon.

Here is a list of supplies I used on my cards. Affiliate Links used at no additional cost. Thank you for your support.

Newton's Nook Designs March 2022 Release - Reveal Day 3

Wednesday, March 16, 2022

Hello everyone!

Welcome back to Day 3 of the March 2022 Newton's Nook product reveal. The design team is featuring the Tulips and coordinating dies and Newton’s Blooms and coordinating dies which you can find here.  I am in love with all the floral stamp sets that has been released this week.  I think Spring is here!  Yesterday it was sunny and 70 degrees and today the temperature will be the same!

 
Here are my cards for your inspiration:


Here is how I created my first card using the Welcome New Dog stamp set and coordinating dies:

  • Mini Slimline Card Base: 3 1/2" x 6" (7" x 6", scored at 3 1/2" on the 7" side).
  • Black Panel: 3 1/4" x 5 3/4"
  • Top Panel:  3" x 5 1/4"
  • Ink blended the top panel with blue ink and splattered with water and black paint.
  • Stamped the tulip and the butterfly images (die cut the tulip twice) die cut with the coordinating dies and colored the images with alcohol markers.
  • Added the tulips to the card base using foam squares to pop them up, then adhered the butterflies randomly on the card.
  • Finished the card off by adding the sentiment from the Tulip Stamp Set.


Here is my second card using the Newton’s Blooms and coordinating dies and the Springtime Paper Pad .


  • A2 Top Fold Card Base: 4 1/4" x 5 1/2" (4 1/4" x 11", scored at 5 1/2")
  • Black Panel:   4" x 5 1/4"
  • Floral Panel:  3 7/8 x 5
  • Die cut the black oval frame from the Newton's Oval Frames Die Set.
  • Stamped the images from the Newton’s Blooms Stamp Set, Colored with alcohol markers, and die cut with the coordinating dies.
  • Stamped the sentiment with versamark and heat embossed with white embossing powder.
  • Assembled the card.


Would you like to win the “Tulips” or the “Newton’s Blooms” Stamp Set? We will choose ONE lucky winner for each stamp set!  

Here's how to win: Comment on the NND blog and Design Team blogs (see list below)! The winner will be chosen at random from the collective reveal posts. Make sure to check out each of their blogs and comment for your chance to win. You will not know which blog has been chosen so the more you comment on the better your chances are of winning! You have until Wednesday March 16th at 9pm ET to comment -- winners will be announced on the blog post on Thursday March 17th.

Check out all the awesome Design Team Blogs below to enter:

Donna Idlet YOU ARE HERE

Kat Scrappiness - Easter Blessings

Saturday, March 13, 2021

Hello everyone!

I am here with Kat Scrappiness with a couple of Easter cards I created using the newly release Easter dies.  My first card I used the newly released Layered Tulip Bouquet Die Set and my second card is created using the newly released Happy Easter Bunny clear stamp set.

Just a reminder, the Spring Sale is going on right now through March 14th.


My first card, is a mini slimline card which measures 3 x 6, I then die cut the Kat Scrappiness slimline Diamond Wire & Wood Grain die.  I used some design paper behind the slimline die and adhered everything together.  I then used some distress inks to color the tulips, leaves and bow from the Tulip Bouquet Die Set.  I adhered everything together to create the bouquet and added it to my card.  I then die cut the Kat Scrappiness Brush Script Happy Easter word die and colored it with distress inks and adhered it to the card.  To finish off the card I used the Kat Scrappiness Gold Sequin cross at the base of the bouquet.


Here is another look of the card.


My next card I created using the Kat Scrappiness Happy Easter Bunny clear stamp set.  I love this stamp set, it measures 3x4, but makes an adorable card.  My card is a top folding slimline card.  I masked off the top layer and added some distress inks.  I die cut this with Kat Scrappiness mini slimline Embossed Edge Die.  I then stamped the the image from the Happy Easter Bunny clear stamp set.  I also stamped the image again, I colored the ears and feet with copics and then fuzzy cut them out and used foam squares and popped them up onto the card.  I finished the card off by adding some Kat Scrappiness Quokka Love Enamel Dots.


Thank you so much for stopping by, I hope you have been inspired. Please come back again soon!

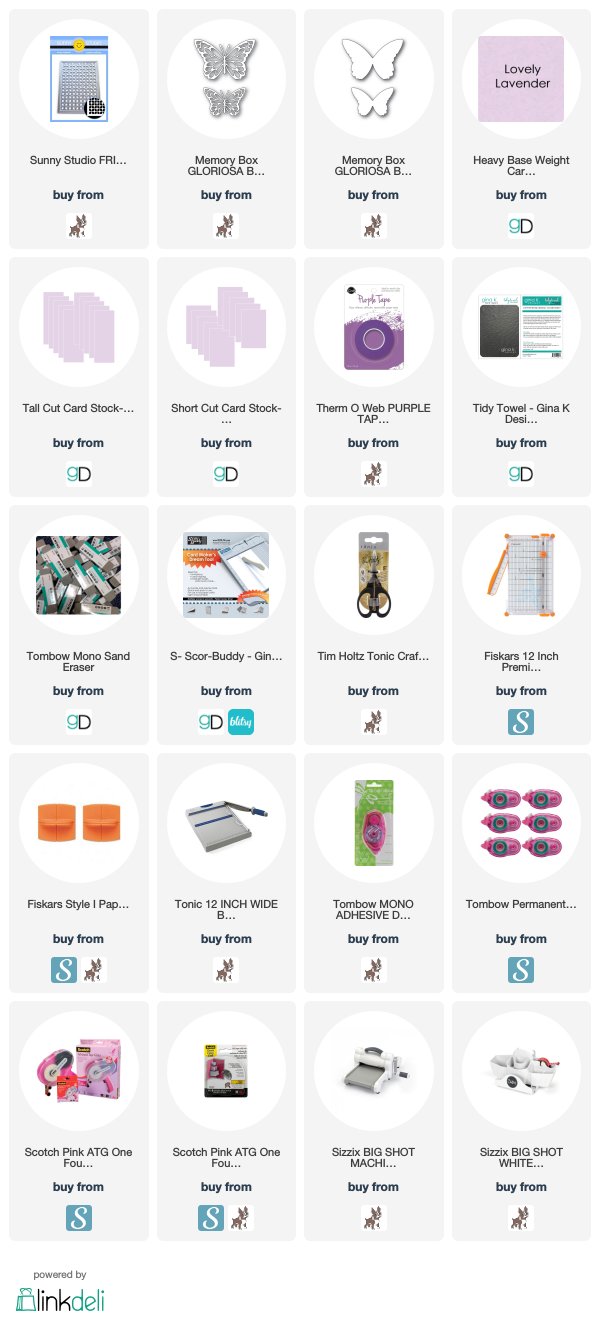
Here is a list of supplies I used on my card, Affiliate Links used at no additional cost. Thank you for your support.

Rinea - Spring

Saturday, March 21, 2020

Hello everyone!

I am here with Rinea and this month we are collaborating with Creative Embellishments. Creative Embellishments has chipboard, wood veneers and other crafty supplies. I am sharing a Spring card with you today. I am using the Rinea Blush Starstruck, Blush/Gold Glossy Solid Pack
Ebony Starstruck Solid Pack, Violet Starstruck Solid Pack, and Lavender/Gold Glossy Solid Pack.

Here is my card for inspiration.


Closer look at the card.  


Here is how I created my card.

1. My card is an A2 card measuring 4 1/4 x 5 1/2,

2. I die cut the top layer with Violet Starstruck Solid Pack, I cut a piece of Lavender/Gold Glossy Solid Pack the same size as the top layer and adhered it to the card base,

3. I then painted the tulips and the Spring word by Creative Embellishments with distress inks, I let it dry and added some Sheer Shimmer onto the tulips and leaves.  The picture doesn't show it very well, but the card is beautiful in person,

4. I then die cut the butterfly with Rinea Blush Starstruck, Blush/Gold Glossy Solid Pack
Ebony Starstruck Solid Pack adhered the pieces together and adhered  it to my card.
I hope my card has inspired you.  I know in my area it is already feeling like Spring, the flowers are growing and looks like they will be blooming soon.

Thank you so much for stopping by, please come back again soon!

Listed below are the products I used. Click on the link to go directly to the product. Where available I have used compensated affiliate links which means if you make a purchase I will receive a small commission at no extra cost to you. Thank you so much for your support!

SUPPLIES USED:


Made With Love By The Dutch Lady Designs
Follow Me on Pinterest