Showing posts with label Spring. Show all posts

April 2025 Release Newton's Nook Designs

Wednesday, April 16, 2025


Hello everyone!

Today Newtons Nook Designs is releasing a beautiful Lattice Die. This die is so versatile and can be used with so many images. Today, I am using the recently released Daisies Die Set along with the Jar from the Jar Hot Foil Plate & Die with the Lattice Die. For more inspiration, be sure to head over to the Newtons Nook Designs blog. What's a new release without a prize, see details below on how you can win $25 store credit to the Newton's Nook Designs store.

Here is my card for your inspiration:

D. Idlet, Newton's Nook Designs, Lattice Die,Daisies Die Set,Jar Hot Foil Plate & Die, Spring, flowers

My card is an A2 card.  I die cut the Lattice Die and used the design daisy paper from the Spring Blooms paper pad.  I adhered both of these layers to the card.  I then die cut the jar from the 
Jar Hot Foil Plate & Die using vellum.  I used an alcohol marker to color the vellum to look like water.  I then die cut the daisies from the Daisies Die Set, arranged them onto the jar and added it to the card front.  To finish off the card, I used the Circle Frames die to die cut the sentiment from the 
Chrysanthemum stamp set.

One lucky winner will receive a $25 store credit to spend at Newton's Nook Designs online shop! The winner will be chosen at random from the collective blog posts featuring our new products this week. For a chance to win, leave comments on the Design Team Member Blog Posts (see list below) from Wednesday, April 16 and Thursday April 17th. You will not know which blog has been chosen so the more you comment on the better your chances are of winning! You have until Thursday, April 17th at 9 pm ET to comment -- winners will be announced on the NND blog on Friday, April 18th.

Check out all the awesome Design Team Blogs below to enter:

Thank you so much for stopping by, please come back tomorrow for Day 2 of the release and lots more inspiration!


GINA K. DESIGNS - MARCH 2024 NEW RELEASE

Tuesday, March 26, 2024

 The Gina K. Designs March 2024 Release is NOW available and can be found HERE.


Hello everyone! 

I am here today featuring the NEW Gina K. Designs "Spring Gardens" stamp set and dies illustrated by Hannah Schroepfer Drapinski! This set is so versatile, if you love gnomes like I do. All the elements are interchangeable and will make great Spring cards. Be sure to check out ALL the new products, released this month. You can also find lots of inspiration over at Gina K. Designs & StampTV Friends Facebook page. All supplies I used are listed below.

Here are my cards for your inspiration:

D Idlet, Gina K. Designs, March 2024 release, spring, gnomes, Spring Gardens stamp set, Master Layouts

My card is an A2 card, I die cut the layers using GKD Master Layouts 1. The top layer I ink blended with sea glass and jellybean green. I stamped the images and colored them with copics. I added them to the card and used foam squares on the house. To finish off the card I added the sentiment from the Springs Garden stamp set.
 
Gina K. Designs, March 2024 release, spring, gnomes, Spring Gardens stamp set, Master Layouts

My card is an A2 card, I die cut the layers using GKD Master Layouts 2. The top layer I used embossing and watermark ink to add the tulips from the Springs Green stamp set.  I then stamped and die cut the wheel barrow and colored it with copics.  I die cut the circles from the single and double circles and added foam squares to the barrow and added it to the card. I stamped the sentiment from the Springs Garden stamp set.  I finished off the card by adding some disco balls.

Thank you so much for stopping by! Please come back again soon.

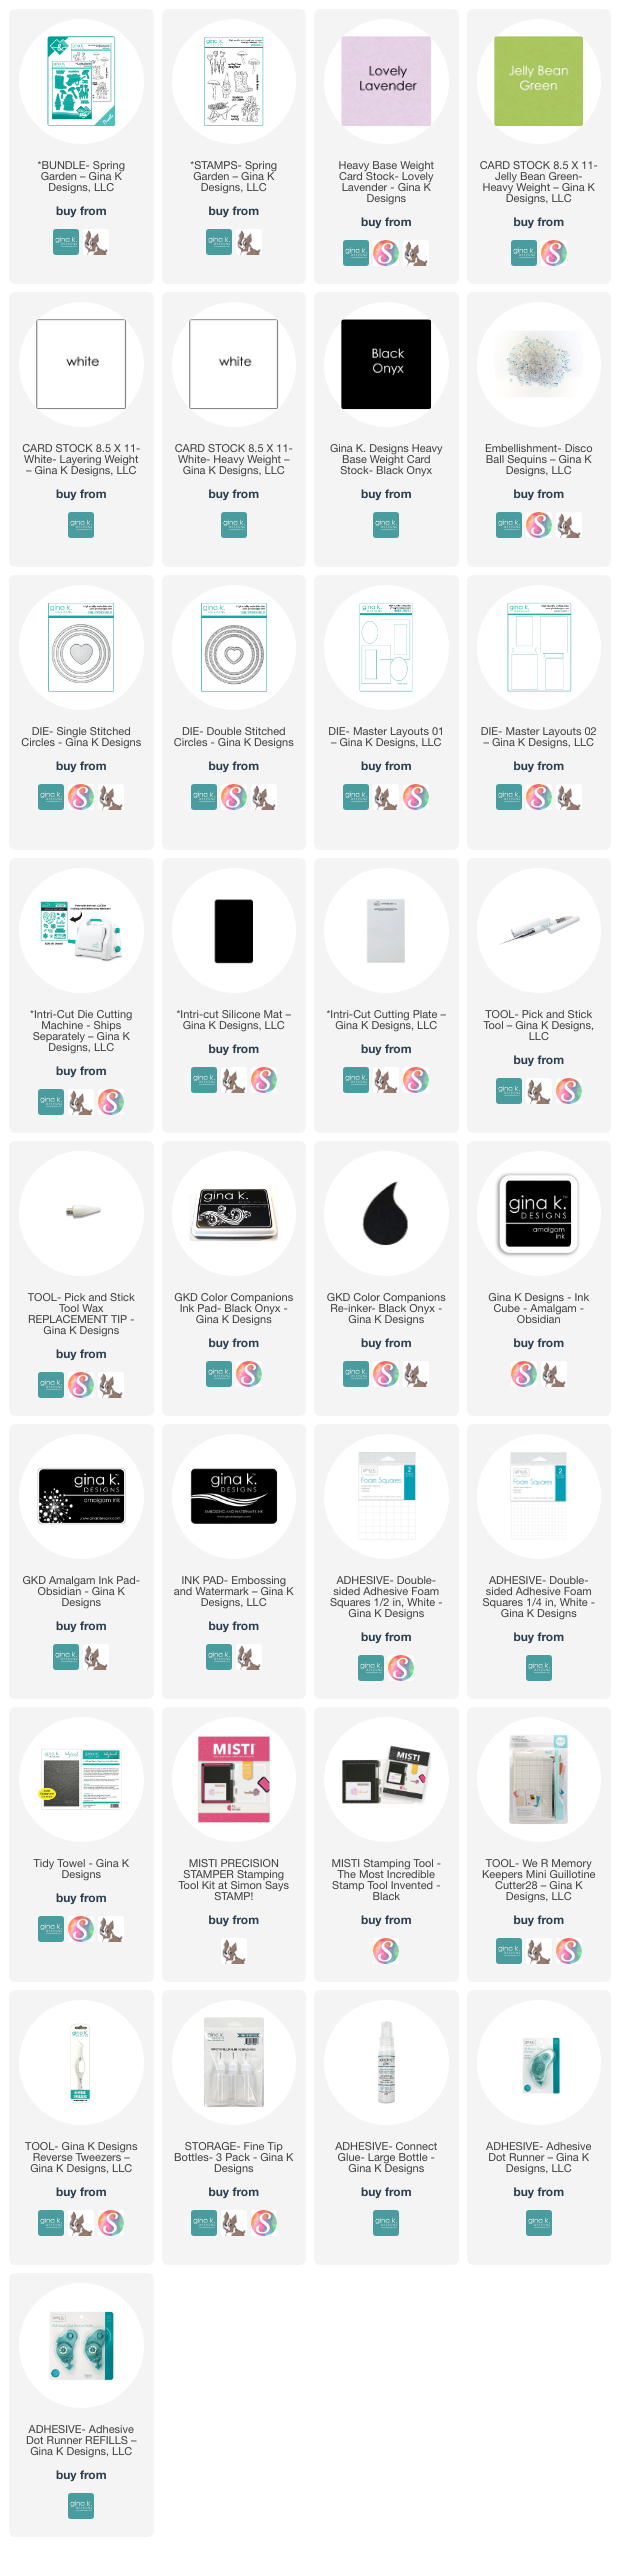
Here is a list of supplies I used on my cards. Affiliate Links used at no additional cost. Thank you for your support.

Newton's Nook Designs - Welcome Spring!

Wednesday, March 13, 2024

Hello everyone!

I am here with Newton's Nook Designs featuring Spring Roundabout Stamp Set that goes perfectly with NND Circle Frames Die. There are six sentiments in this set that you can create cards for Spring or Easter.  The sentiments also can be die cut from the Banner Duo Die Set.


Here is my card for your inspiration:

D Idlet, Newtons Nook Designs, Spring Roundabout Stamp Set, Spring, Easter, Shaker card


My card is an A2 card, that I created a shaker.  The background paper is from Newton's Nook Designs Spring Blooms Paper Pad, that I die cut the background with the Frames and Flags Die Set.  I stamped the Spring Roundabout Stamp onto white card stock and colored the images with alcohol markers.  I then die cut it with second scalloped circle from the Circle Frames Die Set. I die cut the scallop circle from again from the Circle Frames Die Set and used the second largest circle to cut the center.  I added some accetate to the back of the scalloped circle, added some foam tape to the back and added some embellishmnets from my stash and adhered the image to the back.  I adhered it to the base of my card.  I then stamped and embossed the sentiment and added it to the card.

Thank you so much for stopping by, to see lots of inspiration using Newton's Nook Designs stamps and dies, please visit their blog.


NEWTON'S NOOK DESIGNS - MARCH 2023 RELEASE - REVEAL DAY 1

Monday, March 20, 2023


Hello everyone!

It's Reveal Day 1 of the NEWLY released products that will be available on Friday, March 24th. The design team is featuring "Spring Haul" Stamp and coordinating Dies, Spring Garden Line Stencil, Quatrefoil Stencil, Spring Blooms Paper Pad. For more inspiration please visit Newton's Nook Design Blog to see what the design team has created.


Here is my card for inspiration:

Donna Idlet, Newtons Nook Designs, Spring Haul Stamp Set, Spring, flowers, stencils, Spring Blooms Paper Pad, copic coloring, stamping

Here is how I created the card:
  • A2 card measuring 4 1/4″ x 5 1/2.
  • Cut the background paper using the "Spring Blooms" Paper Pad.
  • Stamped and die cut the image from the "Spring Haul" stamp set, colored with alcohol markers.
  • Stamped the sentiment from the "Spring Haul" stamp set using black ink and embossed with clear embossing powder.

Would you like to win the “Spring Haul” Stamp Set? This stamp set will be given away to ONE lucky winner!  

Here's how to win: Comment on the NND blog and Design Team blogs (see list below)! The winner will be chosen at random from the collective reveal posts. Make sure to check out each of their blogs and comment for your chance to win. You will not know which blog has been chosen so the more you comment on the better your chances are of winning! You have until Thursday March 23rd at 9pm ET to comment -- winners will be announced on the blog post on Friday, March 24th.

Newton's Nook Designs March 2022 Release - Reveal Day 3

Wednesday, March 16, 2022

Hello everyone!

Welcome back to Day 3 of the March 2022 Newton's Nook product reveal. The design team is featuring the Tulips and coordinating dies and Newton’s Blooms and coordinating dies which you can find here.  I am in love with all the floral stamp sets that has been released this week.  I think Spring is here!  Yesterday it was sunny and 70 degrees and today the temperature will be the same!

 
Here are my cards for your inspiration:


Here is how I created my first card using the Welcome New Dog stamp set and coordinating dies:

  • Mini Slimline Card Base: 3 1/2" x 6" (7" x 6", scored at 3 1/2" on the 7" side).
  • Black Panel: 3 1/4" x 5 3/4"
  • Top Panel:  3" x 5 1/4"
  • Ink blended the top panel with blue ink and splattered with water and black paint.
  • Stamped the tulip and the butterfly images (die cut the tulip twice) die cut with the coordinating dies and colored the images with alcohol markers.
  • Added the tulips to the card base using foam squares to pop them up, then adhered the butterflies randomly on the card.
  • Finished the card off by adding the sentiment from the Tulip Stamp Set.


Here is my second card using the Newton’s Blooms and coordinating dies and the Springtime Paper Pad .


  • A2 Top Fold Card Base: 4 1/4" x 5 1/2" (4 1/4" x 11", scored at 5 1/2")
  • Black Panel:   4" x 5 1/4"
  • Floral Panel:  3 7/8 x 5
  • Die cut the black oval frame from the Newton's Oval Frames Die Set.
  • Stamped the images from the Newton’s Blooms Stamp Set, Colored with alcohol markers, and die cut with the coordinating dies.
  • Stamped the sentiment with versamark and heat embossed with white embossing powder.
  • Assembled the card.


Would you like to win the “Tulips” or the “Newton’s Blooms” Stamp Set? We will choose ONE lucky winner for each stamp set!  

Here's how to win: Comment on the NND blog and Design Team blogs (see list below)! The winner will be chosen at random from the collective reveal posts. Make sure to check out each of their blogs and comment for your chance to win. You will not know which blog has been chosen so the more you comment on the better your chances are of winning! You have until Wednesday March 16th at 9pm ET to comment -- winners will be announced on the blog post on Thursday March 17th.

Check out all the awesome Design Team Blogs below to enter:

Donna Idlet YOU ARE HERE

Joy Clair Designs - You've Been on My Mind

Monday, April 26, 2021

Hello everyone!

I am back guest designing with Joy Clair Designs! Today I am sharing the Spring Bouquet Slimline Digital Stamp set. This set is has two bouquet of flowers and some wonderful sentiments for lots of occasions.


To create my card, I printed the images I wanted to use from the Spring Bouquet Slimline Digital Stamp set with my laser printer.  My card is a slimline card measuring 8 5/8 x 3 5/8.  I decided to go monochromatic for the coloring with a little hint of yellow using Copic markers.  For the sentiment, I used my computer to make a black background and then changed the sentiment white. I then used my scan & cut to cut the images.  For my card base, I cut a few layers, using a stencil on the white layer to give the card more interest.  I then used foam tape to pop the image onto the card, and added foam tape to the sentiment also and popped it onto the card.    

I love how the card turned out, I hope you try to create a card using one color.  Joy Clair Stamps has a variety of digital stamps, I hope you stop over and check them out.  

Thank you so much for stopping by, please come back again soon!

Follow Joy Clair

Be sure to sign up for Joy Clair Designs newsletters. You will receive notifications of new releases, sales and exclusive offers to subscribers. In addition, you can follow Joy Clair Designs on Facebook Page, Joy Clair Stamp Projects Facebook Group, Instagram , Twitter, Pinterest and YouTube!

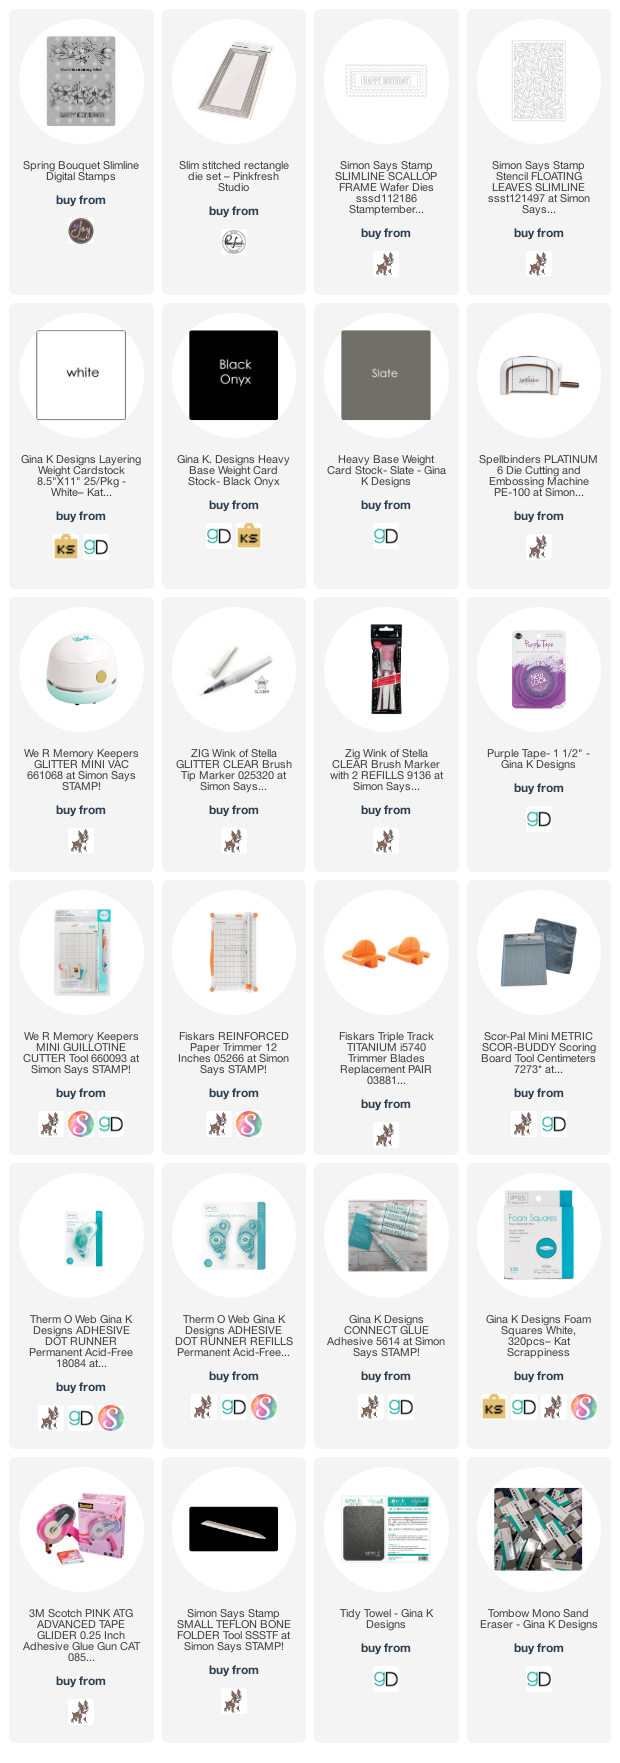
Here is a list of supplies I used on my card, Affiliate Links used at no additional cost. Thank you for your support.

Rinea - Spring

Saturday, March 21, 2020

Hello everyone!

I am here with Rinea and this month we are collaborating with Creative Embellishments. Creative Embellishments has chipboard, wood veneers and other crafty supplies. I am sharing a Spring card with you today. I am using the Rinea Blush Starstruck, Blush/Gold Glossy Solid Pack
Ebony Starstruck Solid Pack, Violet Starstruck Solid Pack, and Lavender/Gold Glossy Solid Pack.

Here is my card for inspiration.


Closer look at the card.  


Here is how I created my card.

1. My card is an A2 card measuring 4 1/4 x 5 1/2,

2. I die cut the top layer with Violet Starstruck Solid Pack, I cut a piece of Lavender/Gold Glossy Solid Pack the same size as the top layer and adhered it to the card base,

3. I then painted the tulips and the Spring word by Creative Embellishments with distress inks, I let it dry and added some Sheer Shimmer onto the tulips and leaves.  The picture doesn't show it very well, but the card is beautiful in person,

4. I then die cut the butterfly with Rinea Blush Starstruck, Blush/Gold Glossy Solid Pack
Ebony Starstruck Solid Pack adhered the pieces together and adhered  it to my card.
I hope my card has inspired you.  I know in my area it is already feeling like Spring, the flowers are growing and looks like they will be blooming soon.

Thank you so much for stopping by, please come back again soon!

Listed below are the products I used. Click on the link to go directly to the product. Where available I have used compensated affiliate links which means if you make a purchase I will receive a small commission at no extra cost to you. Thank you so much for your support!

SUPPLIES USED:


Joy Clair - Thinking of You

Thursday, January 17, 2019

Hello everyone!

It's day 4 of the new release by Joy Clair!  It's the last day of the hop so I hope you have hopped along all week with the design team.  There has been some beautiful creations with the new release.  And don't forget to stop over at the Joy Clair blog and tell us what your favorite stamp set is....who knows you may win that set!

I  am sharing with you a card I created using the newly released stamp set by Joy Clair called "Spring Stroll".  It's a perfect set for Spring cards.

I stamped the bicycle in the stamp set, added the flowers in the corners and colored them with copics.  I stamped the sentiment from the Spring Stroll with versamark, and heat embossed with white embossing powder.  I finished off my card with some sequins.


Closer look of the card.


I hope you will hop along with the design team to see all of the newly released stamp sets. There will be a total of four days for the hop! Make sure to leave a comment on Joy Clair's Blog for a chance to win your favorite set from this release!

Please follow Joy Clair's facebook page, Color by Faith Bible Journaling facebook page, Instagram and Twitter, be the first to hear the news, sales and giveaways! They also have a Pinterest page and Youtube channel for your inspiration!

Thank you so much for stopping by, please come back again soon!

Happy Spring!

Tuesday, March 1, 2016

Hello everyone,

I am so excited to share with you all I am on the CottageCutz design team!  This is my first post as a design team member. This is going to be so much fun to share with you the Cottage Cutz dies! For my first post, I am sharing with you a Spring card. Spring is right around the corner, and I don't know about you, I am so ready!!! The die I am using on my card is the “Miss Daisy Spring Bunny” 4x4 die.


Here is how I put my card together!

The base of my card is an A2 (5 ½” H x 4 ¼” W ), I used Regal Rose cardstock by Stampin Up. I have several layers on this card. The first layers are 4 ¼’ H x 4” W and 5 1/8” H x 3 7/8” W. The square layers are 3 x 3 and 2 ¾ X 2 3/4 and the stripe across the middle of the card is 1”H x 4 ¼ W. The design paper is by Authentique – Springtime.

I cut the elements from the “Miss Daisy Spring Bunny” 4x4 die with cardstock; I used a small sponge to ink the edges and shadows. I used the following colors, which is all Stampin Up cardstock: Bunny cut out of Crumb Cake and used Crumb Cake to ink. The leaves Garden Green, inked with Garden Green, and the flowers are cut out of Daffodil Delight and inked with Daffodil Delight. I used a white gel pen to put in the eyes.

The butterfly, I only used the top layer and I colored it with Copics – R81 and 85 and added some clear Wink of Stella so it looks like it is sparkling.

To assemble my card, I used foam tape to pop up the bunny, pieced the flowers on the greenery and adhered it to my card so that it looks like the bunny is sniffing them. I put foam tape on the butterfly and popped it up on the card. I added my sentiment, and to finish the card I added the button with some floss which was from my stash.

Thank you so much for stopping by, please come back again soon.

Made With Love By The Dutch Lady Designs
Follow Me on Pinterest