Showing posts with label Rinea. Show all posts

Joy Clair Designs - Thankful for You

Friday, October 9, 2020

 Hello everyone!

I am here with Joy Clair Designs and Rinea, all month long the design teams will be sharing some wonderful projects created with Rinea's beautiful foiled paper and Joy Clair Designs stamps. Please be sure to stop by Joy Clair Stamps and Rinea Blogs this month to see what the design teams have created.

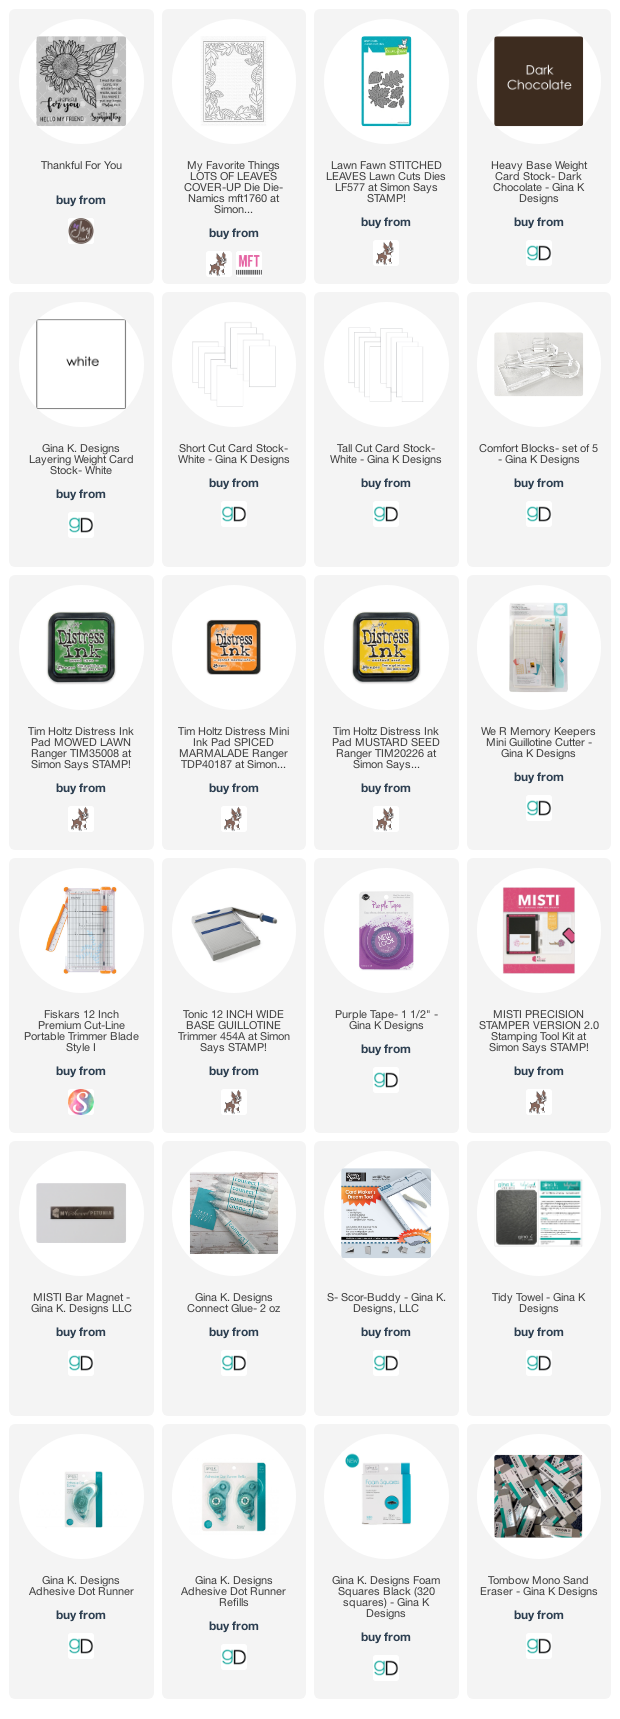
Here is my project created with Joy Clair Design digital stamp set called "Thankful for You".  This set has a beautiful large sunflower that can be used in so many ways.  The Rinea foil I used on my card is the Autumn Foiled Paper Variety Pack.  I used the Glossy Marigold/Gold Starstruck and Glossy Mocha/Gold on my card.

My card is an A2 size card, I printed the sentiment from the digital stamp set Thankful for You to size and ink blended the background with distress inks.  I then die cut the panel and added it to the card base.  I then die cut the leaf background from my stash with Rinea Glossy Marigold/Gold Starstruck and added it to my card with liquid glue.  I then die cut a leaf from my stash with Glossy Mocha/Gold  and added a foam square and added to my card.  I finished the card off by adding some sequins.  

Thank you so much for stopping by, please be sure to sign up for Joy Clair Designs newsletters to receive notifications of new releases, sales and exclusive offers to subscribers. You can also follow Joy Clair Designs on Facebook Page, Joy Clair Stamp Projects Group Facebook Group, Color by Faith Bible Journaling Facebook Group, Instagram, Twitter, Pinterest.

Thank you so much for stopping by, please come back again soon!  

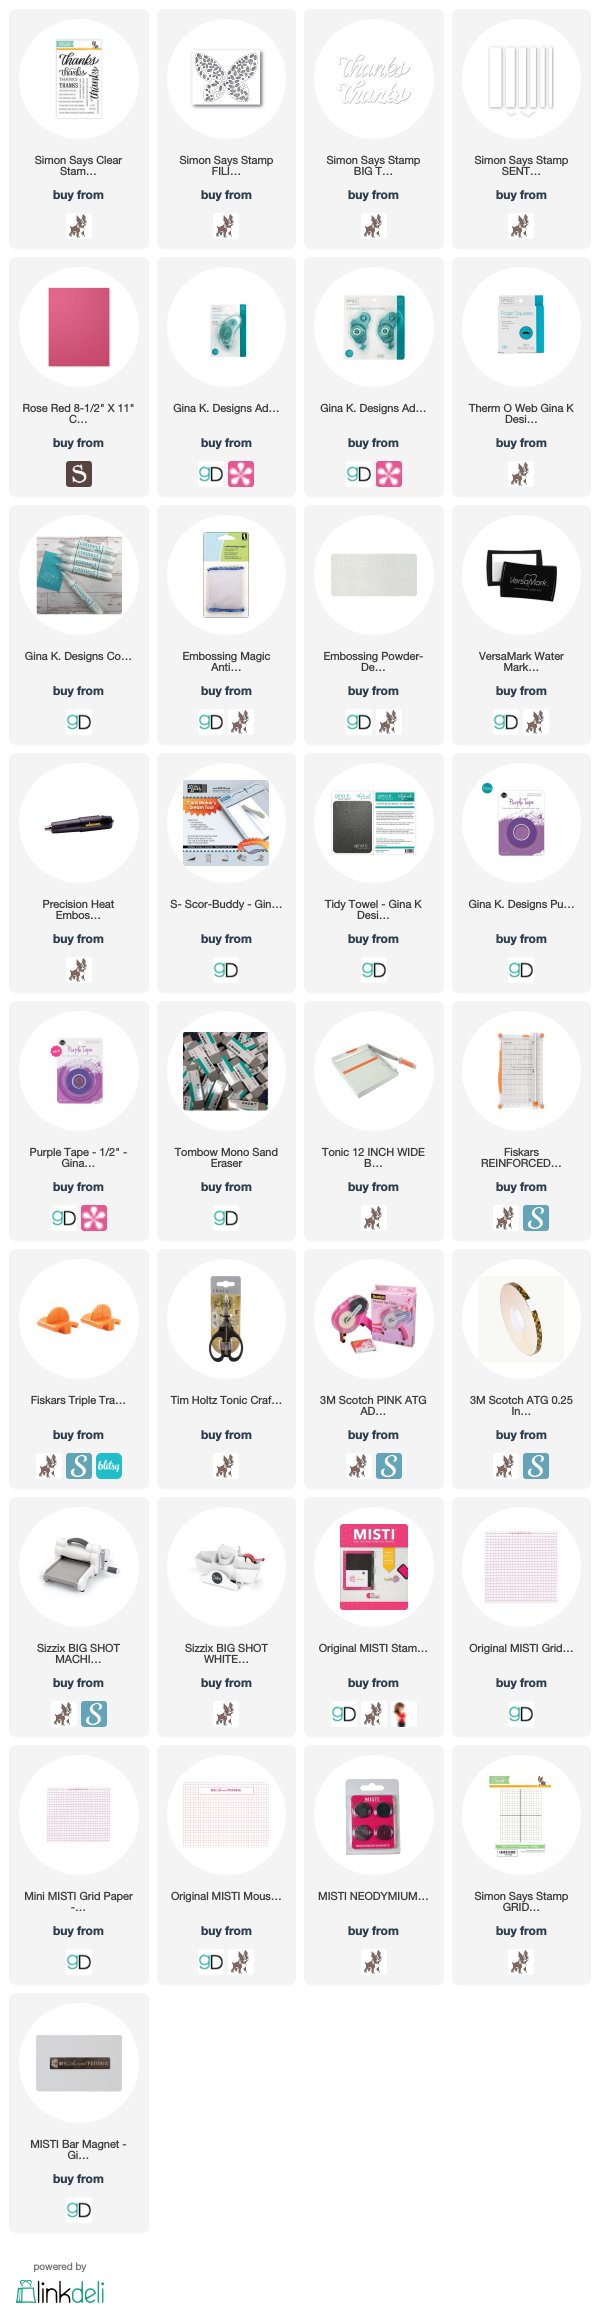
Here are the supplies I used for this card. Affiliate Links used at no cost to you.
Rinea - You're So Precious to Me

Monday, May 4, 2020

Hello everyone!

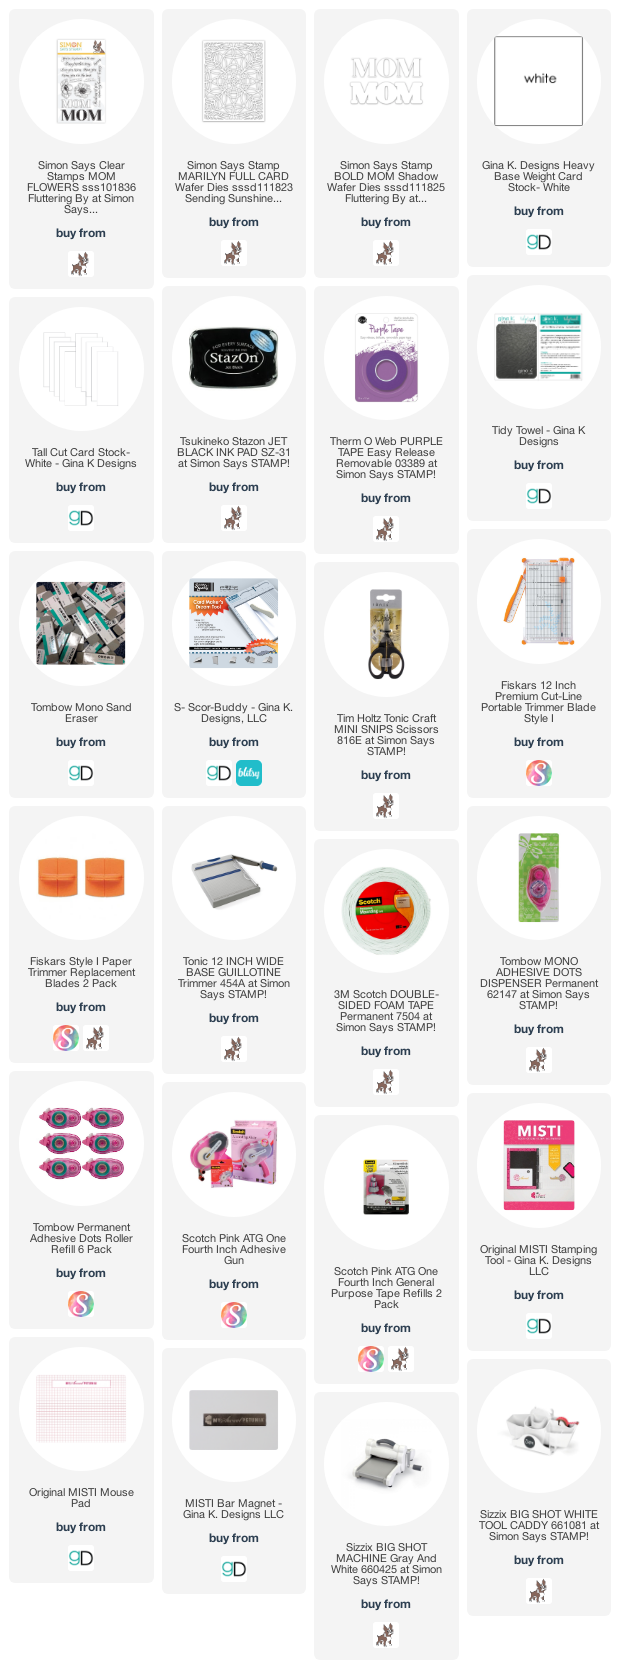
I am here with Rinea and I am sharing a Mother's Day card with you today. I hope you all have had a chance to get your mother's day cards done and are in the mail by now. I am using the Rinea Blush/Blush Starstruck Foiled Paper, Fuchsia/Fuchsia Starstruck Foiled Paper, Violet/Gold Glossy Foiled Paper, Lavendar/Gold Glossy Foiled Paper and Arctic/Gold Glossy Foiled Paper

Here is how I created my card.

1. My card is an A2 card measuring 4 1/4 x 5 1/2,

2. I cut the Rinea Blush/Blush Starstruck Foiled Paper to 4 1/4 x 5 1/2 and adhered it to my card,

3. I then die cut a background from the  Fuchsia/Fuchsia Starstruck Foiled Paper and adhered it to the card,

4. I then die cut the word mom  with  Violet/Gold Glossy Foiled Paper and Lavendar/Gold Glossy Foiled Paper  and used foam dots to adhered to the card,

5.  I stamped the sentiment with Black Stazon Ink, then die cut the sentiment with a stitched die.


Closer look of the card.


I hope you have been inspired by my project today. Thank you so much for stopping by, please come back again soon!


Rinea and Poppystamps - Butterflies

Saturday, April 4, 2020

Hello everyone!

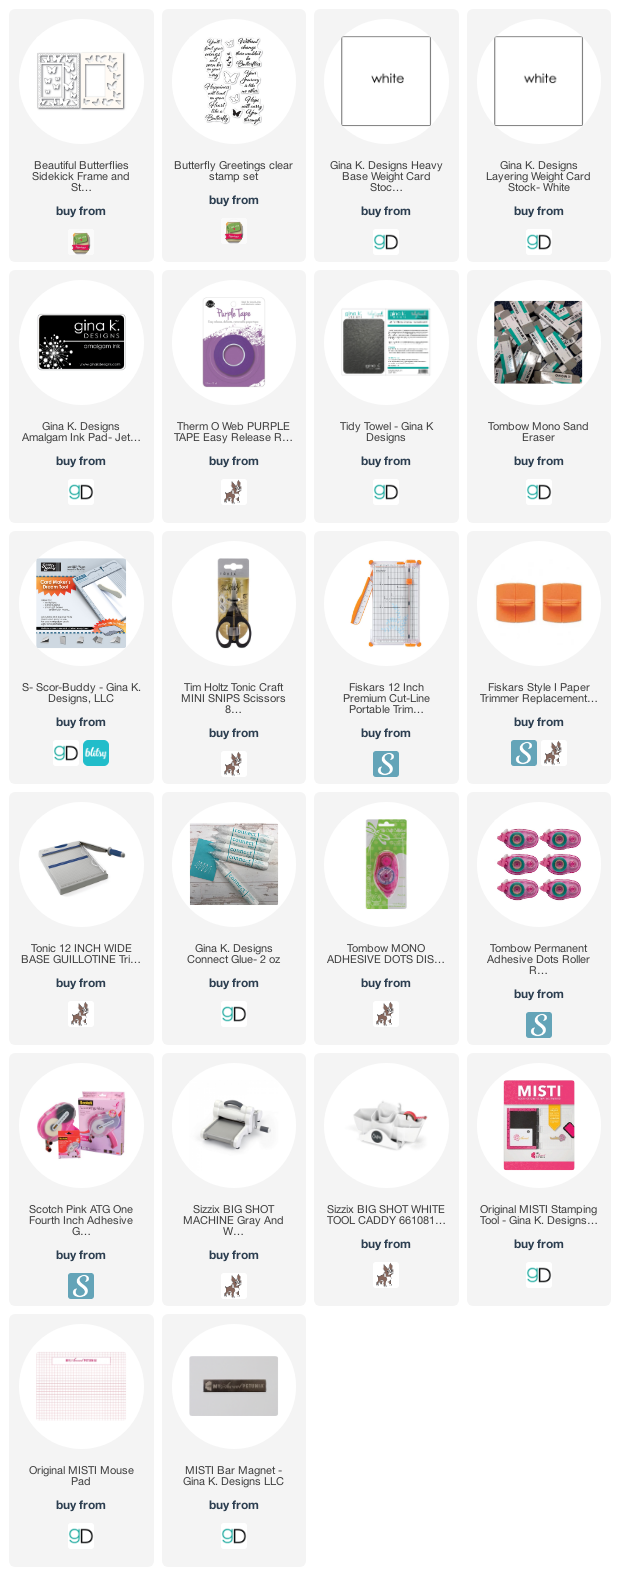
Welcome to the Rinea and Poppystamps collaboration! I'm so excited to be using Poppystamps products, I have been a fan for many years. I am using the Rinea Violet Starstruck, Blush StarstruckFrusha StarstruckLavender/Gold and Fuchsia/Gold foiled papers on my project today.

Here is how I created my project:

1.  My card is a top folding A2 card measuring 4 1/4 x 5 1/2.

2.  I used the Poppystamps Beautiful Butterflies Sidekick Frame and Stencil.  I used the Beautiful Butterflies Sidekick Frame to die cut the Frusha Starstruck foiled paper. I cut the Lavender/Gold  foiled paper at 4 x 5 to adhere it to the back of the sidekick frame.  I adhered both pieces to the cardbase.  

3.  I then die cut multiple butterflies from the Violet StarstruckBlush Starstruck and Frusha Starstruck foiled papers and randomly adhered them to the sidekick frame.  

4.  I stamped the sentiment from the Poppystamps Butterfly Greetings stamp set, adhered it to the sidekick frame with adhesive.  

I love how this card turned out.  I have been wanting this Butterfly Sidekick Frame for a while, so happy I was able to use it..


Closer look at the card.


I hope you have been inspired by my project today. Thank you so much for stopping by, please come back again soon!

Listed below are the products I used. Click on the link to go directly to the product. Where available I have used compensated affiliate links which means if you make a purchase I will receive a small commission at no extra cost to you. Thank you so much for your support!

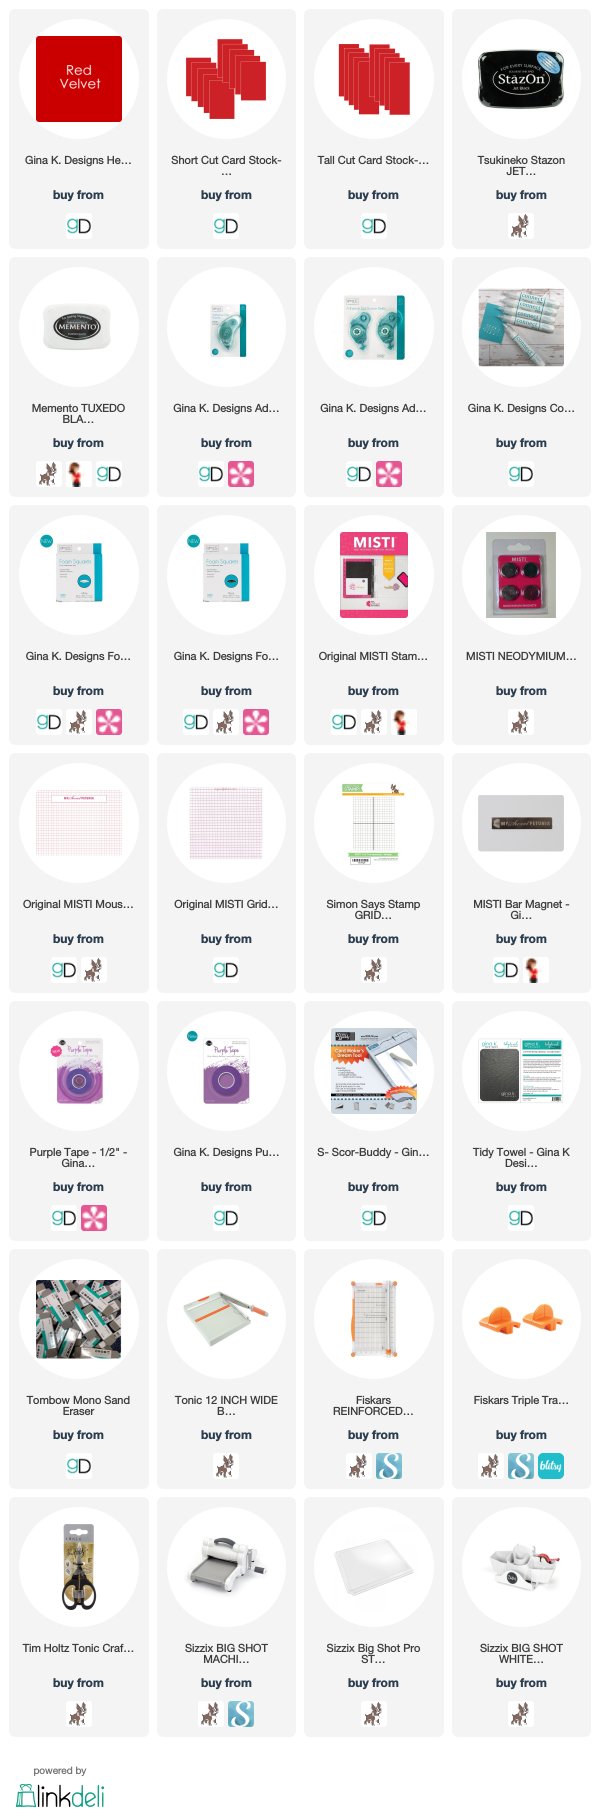
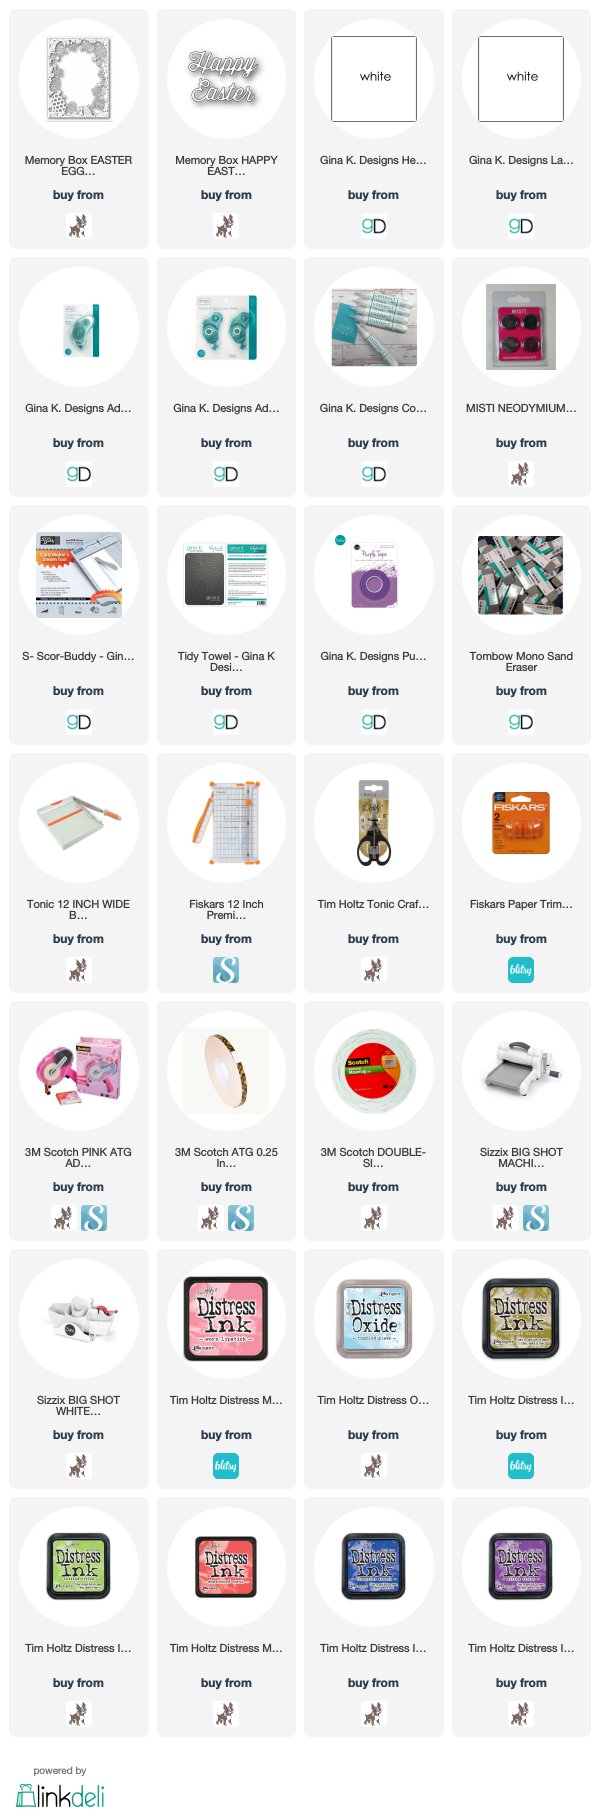
SUPPLIES USED:

Rinea - Spring

Saturday, March 21, 2020

Hello everyone!

I am here with Rinea and this month we are collaborating with Creative Embellishments. Creative Embellishments has chipboard, wood veneers and other crafty supplies. I am sharing a Spring card with you today. I am using the Rinea Blush Starstruck, Blush/Gold Glossy Solid Pack
Ebony Starstruck Solid Pack, Violet Starstruck Solid Pack, and Lavender/Gold Glossy Solid Pack.

Here is my card for inspiration.


Closer look at the card.  


Here is how I created my card.

1. My card is an A2 card measuring 4 1/4 x 5 1/2,

2. I die cut the top layer with Violet Starstruck Solid Pack, I cut a piece of Lavender/Gold Glossy Solid Pack the same size as the top layer and adhered it to the card base,

3. I then painted the tulips and the Spring word by Creative Embellishments with distress inks, I let it dry and added some Sheer Shimmer onto the tulips and leaves.  The picture doesn't show it very well, but the card is beautiful in person,

4. I then die cut the butterfly with Rinea Blush StarstruckBlush/Gold Glossy Solid Pack
Ebony Starstruck Solid Pack adhered the pieces together and adhered  it to my card.
I hope my card has inspired you.  I know in my area it is already feeling like Spring, the flowers are growing and looks like they will be blooming soon.

Thank you so much for stopping by, please come back again soon!

Listed below are the products I used. Click on the link to go directly to the product. Where available I have used compensated affiliate links which means if you make a purchase I will receive a small commission at no extra cost to you. Thank you so much for your support!

SUPPLIES USED:


Rinea - Our Wedding Day!

Wednesday, March 4, 2020

Hello everyone,

I am here with Rinea and this month we are collaborating with Creative Embellishments.  Creative Embellishments has chipboard, wood veneers and other crafty supplies.  Today I am sharing with you a mini heart album.  The album measures 6 x 5 and has 5 chipboard hearts, it's a perfect size to add pictures and reasonably priced!  For this project I am using Violet StarstruckBlush Starstruck, and Silver Starstruck foiled papers. 

Here is how I created my project.

1.  For the front of the mini heart album, I am using the Our Wedding Day words and Flourish Heart Frame 1.  I sprayed the chipboard pieces with Ranger Tim Holtz Distress Spray Stain Brushed Pewter (Metallic).  I set it aside to dry.

2.  I traced the Creative Embellishments chipboard hearts with a pencil onto the foiled papers.  I then cut them out and adhered the foil with liquid glue.

3.  After the glue was dried on the hearts, I used a crop-a-dile to add a hole on the left side of each heart.  

4.  I then added the embellishments to the front of the heart with liquid glue.

5.  To finish the mini album, I added the metal ring to put the album together.  

The album is already to add photos.  I think this would make a beautiful gift for anyone that has some wedding pictures to add.    


Here is what the pages look like in the book.  I alternated the Blush Starstruck, and Silver Starstruck foiled papers.  Love the colors!


I hope you have been inspired by my project today.  Thank you so much for stopping by, please come back again soon!

Rinea - Birthday Queen

Tuesday, February 4, 2020

Hello everyone!

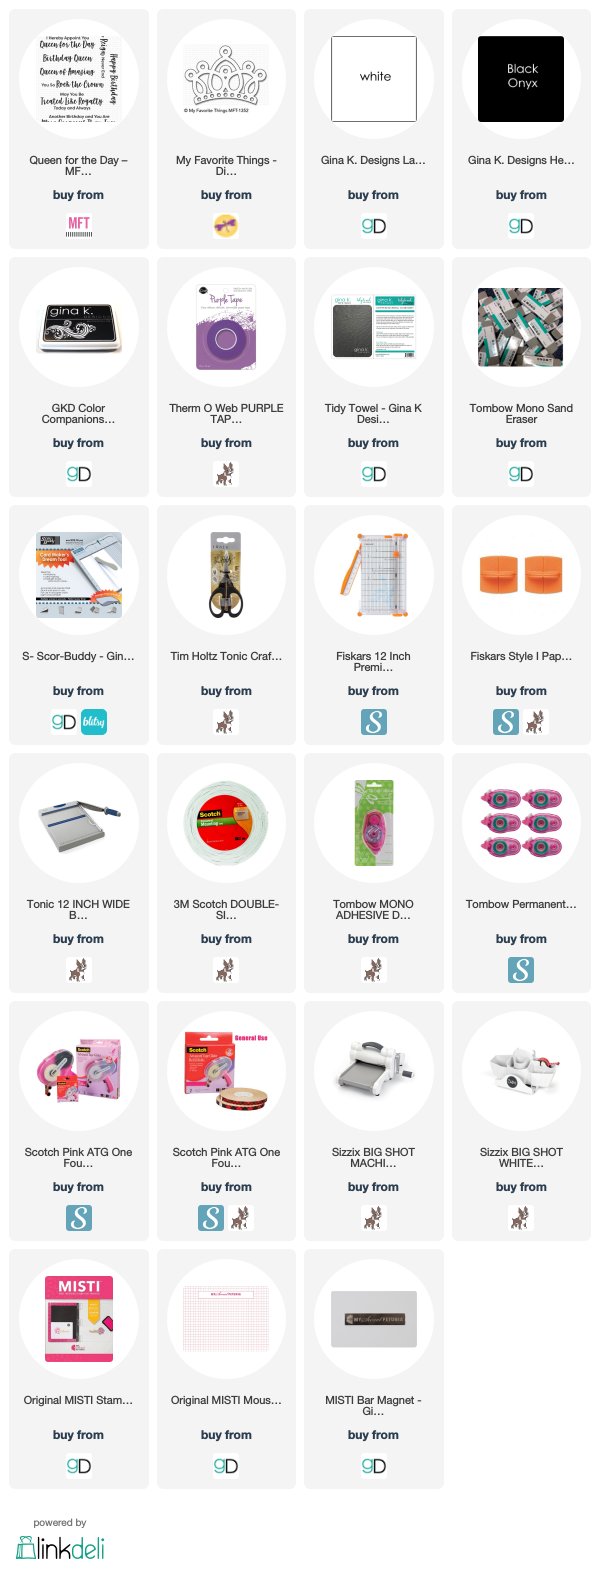
I am here with Rinea and I am sharing birthday card with you today. I am using the Rinea
Ebony/Ebony Starstruck Solid Packs & Rolls, Silver Starstruck Solid Pack,
Violet/Violet Starstruck Solid Packs & Rolls, and Lavender/Gold Glossy Solid Packs & Rolls

Here is how I created my card.

1. My card is an A2 card measuring 4 1/4 x 5 1/2,

2. I cut the Violet Starstruck Solid Pack paper to 4 1/4 x 5 1/2 and adhered it to my card,

3. I then die cut two circles one with  Ebony Starstruck Solid Pack  and another with Silver Starstruck Solid Pack, I adhered these circles together and added them to the base of my card,

4. I then die cut the crown with the  Lavender Glossy Solid Pack and adhered it to the card,

5. I  stamped the sentiment and added a layer from the Ebony Starstruck Solid Pack and added it to my card.

6.  To finish off the card, I added two rhinestones from my stash on each side of the sentiment.


Closer look at my card.


Thank you so much for stopping by, please come back again soon!

Listed below are the products I used. Click on the link to go directly to the product. Where available I have used compensated affiliate links which means if you make a purchase I will receive a small commission at no extra cost to you. Thank you so much for your support!

SUPPLIES USED:

Rinea - Warm Hugs

Tuesday, January 21, 2020

Hello everyone!

I am here with Rinea and I am sharing a cute Valentine card with you today.  I am using the Rinea Fushsia/Gold Glossy Solid Foiled Pack, Rinea Ebony/Gold Glossy Solid Foiled Pack and Rinea Silver/Gold Glossy Solid Packs & Rolls.

Here is how I created my card.

1.  My card is an A2 card measuring 4 1/4 x 5 1/2,

2.  I cut the Rinea Silver Pack paper to 4 1/4 x 5 1/2 and die cut it with a heart background and adhered it to my card,

3.  I then die cut the heart with Rinea Fushsia Foiled Pack and adhered it onto my card,

4.  I then die cut the "warm hugs" with Rinea Ebony Foiled Pack and Rinea Silver Paper and adhered them together,

5.  I then used a cute stamp set by Reverse Confetti and stamped the images and colored them with copics and used my scan and cut to cut them.  I stamped the sentiment from a stamp set from Altenew with versamark and heat embossed it with white embossing powder.  I used foam squares to adhere the images and the "warm hugs" to my card.


Closer look at my card.


Thank you so much for stopping by, please come back again soon!

Listed below are the products I used. Click on the link to go directly to the product. Where available I have used compensated affiliate links which means if you make a purchase I will receive a small commission at no extra cost to you. Thank you so much for your support!

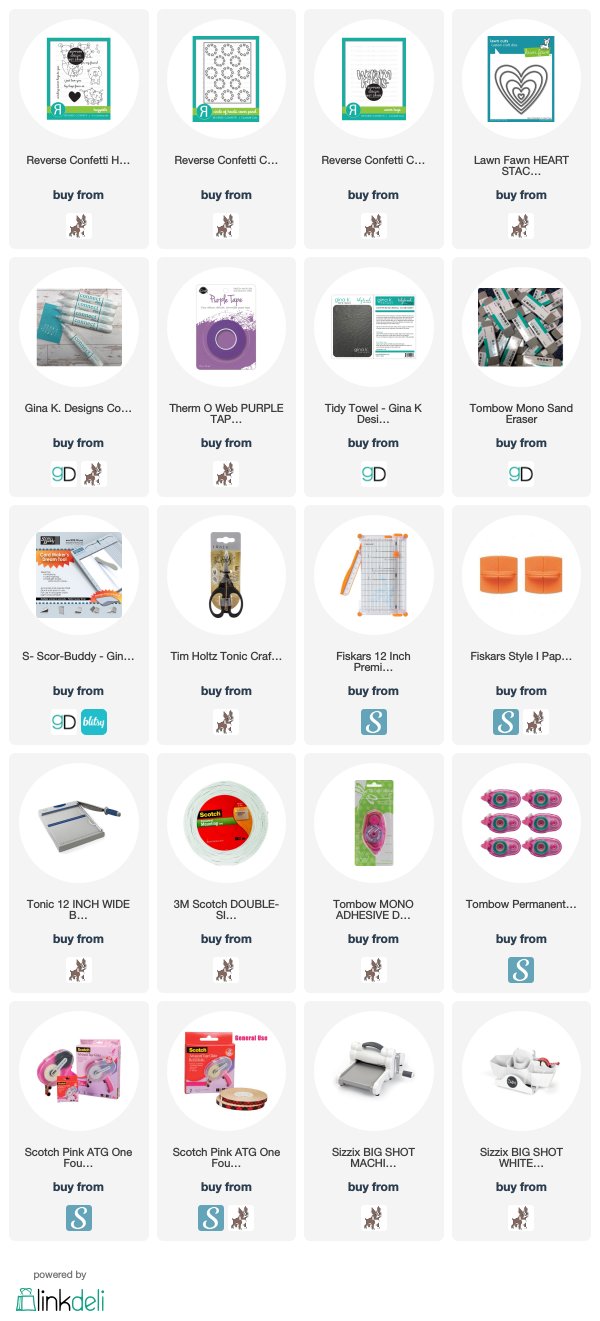
SUPPLIES USED:

Rinea - Just for You

Saturday, December 21, 2019

Happy Holiday's everyone!

It's almost Christmas, I hope everyone that celebrates is ready and will enjoy your family this holiday season!  I am here with Rinea to share a gift idea for the holiday season or this idea can be used for any occasion.  Here are the Rinea Foiled papers I used on my project:  Rinea Ruby Starstruck Solid Pack, Rinea Silver Starstruck Solid Pack , Rinea Ruby/Gold Glossy Solid Pack and the Rinea Emerald/Gold Glossy Solid Pack.  Listed below are all the supplies I used on this project.

Here is how I put my card together.  These pillow boxes can be used to put gift cards inside, candy for favors or even jewelry as a gift.  I love how these turned out and will be great to put gifts in for the holiday season.

1.  I first die cut the pillow box with the Rinea Ruby Starstruck Solid Pack and belly band that is around the box with Rinea Silver Starstruck Solid Pack and adhered them together with some strong adhesive,


2. I then die cut the layers of the poinsettia with Rinea Ruby/Gold Glossy Solid Pack and the leaves with Rinea Emerald/Gold Glossy Solid Pack.  I then added the flower with liquid glue,


3.  I had these 3 x 3 note cards in my stash I die cut the words "just for you"  from the Rinea Ruby/Gold Glossy Solid Pack and Rinea Silver Starstruck Solid Pack and adhered it to the card.  These will be perfect to add a note to give the gift to a special person.


Here is a view just of the pillow boxes.


Thank you so much for stopping by, I wish all of you a very Merry Christmas and a Happy New Year!

Listed below are the products I used. Click on the link to go directly to the product. Where available I have used compensated affiliate links which means if you make a purchase I will receive a small commission at no extra cost to you. Thank you so much for your support!

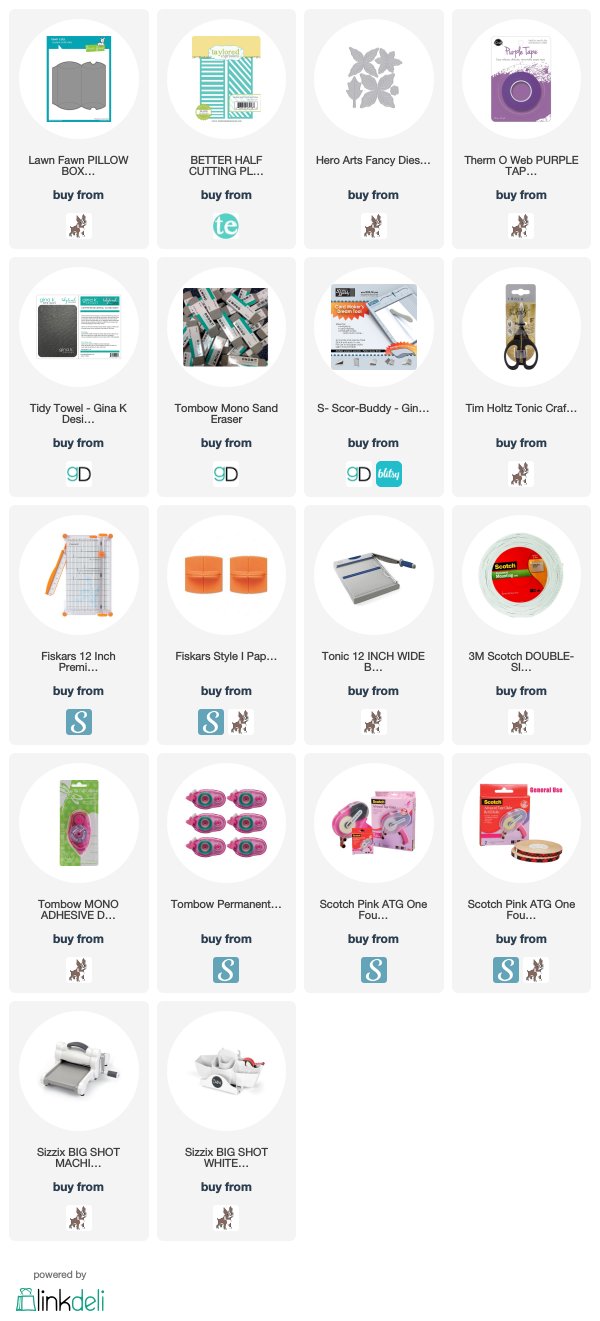
SUPPLIES USED:


Rinea - Happy Birthday

Monday, October 21, 2019

Hello everyone!

I am here with Rinea with a birthday card to share.  I am using the Rinea Fushsia/Gold Glossy Solid Foiled Pack, Rinea Ebony/Gold Glossy Solid Foiled Pack , Rinea Blush/Blush Starstruck Foiled Paper, Rinea Lavendar/Lavender Starstruck Solid Paper, and Rinea Violet/Violet Starstruck Solid Starstruck paper.

Here is how I put my card together:

1. My card measures 4 1/4 x 4 1/4,

2.  The first layer is Rinea Ebony/Gold Glossy Solid Foiled paper, which measures 4 x 4, the next layer I used Rinea Fushsia/Gold Glossy Solid Foiled  paper which measures 3 7/8 x 3 7/8,

2. I die cut the three layers of the lotus flower with Rinea Blush/Blush Starstruck Foiled PaperRinea Lavendar/Lavender Starstruck Solid Paper, and Rinea Violet/Violet Starstruck Solid Starstruck paper,.  I used liquid glue to adhere the layers.

3. I stamped the sentiment on black card stock and heat set the words with white embossing powder, I added the sentiment to my card with foam tape.


Closer look at my card.


Thank you so much for stopping by, please come back again!

Rinea - Peacock Frame

Friday, October 4, 2019

Hello everyone!

I am here with Rinea with a cute frame that I created using the peacock as the vocal image. To create the peacock I had to cut many layers. The background I used the Rinea Violet/Gold Glossy Solid Foiled Pack. The layers on the peacock are Rinea Sapphire/Gold Glossy Solid Foiled Pack, Rinea Lavendar/Gold Glossy and Solid Foiled Pack, Rinea Blush Gold Glossy Solid Foiled Pack.


Here is how I put my frame together:

1. The frame is a 6x6 frame with a 5x5 opening,

2. I cut a piece of the Rinea Violet/Gold Glossy Solid Foiled  paper to 5x5, I used a stencil I had with peacock feathers and ran it through my die cutting machine  I die cut the pieces of the peacock and used liquid glue to put it together.  I then adhered the peacock in the center of the frame.  After everything was dried I added the glass to the frame.

Here is a closer look:


Thank you so much for stopping by, please come back again soon.

Rinea and Imagine Collaboration - Congratulations Friend

Wednesday, August 21, 2019

Hello everyone!

Welcome back to the Rinea and Imagine collaboration. I am using the Foiled Papers from Rinea on my project which are Sapphire/Gold Glossy Foiled Paper, Turquoise/Turquoise Starstruck Foiled Paper doily, Sapphire/Sapphire Starstruck Foiled Paper, Jade/Gold Glossy Foiled Paper - top doily
and Ebony/Gold Glossy Foiled Paper. Imagine StazOn Pigment Piano Black for the sentiment, I used the Imagines' jumbo round sponge dauber to ink the background of the sentiment with StazOn Mariner Blue.


Closer look at my project


Here is how I put my project together:

I started out with this small oval box, I cut all the elements I needed to cover the oval box.


I glued all the elements the box with liquid glue.


Here is how the box looked covered.


The doily on top of the box I die cut it with Jade/Gold Glossy Foiled Paper, I added the multipurpose adhesive to the back of the Jade/Gold Glossy Foiled Paper so it would adhere it to my box easy.


Thank you for stopping by, please come back soon!

Supplies Used, Affiliate Links used at no additional cost to you. Thanks for your support!

Rinea - Thanks!

Wednesday, July 24, 2019

Hello everyone!

I'm here with Rinea with another beautiful project created with the Rinea foiled papers.  I have created a thank you card that I have created using various die cuts.  Die cuts are so easy to use with the foil papers and makes beautiful projects.

Here is how I created my project.

1.  I cut the Silver/Gold Glossy foiled paper with a stitched rectangle die, I then die cut the butterfly several times using Fuchsia/Gold Glossy, Ebony/Gold Glossy, Violet/Gold Glossy and Jade/Gold Glossy Solid foiled papers, because I pieced the colors into the butterfly, after I got all the pieces back in I cut a piece of Ebony/Gold Glossy solid foiled paper and adhered the butterfly piece to it and mounted it to an A2 top folding card base. 

2.  I die cut the thanks with Ebony/Gold Glossy and Fuchsia/Gold Glossy foiled paper and adhered them together with liquid glue, I adhered it to my card,

3.  I then stamped the sentiment with versafine, and heat embossed it with white embossing powder and die cut it and adhered it to my card with foam tape.


Closer look at my card.


Thank you so much for stopping by, please come back again soon!

Supply List (affiliate links used):

Rinea - Land of the Free

Thursday, July 4, 2019

Happy Independence Day everyone!

I  hope all of you who celebrate the 4th of July are enjoying family and frineds and having good food!  I am here with Rinea sharing a project I created using the Rinea foils.  I had this angel in my stash made by Clear Scraps called "Angel Mini Wood Pallet" and I used the Rinea Patriotic Foiled Paper Variety Pack using the Starstruck foiled papers.  I love how my project turned out. 

Here is how I put it together:

1.  I started from the top and cut my foils to cover the wooden piece.  I used glue to adhere the pieces. 

2.  I stamped the image from the Joy Clair Happy Fourth and die cut it with a circle die, I then cut another circle die using the Starstruck blue foiled paper and adhered it to my stamp piece.  I added some stickles and stars to finish my project.


Closer look:


Thank you so much for stopping by, please come back again soon!


Rinea - Happy Mother's Day

Thursday, April 4, 2019

Hello everyone!


I am here with Rinea and I am sharing a Mother's Day card with you today.  The foiled papers make some really beautiful cards and it's perfect for a Mother's Day card.  How many of you have made your mother a mother's day card? 
Here is how I created my card:
1.  My card is an A2 size card (4 1/4 x 5 1/2)
2.  I die cut the Ebony foiled with a scalloped die, 
3.  I then cut a piece of the Ruby foiled paper and used a stamp to stamp on the foil, I used black StazOn Ink.  I let this dry for about 20 minutes before I adhered it to my card,
4.  I then stamped the sentiment  and die cut it out with a stitched fishtail die on white cardstock and adhered it to my card using foam tape.  

Here is another view of the card, showing how nice and clear stamping is on the foiled paper. 


Thank you so much for stopping by, get busy making your mom a Mother's Day Card. 

Listed below are the products I used. Click on the link to go directly to the product. Where available I have used compensated affiliate links which means if you make a purchase I will receive a small commission at no extra cost to you. Thank you so much for your support!


Supplies Used:


Rinea - Easter

Monday, March 4, 2019


Hello everyone!

I am here with Rinea sharing with you an Easter card.  On my card today, I am using the Rinea Pastels Foiled Paper Variey Pack using the Starstruck Lavender color on the frame of the card. The sentiment is from the Rinea Fuchsia Foiled Paper.  I just love the pastel colors in this paper pack.

Here is my card:

My card is an A2 card, I die cut the frame with the Starstruck Lavendar paper from the Rinea Pastels Foiled Paper Variey Pack .  I then used some distress inks in the background and used liquid glue to adhere the frame to my card.  I then die cut the words with Rinea Fuchsia Foiled Paper and adhered it to my card.  To finish my card off I added some sequin from my stash.


Thank you so much for stopping by, please come back again soon!

I’m listing the products I used below. Click on the link to go directly to the product. Where available I have used compensated affiliate links which means if you make a purchase I receive a small commission at no extra cost to you. Thank you so much for your support!

Supplies Used:

Rinea - You're Invited

Thursday, February 21, 2019

Hello everyone!

I am here with Rinea, all month long we will be collaborating with Crackerbox & Suzy Stamps!  I hope you have enjoyed all the projects the design team has created.  Make sure to stop over at each blog.

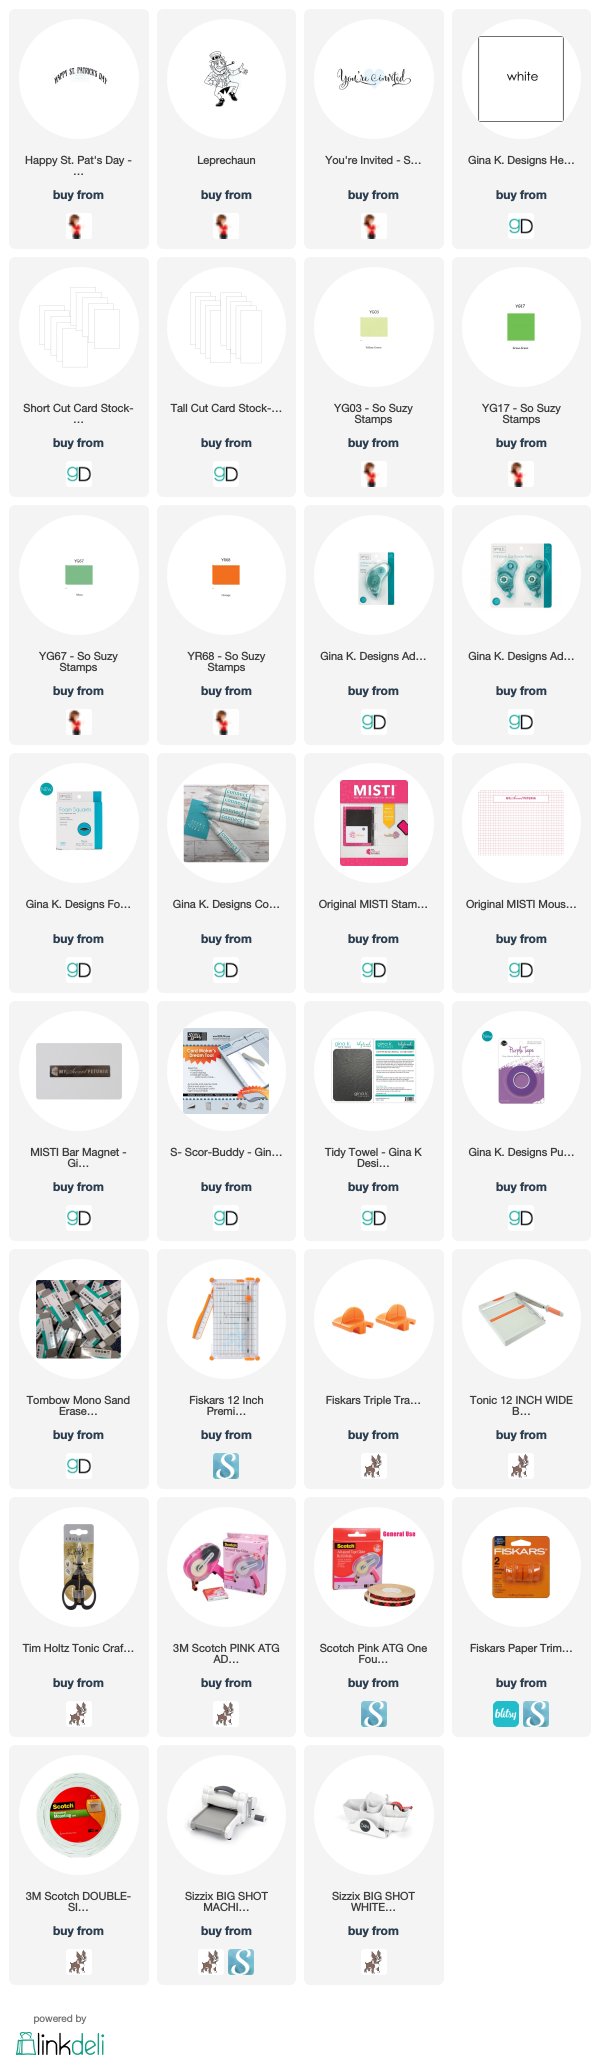
Now onto my card, I am using the Rinea Peacock Foiled Paper Variety Pack.  The foiled papers that are in this pack are beautiful!  The stamps I have used on my card are all from Crackerbox and Suzy Stamps which are "Happy St. Pat's Day" is the sentiment, the invitation stamp is called "You're Invited" and the image is called "Leprechaun".


My card is an A2 card, I used the Peacock Foiled Paper Variety Pack using the light green color.   I die cut a circle and stamped the Crackerbox and Suzy Stamps  "Happy St. Pat's Day"  I then cut a larger circle with black foiled paper and adhered it to the smaller circle.  I stamped the Leprechaun, and cut it with my scan and cut, and colored it with copics.  I stamped the You're Invited stamp on white cardstock and added it to my card.

Closer look


Thank you so much for stopping by, please come back again soon!

I’m listing the products I used below. Click on the link to go directly to the product. Where available I have used compensated affiliate links which means if you make a purchase I receive a small commission at no extra cost to you. Thank you so much for your support!

Supplies Used:

Thinking of You - Rinea and Crackerbox & Suzy Stamps

Tuesday, February 12, 2019

Hello everyone!

I am here with  Crackerbox & Suzy Stamps all month we are collaborating with Rinea.  I hope you have been enjoying all the beautiful creations with the foiled papers from Rinea paired with Crackerbox & Suzy Stamps.

Here is my card for your inspiration.


Here is how I created my card:

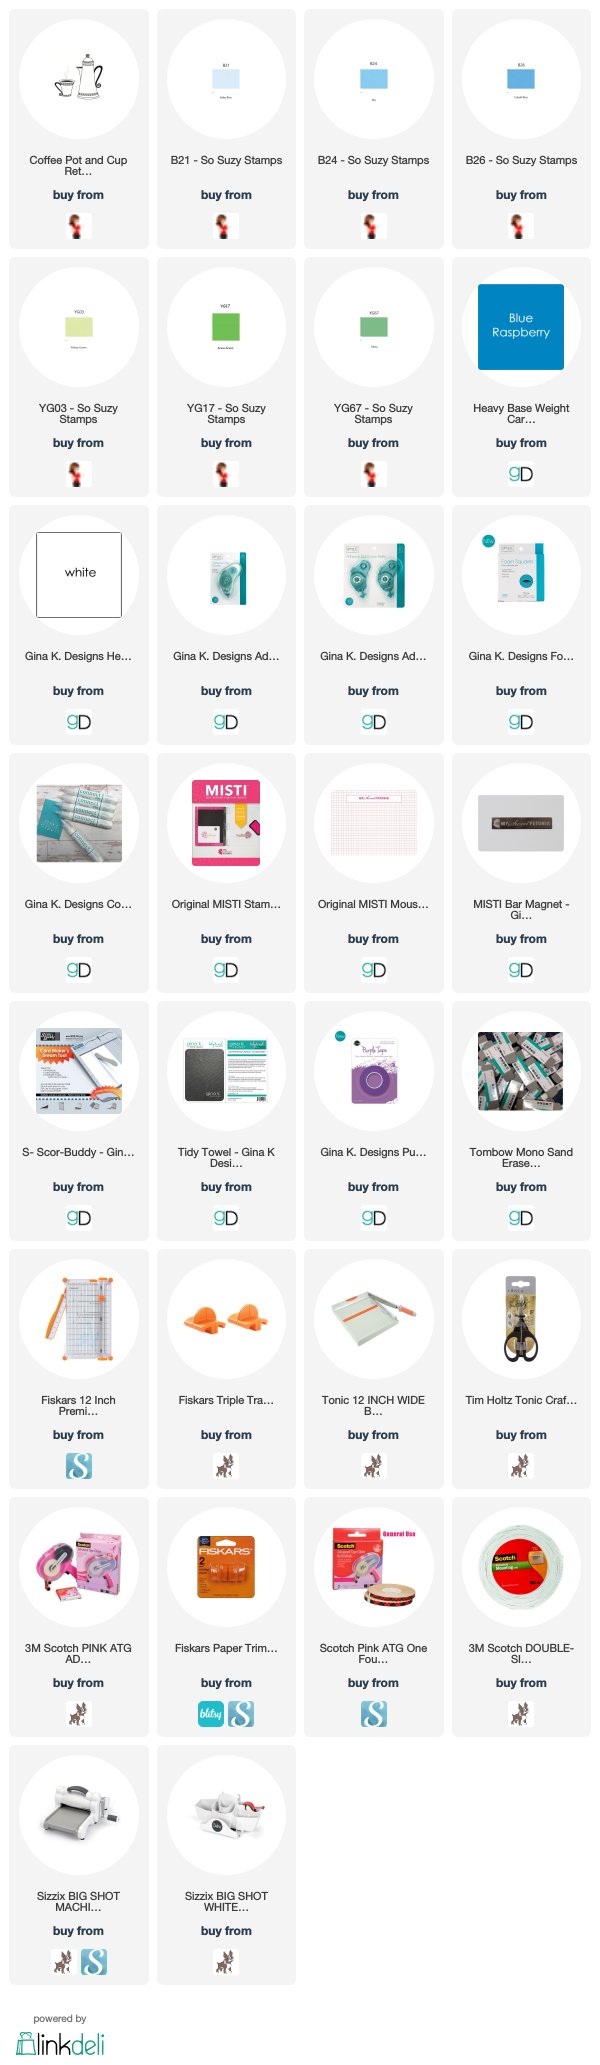
I am using the Crackerbox & Suzy Stamps "Coffee Pot and Cup Retro" set.  I colored them with copics and used my scan and cut to cut them out.  I used the Rinea Peacock Foiled Paper Variety Pack, I die cut the different colors from the Peacock foiled papers and added the stripes onto some card stock and then die cut the stripes.  I added some adhesive to the paper of the paper and added it to my card.

Thank you so much for stopping by, please come back again soon!

I’m listing the products I used below. Click on the link to go directly to the product. Where available I have used compensated affiliate links which means if you make a purchase I receive a small commission at no extra cost to you. Thank you so much for your support!
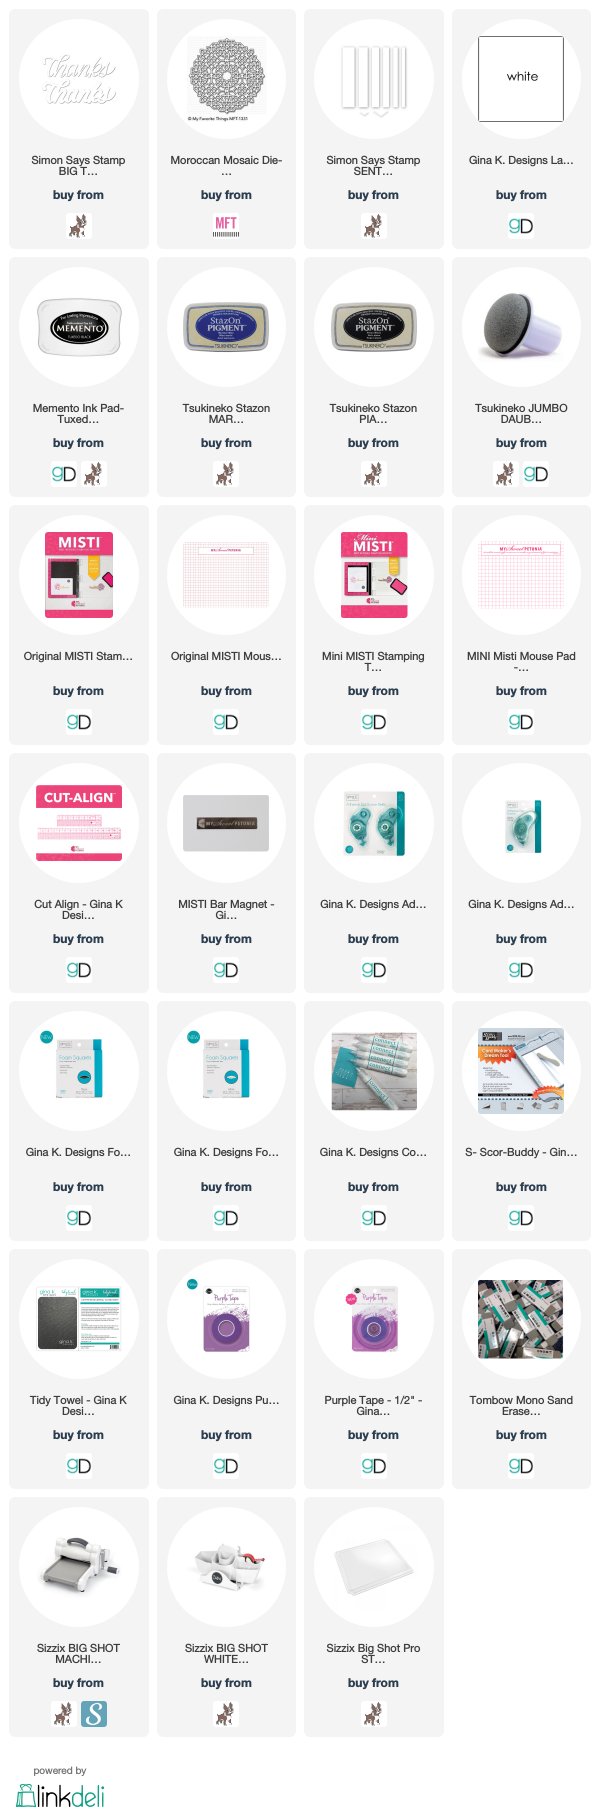
Supplies Used:
 
Made With Love By The Dutch Lady Designs
Follow Me on Pinterest