Gina K. Designs Card Kit - NEW January 2020 Release - Day 3

Wednesday, January 29, 2020

Hello everyone!

Welcome to Day 3 of Gina K. Designs January 2020 Card Kit blog hop!   I hope you have been inspired by the illustrator's blog hop for the last two days.  You should be coming here from Cathy Tidwell's blog and your next stop will be Hannah Drapinski.  If you get lost along the way, you can get the full list over at Gina K. Designs blog. The release is now available over at Gina K. Designs and can be found HERE under the "what's new" tab. Today the design team is featuring the A Big Hello Card Kit.

There is a prize up for grabs for each day of the hop. Just leave a comment on each stop of the hop for a chance to WIN a $50 Gina K. Designs gift certificate! A total of THREE certificates will be awarded. The winners will be announced over in Gina K. Designs blog.


Scripty Encouragment incentive set
(free with a $75 order)


My first card I created I used the stamp set Happy Herb, my card is an A2 card.  I stamped the pots three times and colored them with copics.


My next card I created with the A Big Hello stamp set.  I believe this is my favorite set by far.  I love the bold scripty hello die that I can see using on many of my cards.  For my card, I cut a panel 3 7/8 x 5 and used the Heartfelt stencil from the kit using the Glitz Glitter Gel Red Velvet, I set it aside and stamped the hello with GKD embossing and watermark ink, added GKD detailed white embossing powder and heat embossed.  I fuzzy cut the hello and added some foam squares and adhered it to the card.  I then stamped and heat embossed the sentiment from the Scripty Encouragement incentive set that you can get free with a $75 order.


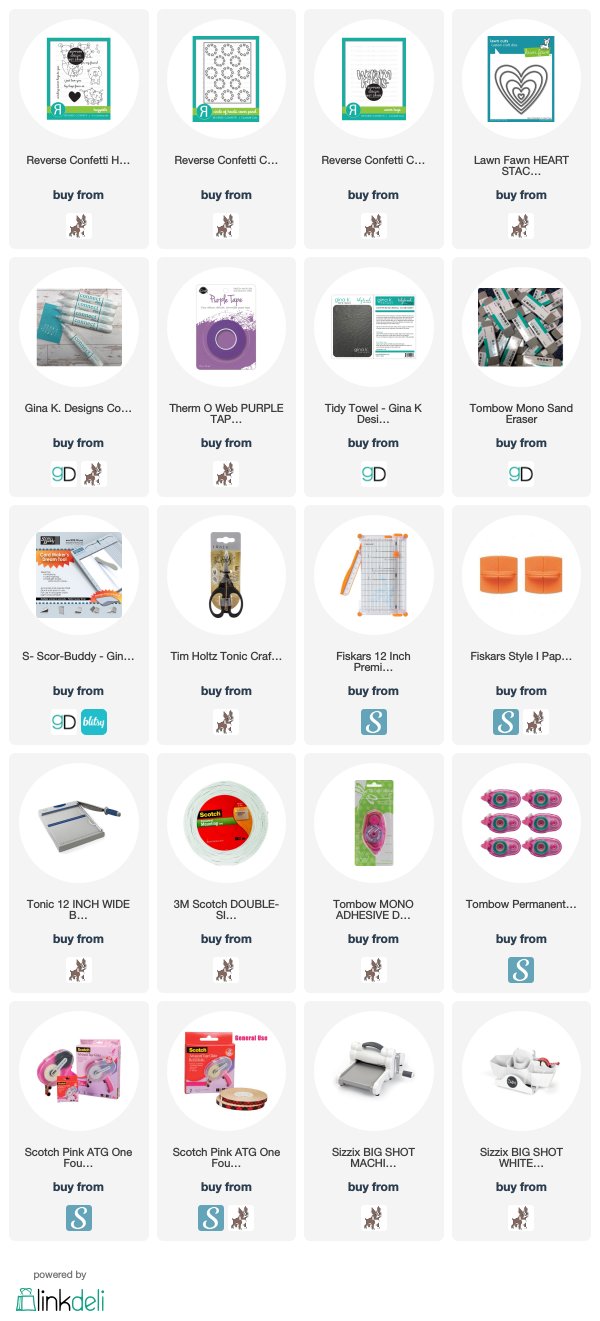
My last card, I created using the Friendship Hearts stamp set.  To create the background I used the Heartfelt stencil from the kit, I used the life changing blender brushes with GKD Red Velvet ink.  I then stamped the sentiment, I die cut the sentiment with the GKD singled rectangle die set, and framed the sentiment with black cardstock with the GKD double stitched rectangle die set.  I adhered this to the base of my card.


I hope you have been inspired! Please stop over to Facebook page for more inspiration! Come back tomorrow for Day 3 for the Gina K. Designs January 2020 Illustrator blog hop. Don't forget your NEXT stop will be Karen Hightower. If you get lost or looking for the full hop list you can find it over on the Gina K. Designs blog.

NEW RELEASE PRODUCTS AND OTHER ITEMS I USED ON MY CARDS (affiliate links):
 

Gina K. Designs - January 2020 New Release Blog Hop - Day 2

Tuesday, January 28, 2020

Hello everyone!

Welcome to Day 2 of Gina K. Designs January 2020 Illustrator blog hop! You should be coming here from Cathy Tidwell's blog and your next stop will be Karen Hightower.  If you get lost along the way, you can get the full list over at Gina K. Designs blog. The release is now available over at Gina K. Designs and can be found HERE under the "what's new" tab. Today the design team is featuring Be the Rainbow illustrated by Emily Loggans, Massive Peony illustrated by Hannah Schroepfer Drapinski and You Anchor Me illustrated by Lisa Hetrick.

There is a prize up for grabs for each day of the hop. Just leave a comment on each stop of the hop for a chance to WIN a $50 Gina K. Designs gift certificate! A total of THREE certificates will be awarded. The winners will be announced over in Gina K. Designs blog.

Here are the first three stamp sets and dies the design team will be featuring today!


Here are my cards for inspiration.

All my cards I'm showing today is an A2 card measuring 4 1/2 x 5 1/2.  I used some markers to color the stamp from the Be the Rainbow by Emily Loggans.  I used my Misti so I could get a clean and clear image.  I stamped the cloud from the Be the Rainbow set and then stamped it again and fuzzy cut it and used foam squares to pop it up on my card.  I cut the sentiment and stamped it onto my card.


My next card I am using the Massive Peony by Hannah Schroepfer Drapinski.  I stamped the image using Gina K. Designs Amalgam Jet Black ink.  I die cut the floral image with the matching die.  I colored the image with copics (YG03, 17, 67, B24, 26, 28, R81, 83, 85) .  The black and white paper is from Gina K. Designs pattern paper petite patterns.  I had a piece of foiled paper in my scraps I cut a 1/4 inch stripe and added it to my card.  The sentiment is from the Gina K. Designs stamped set Embroidered Flowers.  


I am using Gina K. Designs Stormy Sky cardstock.  I am using the You Anchor My Soul stamp set, I stamped the Anchor with Gina K. Designs ink Soft Stone, I die cut the images and colored the flower and leaves with copics (Y13, 17, 19, YG03, 17, 67) and stamped the berries with Cherry Red.  I adhered the flower and sentiment with Gina K. Designs Foam Squares.


I am using the You Anchor My Soul stamp set again.  I showed this card on release night.  I embossed the anchor with Gina K. Designs Fine Detail embossing powder, I stamped and die cut the images, I colored the flower with copics (B24, 26, 28).  I fuzzy cut the word "soul" and used some wink of stella and glossy accent on the word for dimension.  I stamped the sentiment with Gina K. Designs embossing and watermark ink, used Gina K. Designs fine detail white embossing powder and heat set it.  I used some white splatter on the background.


I hope you have been inspired! Please stop over to Facebook page for more inspiration! Come back tomorrow for Day 3 for the Gina K. Designs January 2020 Illustrator blog hop. Don't forget your NEXT stop will be Karen Hightower. If you get lost or looking for the full hop list you can find it over on the Gina K. Designs blog.

NEW RELEASE PRODUCTS AND OTHER ITEMS I USED ON MY CARDS (affiliate links):

Retro Rubber Challenge #127 - Thank You

Tuesday, January 28, 2020

Hello everyone!

I am here with Retro Rubber Challenge blog and we have a new challenge, which is one of my favorite's, Tic Tac Toe challenge.  I used the 4x4, die cut and thanks for my tic tac toe that I am sharing with you today. 


If you have not joined our challenges before, the rules are very simple, just use a stamp older than a year and you must include the age (or approximate age) of the stamp in your blog post. I cannot wait to see you take on it.

My card, I did not use a stamp on my card, the die cut is a Simon Says Stamp die called Thank You Script Shadow Wafer Die that was released in December 2018.

Here is my card for your inspiration.

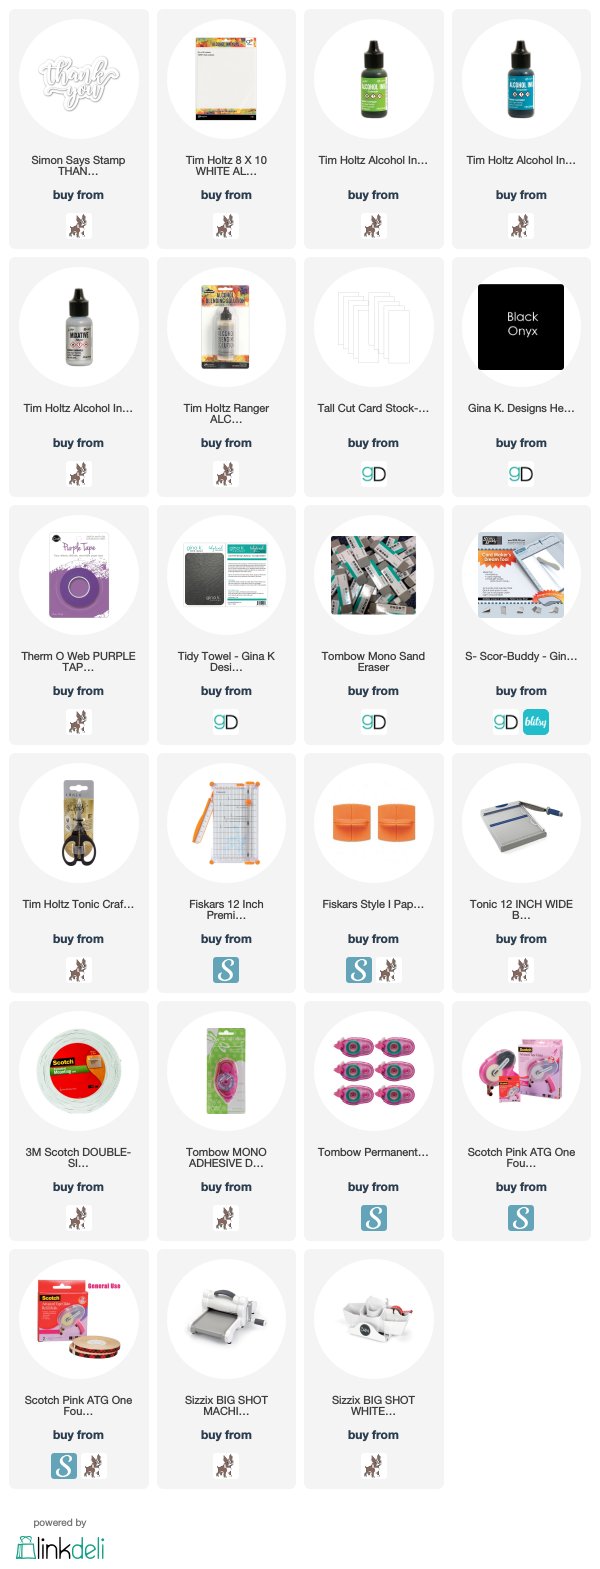
I love making backgrounds so when I need a card I have them already to go.  I made this background by using alcohol inks with Yupo paper.  I cut the piece to 4 x 4 and put it on a card base measuring 4x4.  I then die cut the Thank You Shadow with black cardstock and then cut the script thank you with the alcohol ink background.  I used foam tape to pop this up on my card.


Thank you so much for stopping by, I hope you will play along with the Retro Rubber Challenge Blog.

Listed below are the products I used. Click on the link to go directly to the product. Where available I have used compensated affiliate links which means if you make a purchase I will receive a small commission at no extra cost to you. Thank you so much for your support!

SUPPLIES USED:

Gina K. Designs - January 2020 New Release Blog Hop - Day 1

Monday, January 27, 2020

Hello everyone!

Welcome to Day 1 of Gina K. Designs January 2020 Illustrator blog hop! You should be coming here from Cathy Tidwell's blog, if you get lost along the way, you can get the full list over at Gina K. Designs blog. The release is now available over at Gina K. Designs and can be found HERE under the "what's new" tab. Today the design team is featuring Embroidered Flowers illustrated by Melanie Muenchinger and Happy Hearts illustrated by Beth Silaika.

There is a prize up for grabs for each day of the hop. Just leave a comment on each stop of the hop for a chance to WIN a $50 Gina K. Designs gift certificate! A total of THREE certificates will be awarded. The winners will be announced over in Gina K. Designs blog.

Here are the first two stamp sets and dies the design team will be featuring today!


Here are my cards for your inspiration.

My first card I created is from the Embroidered Flowers illustrated by Melanie Muenchinger.  My card is an A2 card using Gina K. Designs Kraft and Plum Punch cardstock.  I stamped the flower image with Gina K. Designs Plum Punch ink, the leaves and stem I stamped in Gina K. Designs Grass Green ink.


This card measures 4 1/4 x 4 1/4, I stamped the heart images from the Happy Hearts illustrated by Beth Silaika.  I used Gina K. Designs black onyx ink and red velvet to stamp the hearts.


I hope you have been inspired! Please stop over to Facebook page for more inspiration! Come back tomorrow for Day 2 for the Gina K. Designs January 2020 Illustrator blog hop. Don't forget your NEXT stop will be Hannah Drapinski. If you get lost or looking for the full hop list you can find it over on the Gina K. Designs blog.

NEW RELEASE PRODUCTS AND OTHER ITEMS I USED ON MY CARDS (affiliate links):

Crackerbox & Suzy Stamps - Happy Valentine's Day

Tuesday, January 21, 2020

Hello everyone!

I’m here with Crackerbox & Suzy Stamps featuring the Valentine's Day Small rubber stamp.  Crackerbox has lots of new incentives for you this year, please be sure to click here to find out all about it.

Here is my card for your inspiration:

This month’s theme is clean and simple and I have another one to share. My card measures 4 1/4 x 5 1/2. I die cut a background stamp from my stash in two shades of pink.  I glued them together and adhered them to my card.  I then stamped the sentiment on some pink card stock and die cut it with a heart die and adhered it to my card with foam squares. 


Closer look at my card.  


Thank you so much for stopping by, please come back again soon!

Here is the current promotion going on at Crackerbox & Suzy Stamps.


Rinea - Warm Hugs

Tuesday, January 21, 2020

Hello everyone!

I am here with Rinea and I am sharing a cute Valentine card with you today.  I am using the Rinea Fushsia/Gold Glossy Solid Foiled Pack, Rinea Ebony/Gold Glossy Solid Foiled Pack and Rinea Silver/Gold Glossy Solid Packs & Rolls.

Here is how I created my card.

1.  My card is an A2 card measuring 4 1/4 x 5 1/2,

2.  I cut the Rinea Silver Pack paper to 4 1/4 x 5 1/2 and die cut it with a heart background and adhered it to my card,

3.  I then die cut the heart with Rinea Fushsia Foiled Pack and adhered it onto my card,

4.  I then die cut the "warm hugs" with Rinea Ebony Foiled Pack and Rinea Silver Paper and adhered them together,

5.  I then used a cute stamp set by Reverse Confetti and stamped the images and colored them with copics and used my scan and cut to cut them.  I stamped the sentiment from a stamp set from Altenew with versamark and heat embossed it with white embossing powder.  I used foam squares to adhere the images and the "warm hugs" to my card.


Closer look at my card.


Thank you so much for stopping by, please come back again soon!

Listed below are the products I used. Click on the link to go directly to the product. Where available I have used compensated affiliate links which means if you make a purchase I will receive a small commission at no extra cost to you. Thank you so much for your support!

SUPPLIES USED:

Retro Rubber Challenge Blog #126 - It's Cold Outside

Tuesday, January 14, 2020

Hello everyone!

I am here with Retro Rubber Challenge blog and we have a new challenge, which is to create a winter themed card.  I don't know about the area you live in, but it was 70 degrees in my area, which is not normal.   So I can't say it is cold outside, I'm not going to worry about it, because I know the cold will be here soon.


If you have not joined our challenges before, the rules are very simple, just use a stamp older than a year and you must include the age (or approximate age) of the stamp in your blog post. I cannot wait to see you take on it.

Here is my card for your inspiration.  

The stamp I used is from La La Land Stamps and the rubber stamp set called "Polar Bears" it was released in December 2017.

My card is an A2 card, the DSP is cut at 4 x 5 1/4, I hand cut the snowbank, colored the polar bears with copic and cut them out with my scan and cut.  I popped them up on my with foam tape.  I stamped the sentiment from the same stamp set, and die cut it with an oval die, cut the side off and added it to my card.


Thank you so much for stopping by, I hope you will play along with the Retro Rubber Challenge Blog.

Crackerbox & Suzy Stamps -

Sunday, January 12, 2020

Hello everyone!

I’m here with Crackerbox & Suzy Stamps featuring the Flower Florish and Hugs and Kisses stamps.  Crackerbox has lots of new incentives for you this year, please be sure to click here to find out all about it.

Here is my card for your inspiration:

This month’s theme is clean and simple and I have another one to share.  My card measures 4 1/4 x 5 1/2.  I die cut a stitched rectangle die and embossed the Flower Florish with white embossing powder.  I then stamped the Hugs and Kisses on black card stock and embossed it with white embossing powder.  I finished off my card by adding some sequins from my stash.


Closer look at the card:


Thank you so much for stopping by, please come back again soon!

Here is the current promotion going on at Crackerbox & Suzy Stamps.


Joy Clair Stamps - I Adore You!

Thursday, January 9, 2020

Hello everyone,

I am here with Joy Clair stamps to share with you a Valentine's Day card or you can use it for a friend or family member to let them know you love and adore them.  I am using the Joy Clair Stamp sets, Valentine Background Builder, Best Buds and Love Quotes.   If you have not check their website, they have some very nice Valentine, Friend, and Love stamp sets, you can see the whole line of love and friendship stamps here.   

Here is my card and how I put it together:


Closer look at the card:


1.  My card is an A2 card, measuring 4 1/4 x 5 1/2,

2.  I cut a panel at 4 x 5 1/4, I stamped the love stamp from the Background Builder stamp set, and used my stamperatus to stamp the image down the panel so that everything was even,

3.  I die cut a heart and stamped the sentiment from the Love Quotes stamp set using Versamark and heat set the sentiment with black embossing powder,


4.  I then stamped and cut the cute image from the Best Buds set, I used my scan and cut to cut them out and then colored them with copics.  I used some foam tape to pop them up onto the heart and adhered the heart to my card.

Love how my card turned out, clean and simple but adorable! 

Thank you so much for stopping by, please come back again soon!

Please follow Joy Clair's facebook page, Color by Faith Bible Journaling facebook page, Instagram and Twitter, be the first to hear the news, sales and giveaways! They also have a Pinterest page and Youtube channel for your inspiration!
Listed below are the products I used. Click on the link to go directly to the product. Where available I have used compensated affiliate links which means if you make a purchase I will receive a small commission at no extra cost to you. Thank you so much for your support!

SUPPLIES USED:

Rinea - Happy New Year!

Saturday, January 4, 2020

Happy New Year!

I hope everyone's New Year has started out to be a great one. This is my first post for Rinea and I am sharing with you a New Year's card. Here are the Rinea Foiled papers I used on my project:
Rinea Ebony/Gold Glossy Solid Foiled Pack, Rinea Gold/Gold Glossy Solid Packs & Rolls and
Ebony/Ebony Starstruck Solid Packs & Rolls.

Here is how I created my card:

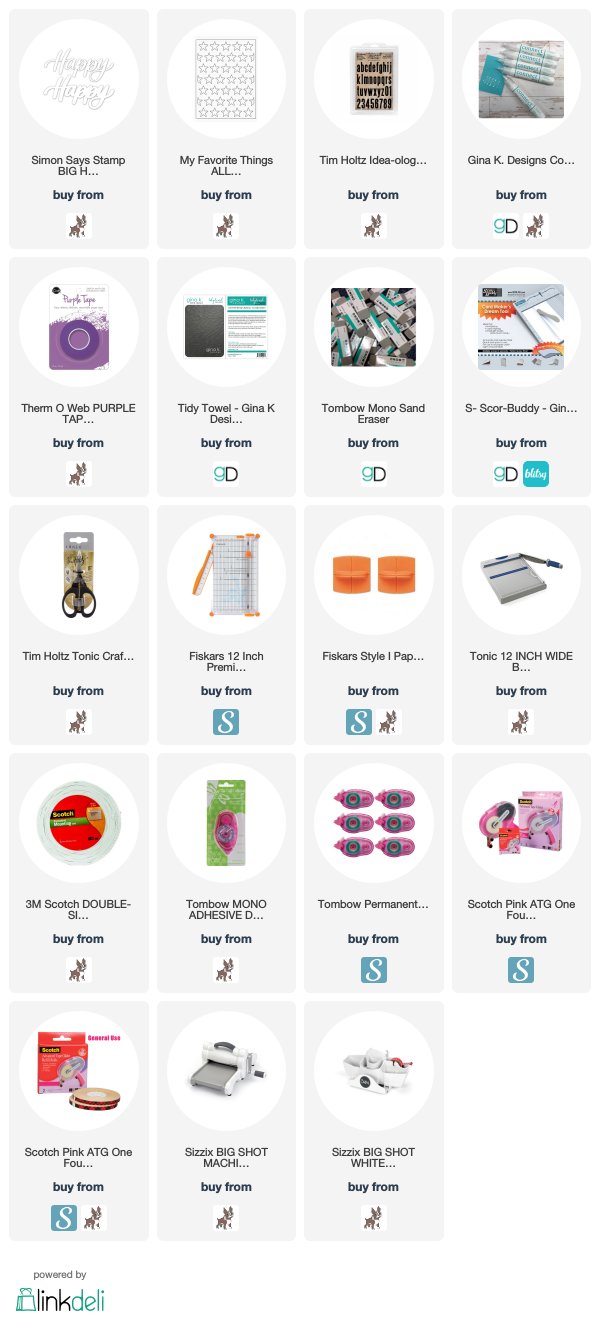
My card is an A2 card measuring 4 1/4 x 5 1/2.  I cut a piece of Rinea Gold Paper at 4 1/4 x 5 1/2 and glued it to the base of my card, I then took a piece of the Ebony Starstruck Paper and die cut it with a star background die I have in my stash, I added this to the base of my card.  I then die cut the "Happy" out with Rinea Gold Paper and Rinea Ebony Paper and adhered it to my card, and lastly I die cut the numbers out with Rinea Gold Paper and Rinea Ebony Paper  and adhered them.  I love how my card looks, very festive and ready for a new year!


Closer look at my card.


Thank you so much for stopping by, I wish all of you a Happy New Year! I look forward to creating and inspiring you this year!

Listed below are the products I used. Click on the link to go directly to the product. Where available I have used compensated affiliate links which means if you make a purchase I will receive a small commission at no extra cost to you. Thank you so much for your support!
 

Crackerbox & Suzy Stamps - Be My Valentine

Thursday, January 2, 2020

Happy New Year Everyone!

This is my first post of the year, I hope all of you had a Merry Christmas and celebrated the New Year with family.   I am excited to be here sharing a card I created using Crackerbox & Suzy Stamps.  It's hard to believe I'm not making any Christmas cards right now, I just jumped into making Valentine's Day cards. 

Crackerbox & Suzy Stamps has lots of new incentives for you this year, please be sure to click here to find out all about it.

Here is my card for your inspiration:

My card is a clean and simple card which is the theme for the month.  My card is a square card measuring 4 1/4 x 4 /14, I used the Wreath Builder stencil to create my card, I stamped the beautify Butterfly 3 with red ink four times, I then stamped the sentiment called Be My Valentine.  I finished my card by adding some bling to each butterfly.


Closer look at my card.


Thank you so much for stopping by, please come back again soon!

Here is the current promotion going on at Crackerbox & Suzy Stamps.


Made With Love By The Dutch Lady Designs
Follow Me on Pinterest