Showing posts with label My Sweet Petunia. Show all posts

Stamping Friends Trifecta Blog Hop

Thursday, May 30, 2019


Hello everyone!

Welcome to the Trifecta blog hop!  I am so excited Gina K. Designs has joined forces with two terrific companies, My Sweet Petunia and Picket Fence Studios!  You should be coming from Lydia Fiedler blog.  The list is below if you get lost sometime along the way.

The design teams have created some beautiful projects we will be sharing with you and as always there are great prizes to go along with a blog hop.  Each company will be giving away a $50.00 gift card to spend in their store, so be sure to stop by each blog (listed below) and leave a comment, the winner will be randomly drawn.  Winners will be announced on the company blogs no later than June 7th. I look forward to reading your comments on my projects I am sharing with you today.

Here are my projects for the hop:

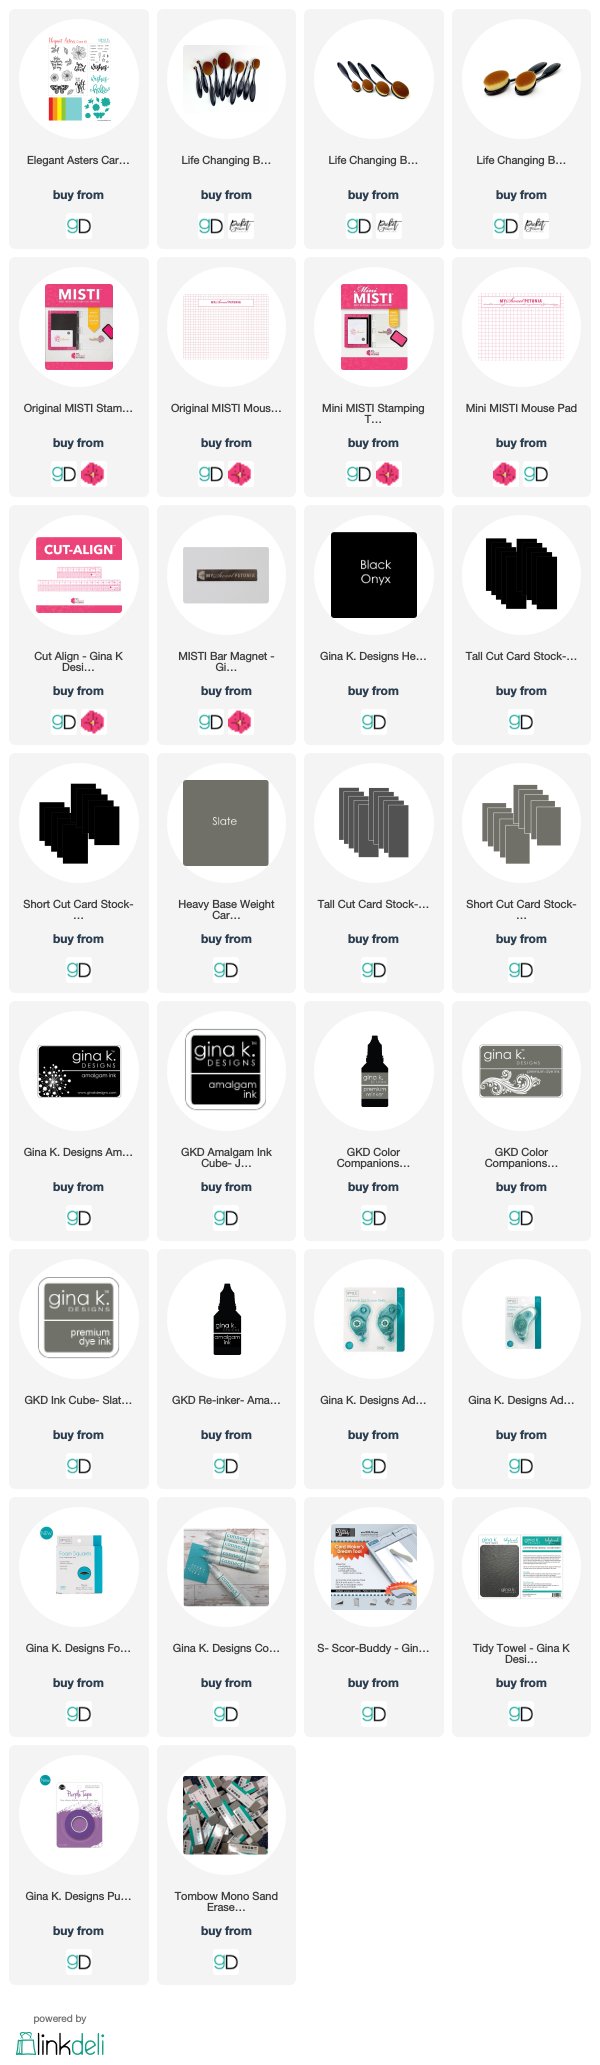
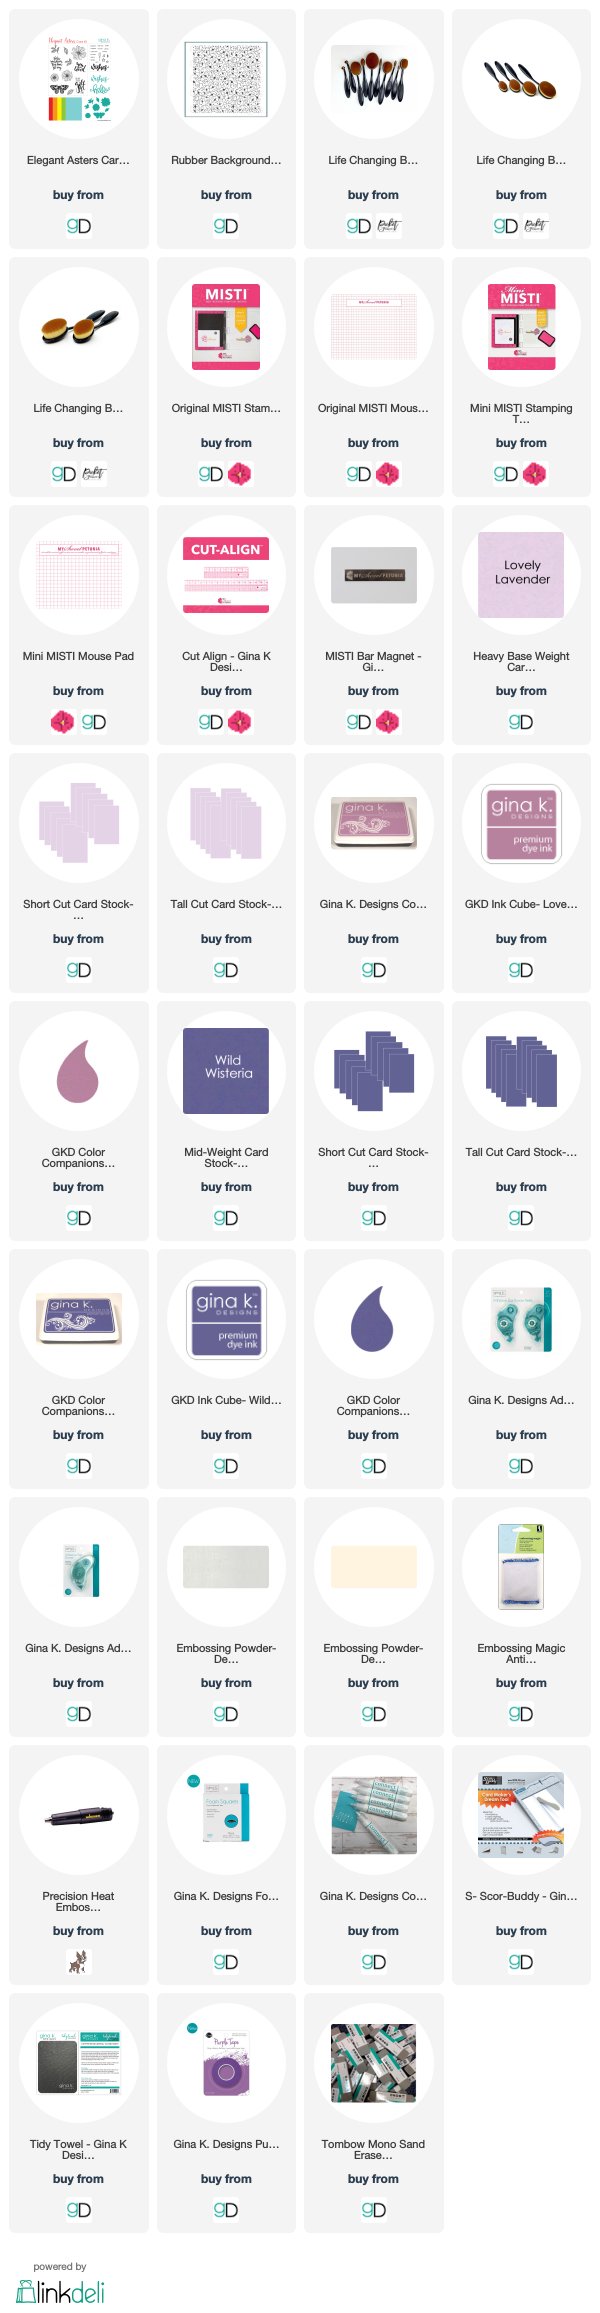
My first card is an A2 top folding card, for my background I used the Picket Fence Studios Random Dots Stencil.  I used the “Life Changing” Blender Brush Set to blend several colors of the Gina K. inks.  Keeping the stencil in place I used sponge dauber and dabbed versamark  onto the paper and used Gina K. clear embossing powder to heat set the dots to give it a shinny embossed look (it's hard to tell in the picture).  Here is a close up of what it looks like.  I then die cut a piece of cardstock and used the Magic brush to give the background some color, I took my Misti and placed the sentiment where I wanted it to be and stamped it.  I used the cut align tool to cut the layers.  Here is a link to see how to use how to use it.  I die cut the "wishes" die and used some black craft foam to give the word dimension.  All supplies that I used on my card is below.


Supplies Used - Affiliate Links used at no additional cost to you.

My second card is an A2 top folding card, I used the Picket Fence Studios Floral Damask stencil, I used the “Life Changing” Blender Brush Set with Gina K. slate ink using more pressure at the bottom and less at the top to give the background an ombre effect. I stamped the butterfly from the Elegant Asters card kit, that was released earlier this month, and colored it in with copics, I used foam squares to adhere it to my card, and lastly I stamped the sentiment also from the Gina K. Designs Elegant Asters card kit.   All supplies that I used on my card is below.


Supplies Used - Affiliate Links used at no additional cost to you.


My last card, is an A2 top folding card,  I used the cut align tool to cut the layers.  Here is a link to see how to use how to use it.  I stamped the background using Gina K. Petite Flourishes background stamp with versamark and heat embossed it with Gina K. Designs fine white embossing powder and used the “Life Changing” Blender Brush Set to ink the background.  I stamped the sentiment from the Gina K. Designs Elegant Asters card kit with Gina K. Designs ink, I then stamped it again with versamark and heat embossed it with clear embossing powder.  I then die cut it out using Gina K. Designs stitched dies.  All supplies that I used on my card is below.


Supplies Used - Affiliate Links used at no additional cost to you.


Thank you so much for stopping by!  Enjoy all the fabulous inspiration as you hop and make sure to comment on each blog for a chance to win one of the THREE $50.00 gift certificates from each company!  You should be headed to Susie Moore blog from here.


Crackerbox & Suzy Stamps with My Sweet Petunia! Blog Hop!

Friday, August 17, 2018


Hello everyone!

Welcome to Crackerbox & Suzy Stamps and the My Sweet Petunia’s Misti Blog Hop! You should be coming here from Ceal Pritchett blog, next you will be going to Giovana Smith blog. We are so happy you joined us for this fun collaboration blog hop. The design team has created some wonderful designs that will hopefully inspire you along the way. We all will be featuring the newly released stamps from Crackerbox & Suzy Stamps.

We have some great prizes all you have to do is leave a comment on each designer's blog (listed below). There will be two lucky winners from the hop. One prize is a $50 shopping spree at www.mysweetpetunia.com and a $50 shopping spree at www.sosuzystamps.com. You must leave your comments no later than Friday, August 24th, at 11:59 PM Central time and winners will be announced on Tuesday, August 28 on Crackerbox & Suzy Stamps and My Sweet Petunia blogs.

 Here is my card:

Crackerbox & Suzy Stamps have come out with a wonderful line of Harry Potter inspired stamps along with a lot other wonderful stamps. My card is using a few of the Harry Potter inspired stamps, which are the Glasses & Lightening Bolt stamp set, Wizarding Hat and the sentiment is called Favorite Muggle.  The links to these sets and other supplies are listed below.
.


Closer look at my card:

Here is how I put my card together:

1.  I started with an A2 size card,
2.  I positioned the stamps in my Misti that I wanted to use,


3.  I turned my paper around and stamped the images again.  If I have room on my paper I like to stamp the images a couple of times and then I will have them for another card later.


4.  I then took another piece of card stock and positioned my image on the paper, I stamped it, 


5.  I then positioned two of the stamps from the Glasses & Lightening Bolt stamp set onto the Misti and stamped them, 

6.  I then used a stencil to add some interest onto the card using the Memento ink and a clarity brush,


7.  I finished off my card by adding the sentiment called Favorite Muggle.  I then die cut the layer with a stitched die, back this with a piece of black card stock and then adhered it to my card base.


There you go....using the Misti is so perfect to get your stamps positioned where you want them and get a crisp and clean stamped image! I know I have said it over and over again.....I don't know how I stamped before without it. This is definitely the number one tool I go to for all my stamping needs!  What is yours?

Below are the products I used to create my card. Click on the link to go directly to the product. Where available I have used compensated affiliate links which means if you make a purchase I will receive a small commission at no extra cost to you. Thank you so much for your support!

Supplies Used:


Thank you for stopping by and please come back again soon!

Here is the list to join the hop. You should be going to Giovana Smith next from my page. Good luck everyone!


Joy Clair and Misti Blog Hop - Spring Time Flowers

Wednesday, April 5, 2017


Hello everyone!

Welcome to Joy Clair and the My Sweet Petunia’s Misti Blog Hop! We are so happy you joined us for this fun collaboration blog hop. The design team has created some wonderful designs that will hopefully inspire you along the way. We have some great prizes all you have to do is leave a comment on each designer's blog (listed below).  You will have the opportunity to win a Mini Misti and Joy Clair is giving away two $25 gift certificate to the Joy Clair store!  You will have until Sunday April 9th at midnight, winners will be announced on the Joy Clair blog on Wednesday, April 12th.  


Image may contain: text

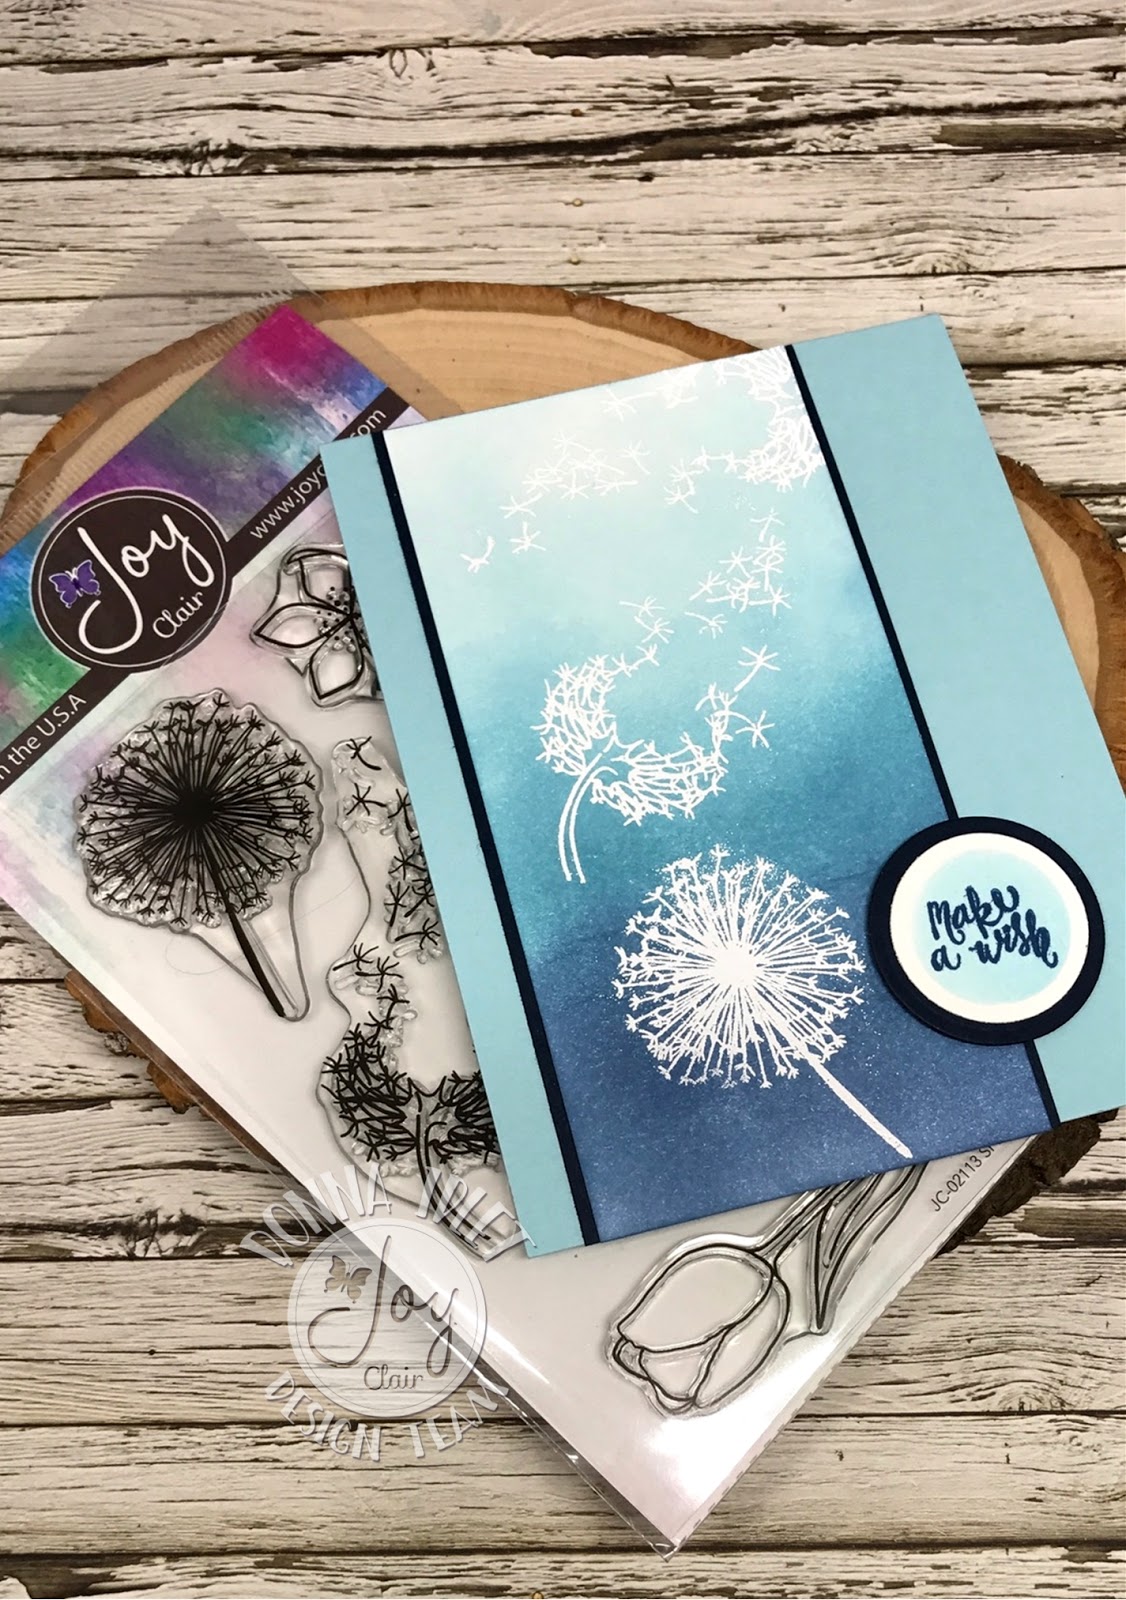
Here is my card.  I am using the newly released stamp set called Spring Time Flowers.  Be sure to check out the blog for all the newly released stamp sets.  


 Closer look

Here is how I put my card together.

1.  I used distressed inks to create my background.


2.  I used my mini Misti to figure out where I wanted to position my images.  I used stamped the images with Versamark, added some white embossing powder and heat embossed.


3.  I put my stamped and embossed piece back into my Misti and positioned the stamp again, and repeated my process above. 


4.  I cut a small circle out and added some distress inked.  I positioned it into my Misti.


5.  I used my Misti to position my sentiment to stamp it on the circle.


There you go....using the Misti is so perfect to get your stamps positioned where you want them and get crisp and clean stamped images!  I don't know how I stamped before without it.  If you are wondering why I have the washi tape on the magnets, it really helps when the magnets stick together, it's easier to get them apart.  


Please follow Joy Clair's facebook pageColor by Faith Bible Journaling facebook pageInstagram and Twitter, be the first to hear the news, sales and giveaways! They also have a Pinterest page and Youtube channel for your inspiration!

Thank you for stopping by and please come back again soon!

Here is the list to join the blog hop. Good Luck everyone.

Donna Idlet - YOU ARE HERE

Made With Love By The Dutch Lady Designs
Follow Me on Pinterest