Showing posts with label sunflowers. Show all posts

Retro Rubber Challenge Blog #147 - Anything Goes

Tuesday, November 3, 2020

Hello everyone!

I am here with Retro Rubber Challenge Blog with a new challenge "anything goes". I hope you will join in on the fun. Be sure to stop over on the Retro Rubber Challenge blog to get more inspiration, the design team has some wonderful creations!

The rules to play along with Retro Rubber Challenge is very simple, make sure the stamp you use on your project is at least one year or older. For more details on the rules, you can find them over on Retro Rubber Challenge blog.


Here is my card for your inspiration. The set I am using is from Stampin Up which is called Painted Harvest Stamp Set. The set was released in September 2017. 


My card is an A2 card, I stamped the background with the sunflower from the Painted Harvest Stamp Set.  I then stamped a single sunflower and stamped the sentiment, then die cut it out and added a frame around it and adhered it to my card.  

Thanks again for stopping by, please don't forget to stop over at the Retro Rubber Challenge blog and join the fun and check out the beautiful projects the design team members have created.

Gina K. Designs Card Kit Blog Hop September 2019 - Day 2

Thursday, September 12, 2019

Hello everyone!

Welcome to day 2 of the Gina K. Designs September 2019 Release Autumn Spendor Card Kit blog hop! The full release is NOW available and can be found in the store HERE. What is a blog hop without a prize! Gina K. Designs is giving away a $50 gift certificate each day of the hop, just for commenting on each designers blog, your next stop is the talented Emily Loggans. If you get lost along the way, you can get the full list at Gina K. Designs.com blog. The winner will be announced over on the Gina K. Designs blog.

The Gina K. Designs Card Kit - Autumn Spendor has two 6x8 stamp sets, called Colossal Cone Flowers and Layered Leaf Prints, paper, dies and a beautiful stencil for a great price point. 


My first card is an A2 side loading card measuring 4 1/4 X 5 1/2 from the Colossal Cone Flowers stamp set.  I used the beautiful stencil for the background.  I stamped and heat embossed the flower and leaves and used Gina K. inks to color.  I used the heat resist technique for this set.


My last card card is an A2 side loading card measuring 4 1/4 X 5 1/2 from the card kit is from the Layered Leaf Prints, I cut my layers, and adhered them together then stamped the leaves, I then embossed the background layer, added the charcoal brown card stock between the embossed and layered piece and stamped the sentiment from the Layered Leaf Prints stamp set.


(free with a $75 purchase before tax and shipping)


The incentive card I used colors from the Gina K. Designs Card Kit - Autumn Spendor, the card measures 4 1/4 x 4 1/4, the bottom layer is 4 x 4 and the top embossed layer is 3 7/8 x 3 7/8.  I colored the image with copics (YR24, Y17, Y13, G21, G94, G99) The sentiment is from the Layered Leaf Prints stamp set.


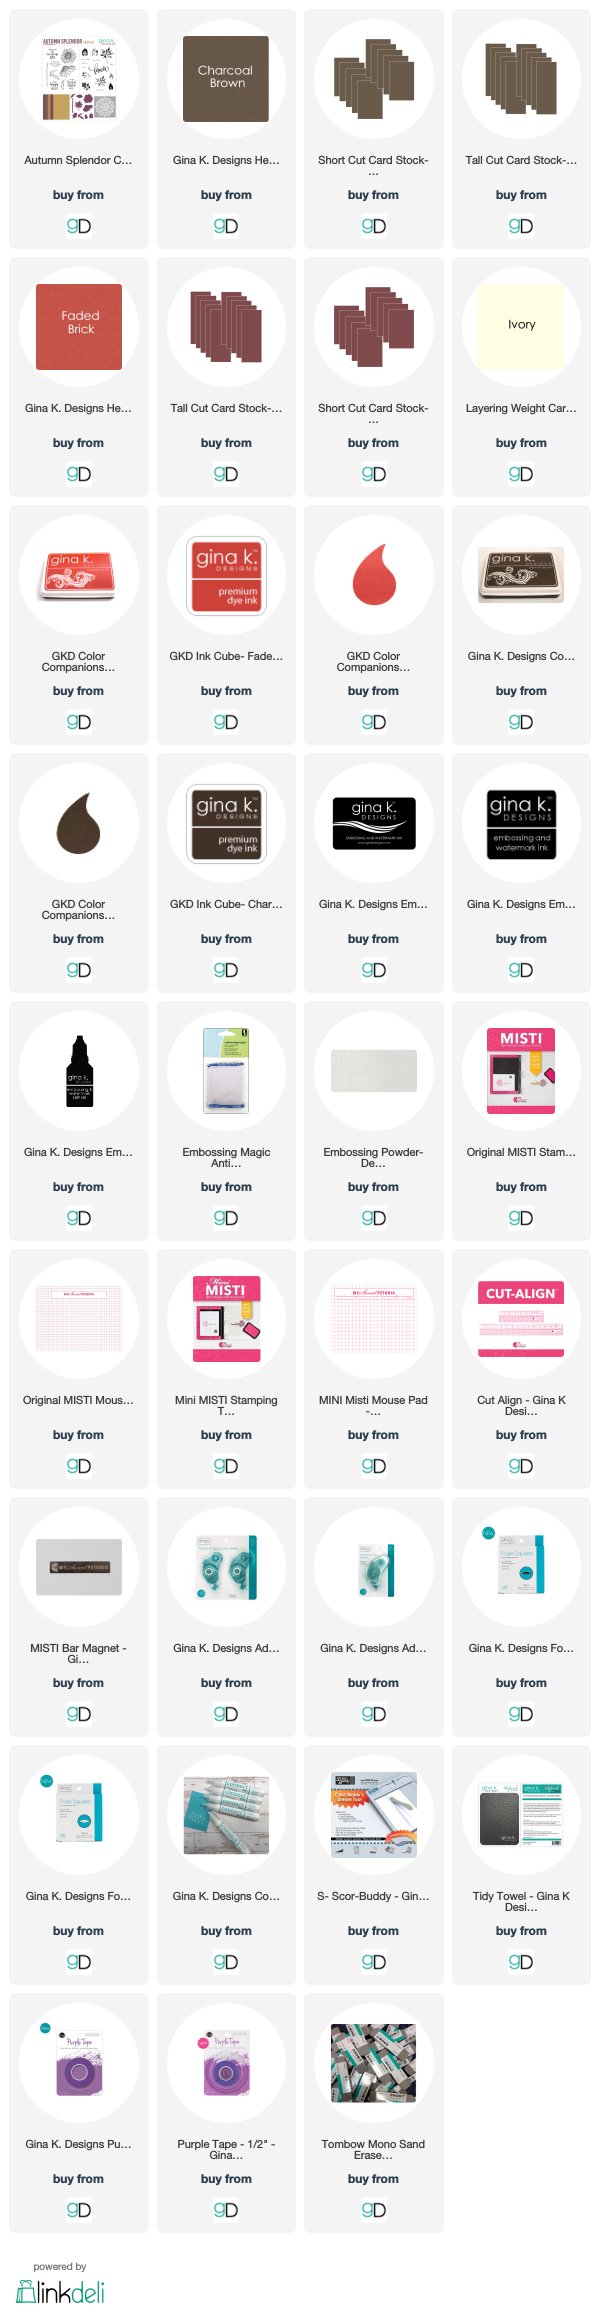
Supplies Used: (Affiliate Links used at no additional cost to you. Thank you for your support!)


I hope you have been inspired! Please stop over to the Facebook page for more inspiration! Don't forget your NEXT stop will be Emily Loggans. If you get lost or looking for the full hop list you can find it over on the Gina K. Designs blog.


If you missed my cards for this kit at the release party last night, here they are.  For details and the supply list I used click here.


CottageCutz - Happy Fall

Sunday, September 4, 2016

Hello everyone!

I am here with Scrapping Cottage blog showcasing the 2nd part of the CottageCutz Christmas and Autumn dies release. If you haven't been over to the online store, you should definitely go and take a look at all the new goodies.  The best part is the Harvest Scarecrow is 25% off plus many more of the new release for a limited time. Don't procrastinate, rush right over to the store and get some of these wonderful dies.  I love them all, I have so many ideas in my head I cannot get them all done fast enough!


I am featuring several of the new Autumn release dies, so lets get started on how I created my Split Step Card, it can also be called Side Step Card.  

1.  I cut all the pieces out and inked the edges.  My table was so messy, I did not get a chance to take a picture, 

2.  I cut the base of my card 8 1/2 x 5 1/2, 

2.  I then cut and scored my paper, where the red line is you put your paper in your paper cutter at 1" and cut down to 6 3/8.  The other lines you score at 1", 2", 3 1/8", 4 1/4 and 6 3/8.  This image is not mine, I found the image on google.


3.  After cutting and scoring the base of the card, I added my layers.  On the left side the layers measurements are 2 3/8 x 3 1/8, the plaid layer 2 1/4 x 3.  On the right side top layer measurements are 2 x 2 1/4, plaid layer 1 7/8 x 2, the second step is 2 x 1, plaid layer 1 7/8 x 7/8. The layer under the grass is 5 x 1,

4.  I added a couple of layers on the inside of the card to write or stamp a sentiment.  The measurements are 4 x 2 7/8, the white piece 3 7/8 x 2 1/2,

5.  I finished the card off by stamping my image on the second to the smallest die from the double stitched square dies.

Whew, I think I got everything!  I had so much fun making this card, I hope I have inspired you to make one for yourself.

Here are some more pictures of the card:

Card laying down flat.


Closer look of the right hand side of the card.

Closer look of the left hand side of the card.


Thanks again for stopping by, please stop over at the Scrappin Cottage blog to see all the beautiful designs from the other design team members.  

CottageCutz Dies used:


Made With Love By The Dutch Lady Designs
Follow Me on Pinterest