Showing posts with label rainbow card. Show all posts

Kat Scrappiness - Just a Note to Say Hello

Friday, September 30, 2022

Hello everyone!

I am here with Kat Scrappiness with a card using the NEWLY released products! I am featuring the Kat Scrappiness Mail Storm background die and the Simple Sentiments Stamp & Die Bundle. I created a shaker card using some embellishments from Kat Scrappiness.


Here is how I created the card:
  • Created the card using the newly released Mail Storm background die to create a shaker card.
  • Ink blended a piece of card stock and added it the card base.
  • Ink blended another piece of card stock and die cut the background die.
  • Added the piece of acetate and adhered it to the background.
  • Added foam tape along the edges and adhered it to the background panel.
  • With the left over background paper, die cut the word "Hello".
  • Stamped and heat embossed the sentiment from the NEWLY released Simple Sentiments Stamp & Die Bundle
  • Assembled the card.
Thank you so much for stopping by, please be sure to visit Kat Scrappiness blog for more inspiration.

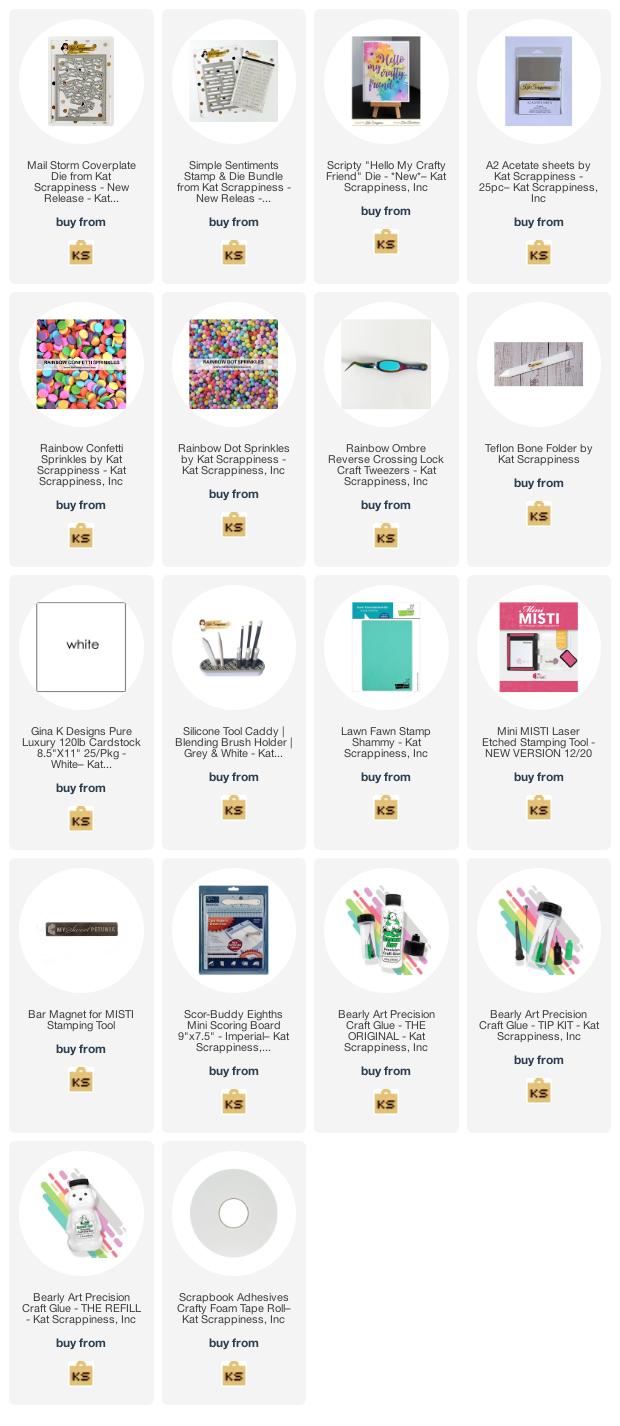
Here is a list of supplies I used on my card, Affiliate Links used at no additional cost. Thank you for your support.
Kat Scrappiness - Simply Amazing

Saturday, October 30, 2021

Hello everyone!

I am here with Kat Scrappiness sharing this FUN Rainbow card featuring products from the NEW October 2021 Release! I'm loving the newly released Box Sentiment Strips.  I have used them on my card to create a rainbow background.  They can be used for more than stamping sentiments.

Here is my card for your inspiration:


Here is how I created my card:
  • Card Base A2 size 4 1/4" x 5 1/2"
  • Cut Rainbow strips from cardstock in my stash to create the rainbow pattern using the 1/2″ wide strip from the KS Boxed Sentiments Strip dies. I added the strips to a piece of cardstock and die cut it with the  KS Embossed Edge Rectangle Dies.
  • Cut Simply Amazing Sentiment w/shadow out of black card stock & vellum and glued together.
  • Stamped, die cut and colored the Quokka from the KS Quokka'n Up Stamp Set.
  • I assembled the card and finished it off using the KS Fun Flurries Sprinkles.

Thank you for stopping by!  

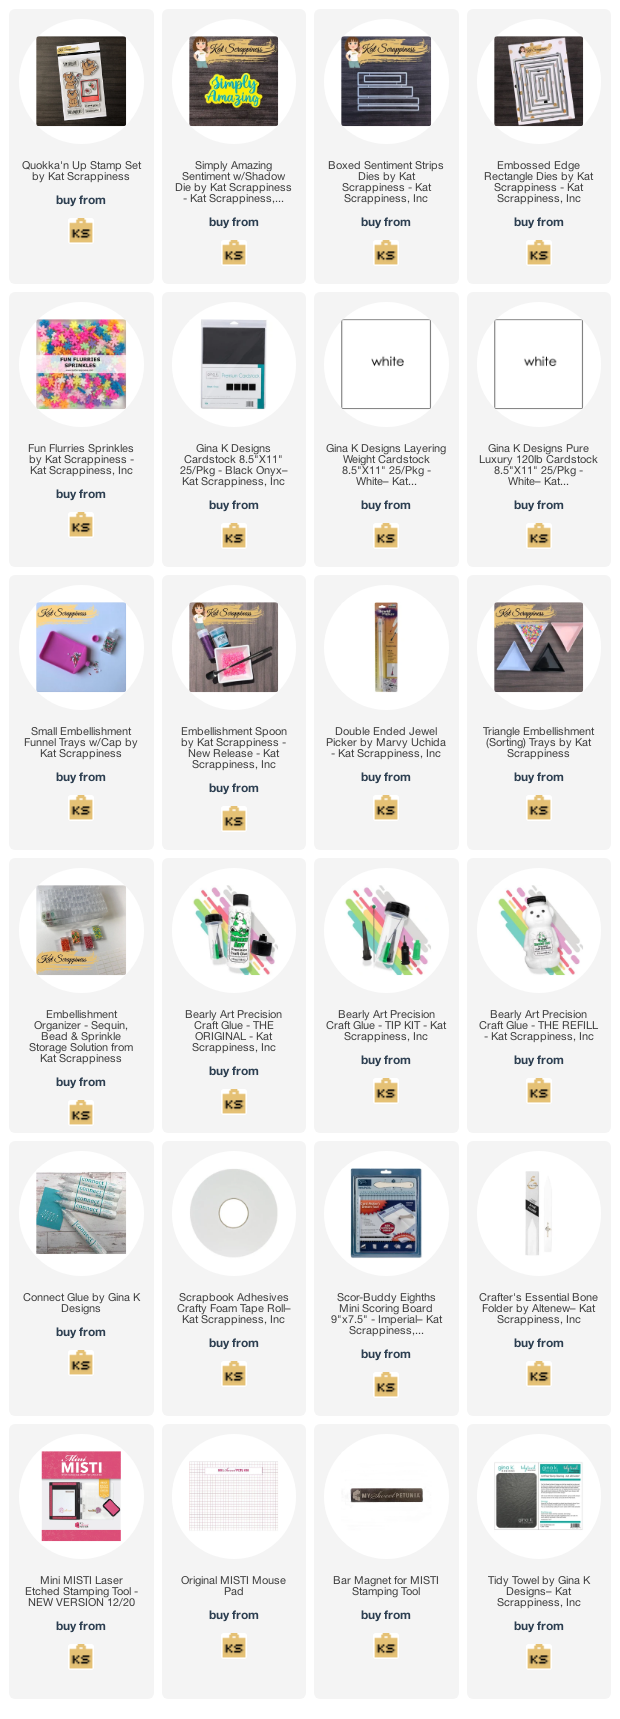
Here is a list of supplies I used on my card, Affiliate Links used at no additional cost. Thank you for your support.

Made With Love By The Dutch Lady Designs
Follow Me on Pinterest