Showing posts with label Happy Thanksgiving. Show all posts

Kat Scrappiness - Happy Thanksgiving!

Sunday, October 30, 2022

Hello everyone!

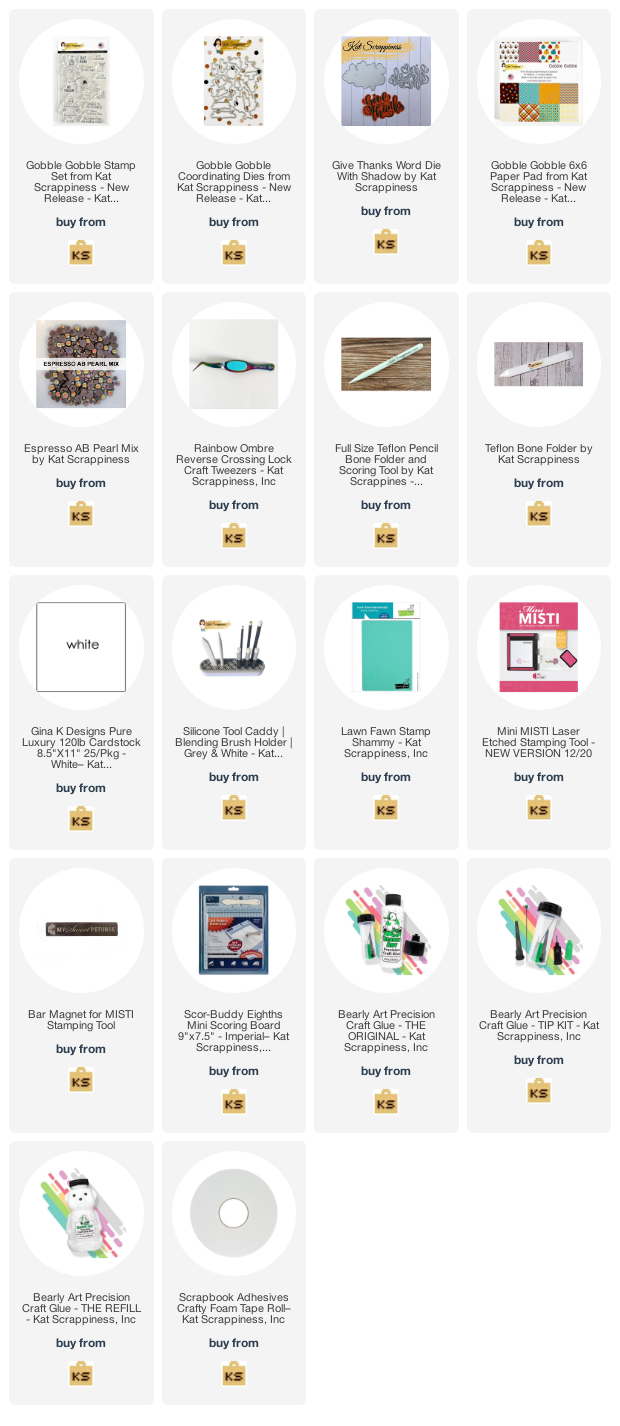
I am here with Kat Scrappiness with a Thanksgiving card using the NEWLY released Gobble Gobble Stamp and Dies Sets! All supplies I used are listed below. Please stop over at the Kat Scrappiness Blog and there is lots of inspiration there for your Thanksgiving makes. 

Here is my card for your inspiration.


Here is how I created my card:
  • Card base is an A2 card, measuring 4 1/4 x 5 1/2.
  • Die cut the layers using KS Never Ending Rectangle Dies, top layer pattern paper is from the 6x6 Gobble Gobble 6x6 Paper Pad. 
  • Die cut the words "Give Thanks" from the Give Thanks with Shadow Die.
  • Stamped, die cut and colored the images from the Gobble Gobble Stamp Set.
  • Die cut the bottle from the Cast a Spell Dies.
  • Assembled the card and added Espresso AB Pearl Mix to the card.
Thank you so much for stopping by, please be sure to visit Kat Scrappiness blog for more inspiration.

Here is a list of supplies I used on my card, Affiliate Links used at no additional cost. Thank you for your support.
SAME SET SYDROME FEATURING SAME SHAPED SYDROME CARDS

Friday, October 30, 2020

 Hello everyone!

Welcome to the Handmade Happiness Facebook Page Same Shaped Syndrome blog hop. You should be coming from Charlotte E (Lady Joyful) if you want to check her Youtube channel out you can click here. Your NEXT stop is over on Instagram with Valerie Powell.

This collaboration is a series of hops that will be for six months featuring small stamp companies. If you hop along for the six month, you have a chance to win a $50 gift card to one of the sponsors.  This is our fifth month and the team is featuring shaped cards.  My card is a pumpkin shaped card using  Kat Scrappiness stamp set Thanksgiving Gnome .  Kat Scrappiness was a sponsor from last month.

Here is my card, the pumpkin shape I cut with my silhouette, I cut the SVG from the silhouette store.  I am using the Kat Scrappiness Thanksgiving Gnome set. I stamped and cut the images I wanted to use and colored them with copics.   


Another view of my card.


I hope you have been inspired, thank you so much for stopping by, don't forget your next stop is Valerie Powell Instagram page.

#SameSetSyndromeOctober

Joy Clair - October Challenge "Anything Goes"

Monday, October 1, 2018

Hello everyone!

I am here with Joy Clair and we have a new challenge this month! As always it is "anything goes" but the design team has an inspirational photo. I hope you will join, the challenge runs all month and one person has the opportunity to win a $25 gift card to the Joy Clair store.

Here is the inspiration photo:


Here is my take on the inspirational photo.  I have created an autumn card using the Hello Autumn stamp set, it reminds me of the cool mornings we have been having.  The technique I have done here is to take an acrylic block and ink it up and stamp on the card.  I then stamped the leaves on top.  I love how it turned out.  The sentiment is from the Hello Autumn set, I stamped it and die cut it and adhered it to the layer and popped it up.


For more inspiration make sure to follow Joy Clair on their social media platforms: Joy Clair blog,facebook page, Joy Clair Stamp Projects, Color By Faith Facebook Group, Instagram and Twitter, Pinterestand Youtube channel to be the first to hear the news, sales and giveaways!

Thank you for stopping by and please join the challenge!

CottageCutz - Happy Thanksgiving

Sunday, September 18, 2016

Hello everyone,

I am back with Scrapping Cottage blog with another one of their new release!  If you have not had a chance to see all the new dies that were released this month, please stop over at the store and the blog to see what beautiful designs the Design Team has created.  I have created my card using the new Cornucopia die.

Here is my card:


Here is how I put my card together:

1.  Cut an A2 card - 4 1/4 x 5 1/2
2.  The first layer is 4 x 5 1/4
3.  The Third layer is 2 1/2 x 3 1/2 and the orange layer is 2 1/4 x 3 1/4
4.  Cut the cross-stitched circle out and leave the ring around the circle cutout and use a light distress ink.  
5.  I cut all my pieces (see the first diagram).  I cut all the pieces and matched all the small elements.
6.  I distress all my edges (see the second diagram) and started putting all the pieces together and added them to the cornucopia.

(first diagram)

(second diagram)

Thank you so much for stopping by, please come back again soon!!!!


Dies I used:


Made With Love By The Dutch Lady Designs
Follow Me on Pinterest