Hello everyone!
I am here with Kat Scrappiness featuring the NEWLY release Rainbow and Clouds Slimline dies. This die is a wonderful addition to all the Slimline products that Kat Scrappiness has to offer. I am also using the newly released Happy Mail (Mailbox) Gift Card Holder Dies. This is a wonderful die, it is very versatile. Please hop over to
Kat Scrappiness blog and see more inspiration. To see the full release click
here.
Here is my card for your inspiration:
Here is how I created my card:
1. My card base measure 8 1/4 x 3 1/4.
2. I die cut my top layer using the Kat Scrappiness Heartfelt Wishes slimline pattern paper with Kat Scrappiness Embossed Edge Nesting Slimline Dies. I adhered this to the base of my card.
3. I then die cut the rainbow from the Rainbow and Clouds Slimline die. I cut several different papers to create the rainbow. I then cut the clouds from the same slimline die.
4. I then die cut the pieces from the Kat Scrappiness Happy Mail (Mailbox) Gift Card Holder Dies. If you would like to review a video on how to put this together, click here. I assembled everything and added it to the card. I then added the Rainbow to the card, having it coming out of the Mailbox. I then added the clouds. I added the "happy mail" to the top of the card.
5. To finish off my card, I added Kat Scrappiness My Valentine enamel dots.
Here is another view of the card. I think this is my all time favorite card!!!
My second card, I am using the NEWLY released Everyday Quakkas. This is a very versitle stamp set, you can almost use this set all year long.
Here is how I created my card:
1. My card is a mini slimline card measuring 3x6.
2. I die cut the top panel using the Kat Scrappiness mini Slimline Wonky Stitched Dies. Before taking the die off the panel, I used some distress ink to create the background, and then adhered this to the base of the card.
3. I then die cut a snow bank at the bottom using the of the panel and adhered it to the card.
4. I stamped the Quakkas from the Kat Scrappiness Everyday Quakkas and colored it with copics. I then added some foam tape to him and added it to the card.
5. I then die cut the Kat Scrappiness Wonky Stitched Heart die and stamped the sentiment. I added this to my card.
6. To finish off the card, I added some Kat Scrappiness This Kiss Sprinkles to the card.
Thank you so much for stopping by, I hope you have been inspired. Please come back again soon!
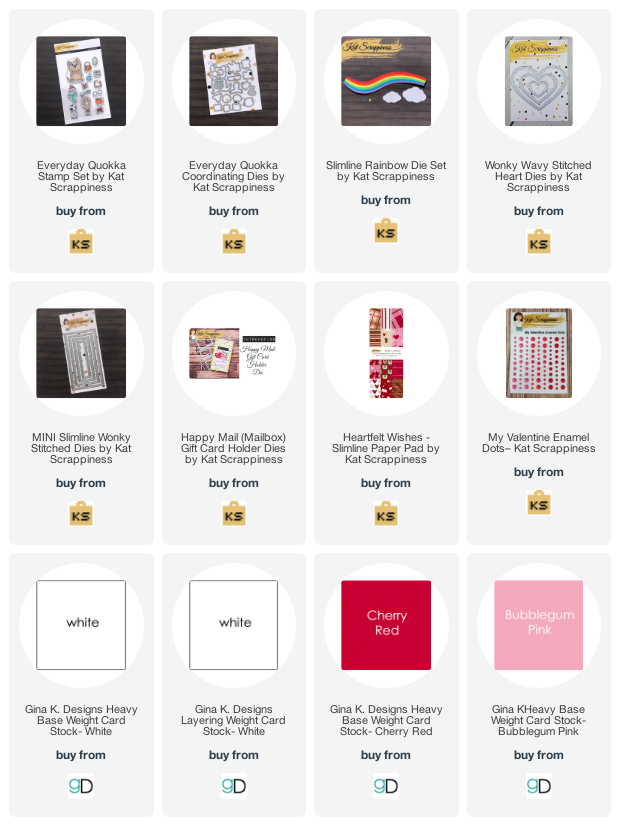
Here is a list of supplies I used on my card, Affiliate Links used at no additional cost. Thank you for your support.