Gina K. Designs DECEMBER 2025 Release is NOW available and can be found HERE.
I’m so excited to share two cards I created using Blissful Blossoms, a brand-new stamp set from the latest Gina K. Designs release illustrated by Arjita Singh. This set is beautifully versatile and works perfectly for both soft, elegant designs and bold, eye-catching cards.
Here are my cards for your inspiration:


My second card takes on a completely different feel also using alcohol markers with a rich red color scheme. For this one, I used Master Layouts 10, die cutting the center of the card. I added the frame panel to the card. I then layered the die cut piece with black and used foam squares to pop the panel onto the card. The layout really allows the floral imagery from Blissful Blossoms to take center stage, creating a bold and confident card with lots of presence.
What I love most about Blissful Blossoms is how easily it adapts to different styles. With just a change in color and layout, you can create cards that feel completely unique. Whether you prefer soft and subtle or bold and dramatic, this stamp set delivers every time.
Thanks so much for stopping by—be sure to check out the rest of the new Gina K. Designs release for even more creative inspiration!
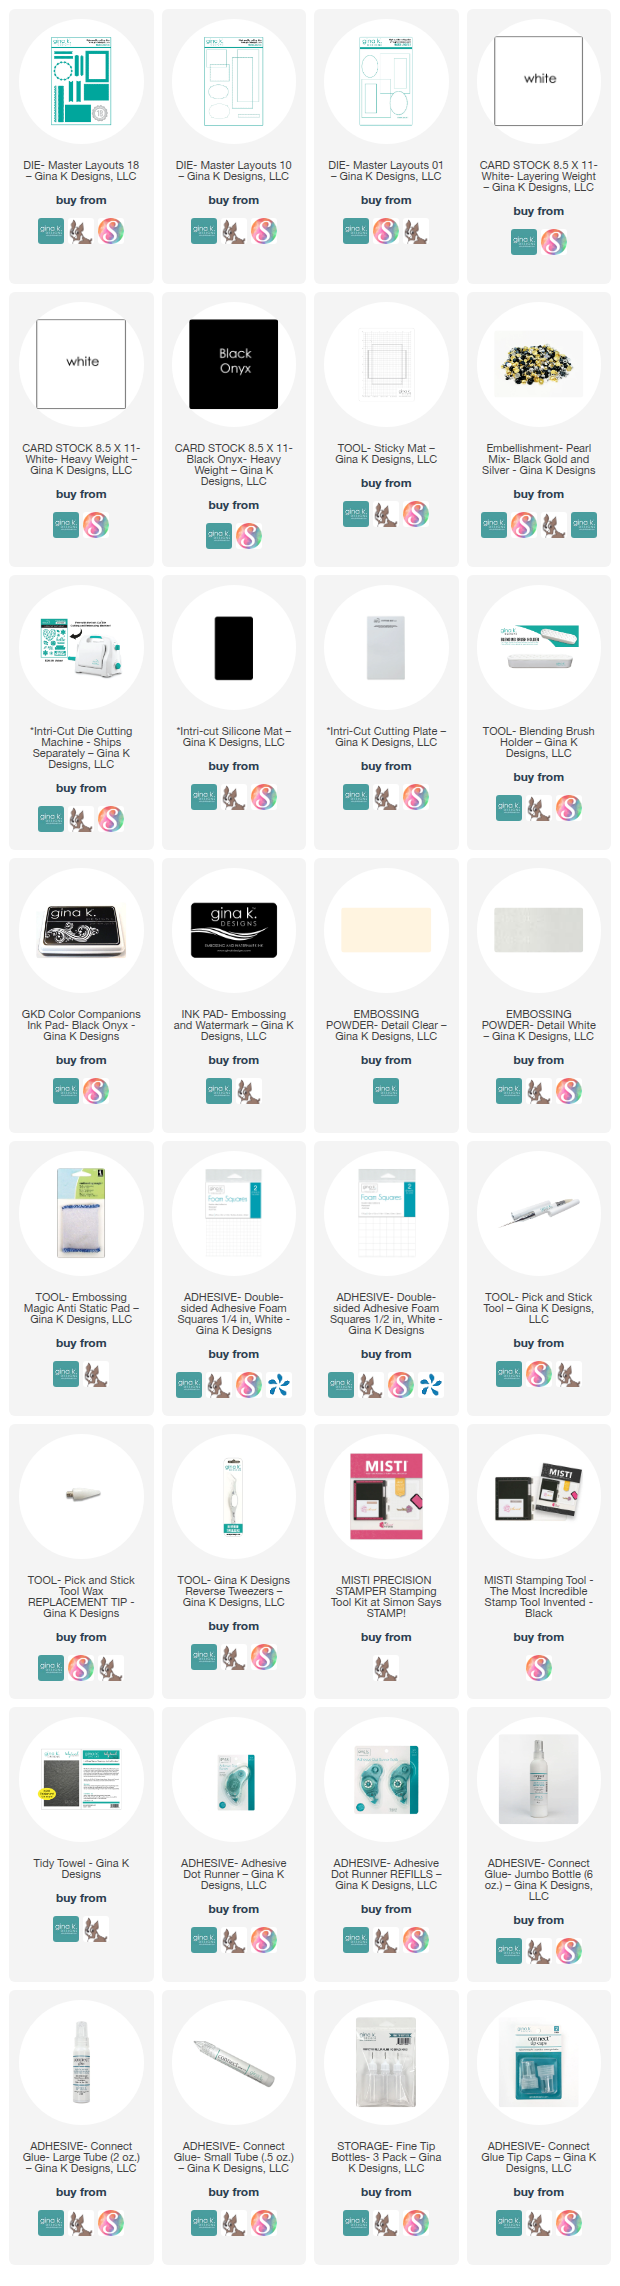
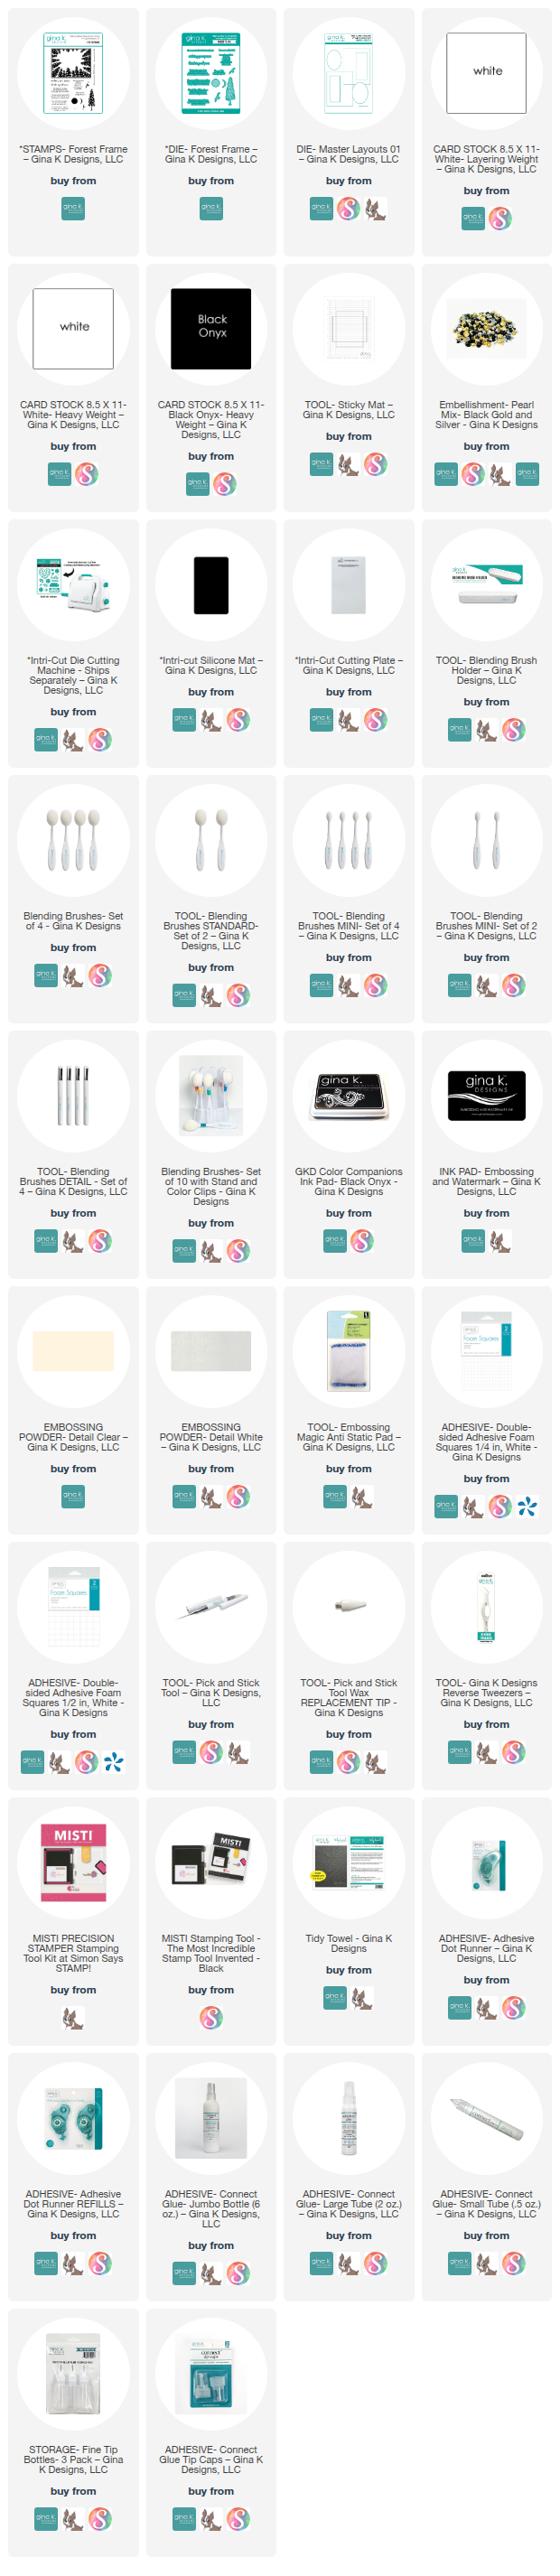
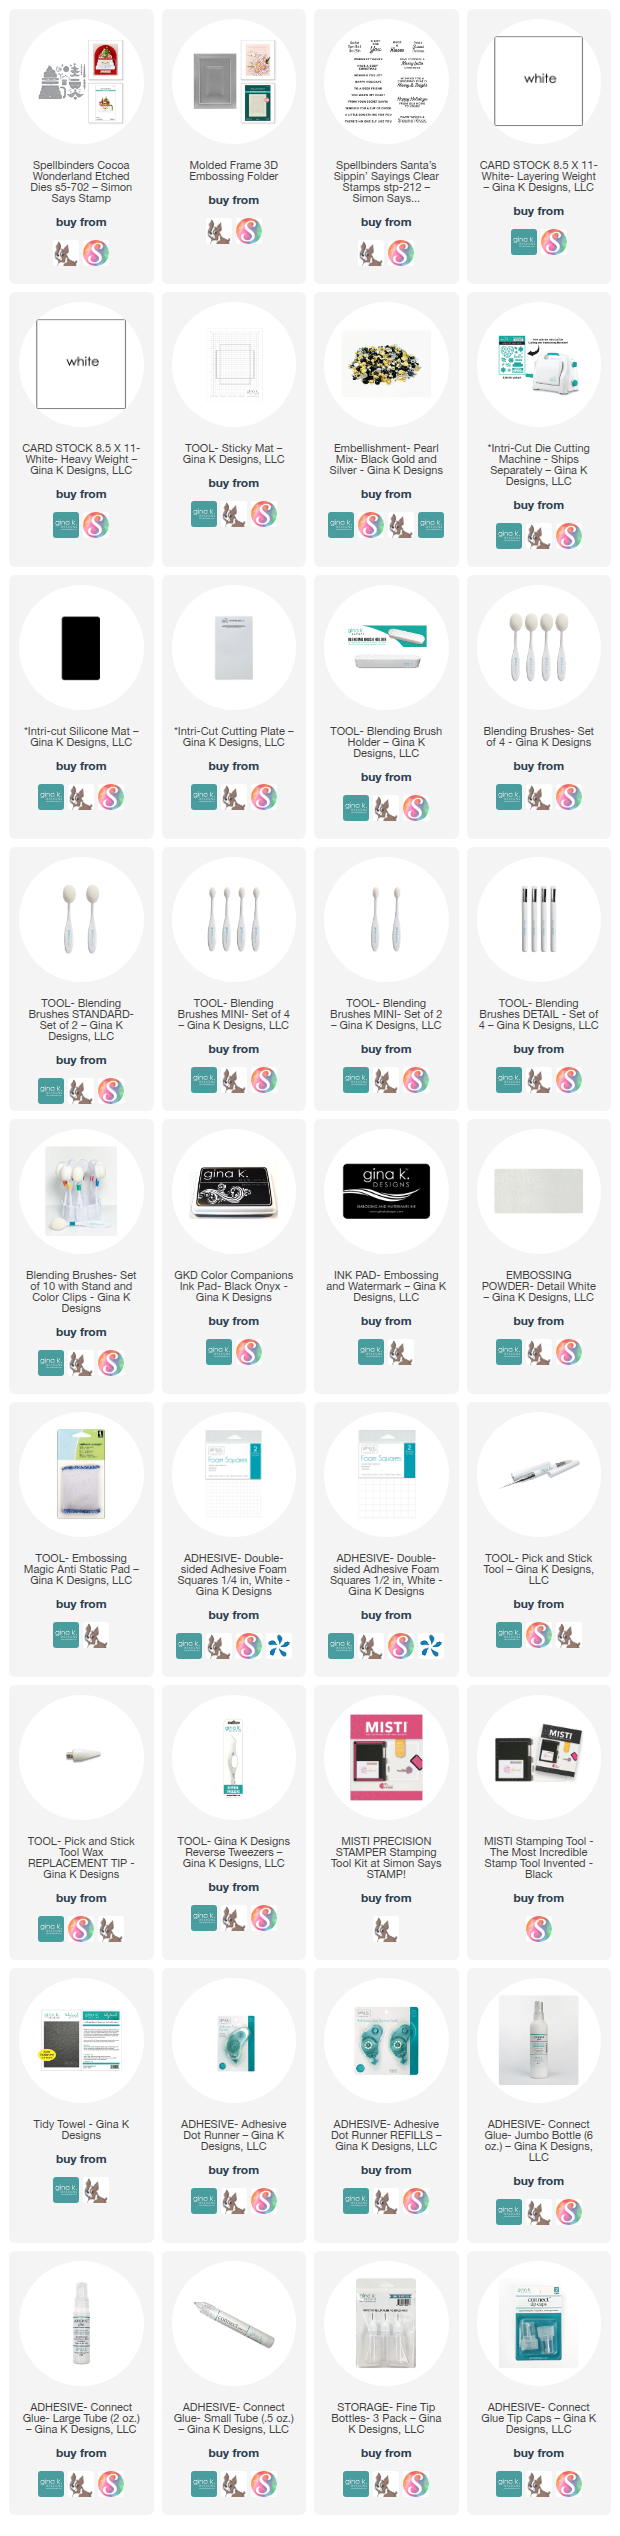
Here is a list of supplies I used on my cards. Affiliate Links used at no additional cost. Thank you for your support.