Hello everyone!
I am here with Kat Scrappiness with a card using the NEWLY released products! I am featuring the Kat Scrappiness Mail Storm background die and the Simple Sentiments Stamp & Die Bundle. I created a shaker card using some embellishments from Kat Scrappiness.

- Created the card using the newly released Mail Storm background die to create a shaker card.
- Ink blended a piece of card stock and added it the card base.
- Ink blended another piece of card stock and die cut the background die.
- Added the piece of acetate and adhered it to the background.
- Added foam tape along the edges and adhered it to the background panel.
- With the left over background paper, die cut the word "Hello".
- Stamped and heat embossed the sentiment from the NEWLY released Simple Sentiments Stamp & Die Bundle
- Assembled the card.
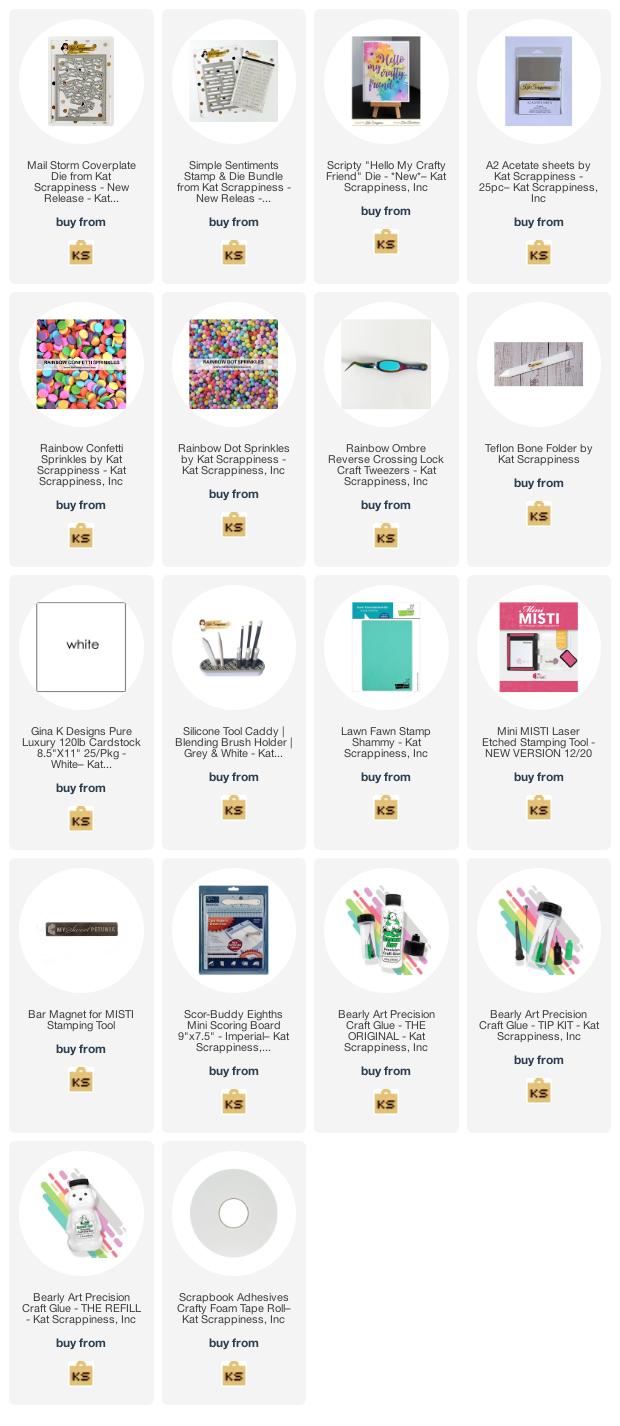
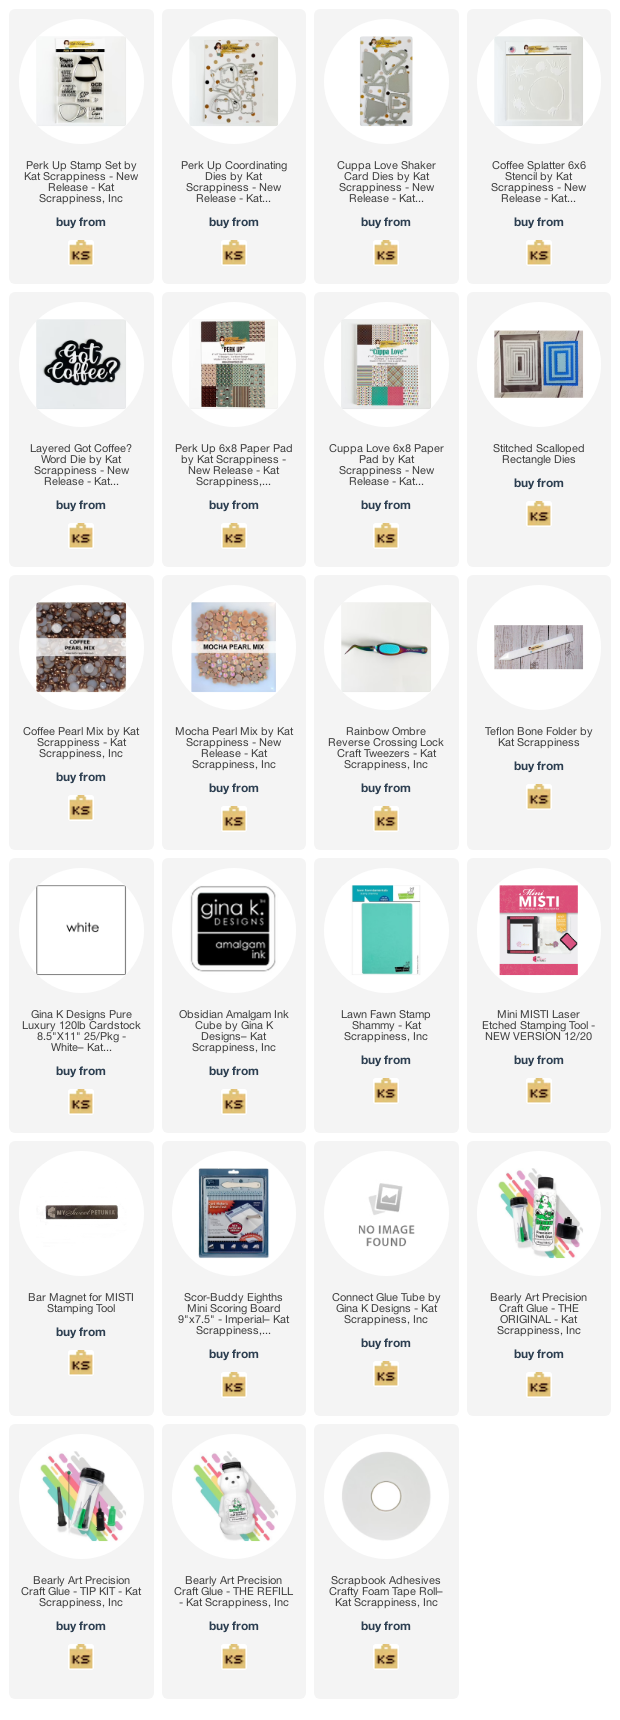
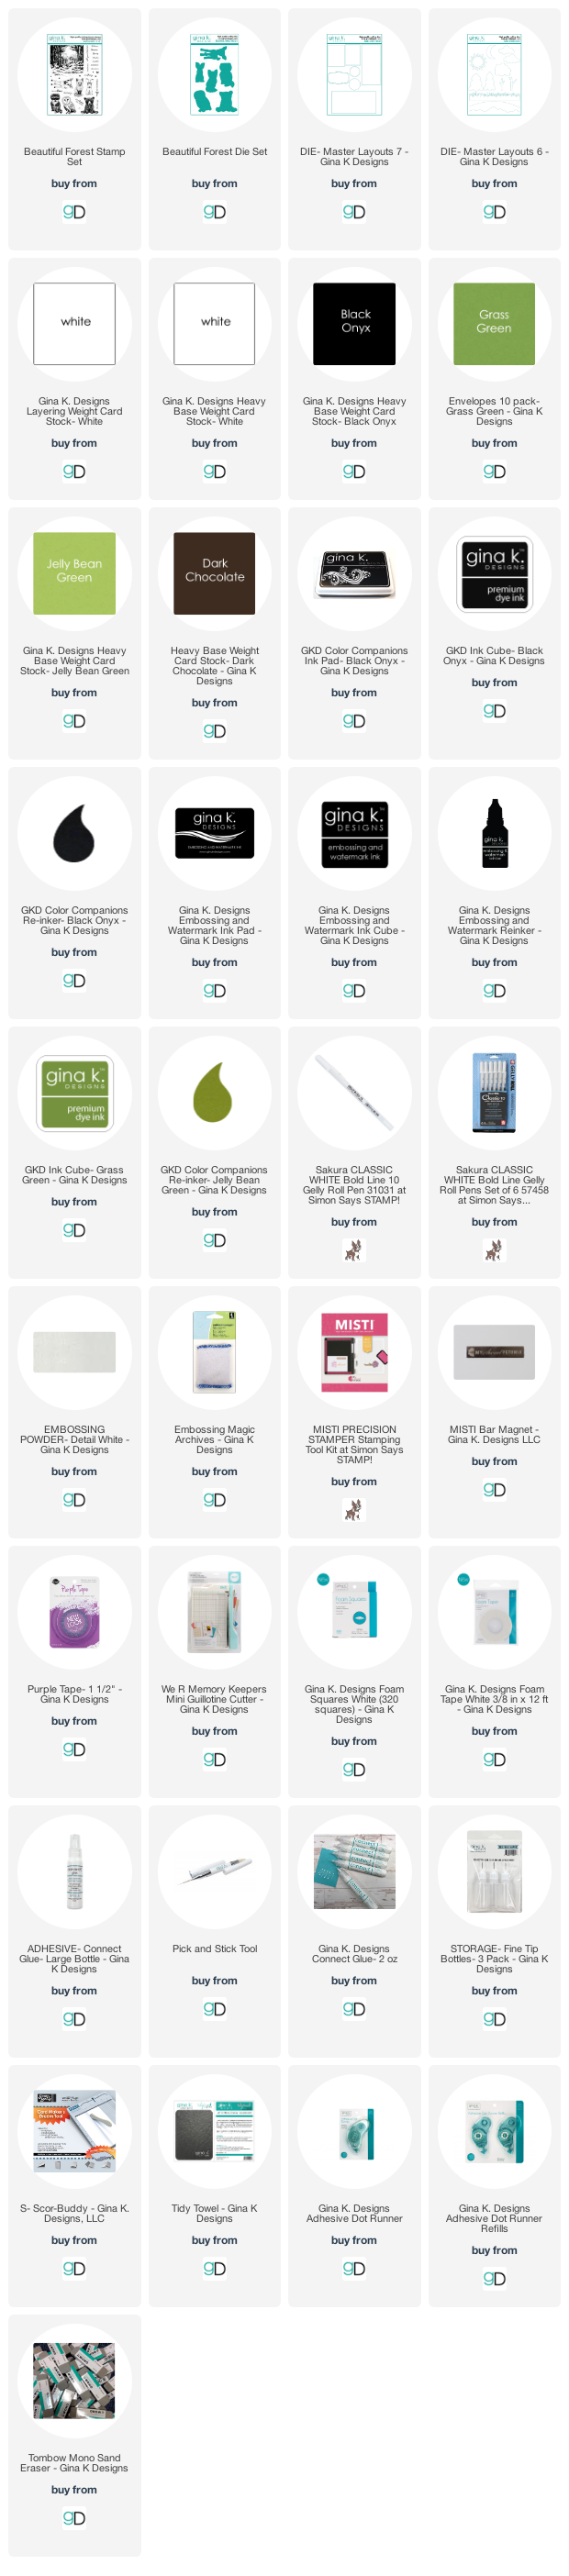
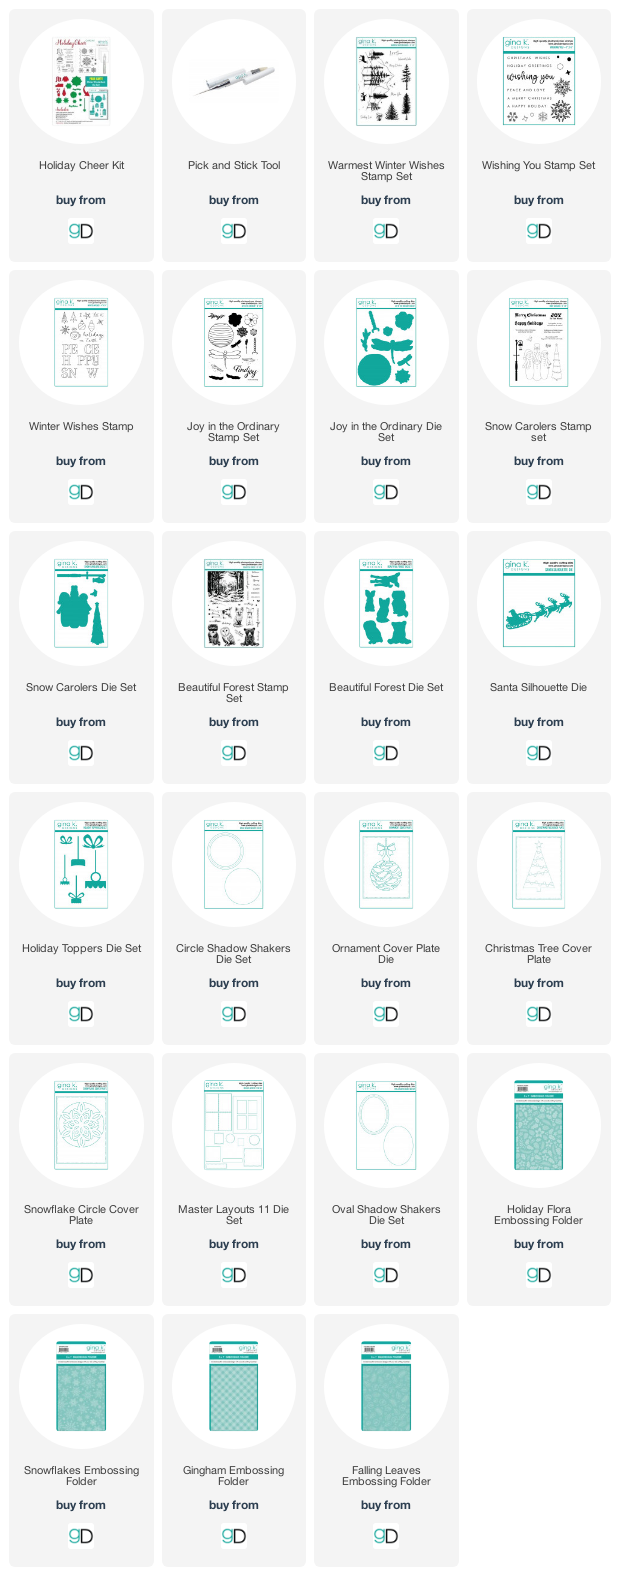
Here is a list of supplies I used on my card, Affiliate Links used at no additional cost. Thank you for your support.