Pages

Sunday, July 31, 2022

#PaperCraftersUniteAgainstRacism - Friendship Has No Color!


Hello everyone!
Today I am sharing this card as a part of the #papercraftersuniteagainstracism Instagram Hop!! My card is created using Dare2bArtzy Stencil in the background and the sentiment is from the stamp set called "We Stand With You", which was a collaboration of several companies from the Stamping Village. They believe in speaking up against racial, social and economic injustice.

I am honored to be a part of the #papercraftersuniteagainstracism. This is an important because racism will touch EVERYONE'S lives in some form or another. If everyone learns how to treat each other with respect, equally and understand "the hand of friendship has no color" the world would be a better place.

Please make sure to check out all the crafters in the hop on Instagram. They are all awesome! You can start @didlet.

Here is my card for your inspiration:


Here is how I created the card.

1. Card is an A2 card measuring 4 1/4 x 5 1/2.

2. Die cut the top panel using with a stitched rectangle from my stash.

3. Used the Dar2bArtzy "Hands Stencil" to ink blend the background with rainbow colors.

 4.  Stamped the sentiment from the "We Stand With You" stamp set in rainbow colors and die cut with a stitched rectangle die from my stash.

4.  Assembled the card and added some enamel dots to finish off the card.

Thank you so much for stopping by, I hope this cause will help someone to understand that we should all be treated equally!

Saturday, July 30, 2022

Kat Scrappiness - Hi

Hello everyone!

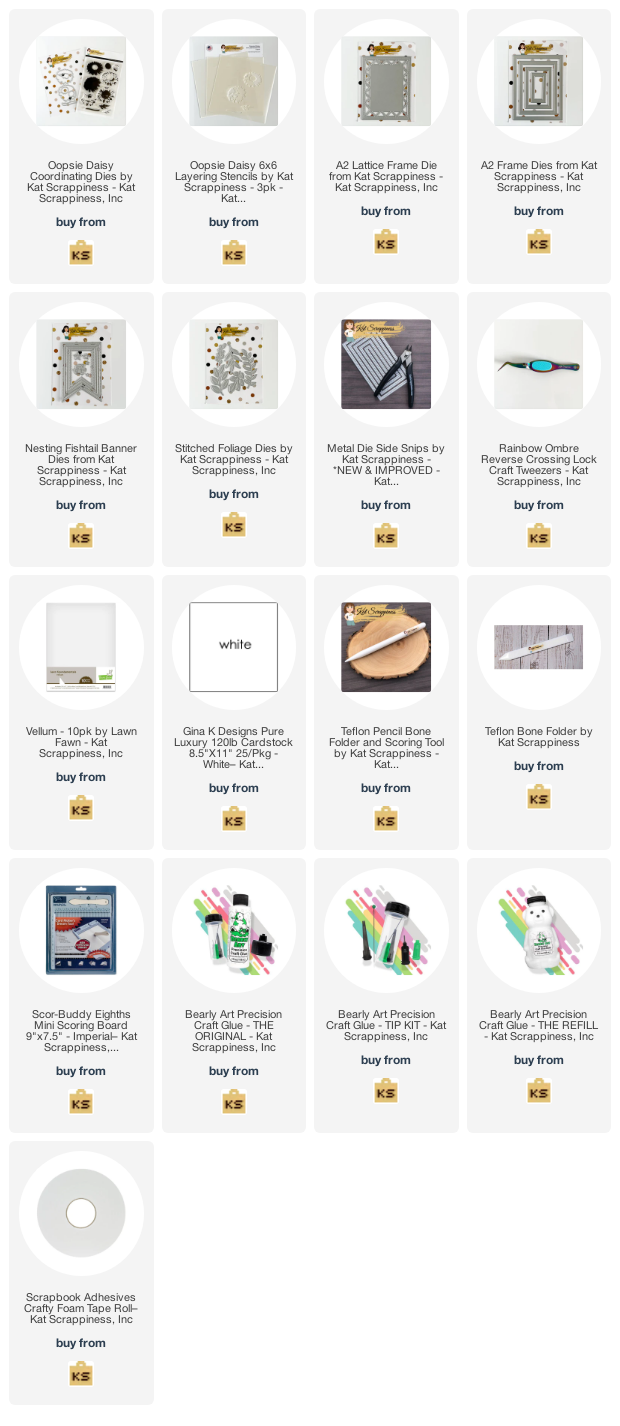
I am here with Kat Scrappiness with a card using the Oopsis Daisy Stencil and coordinating dies. These flowers are so beautiful and can be used for many different occasions. I have made a simple card to send someone with a simple "Hi".


Here is how I created the card:
  • A2 card measuring 4 1/4 x 5 1/2.
  • Used the  Oopsis Daisy Stencil to create the flowers,  die cut them with the coordinating dies.
  • Die cut the A2 Lattice Frame Die which measures 4 1/4 x 5 1/2.
  • Used the A2 Frame Dies (2nd to the largest measuring 2-1/4 x 3-1/2)
  • Die cut the newly released Stitched Foliage using vellum.
  • Die cut the "Hi" sentiment from the Nesting Fishtail Banner Dies.
  • Assembled the card and finished it off by adding some KS Daisy Days enamel dots.
Thank you for stopping by, please come back again.

Here is a list of supplies I used on my card, Affiliate Links used at no additional cost. Thank you for your support. 

Thursday, July 28, 2022

The Maker's Movement - Get Better

Hello everyone!

I am here with The Maker’s Movement sharing a card using the NEWLY Released All Symmetry Stencil and Get Better die set. This colorful card would hopefully brighten up someone's day.  I used the Reverse Stenciling Technique for my card.

Here is my card for your inspiration:


Here is how I created the card

1. A2 card, used the All Symmetry Stencil for the background.  Cut a piece of cardstock 4 1/4 x 5 1/2, ink blended several colors on the background with a blending brush.   Layed the stencil onto the blended piece of paper and ink blend black ink onto the paper.


3.  Die cut a circle, added it to the card and adhered the Get Better die set  onto the circle.  

4. Assembled the card and added some enamel dots onto the card.

Thank you so much for stopping by, please come back again soon!

Wednesday, July 27, 2022

Gina K. Designs - Hello There Friend

Hello everyone!

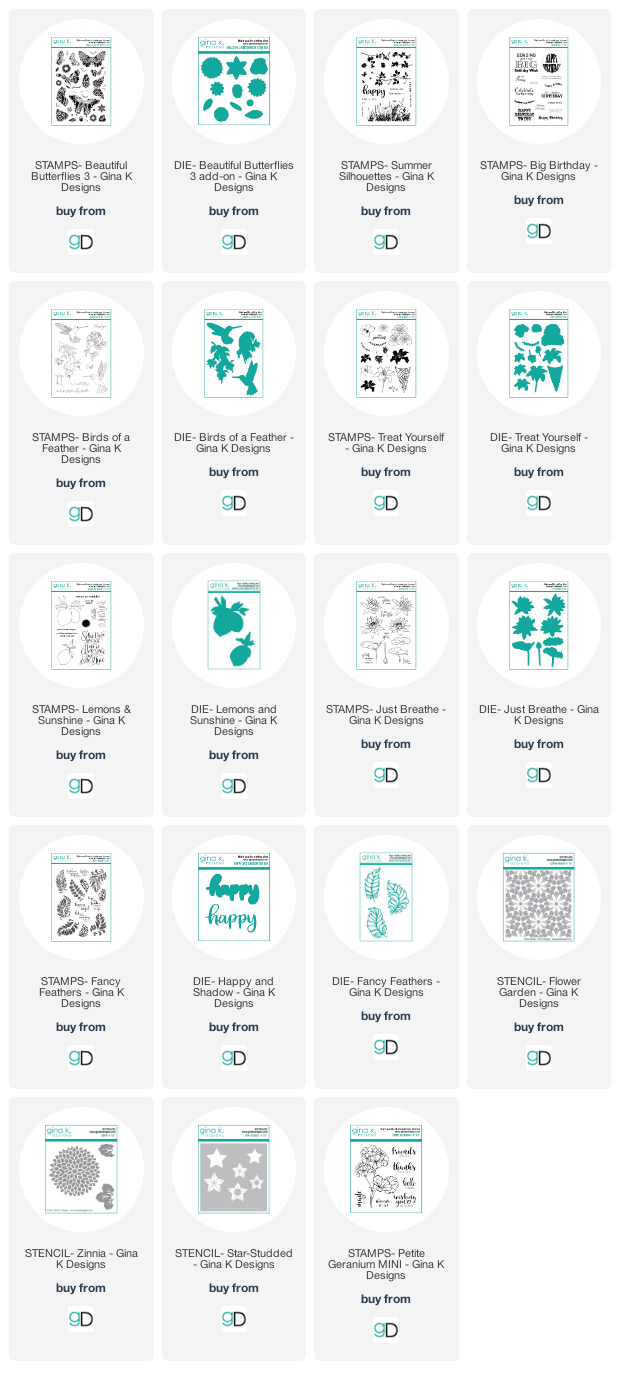
I am back featuring Gina K. Designs NEWLY July 2022 release, that is available NOW. I am using the NEWLY released "Beautiful Butterflies 3" stamp set and coordinating dies illustrated by Melanie Muenchinger. I listed the new release at the bottom of this blog post.

You can see more inspiration from the full release on the Gina K. Designs & StampTV Friends Facebook page. To see the full release, you can go HERE under the What's New section.

Here are my cards for your inspiration:


My card I created using GKD Pattern Paper Watercolor Floral 6x6 pad as the background paper.  I used  GKD Master Layouts 1 to cut the layers. I then cut a circle for the center of the card from Master Layouts 5.  I  stamped the butterfly from the "Beautiful Butterflies 3" stamp set using GKD Plum Punch Ink.  I then die cut the butterfly from the coordinating die,  added foam squares to the butterfly and adhered it to the circle.  I stamped the sentiments from the Beautiful Butterflies 3 stamp set.  I finished off the card by adding sequin to the center of the butterfly.

I hope you have been inspired, these cards are so clean and simple and easy to reproduce. Thank you for stopping by, please come back again soon.

Supplies used for these cards, Affiliate Links used at no cost to you. Thank you for your support.

NEW RELEASE JULY 2022

Newton's Nook Designs - Happy Birthday Big Cheese!

Hello everyone!

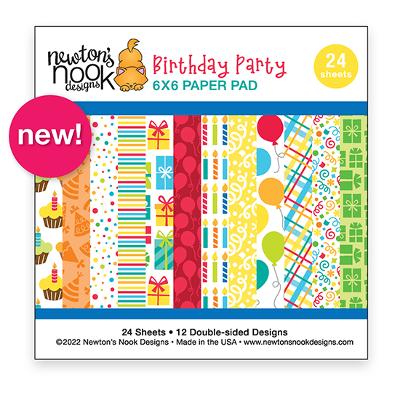
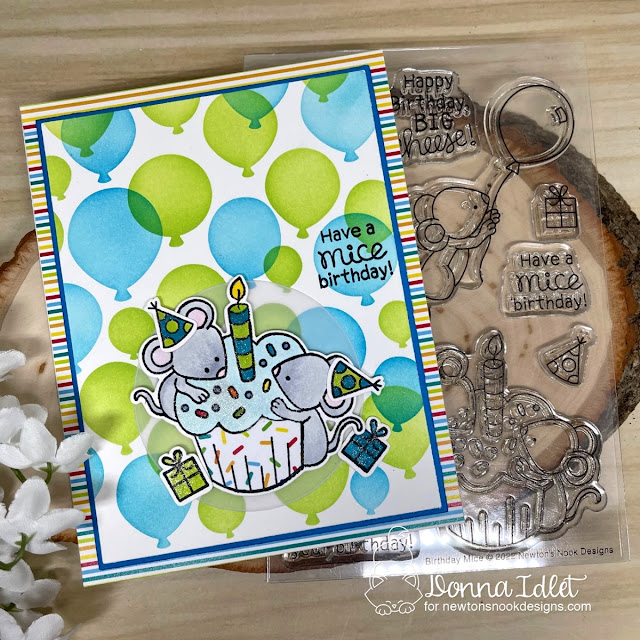
I am here with Newton's Nook Designs featuring Birthday Mouse Stamp Set with the coordinating die. I love how my card turned out with the coordinating colors. The Paper in the background is die cut using the 6x6 Birthday Party Paper Pad and die cut using the Framework Die Set.


Here is how I created my card:

1.  Card is an A2 card measuring 4 1/4 x 5 1/2. 

2.  Die cut the top panel using the 6x6 Birthday Party Paper Pad and die cut using the Framework Die Set.

3.  Stamped, die cut and colored the image from the Birthday Mouse Stamp Set.

4.   Stamped the sentiment from the Birthday Mouse Stamp Set and die cut the sentiment using the Speech Bubbles Die.

5.  Assembled the card and added some enamel dots to finish off the card.


Thank you so much for stopping by, please come back again soon.


Tuesday, July 26, 2022

Gina K. Designs - July 2022 RELEASE

Hello everyone!

I am excited to be here sharing a couple of cards I created from the Gina K. Designs NEWLY July 2022 release, that is available NOW. I am using the NEWLY released "Beautiful Butterflies 3" stamp set and coordinating dies illustrated by Melanie Muenchinger.  I listed the new release at the bottom of this blog post.


You can see more inspiration from the full release on the Gina K. Designs & StampTV Friends Facebook page. To see the full release, you can go HERE under the What's New section.

Here are my cards for your inspiration:


My first card is an A2 card, I cut the layers using the GKD Master Layouts 2 and the scallop layer is cut from GKD Master Layouts 4.  I embossed the white layer with GKD Lattice embossing folder.  I stamped the largest butterfly from the "Beautiful Butterflies 2" first using black ink and then used the newly released "Beautiful Butterflies 3" stamp set, stamped in green.  I die cut the butterfly using the coordinating die.  The sentiment is from the Summer Silhouette Stamp Set and the "happy" is from the Happy and Shadow die.

My second card, I made as a monochromatic card.  The layers are die cut from the GKD Master Layouts 1.  For the background I used the Flower Garden stencil using soft stone ink.  I then stamped the butterflies and sentiments from the "Beautiful Butterflies 3" stamp set.  

I hope you have been inspired, these cards are so clean and simple and easy to reproduce.  Thank you for stopping by, please come back again soon.

Supplies used for these cards, Affiliate Links used at no cost to you. Thank you for your support.


NEW JULY 2022 PRODUCTS RELEASED:

The Maker's Movement - Way to Flamingo

Hello everyone!

I am here with The Maker’s Movement  sharing a cute  card.  I have created my card using the Maker's Movement Flamingo Stamp and Die Set.  The scallop background is also from Maker's Movement called Scalloped Frame Die Set.

Here is my card for your inspiration:


Here is how I created the card

1. A2 card, used the Scalloped Frame Die Set for the background layer using the Crossover II die cutting machine.   

2.  Stamped, colored and die cut the image from the On Point Stamp and Die Set.

3.  Die cut a circle to use as a mask to make the sun in the background.

4. Assembled the card and added some wink of stella on the flower and white gel pen on the flamingo for some interest.

Thank you so much for stopping by, please come back again soon!


Tuesday, July 19, 2022

RETRO RUBBER CHALLENGE BLOG #187 - Tic Tac Toe

Hello everyone!

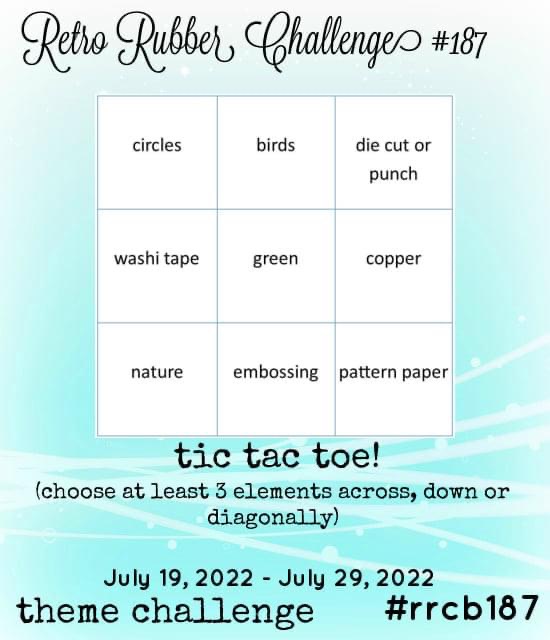
I am here with Retro Rubber Challenge blog and we have a new challenge which is a tic tac toe. Be sure to stop over on the Retro Rubber Challenge blog to get more inspiration, the design team has some wonderful creations!

The rules to play along with Retro Rubber Challenge is very simple, make sure the stamp you use on your project is at least one year or older. For more details on the rules, you can find them over on Retro Rubber Challenge blog.


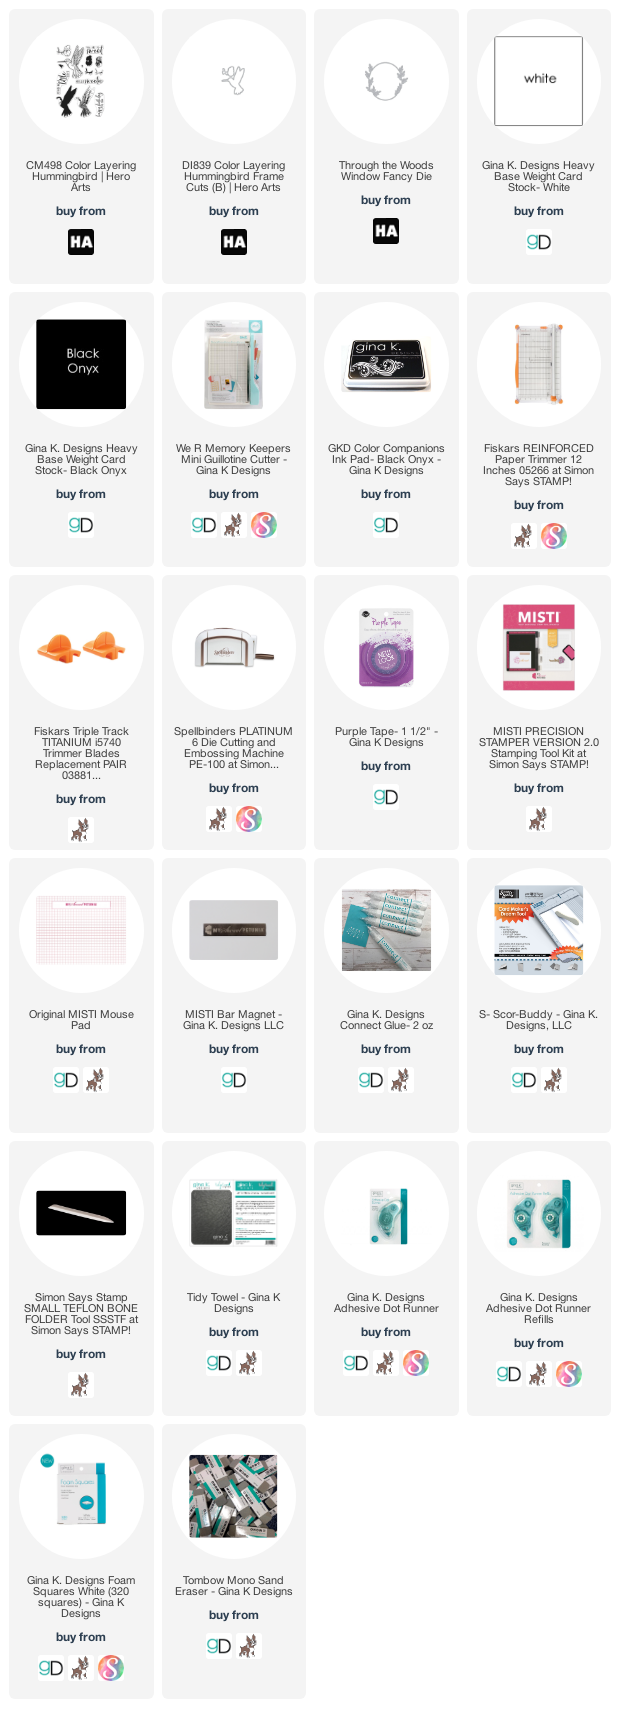
Here is my card for your inspiration. The stamp set I used on my card is by Hero Arts called "Color Layering Hummingbird" that was released May 2021.  My tic Tac Toe is birds, green and embossing.


Here is how I put the card together:
  • Created an A2 card measures 4 1/4 x 5 1/2.
  • Inked blended a panel measuring 4 x 5 1/4. 
  • Die cut the black panel with a stitched die from my stash.
  • Die cut the center of the black panel with Hero Arts "Through the Woods Window" Fancy Die
  • Stamped and die cut the layering elements from the Color Layering Hummingbird stamp set.
  • Stamped and heat embossed the sentiment from the Layering Hummingbird stamp set 
  • Assembled the card and added some rhinestones from my stash to finish the card.
Thank you so much for stopping by, please come back again soon!

Here is a list of supplies I used on my card, Affiliate Links used at no additional cost. Thank you for your support.

Thursday, July 14, 2022

Newton's Nook Designs -July 2022 RELEASE - REVEAL DAY 4


Hello everyone!

Today is the last day Revealing the new release from  Newton's Nook Designs showcasing the NEWLY released products that will be available tomorrow, Friday, July 15th. Today I am featuring "Birthday Mice" and "Birthday Oval" stamp sets with coordinating dies and the "Birthday Party" Paper Pad.

I hope you have enjoyed the reveal this week and enjoyed celebrating Newton's Nook Design turning 9!  For more inspiration please visit Newton's Nook Design Blog to see what the design team has created.


Here is my card for your inspiration:


Here is how I created it:

  • A2 card measuring 4 1/4″ x 5 1/2.
  • Die cut the top layer from the “Birthday Party" Paper Pad. using the Frame and Flag dies.
  • Stamped the images from "Birthday Mice" and "Birthday Oval" stamp sets with coordinating dies and colored with alcohol markers.
  • Assembled the card and for finishing touches added some enamel dots.
Would you like to win the “Bokeh Balloons” Stencil Set? This stamp set will be given away to ONE lucky winner!

Here's how to win: Comment on the NND blog and Design Team blogs (see list below)! The winner will be chosen at random from the collective reveal posts. Make sure to check out each of their blogs and comment for your chance to win. You will not know which blog has been chosen so the more you comment on the better your chances are of winning! You have until Thursday July 14th at 9pm ET to comment -- winners will be announced on the blog post on Friday July 15th.

Check out all the awesome Design Team Blogs below to enter:

Newton's Nook Designs

Donna Idlet (YOU ARE HERE)

Ellen Haxelmans

Larissa Heskett

Samantha Mann

Zsofia Molnar

Farhana Sarker

Tatiana Trafimovich

Amanda Wilcox


Thank you for stopping by, please come back tomorrow for more inspiration!


Wednesday, July 13, 2022

Newton's Nook Designs - July 2022 RELEASE - REVEAL DAY 3


Hello everyone!

I am here with Newton's Nook Designs and today is Reveal Day 3 of the NEWLY released products that will be available on Friday, July 15th. The design team is featuring "Sky High Celebrations" stamp set  For more inspiration please visit Newton's Nook Design Blog to see what the design team has created.


Here is my card for your inspiration:


Here is how I created it:

  • Mini Slimline Card Base: 3 1/2" x 6" (7" x 6", scored at 3 1/2" on the 7" side).
  • Top layer measures 3 1/4 x 5 3/4
  • Inked blended the background using "Bokeh Balloons" stencil in rainbow colors. 
  • Stamped the image from the "Sky High Celebrations", colored the image with alcohol markers and die cut the with the coordinating die.
  • Stamped the sentiment from the "Sky High Celebrations" stamp set.
  • Assembled the card, for finishing touches added wink of stella to the balloons and added glossy accents.
Would you like to win the “Sky High Celebrations” Stamp Set? This stamp set will be given away to ONE lucky winner!

Here's how to win: Comment on the NND blog and Design Team blogs (see list below)! The winner will be chosen at random from the collective reveal posts. Make sure to check out each of their blogs and comment for your chance to win. You will not know which blog has been chosen so the more you comment on the better your chances are of winning! You have until Thursday July 14th at 9pm ET to comment -- winners will be announced on the blog post on Friday July 15th.

Check out all the awesome Design Team Blogs below to enter:

Newton's Nook Designs

Donna Idlet (YOU ARE HERE)

Ellen Haxelmans

Larissa Heskett

Samantha Mann

Zsofia Molnar

Farhana Sarker

Tatiana Trafimovich

Amanda Wilcox


Thank you for stopping by, please come back tomorrow for more inspiration!

Kat Scrappiness - #Ukrainestrong!

Hello everyone!

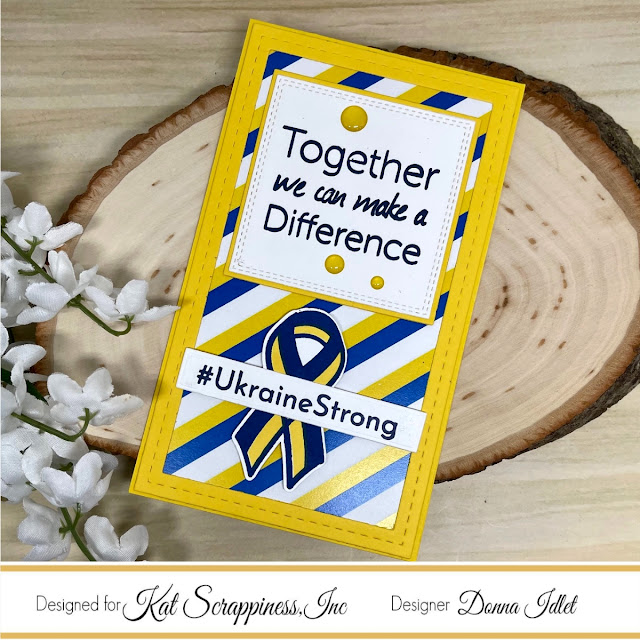
I am here with Kat Scrappiness featuring the #Ukrainestrong 6x8 stamp set with coordinating dies and the #UkaineStrong 6x8 Paper Pack.  Last month this set was sold as a bundle, you can now get the individual sets.   Kat Scrappiness has extended the fundraiser and will continue to donate the profits from the sales to the Ukraine Crisis Relief Fund via GlobalGiving.org.  You can find them HERE.

Here is my card for your inspiration:


Here is how I created the card.
1. Card is a Mini Slimline measuring 6″ x 3 1/2″ (6″ x 7″, scored at 3 1/2″ on 7″ side).

2. Die cut the design paper panel with Mini Slimline Never Ending Dies and the frame is from Mini Slimline Tri-Frame Dies.

3. Stamped the sentiment from the #Ukrainestrong stamp set and die cut it with the Double Stitched Square Dies.

4.  Stamped the #ukrainestrong and die cut it using the Boxed Sentiment Strip die.

5. Stamped and die cut the ribbon from the #Ukrainestrong 6x8 stamp set with ink from my stash.

6. Assembled the card and for finishing touches added the KS Daisy Days Enamel Dots.


Thank you for stopping by, please come back again.

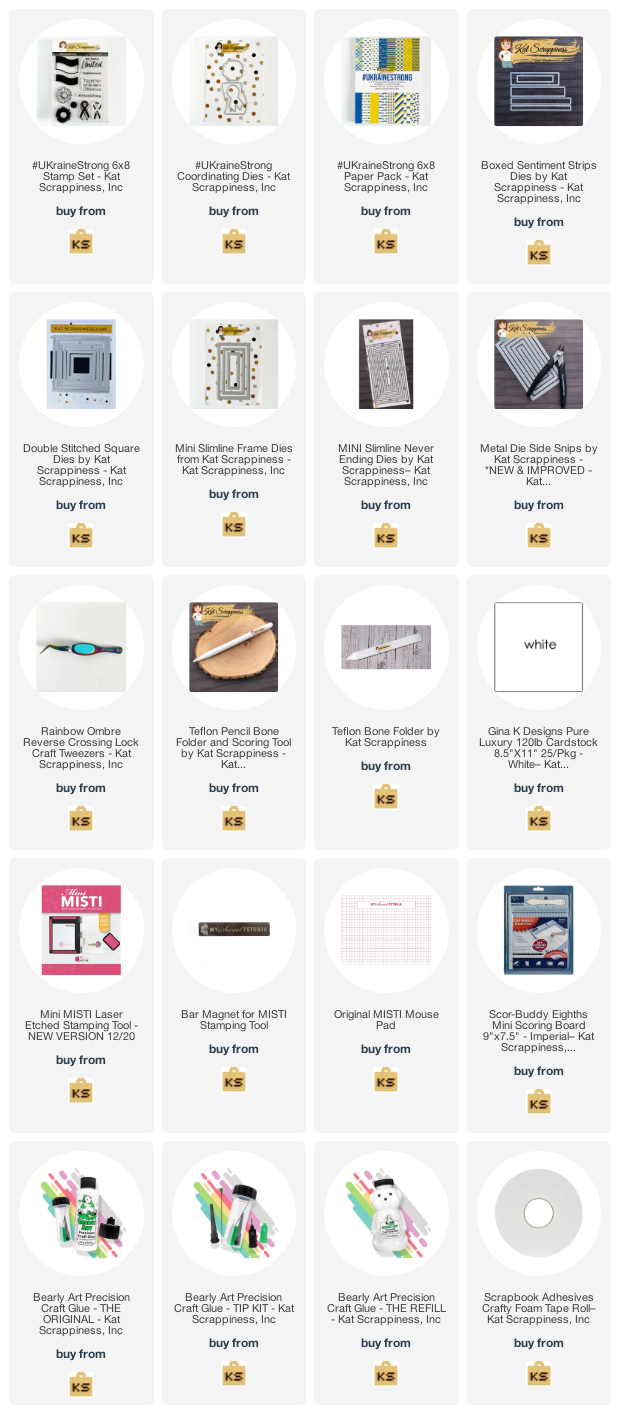
Here is a list of supplies I used on my card, Affiliate Links used at no additional cost. Thank you for your support.

Tuesday, July 12, 2022

Happy Birthday Newton's Nook Designs - July 2022 RELEASE - REVEAL DAY 2


Hello everyone!

I am again today celebrating Newton's Nook Designs birthday!  It's Reveal Day 2 of Newton's Nook Designs NEWLY released products that will be available on Friday, July 15th. The design team is featuring "Birthday Oval" stamp set  For more inspiration please visit Newton's Nook Design Blog to see what the design team has created.


Here is my card for your inspiration:


Here is how I created it:

  • A2 card measuring 4 1/4″ x 5 1/2.
  • The top layers of the card is cut from the "Birthday Party" Paper Pad.
  • Stamped and embossed the image from the "Birthday Oval" stamp set, water colored the background with markers from my stash.  Added the sentiment from the "Birthday Oval" stamp set.
  • Assembled the card and for finishing touches added some enamel dots from my stash.
Would you like to win the “Birthday Oval” Stamp Set? This stamp set will be given away to ONE lucky winner!

Here's how to win: Comment on the NND blog and Design Team blogs (see list below)! The winner will be chosen at random from the collective reveal posts. Make sure to check out each of their blogs and comment for your chance to win. You will not know which blog has been chosen so the more you comment on the better your chances are of winning! You have until Thursday July 14th at 9pm ET to comment -- winners will be announced on the blog post on Friday July 15th.

Check out all the awesome Design Team Blogs below to enter:

Newton's Nook Designs

Donna Idlet (YOU ARE HERE)

Ellen Haxelmans

Larissa Heskett

Samantha Mann

Zsofia Molnar

Farhana Sarker

Tatiana Trafimovich

Amanda Wilcox


Thank you for stopping by, please come back tomorrow for more inspiration!


Monday, July 11, 2022

Happy Birthday Newton's Nooks Designs - July 2022 RELEASE - REVEAL DAY 1


Hello everyone!

Happy Birthday Newton's Nook Designs!  Newton's Nook Designs is turning 9 and we will be celebrating all week with "birthday" themed cards.  It's Reveal Day 1 of the NEWLY released products that will be available on Friday, July 15th. The design team is featuring "Birthday Mice" stamp set and coordinating Dies, "Birthday Party" Paper Pad and "Bokeh Balloons" Two Piece Stencil. For more inspiration please visit Newton's Nook Design Blog to see what the design team has created.


Here is my card for your inspiration:


Here is how I created it:

  • A2 card measuring 4 1/4″ x 5 1/2.
  • Cute the background paper using the "Birthday Party" Paper Pad at 4 1/4 x 5 1/2.
  • The top layer, inked blended the balloons from the "Bokeh Balloons" Two Piece Stencil.
  • Stamped and die cut the mice from the "Birthday Mice" stamp set, colored with alcohol markers, and added the sentiment.
  • Assembled the card for finishing touches, added Wink of Stella to the hats, candle and presents.
Would you like to win the “Birthday Mice” Stamp Set? This stamp set will be given away to ONE lucky winner!

Here's how to win: Comment on the NND blog and Design Team blogs (see list below)! The winner will be chosen at random from the collective reveal posts. Make sure to check out each of their blogs and comment for your chance to win. You will not know which blog has been chosen so the more you comment on the better your chances are of winning! You have until Thursday July 14th at 9pm ET to comment -- winners will be announced on the blog post on Friday July 15th.

Check out all the awesome Design Team Blogs below to enter:

Newton's Nook Designs

Donna Idlet (YOU ARE HERE)

Ellen Haxelmans

Larissa Heskett

Samantha Mann

Zsofia Molnar

Farhana Sarker

Tatiana Trafimovich

Amanda Wilcox


Thank you for stopping by, please come back tomorrow for more inspiration!


Saturday, July 9, 2022

Lawn Fawn - Happy Bee-Day!

Hello everyone!

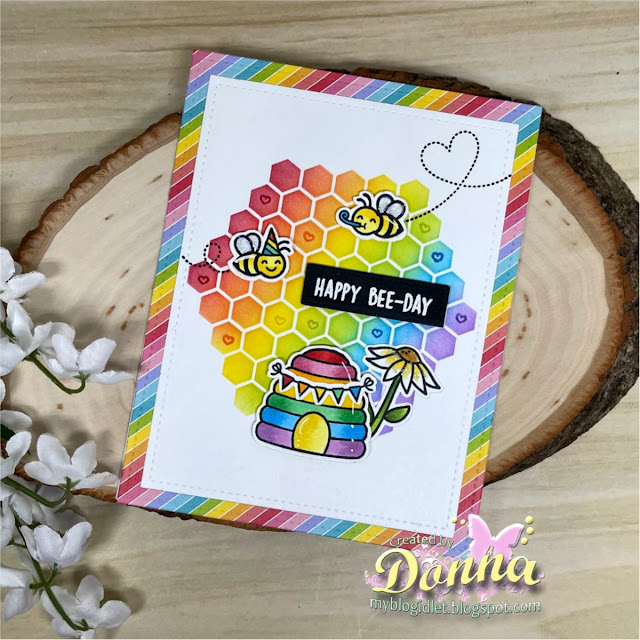
I received the Hive Five Kit from Lawn Fawn yesterday and could not wait to get it inky!  It's a gloomy day today and I was looking at the samples on Lawn Fawn's store and saw Mindy Eggen's background and could not help myself to do a rainbow background too.   

I just looked in the store and the kit has sold out. I hope you were able to get it. If you did not get an opportunity to get it, you can get notified when the set is back in stock.

If you haven't seen Kelly the owner of Lawn Fawn and Jenn Shurkus is having another fun craft and chat on Friday, July 15 at 4PM Pacific Daylight featuring the Hive Five Kit! If you don't have the kit, you can always substitute something else you have in your stash.  You can find all the details here.  

Here is my card for your inspiration:


Here is how I created the card:

1.  Card is an A2 card, measuring 4 1/4 x 5 1/2.
2.  Background paper is from the 6x6 Really Rainbow petite paper pack, I die cut the panel using LF Large Stitched Rectangle Dies (5 1/2 X 4 1/4).  The white panel is die cut from the LF Small Stitched Rectangle Stackable (5 X 3 3/4).  
3.  Ink blended the background using the honeycomb stencil and GKD Inks.
4.  Stamped, die cut and colored the images using Copic colors.
5.  Assembled the card.

Thank you for stopping by, please come back again soon.

Here is a list of supplies I used on my card, Affiliate Links used at no additional cost. Thank you for your support.

Tuesday, July 5, 2022

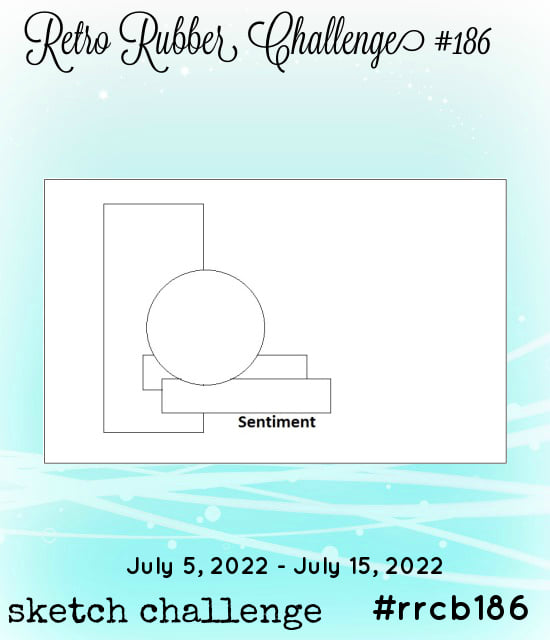
RETRO RUBBER CHALLENGE BLOG #186 - Sketch Challenge

Hello everyone!

I am here with Retro Rubber Challenge blog and we have a new challenge which is a sketch. Be sure to stop over on the Retro Rubber Challenge blog to get more inspiration, the design team has some wonderful creations!

The rules to play along with Retro Rubber Challenge is very simple, make sure the stamp you use on your project is at least one year or older. For more details on the rules, you can find them over on Retro Rubber Challenge blog.


Here is my card for your inspiration. The stamp set I used on my card is by Pretty Pink Posh called "Jungle Friends" that was released June 2020.  The sentiment is also Pretty Pink Posh called "Everyday Greetings" which was released February 2017.


Here is how I put the card together:

  • Created an A2 card measures 4 1/4 x 5 1/2.
  • Used designer paper from Sunny Studios called Surprise Party. Die cut the Layers Using Gina K. Designs Master Layouts 1 and the circle was cut from MFT Circles.
  • Stamped the sentiment from the "Everyday Greetings" in black ink.
  • Stamped the images and colored with Copics adhered to card and popped up gift.
  • Assembled the card.
Thank you so much for stopping by, please come back again soon!

Here is a list of supplies I used on my card, Affiliate Links used at no additional cost. Thank you for your support.

Friday, July 1, 2022

MERRY LITTLE CHRISTMAS CHALLENGE BLOG (MLCCB) - Let It Snow!


Hello everyone!

I’m  excited to be joining the Merry Little Christmas Challenge Blog design team! It’s an Anything Goes Christmas challenge. I have the cuties card to share with you. I hope you will come play along with the Christmas Challenge. It will run for six weeks, ending at 4:00 PM Mountain Time on the 15th of next month, so get out your crafty Christmas stash and come play with us!

Here is my card for your inspiration:

My card I created I used the Lawn Fawn Giant Let It Snow die, Lawn Fawn Stitched Snowflake Backdrop, and the stamp set is from Whipper Snapper Designs Ozzie & Harriet Stamp set.  I ink smooshed the background and used the stitched snowflake backdrop.  I colored the images with copics.  

I hope I have inspired you to play along with the Merry Little Christmas Challenge.  The theme is always Christmas...perfect time to get some Christmas cards done to send out during the holiday.

Thank you for stopping by, please come play along!