Hello everyone!
I am here with A Blog Named Hero and we are collaborating this month with Chibitronics! What is Chibitronics? They’re a great company that make electronic stickers that have lights on them that allow you to incorporate technology into your cards and crafts. They are very easy to use, come with wonderful instructions, and they have amazing tutorials to help guide you to use their products.
This month challenge is "interactive", which seems to fit with the Chibitronics! If you don't have Chibitronics you can make a slider or shaker card or anything you can think of that would be interactive! I can't wait to see what you come up with. And stop by A Blog Named Hero's blog and get more inspiration!
It's hard to see, but the light is on right where the fireworks are going off.
Here is a short video of the lights going on and off:
Here is how I put my card together:
1. I cut my panel 3 7/8 x 5,
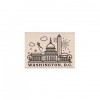
2. I stamped the Hero Arts Destination Washington, DC stamp with versamark and heat embossed it with Hero Arts white embossing powder,
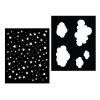
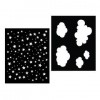
3. I masked off the embossed image and used the Hero Arts pair sky (star) stencil to make the stars on the background. I let that dry,
4. I then used some distress inks to make the background.
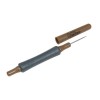
5. I used the pick to put small holes where I wanted my lights to shine,
6. Then I used layed my copper tape where I needed it to connect to the battery (which is where the folded piece is),
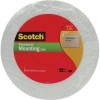
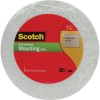
Here is what it looked like after I put all the foam tape down and centered it on the stamped part of my card. I added some adhesive and this part is ready to be put on my layer for the card.
I can’t wait to see what you create. Don’t forget to read our Challenge Rules to make sure you’re eligible to win. You can submit your project here!







Very cool card!!
ReplyDeleteWonderful card design and I bet when it lights up it is really awesome.
ReplyDeleteamazing! thanks for the tutorial!
ReplyDelete