Pages

Friday, December 30, 2022

KAT SCRAPPINESS - Rainbow Hugs

Hello everyone!

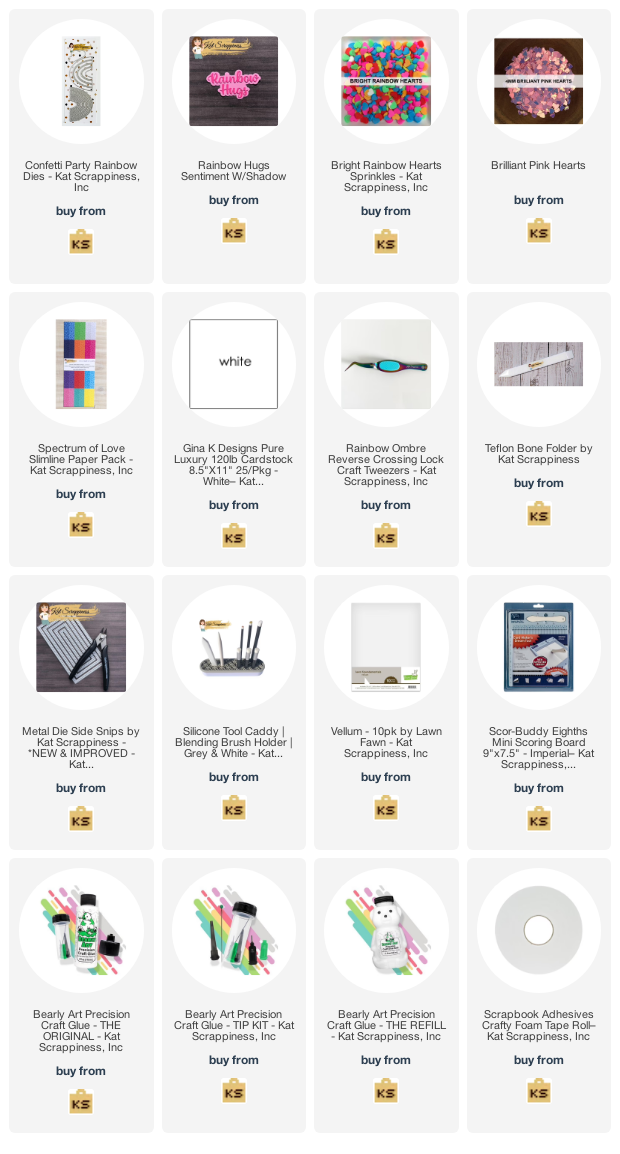
I am here with Kat Scrappiness sharing a card featuring the Confetti Party Rainbow Dies, Rainbow Hugs Word w/Shadow die and the Spectrum Of Love Slimline Paper Pack.  This would be the perfect card to send your Valentine.

Here is my card for your inspiration:


My card is an A2 card and I used the Confetti Party Rainbow Dies to cut out the frame of the card.  I then used the Spectrum Of Love Slimline Paper Pack to cut out the arches in rainbow order.  I also cut out the arches in white to layer the arches so they would give the rainbow some depth.  I then die cut the Rainbow Hugs Word w/Shadow die with black card stock and cut the shadow with vellum.  I added some hearts from the Bright Rainbow Hearts Sprinkles and added them to the card.  I also added some hearts to the clouds from the Brilliant Pink Hearts.

Thank you so much for stopping by, please come back again soon!

Here is a list of supplies I used on my cards. Affiliate Links used at no additional cost. Thank you for your support.

Wednesday, December 14, 2022

Newton's Nook Designs - Snowman Greetings

Hello everyone!

I am here with Newton's Nook Designs featuring the Snowman Greetings Stamp Set and coordinating dies. This is an adorable set, perfect to send someone a winter greeting!


My card is an A2 card, I stamped the image in black and colored with alcohol markers. The sentiment if also from the Snowman Greeting Stamp set. I stamped and embossed the sentiment in white. I die cut the image with the coordinating Snowman Greetings Die Set.
 
For the card background I ink blended a panel and then she added some sparkly snowflakes using the Petite Snow Stencil with glittery texture paste.


Thank you so much for stopping by, please stop by Newton's Nooks Blog for more inspiration!

Tuesday, December 13, 2022

Kat Scrappiness - Joy

Hello everyone!

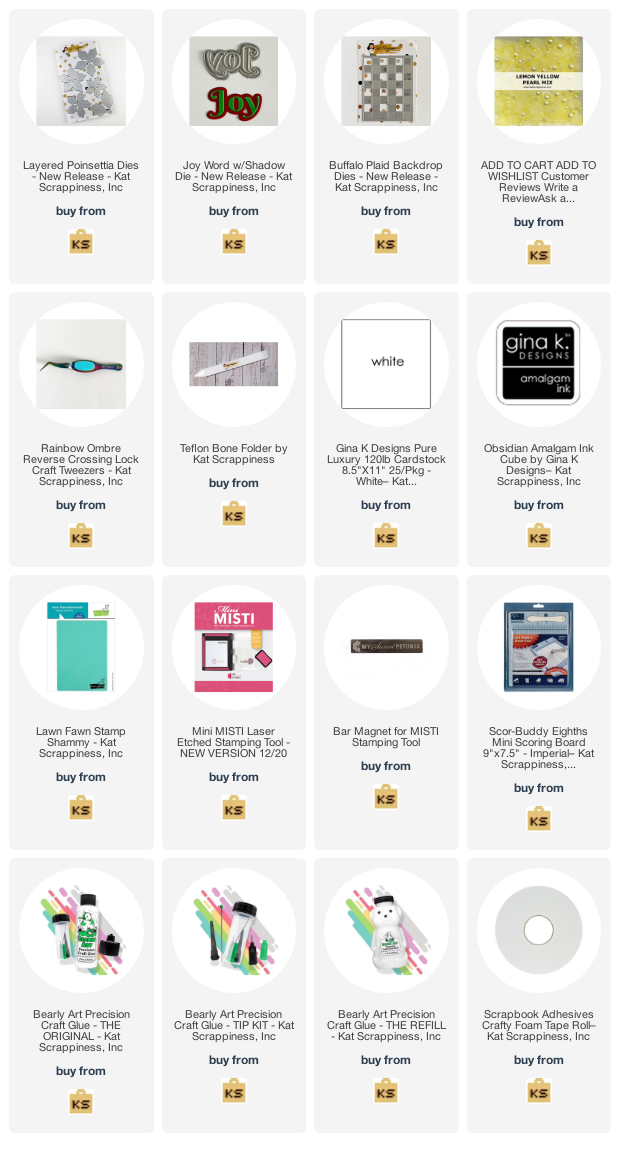
I am here with Kat Scrappiness sharing a card featuring the NEW A2 Buffalo Plaid Backdrop Dies, Layered Poinsettia dies, and the Joy w/Shadow die.

Here is my card for your inspiration:


I'm in love with the NEW Layered Poinsettia die. I die cut the poinsettia using pink paper and  the leaves using green paper and then inked the blended the pedals, I then added some splatters for some texture.

For the background I used the NEW  Buffalo Plaid Backdrop Dies, die cutting the top layer with white cardstock and the bottom with silver glitter paper.

I added the Joy from the Joy w/Shadow die, I die cut the shadow in black and the letters with the silver glitter paper.  For finishing touches I added some KS Lemon Yellow Pearl Mix in the center of the flower.


Here is a closer look at the poinsettia, I love all the dimension.

Thank you so much for stopping by, please come back again soon!

Here is a list of supplies I used on my cards. Affiliate Links used at no additional cost. Thank you for your support.

Friday, December 9, 2022

Newton's Nook Designs - Deck the Halls with Inky Paws

Happy Holidays everyone!

Welcome to the Newtons’s Nook Designs Annual Deck the Halls with Inky Paws Blog Hop!! The hop is full of inspiration from the design team and guest designers.  What's a hop without some prizes? NND will be choosing two lucky winners to win a $25 store credit for Newton's Nook Designs online store!  You can find all the details below!

Before I share my project, as an EXTRA BONUS Newton’s Nook is also having a “Deck the Halls with Inky Paws SALE!”. Celebrate with us and save $5 off every $30 you spend (up to $25 off) at newtonsnookdesigns.com.  

I hope you have enjoyed the holiday inspiration on the NND blog this week, come hope along with the DT and guest designers for a chance to win a prize (details below)! We hope you will join us!


Now onto my card, I am featuring Dear Santa Stamp Set with the coordinating dies (grab this set while it's still available, it is on sale!) and the Christmas Time Paper Pad.


Here is how I created my card:
  • Card is an A2 top folding card measuring 4 1/4 x 5 1/2.
  • Cut the top layers using the Christmas Time Paper Pad.  Love how the paper coordinates with the stamp set.
  • Die cut the stitched circle using NND Circle Frames Die Set with vellum.
  • Stamped and die cut the Santa from the Dear Santa Stamp Set and die cut it with the Dear Santa Die Set.
  • Added the circle and the elements to the front of the card and then stamped and embossed the sentiment from the Dear Santa Stamp Set.
  • For finishing touches added some added some fine glitter to the presents and trim on the Santa.

Enter to Win! Deck the Halls with Inky Paws Hop Prizes!

We will be choosing two lucky winners to win a $25 store credit for Newton's Nook Designs online shop! To enter, just leave comments on the Design Team Member and Guest blogs (see list below)! Two winners will be chosen at random from the collective blogs in the blog hop. Make sure to check out each of their blogs and comment for your chance to win. You will not know which blog has been chosen so the more you comment on the better your chances are of winning! You have until Sunday, December 11th at 9 pm EST to comment -- winners will be announced on the NND blog on Monday, December 12th.

Tuesday, December 6, 2022

RETRO RUBBER CHALLENGE BLOG #197 - Merry Christmas!

Hello everyone,

I am here with Retro Rubber Challenge blog and we have a new challenge, which is an inspirational photo.  I love these inspirational challenges and I love the card I created for your inspiration.  Be sure to stop over on the Retro Rubber Challenge blog to get more inspiration, the design team has some wonderful creations!

The rules to play along with Retro Rubber Challenge is very simple, make sure the stamp you use on your project is at least one year or older. For more details on the rules, you can find them over on Retro Rubber Challenge blog.


Here is my card for your inspiration. I've have created a flat shaker.  I am using Honeybee Stamps Mugs & Kisses dies that was released in October 2021. The sentiment is from Gina K. Designs from the Holiday Greeting sentiment sheets released in September 2021.


Are you ready to play along? Be sure to stop over on the Retro Rubber Challenge blog to get some more inspiration! Thank you for stopping by, you have until December 16th to join the fun!  Happy Holidays and see you next year for fun challenges from Retro Rubber!

Thank you for stopping by, please come back again soon.