Pages

Thursday, December 30, 2021

Kat Scrappiness -,Happy New Year!

Hello everyone!

Happy New Year a couple of days early! I am here with Kat Scrappiness sharing a New Year mini slimline card. I love the colors on this card, gold and black are so rich and elegant.  The Happy New Year die is a KS die and I offset if with some glitter black cardstock.
 
Here is my card for your inspiration:


Here is how I created the card:
  • Cut the white Slimline Card Base: 6″ x 3 1/2″ (6″ x 7″, scored at 3 1/2″).
  • I cut paper using my cutter with the black and gold cardstock (I didn't measure anything)
  • Die cut the strips using Mini Slimline Wonky Dies and adhered it to the base of the card.
  • Die cut the word die from KS "Happy New Year" Brush Script Word & Sentiment Die twice and offset the black glitter paper.
  • Assembled the card and added KS Gold and Onyx Black Pearl Mix.
Thank you so much for stopping by, please head over to Kat Scrappiness blog for more inspiration.

Here is a list of supplies I used on my card, Affiliate Links used at no additional cost. Thank you for your support.

Monday, December 20, 2021

GINA K. DESIGNS DECEMBER 2021 RELEASE

Hello everyone!

I am here sharing some cards from the Gina K. Designs NEWLY release products from the December 2021 release. This is another fabulous release as always! I am using the "Forest Friends" stamp set illustrated by Melanie Muenchinger. I am also using the "Friendly Silhouettes" stamp set. You can see more inspiration from the full release on the Gina K. Designs & StampTV Friends Facebook page. To see the full release, you can go HERE under the What's New section.

Here are my cards for your inspiration:


Card is an A2 measuring 4 1/4 x 5 1/2.  Ink blend a piece of cardstock with Passionate Pink, making an ombre look, Die cut the background using the Heart Cover Plate and adhered it to the pink layer which was cut using Master Layouts 2.  Die cut the GKD Gift Card Tag, cut the top off and adhered it to the card.  I stamped the sentiment from the Friendly Silhouettes" stamp set and the "friend" die is from Master Layouts 9.  Lastly, stamped the bear from the Forest Friends" stamp set, colored with color pencils and adhered it to the card.


Card is an A2 measuring 4 1/4 x 5 1/2, stamped the heart image onto card and colored it with copics.  Die cut the layers with Master Layouts 2.  Stamped the sentiment and owl (stamp the owl with Honey Mustard) colored with copics and used foam squares to adhere it to the card.  

Thank you so much for stopping by, I hope I have inspired you!

Here are the supplies I used for these cards, Affiliate Links used at no cost to you.

Monday, December 13, 2021

Kat Scrappiness - Merry Christmas

Hello everyone!

Can you believe it is only 13 days before Christmas?  For those of you who celebrate, have you gotten your Christmas shopping done and house decorated?  Have you gotten your Christmas cards mailed?  I'm almost finished everything except my Christmas cards.

I am here with Kat Scrappiness sharing a Christmas mini slimline card.  I love the color purple and I really love how this card came together.  It's clean and simple but elegant.  
 
Here is my card for your inspiration:


Here is how I created the card:
  • Cut the white Slimline Card Base: 6″ x 3 1/2″ (6″ x 7″, scored at 3 1/2″).
  • Die cut the top layer using Mini Slimline Zig Zag Dies using KS Sugar Plum Fairies slimline paper.
  • Die cut the word die from KS Merry Christmas W/Shadow Die, using vellum for the shadow and purple mirrored paper.
  • Die cut the snowflakes from KS Build A Stocking (Christmas) Dies.
  • Assembled the card and added some KS Violet Pearl Mix.

Thank you so much for stopping by, please head over to Kat Scrappiness blog for more inspiration.

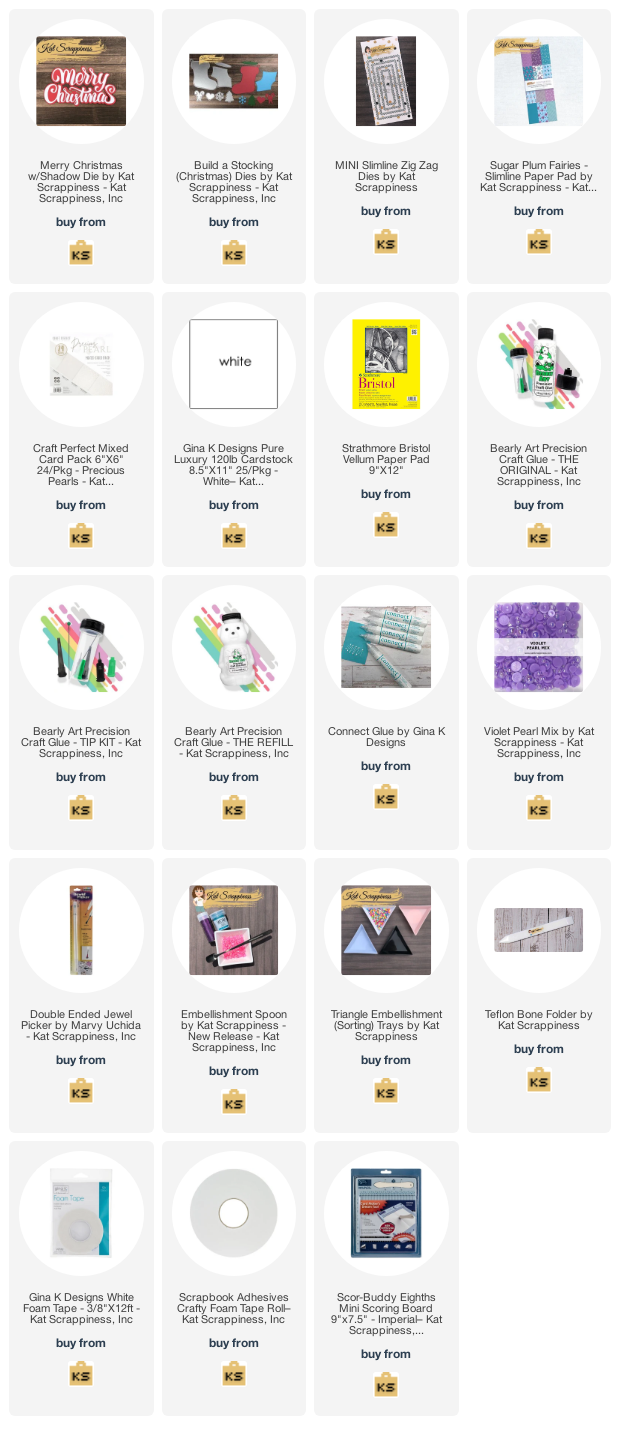
Here is a list of supplies I used on my card, Affiliate Links used at no additional cost. Thank you for your support.

Saturday, December 11, 2021

Doodlebug Designs Christmas Hop - Night Before Christmas

Hello everyone!

I am joining a group of ladies for a Doodlebug Designs Christmas Hop! Who doesn't love Doodlebug? I am using the "Night Before Christmas" 6x6 paper pad and the odds & ends ephemera. The sentiment is from Doodlebug stamp set I received which was excusive to Crop & Create called Deck the Halls.

What is there a hop without a prize? “Fresh and Renewed with Teresa”, is the sponsor for this hop and there is a prize valued at $50 of doodlebug products up for grabs. All you have to do is comment on every participates IG, blog and video by December 18th. The winner will be selected randomly and will be announced December 20th on Teresa Russell’s YouTube channel (https://youtu.be/HXzk7plP7Lc ).

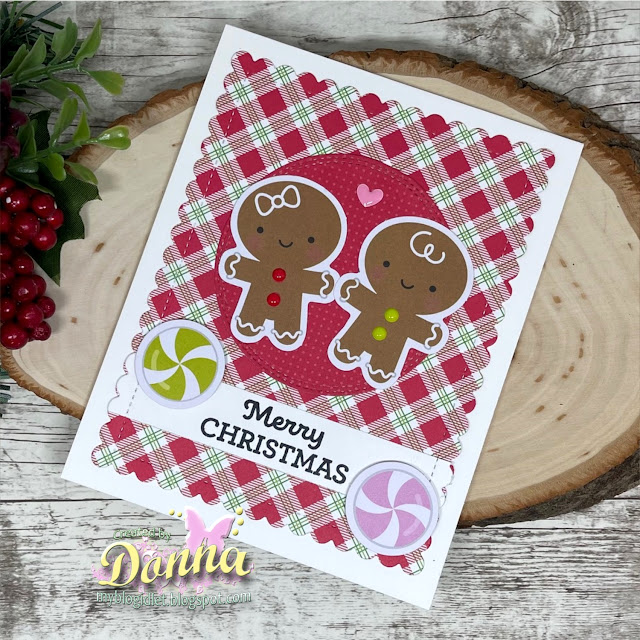
Here is my card for your inspiration:


Here is how I created my card:

  • Die cut the plaid paper with a scalloped die
  • Die cut the circle with a stitched circle die
  • Added the Gingerbread men from the odds and end ephemera added doodlebugs enamel dots
  • Stamped the sentiment, die cut with the scalloped die, added to card
  • Added the candy from the odds and end ephemera 
  • Added heart from doodlebug enamel dots
  • Assembled the card
Thank you so much for stopping by, don't forget to join the blog hop on instagram, my instagram is: https://www.instagram.com/didlet  

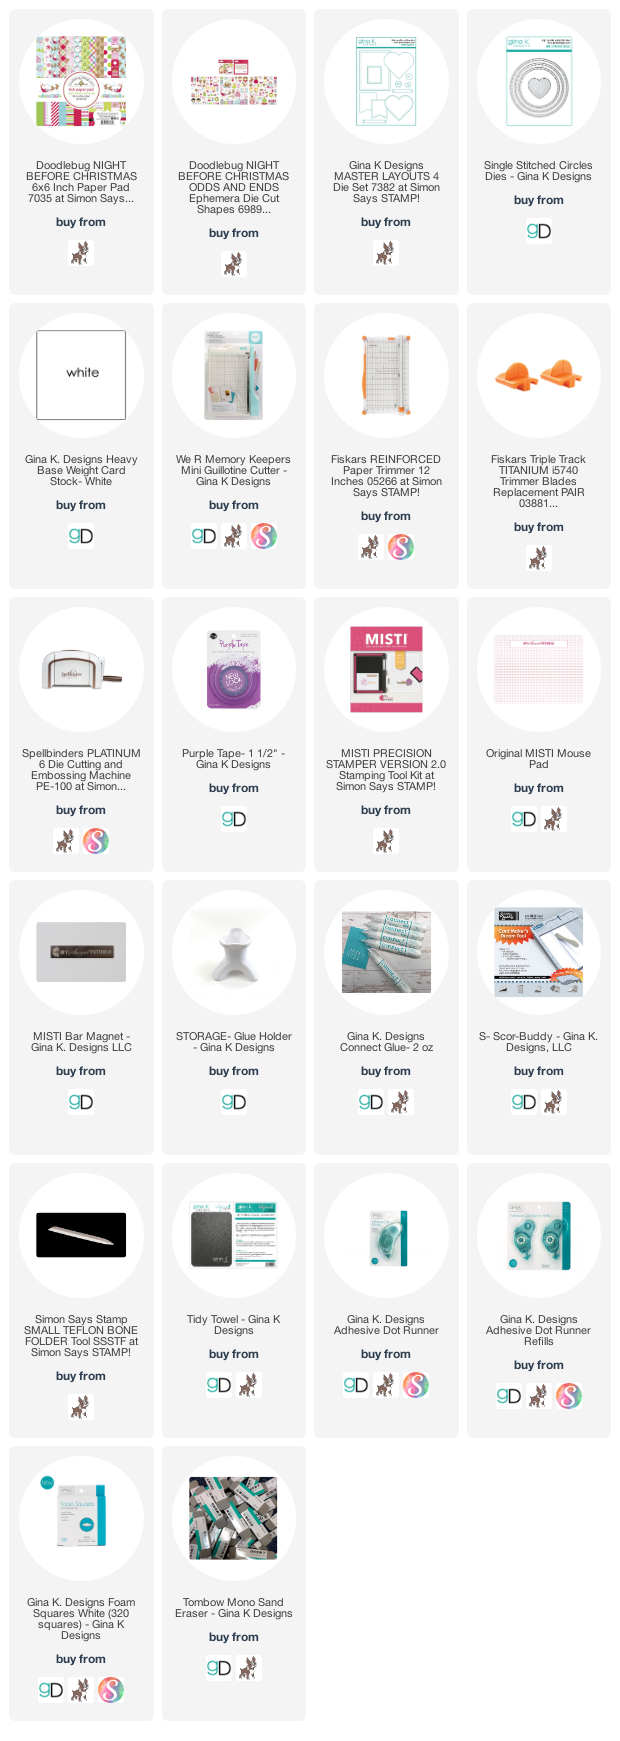
Here is a list of supplies I used on my card, Affiliate Links used at no additional cost. Thank you for your support.

Tuesday, December 7, 2021

RETRO RUBBER CHALLENGE BLOG #173 - Inspirational Photo

Hello everyone!

I am here with Retro Rubber Challenge blog and we have a new challenge, which is an inspirational photo.  I love this inspirational challenge and I love the card I created for your inspiration.  Be sure to stop over on the Retro Rubber Challenge blog to get more inspiration, the design team has some wonderful creations!

The rules to play along with Retro Rubber Challenge is very simple, make sure the stamp you use on your project is at least one year or older. For more details on the rules, you can find them over on Retro Rubber Challenge blog.


Here is my card for your inspiration. I am using Colorado Craft Company Stamp set called Pine Branch and Pinecones. The stamp set was released in November of 2019. 
  • Created aa A2 card measures 4 1/4 x 5 1/2
  • I stamped the image from the Colorado Craft Company Stamp set Pine Branch and Pinecones onto some wooden paper from my stash.  I colored the branches and stamped the image again onto some white card stock.  I colored the pinecones and then fuzzy cut them out and paper pieced the pinecones on the wooden background.  
  • Stamped the sentiment from the Pine Branch and Pinecones stamp set.
  • Added some white splatter onto the card.
  • Finished the card off by adding red sequins.

Are you ready to play along? Be sure to stop over on the Retro Rubber Challenge blog to get some more inspiration! Thank you for stopping by, you have until November 19th to join the fun!

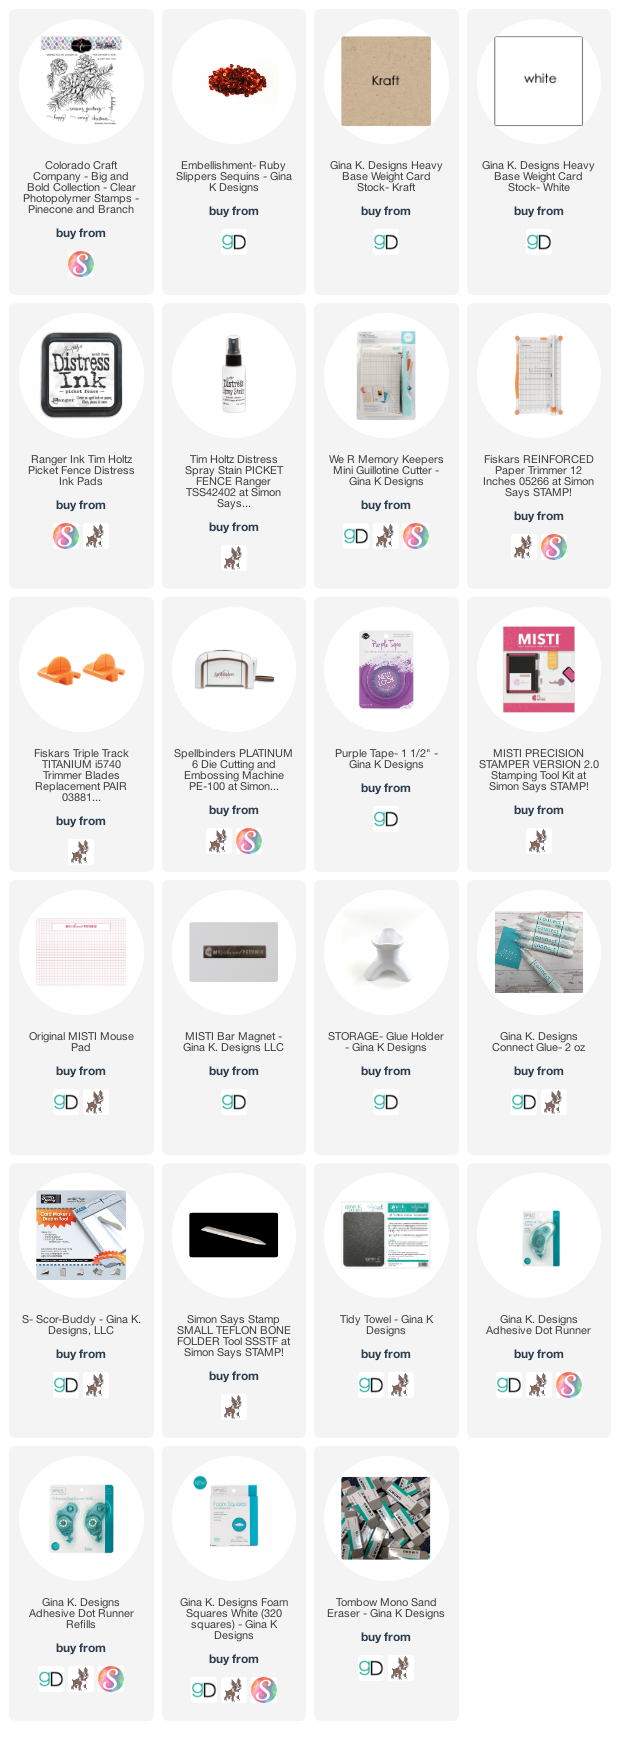
Here is a list of supplies I used on my card, Affiliate Links used at no additional cost. Thank you for your support.

Tuesday, November 30, 2021

KAT SCRAPPINESS - Just Have Faith

Hello everyone!

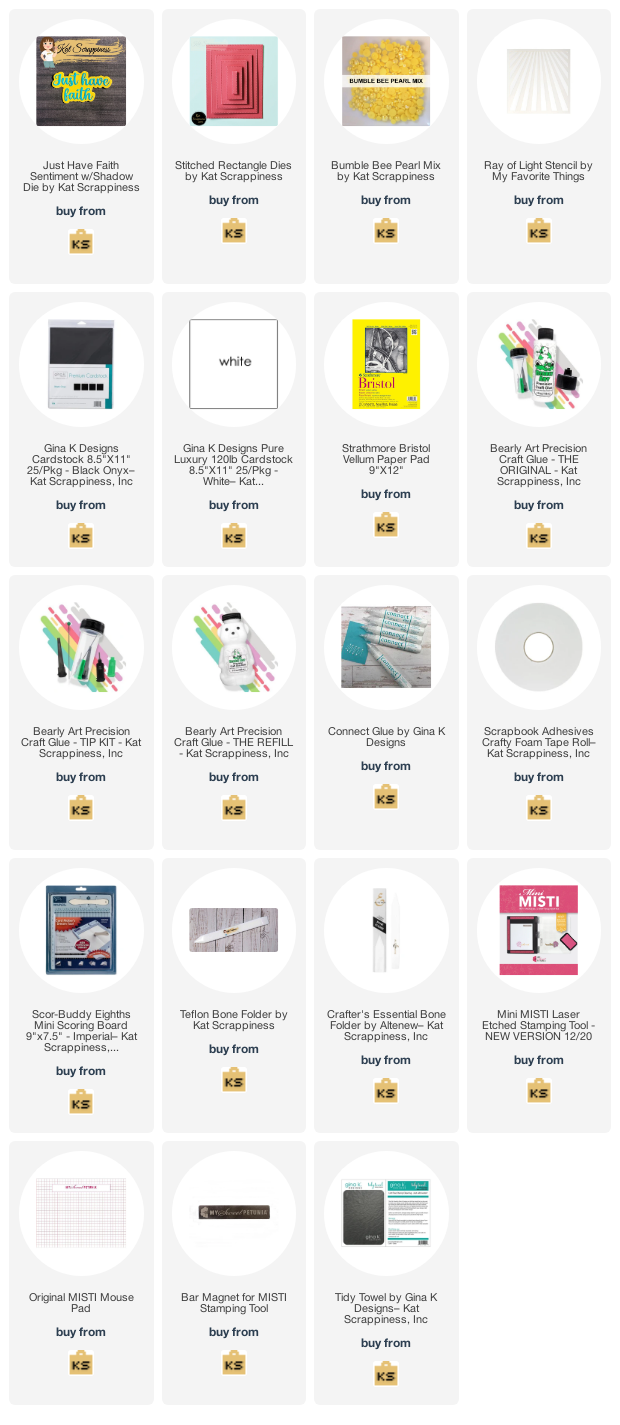
I am here with Kat Scrappiness sharing this card that could be given to someone for a Sympathy or Encouragement card. I am using the newly released Just Have Faith w/Shadow dies.

Here is my card for your inspiration:


Here is how I created my card:
  • A2 top folding card base (4 1/4 x 5 1/2).
  • Die cut the layers using KS Stitched Rectangle Dies (3 1/2" x 4 3/4").
  • Used the MFT Ray Of Light Stencil for the background
  • Cut words from Just Have Faith w/Shadow die in black card stock and the shadow with vellum.
  • Assembled card and finished the card off by using KS Bumble Bee Pearl Mix.

Thank you for stopping by!

Here is a list of supplies I used on my card, Affiliate Links used at no additional cost. Thank you for your support.

Tuesday, November 23, 2021

RETRO RUBBER CHALLENGE BLOG #172 - Merry Christmas

Hello everyone!

I am here with Retro Rubber Challenge blog and we have a new challenge, which is a sketch.   Be sure to stop over on the Retro Rubber Challenge blog to get more inspiration, the design team has some wonderful creations!

The rules to play along with Retro Rubber Challenge is very simple, make sure the stamp you use on your project is at least one year or older. For more details on the rules, you can find them over on Retro Rubber Challenge blog.


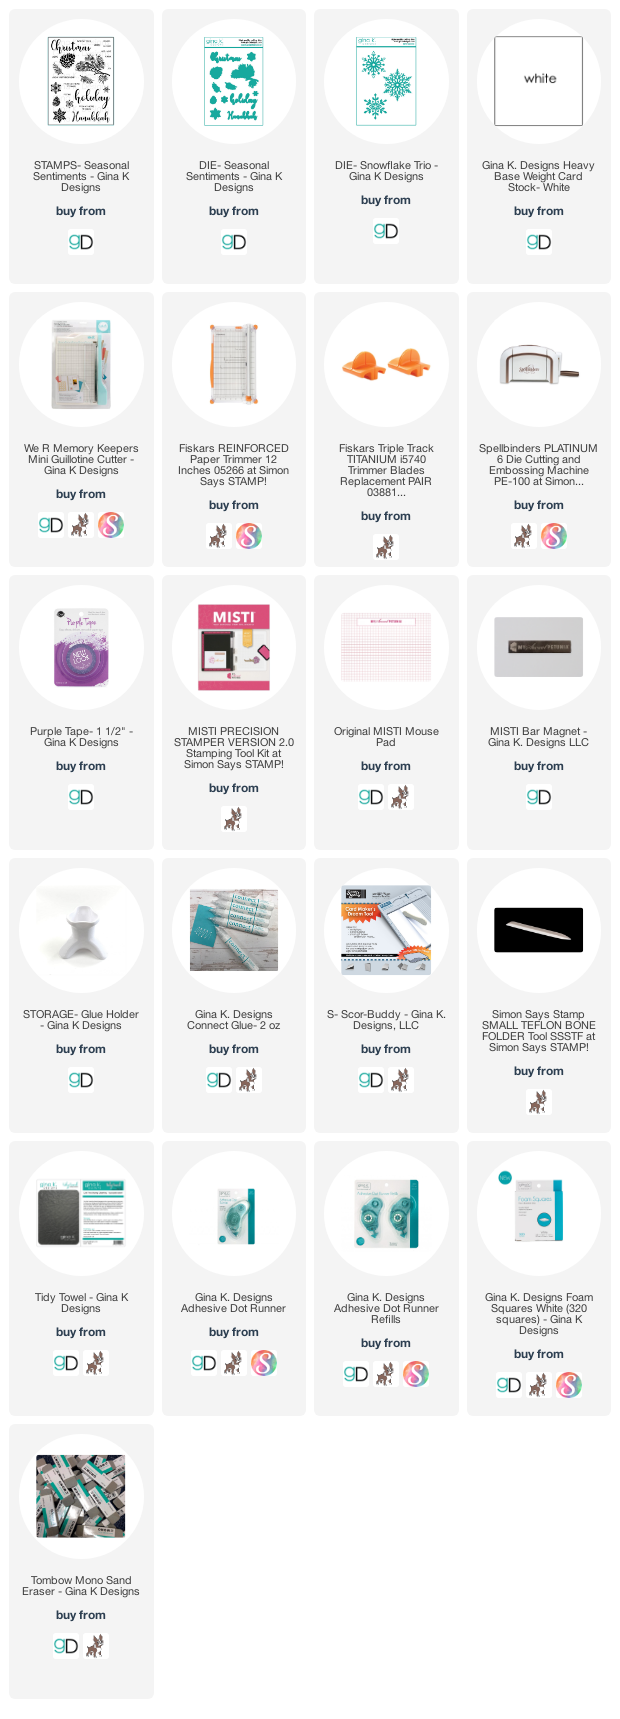
Here is my card for your inspiration. I am using Gina K. Designs stamp set called Seasonal Sentiments. The stamp set was released October 2017. 
  • Created aa A2 card measures 4 1/4 x 5 1/2
  • Die cut MFT Dienamics Horizontal Stitched Strips dies (retired) to cut the layers
  • Die cut GKD Snowflake Trio 
  • Stamped the sentiment from GKD Seasonal Sentiments stamp set
  • Assembled the card and added Kat Scrappiness Majestic Blue pearls to finish off the card.

Are you ready to play along? Be sure to stop over on the Retro Rubber Challenge blog to get some more inspiration! Thank you for stopping by, you have until November 19th to join the fun!

Here is a list of supplies I used on my card, Affiliate Links used at no additional cost. Thank you for your support.

Friday, November 19, 2021

FALL/WINTER 2021 COFFEE LOVERS BLOG HOP - Mugs and Kisses


Hello everyone!

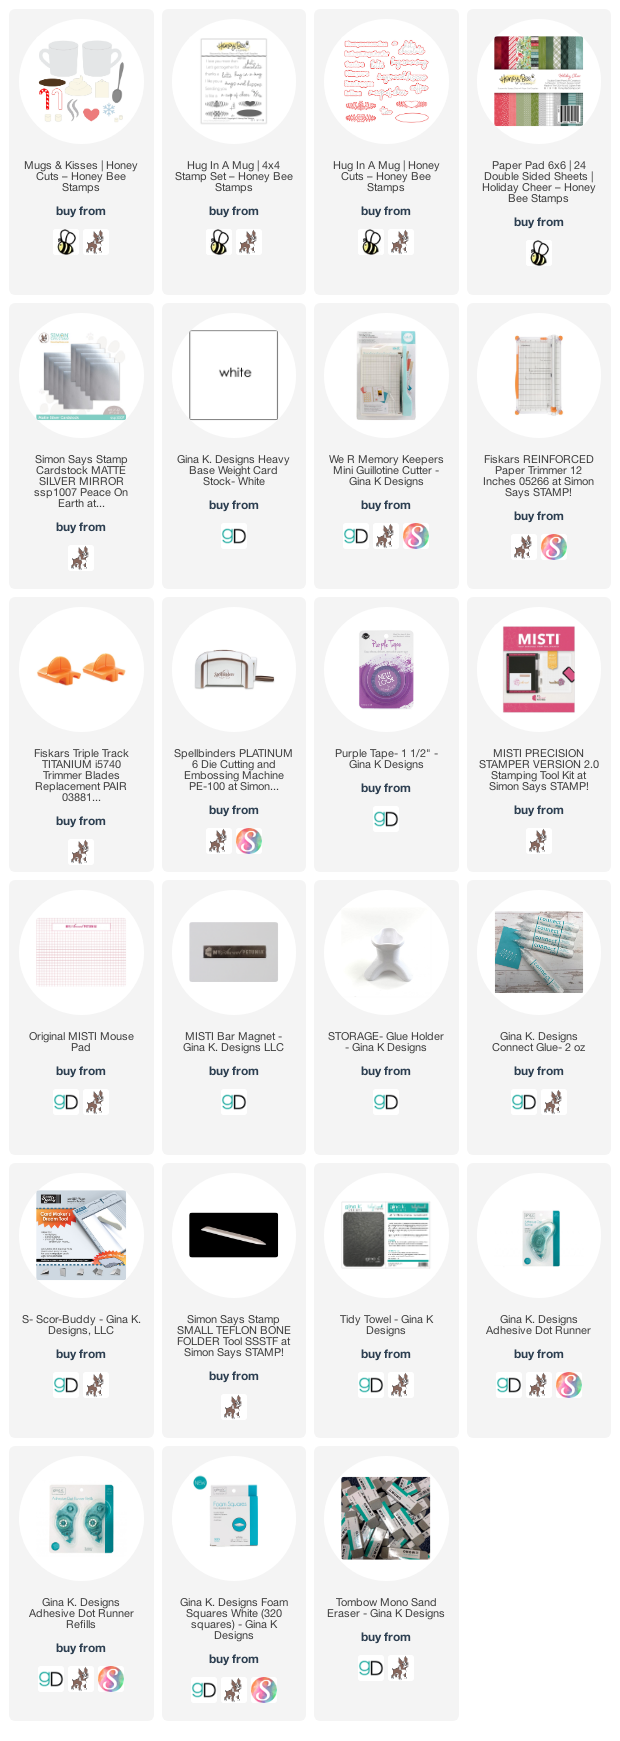
I am here again sharing another card I created for the Fall/Winter 2020 Coffee Lovers Blog Hop. I am featuring Super Sponsor Honey Bee Stamps Mugs & Kisses dies and Hug in a Mug Stamp set.  I love this set and it can be used all year round!

Here is my card:


My card is an A2 card, I die cut the coffee mugs and all the elements and assembled the mug. I cut the spoons from silver mirror paper and finished the card off by adding the sentiment from the Hug in a Mug stamp set.

Thank you so much for stopping by, please come back again soon.

Here is a list of supplies I used on my card, Affiliate Links used at no additional cost. Thank you for your support.


FALL/WINTER 2021 COFFEE LOVERS BLOG HOP - Hot Cocoa


Hello everyone!

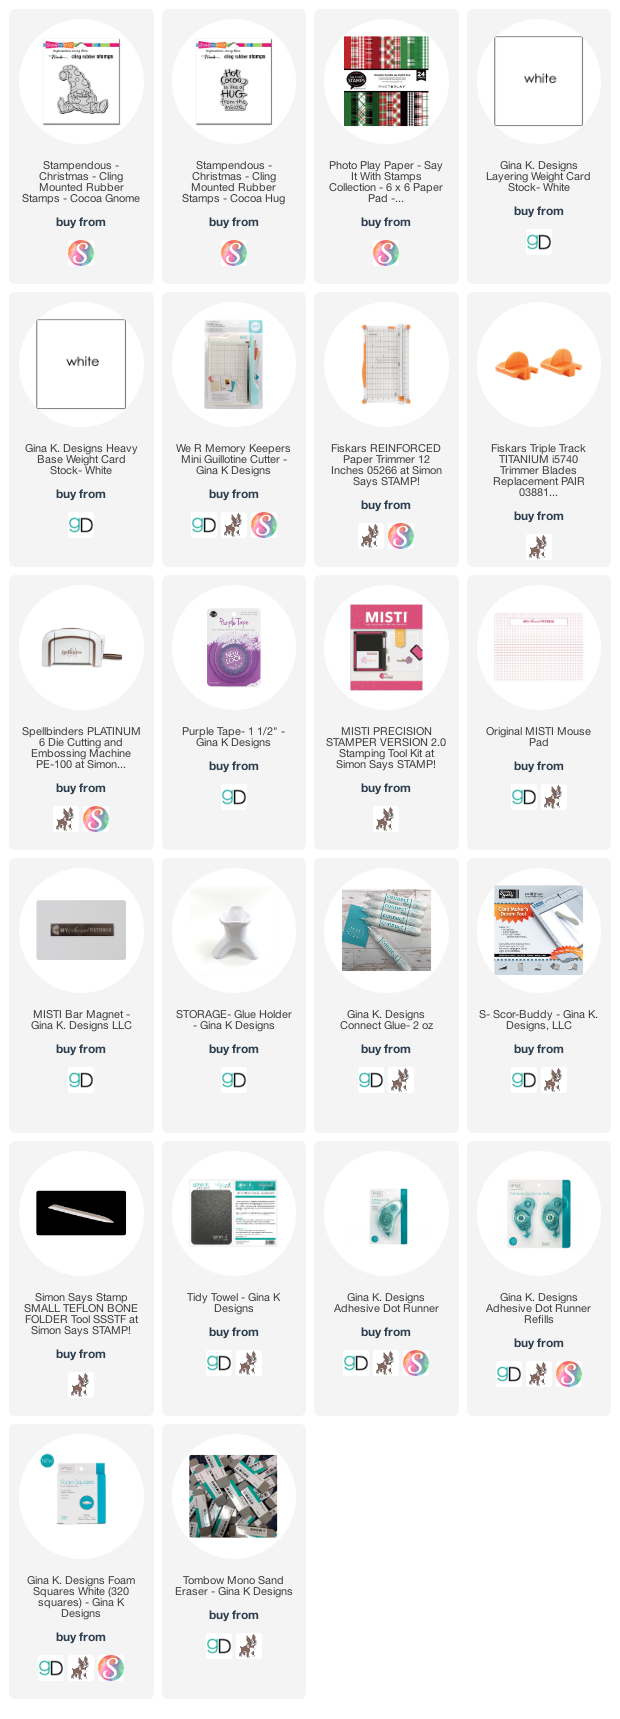
I am back sharing another card I created for the Fall/Winter 2020 Coffee Lovers Blog Hop. Today I am featuring a couple of rubber stamps by Super Sponsor Stampendous.  The gnome image is called Cocoa Gnome and the sentiment is Cocoa Hug.  

Here is my card:


My card is an A2 card, I die cut the white layer with a stitched die and stamped the sentiment.  I stamped the image and colored with copics, used my scan and cut to cut the image out and used foam tape to add it to my card.   

Thank you so much for stopping by, please come back again soon.

Here is a list of supplies I used on my card, Affiliate Links used at no additional cost. Thank you for your support.

Saturday, November 13, 2021

Kat Scrappiness - Proud of You

Hello everyone!

Before I get started sharing my project, Kat Scrappiness is having a sitewide sale, get 15%  off your order, at check use FWCOFFEEHOP.  Sale ends on November 19th, this is a chance to get all the products you have been wanting.  Here is the link to all the coffee themed products.


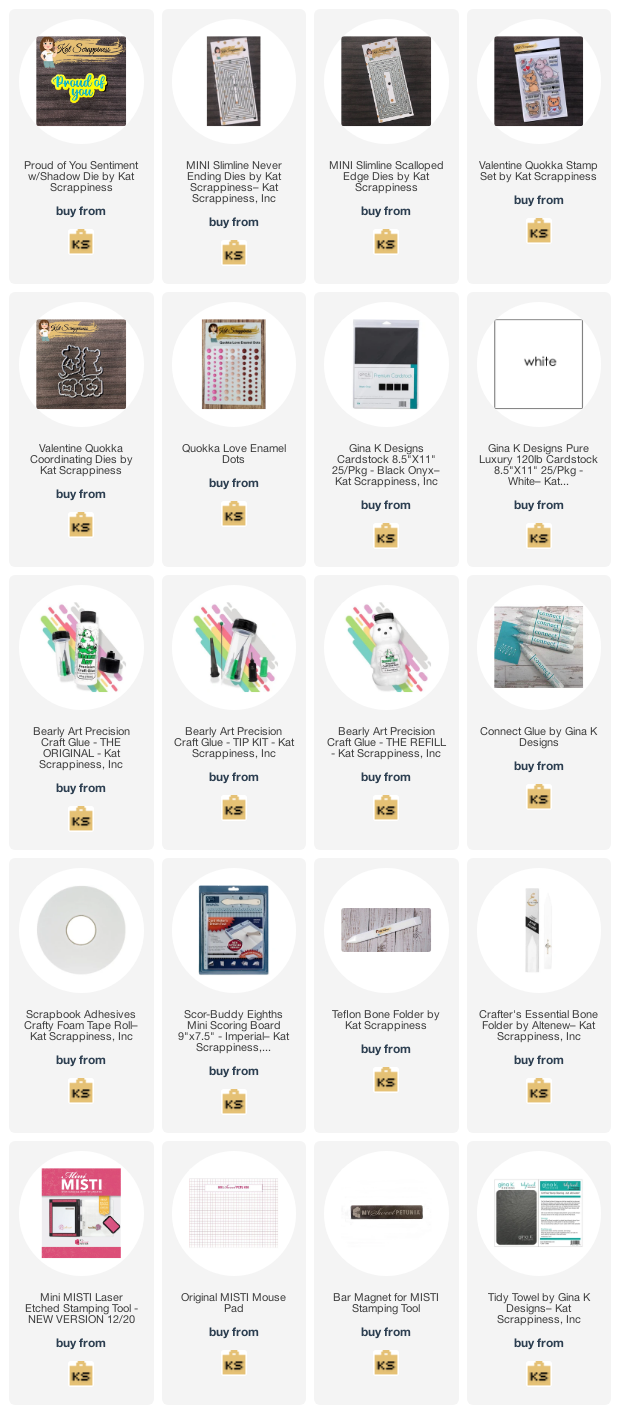
I am sharing a cute card I created using the newly released Proud Of You Sentiment W/Shadow Die along with the adorable Quokka from the Valentine Quokka Stamp Set.

This card could be a great graduation card for someone graduating from school or just a card to let someone know you are proud of their accomplishments.


Here is how I created my card:
  • Cut the white Slimline Card Base: 6″ x 3 1/2″ (6″ x 7″, scored at 3 1/2″).
  • Die cut the top layer using Mini Slimline Scalloped Edged die.
  • Die cut the next layer with the Mini Slimline Never Ending die, using the newly released Ugly Sweater Slimline Paper Pack.
  • Stamped, die cut and colored the quokka with copics from the Valentine Quokka Stamp Set.
  • Die cut the Proud Of You Sentiment W/Shadow Die with black card stock and the shadow with vellum.
  • Assembled the card and finished off with adding Quokka Love Enamel Dots.

Thank you so much for stopping by, please head over to Kat Scrappiness blog for more inspiration.

Here is a list of supplies I used on my card, Affiliate Links used at no additional cost. Thank you for your support.

Friday, November 12, 2021

KAT SCRAPPINESS - 2021 FALL/WINTER COFFEE LOVERS HOP

 Hello Coffee Lovers!


I am here with Kat Scrappiness who is a returning super sponsor for the 2021 Fall/Winter Coffee Lovers Blog Hop! Kat Scrappiness is offering a 15% discount sitewide from November 12th-19th, just use code FWCOFFEEHOP at check out.  Here is a link to all coffee related items in the store, Kat Scrappiness has over 100 themed coffee items.

Super Sponsor Kat Scrappiness is also having a giveaway!  There is a $25 gift card to the store, PLUS a flash prize which is a surprise package of Kat Scrappiness products!  To be entered to win all you have to do join the hop over on Coffee Lovers Hop.

The design team has created some beautiful cards, if you would like to get more inspiration, you can start at the Kat Scrappiness blog, you will not be disappointed.

Here is my card for your inspiration. 


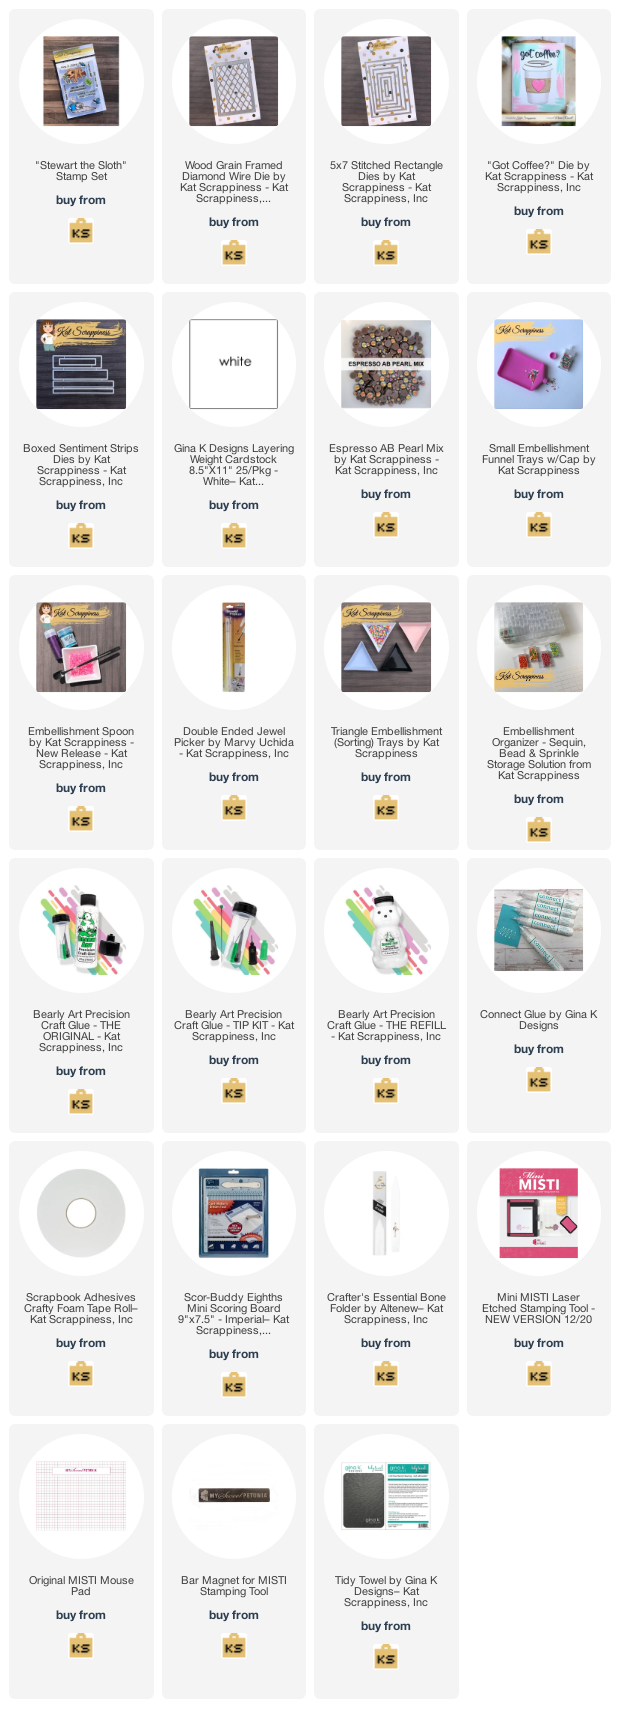
Here is how I created the card:
  • Card is an A7 card, created the card panel 5x7.  
  • Die cut the Diamond Wire & Wood Grain and added it to the base of the card.  
  • Die cut KS 5x7 Stitched Rectangle Dies, using the third and forth die to make the two stitched layers.  
  • Stamped and colored the images with copics and used A scan and cut to cut them out.  
  • Stamped sentiment from the KS "Stewart The Sloth" Stamp Set, die cut with the KS Box Sentiment Strips added to the card. 
  • Die cut the "got coffee" from the "Got Coffee?" die.  
  • Finished off the card by adding KS Espresso AB Pearl Mix.  
Don't forget to stop over at the Kat Scrappiness blog for more inspiration. If you want to play along with the Coffee Lovers Blog Hop you have until November 19th, there are lots of prizes to be won.

Thank you so much for stopping by, please come back again soon.

Here is a list of supplies I used on my card Affiliate Links used at no additional cost. Thank you for your support.

Tuesday, November 9, 2021

RETRO RUBBER CHALLENGE BLOG #171 - Color Challenge

Hello everyone!

I am here with Retro Rubber Challenge blog and we have a new challenge, which is "Fall Colors', use only orange, brown, purple and yellow on your card.  Be sure to stop over on the Retro Rubber Challenge blog to get more inspiration, the design team has some wonderful creations!

The rules to play along with Retro Rubber Challenge is very simple, make sure the stamp you use on your project is at least one year or older. For more details on the rules, you can find them over on Retro Rubber Challenge blog.


Here is my card for your inspiration. I am using Trinity Stamps set called Slimline Leafy Background. The stamp set was released September 2020. The sentiment is from Gina K. Designs called Stitched Leaves which was released in September 2018 sentiments and the Fall "buzzword" is from Honey Bee Stamps too.
  • Created a mini slimline card, which measures 6" x 3 1/2" (6" x 7", scored at 3 1/2" on 7" side).
  • Used the Kat Scrappiness mini slimline sets called Never Ending Dies for the layers.  
  • Heat embossed the background with Trinity Stamps Slimline Leafy Background with white embossing powder.  I did the heat resist technique using yellow, orange, brown, and purple ink.
  • Die cut the Thankful die from Simon Says Stamps
  • Stamped and heat embossed the sentiment from Gina K. Designs Stitched Leaves.
  •  Assembled the card and finished it off using some sequins from my stash.


Are you ready to play along? Be sure to stop over on the Retro Rubber Challenge blog to get some more inspiration! Thank you for stopping by, you have until November 19th to join the fun!

Here is a list of supplies I used on my card, Affiliate Links used at no additional cost. Thank you for your support.

Tuesday, November 2, 2021

Gina K. Designs - November 2021 Monthly Mix Challenge


Hello everyone!

I am hosting the Gina K. Designs November 2021 Monthly Mix Challenge! This month’s challenge is, “Critters”, which could include snowmen, deer, birds whatever you have in your stash, and what better way to start on your holiday cards.  You can link your creation here.  
 
For your inspiration, I am using the "Playful Penguins" on my card. I love this cute set, there are so many possibilities to create with this stamp set. We can't wait to see what you create.  There are lots of  inspiration on the Gina K Designs & StampTV Friends page and look in the albums section at the top.


Steps to Create Card:
  • Cut a slimline Top Fold Card Base: 6 1/4″ x 3 1/4″ (cut paper 6 1/4 x 6 1/2, score at 3 1/4 on the 6 1/2 side) – Used Heavy Weight White Card Stock.
  • Cut black Mat using Master Layouts 7 Die Set – Used Layering Weight black Card Stock.
  • Cut White Stitched top Layer using Master Layouts 7 Die Set, ink blended the background with Sea Glass and splattered in onto the background and trees - Used Layering White Card Stock.
  • Die Cut the snow bank and trees using Master Layouts 6 - Used Layering White Card and Fresh Asparagus
  • Stamped and die cut the penguins and gift from the Playful Penguins stamp set, colored with copics - Used Layering White Card Stock
  • Stamped sentiment from the Star Struck Stamp set - Used GKD Black Onyx Ink
  • Assemble Card.
I hope you enjoyed today’s inspiration and will play along with us! We will have THREE winners of a $25 gift certificate each. You can upload your card here. You have until November 30th to enter and the winners will be announced on December 1st.

Supplies used: Some affiliate Links used at no additional cost. Thank you for your support!

Monday, November 1, 2021

GINA K. DESIGNS NOVEMBER 2021 RELEASE

Hello everyone!

I am here sharing some cards from the Gina K. Designs NEWLY release products from the November 2021 release.  This is another fabulous release!  I am using the "Reason for the Season" stamp set illustrated by Emily Loggans.   I am also using the "Playful Penguins" which was in the kit last month.  You can see more inspiration from the full release on the Gina K. Designs & StampTV Friends Facebook page. To see the full release, you can go HERE under the What's New section.

Here are my cards for your inspiration:


These cards can be replicated in so many ways, I stamped and heat embossed each one with different embossing powder and card stock.


This is a square card measuring 4 1/4 x 4 1/4, I used Master Layouts 3 to cut the top layers.  The paper is GKD Red Velvet, heat embossed with GKD silver embossing powder.  I inked the edges to give the card definition and het embossed the first layer to match the embossed sentiment.


This is a square card measuring 4 1/4 x 4 1/4, I used Master Layouts 3 to cut the top layers.  The paper is GKD Fresh Asparagus, heat embossed with GKD gold embossing powder.  I inked the edges to give the card definition and het embossed the first layer to match the embossed sentiment.


This is a square card measuring 4 1/4 x 4 1/4, I used Master Layouts 3 to cut the top layers.  The paper is GKD Wild Lilac, heat embossed with GKD white embossing powder.

Here is my last card:


I die cut the layers with GKD Master Layouts 1.  I stamped and heat embossed the background with GKD Background stamp Delicate. I then stamped the images from the GKD Playful Penguins stamp set, colored them with copics and die cut them with the Playful Penguins die set.  I cut the snowbank with Master Layouts 6, stamped the sentiment from GKD  "Reason for the Season" stamp set.  I assembled the card, and I love how it turned out.

Thank you so much for stopping by, I hope I have inspired you!

Here are the supplies I used for these cards, Affiliate Links used at no cost to you.

Saturday, October 30, 2021

Kat Scrappiness - Simply Amazing

Hello everyone!

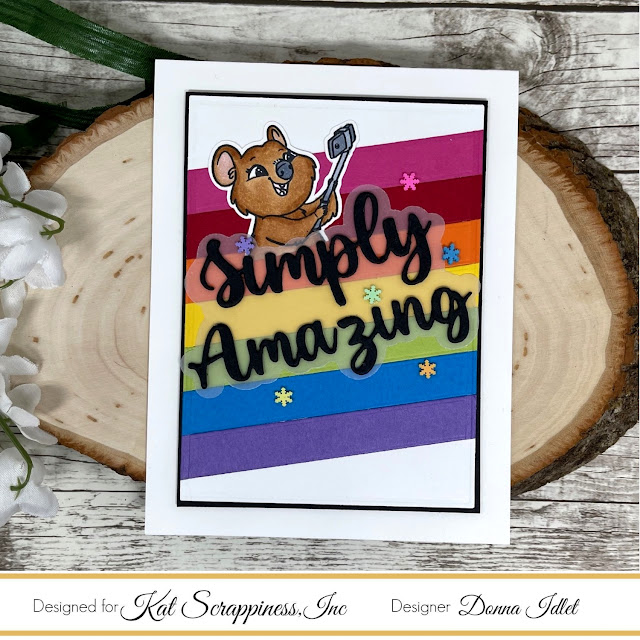
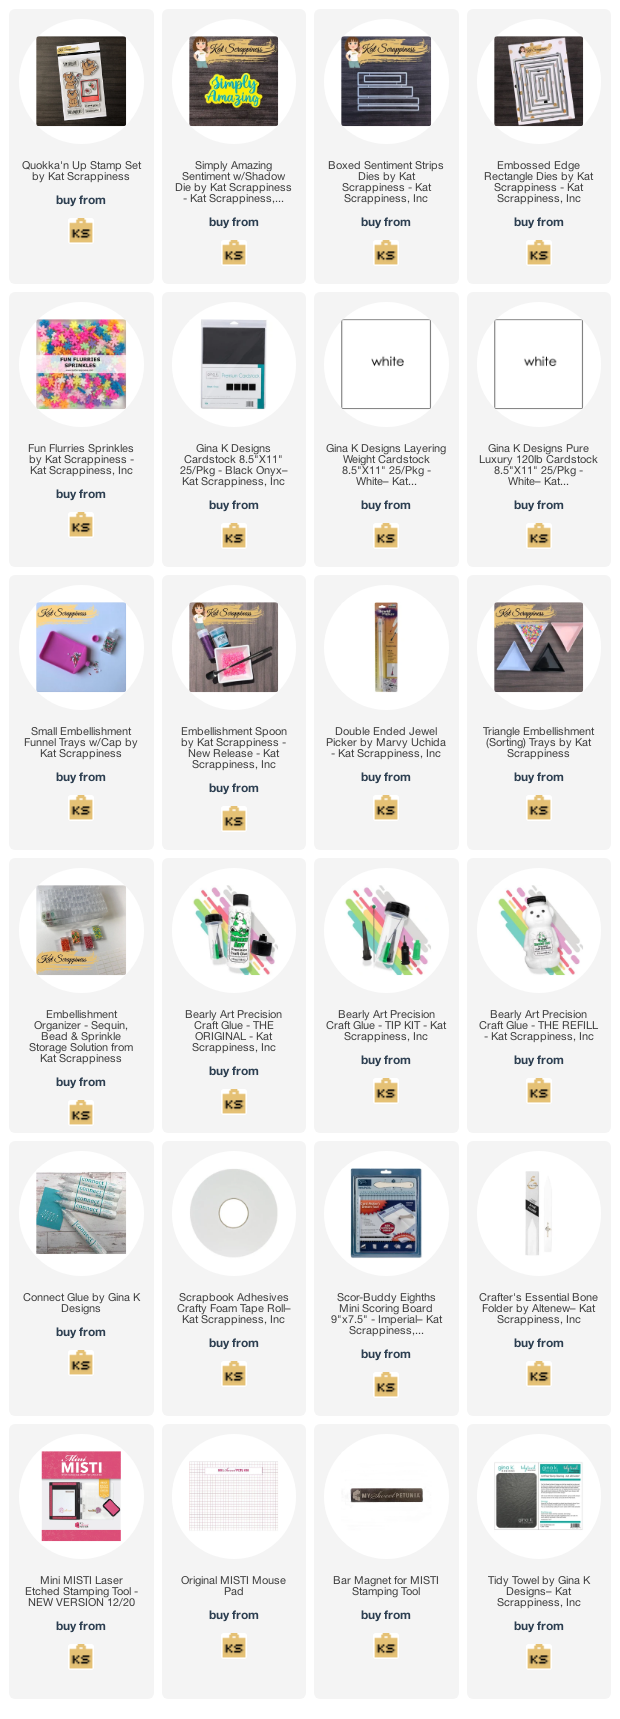
I am here with Kat Scrappiness sharing this FUN Rainbow card featuring products from the NEW October 2021 Release! I'm loving the newly released Box Sentiment Strips.  I have used them on my card to create a rainbow background.  They can be used for more than stamping sentiments.

Here is my card for your inspiration:


Here is how I created my card:
  • Card Base A2 size 4 1/4" x 5 1/2"
  • Cut Rainbow strips from cardstock in my stash to create the rainbow pattern using the 1/2″ wide strip from the KS Boxed Sentiments Strip dies. I added the strips to a piece of cardstock and die cut it with the  KS Embossed Edge Rectangle Dies.
  • Cut Simply Amazing Sentiment w/shadow out of black card stock & vellum and glued together.
  • Stamped, die cut and colored the Quokka from the KS Quokka'n Up Stamp Set.
  • I assembled the card and finished it off using the KS Fun Flurries Sprinkles.

Thank you for stopping by!  

Here is a list of supplies I used on my card, Affiliate Links used at no additional cost. Thank you for your support.

Wednesday, October 27, 2021

Kat Scrappiness - 2021 Cat Lovers Hop!


Hello everyone!

This week  Kat Scrappiness design team is participating in the 2021 Cat Lovers Hop from  Her Peaceful Garden Blog! Kat Scrappiness is a sponsor and you have a chance to win the a Pet Sentiments Brush Script Word & Sentiment Die (for international, winner will receive a gift code equivalent to the prize). 

There are several ways to win, one way is to comment on the Kat Scrappiness Blog post with all the projects from the design team.  For more ways to win, head over to the main page of the 2021 Cat Lovers Hop on Her Peaceful Garden Blog to get all the details on prizes and sponsors. 

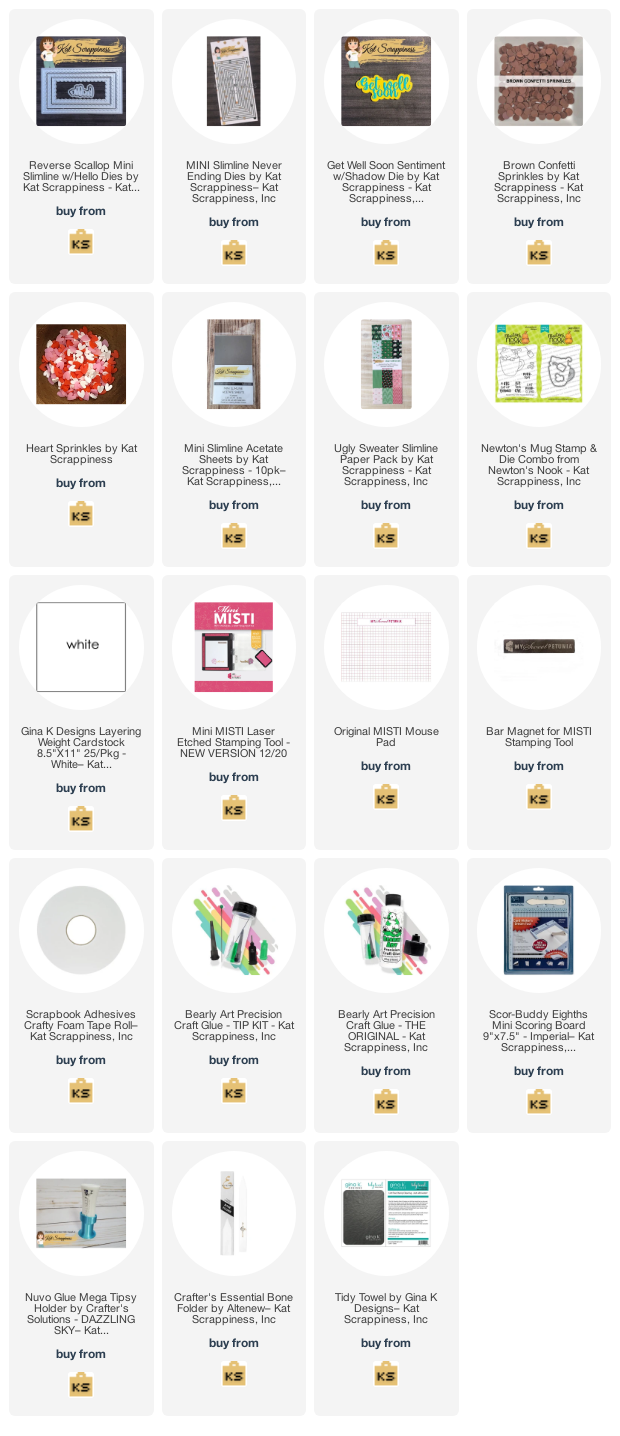
Here is my project for the 2021 Cat Lovers Hop, I have created a mini slimline card. I created it using the newly released KS Mini Slimline Reversed Scallop dies and the KS Get Well Soon Sentiment w/Shadow Die.


Here is how I created my card:

1. Card base measures 6″ x 3 1/2″ (6″ x 7″, scored at 3 1/2″)
2. I die cut the KS Mini Slimline Reversed Scallop dies using the newly released KS Ugly Sweater Paper Pad.
3. I die cut the get well soon from the KS Get Well Soon Sentiment w/Shadow Die using cardstock and vellum.
4. I inked the background using Newton's Nook Designs Mugs stencil.
5. I stamped, die cut the image from Newton's Nook Stamp and Die Mug set and colored with copics. The sentiment is from the same stamp set.
6. Assembled the card and added KS Brown Confetti Sprinkle Mix to the shaker.

Thank you so much for stopping by, please don't forget to stop over at Kat Scrappiness blog for more inspiration.  Also stop over at Her Peaceful Garden Blog to join the 2021 Cat Lovers Hop, there are lots of prizes to be won.

Here is a list of  supplies I used on my card. Affiliate Links used at no additional cost. Thank you for your support.