Pages

Friday, July 31, 2020

Joy Clair Designs - August 2020 New Release Blog Hop

Hello everyone!

Welcome to Joy Clair Designs NEW August 2020 Release Blog Hop! The Brand Ambassadors have been working hard creating a variety of projects that are sure to give you lots of inspiration! To see the NEW digital release you may click here.

What's a blog hop without a prize?  You have until Sunday, August 2nd at 11:59 pm EST to post a comment and answer the question in the pink box to be eligible to win one of the two $15.00 gift cards from Joy Clair Designs, valid on stamps and Digital Sets. Only one comment per person please. Two randomly selected winners will be announced on Joy Clair Designs Blog on August 12th. Thank you for joining Joy Clair Designs August New Release Blog Hops and best of luck with the contest!


Here is my card for your inspiration.


Here is how I created my card:

My card is a Slimline card, I am using the Gina Marie slimline dies that is available in the Joy Clair Design store.  I created my layout on my computer using the digital set Floral Friendship, I printed it out on cardstock.  I then die cut the panel, I used a stencil on the background and then colored the images with copics (R81, 83, and 85 for the flowers, YG03, 17 and 68 for the leaves and Y17, Y38 and YR68 for the orange flower).  To finish the card off, I added dew drops onto my card.

Thank you so much for stopping by, please be sure to sign up for Joy Clair Designs newsletters to be sure to receive notifications of new releases, sales and exclusive offers to subscribers. You can also follow Joy Clair Designs on facebook page, Color by Faith Bible Journaling facebook page, Instagram and Twitter. They also have a Pinterest page and Youtube channel for your inspiration!

Supplies used and the new digital sets, affiliate Links used at no cost to you, thank you for your business.


Start blog hopping here!
You are invited to the Inlinkz link party!
Click here to enter

Thursday, July 30, 2020

SAME SET SYDROME FEATURING Not 2 Shaby


Hello everyone!

Welcome to the Handmade Happiness Facebook Page Same Set Syndrome blog hop. You should be coming from Charlotte E (Lady Joyful) if you want to check her Youtube channel out you can click here. Your NEXT stop is over on Instagram with Valerie Powell.

This collaboration is a series of hops that will be for six months featuring small stamp companies. This month Not 2 Shabby is the Hostess for the hop.  One lucky person who comments on the hop will win a $25 gift card to the Not 2 Shabby store.

Here is my card for your inspiration:


Here is how I created my card:

1.  My card is an A2 card (4 1/4 x 5 1/2),

2.  My image is from Not 2 Shabby called Pup in a Cup.  I stamped and used my scan and cut to cut it out.

3.  I colored the image with copics, added the band onto the card from paper I had in my stock.  I added glossy accent to the heart to give it some dimension.  I stamped the sentiment with white embossing powder and added it to my card.


I hope you have been inspired, thank you so much for stopping by, don't forget your next stop is Valerie Powell Instagram page.


Tuesday, July 28, 2020

Retro Rubber Challenge Blog #140 - Tic Tac Toe

Hi everyone!

I am here again with another  Challenge with Retro Rubber Challenge Blog and it's one of my favorites, tic tac toe.  My tic tac toe is die cut or punch, twine and easel card.  I hope you will join in on the fun. Be sure to stop over on the Retro Rubber Challenge blog to get more inspiration, the design team has some wonderful creations!

The rules to play along with Retro Rubber Challenge is very simple, make sure the stamp you use on your project is at least one year or older. For more details on the rules, you can find them over on Retro Rubber Challenge blog.


Here is my card for your inspiration. The set I am using is from Stampin Up called Floral Essence stamp set that was released April 2019.


My card is an Easel Card, I created my base with Stampin Up Perfect Plum. I used the design paper Perennial Essence to frame the easel card, I then die cut the oval and added my sentiment. I added the twine and then stamped the images from the Floral Essence stamp set and added them to the oval frame. I finished the card off by adding some rhinestones.

Thanks again for stopping by, please don't forget to stop over at the Retro Rubber Challenge blog and join the fun and check out the beautiful projects the design team members have created.


GINA K. DESIGNS July 2020 MONTHLY MIX CHALLENGE

Hello everyone!

I am here with Gina K. Designs with a new Monthly Mix Challenge for July Sheri Gilson is our hostess and the challenge is "Christmas in July.” You still have a couple of days to join the fun!!  All you need to do is create a card or project with a Christmas/Winter theme.  Details are HERE.

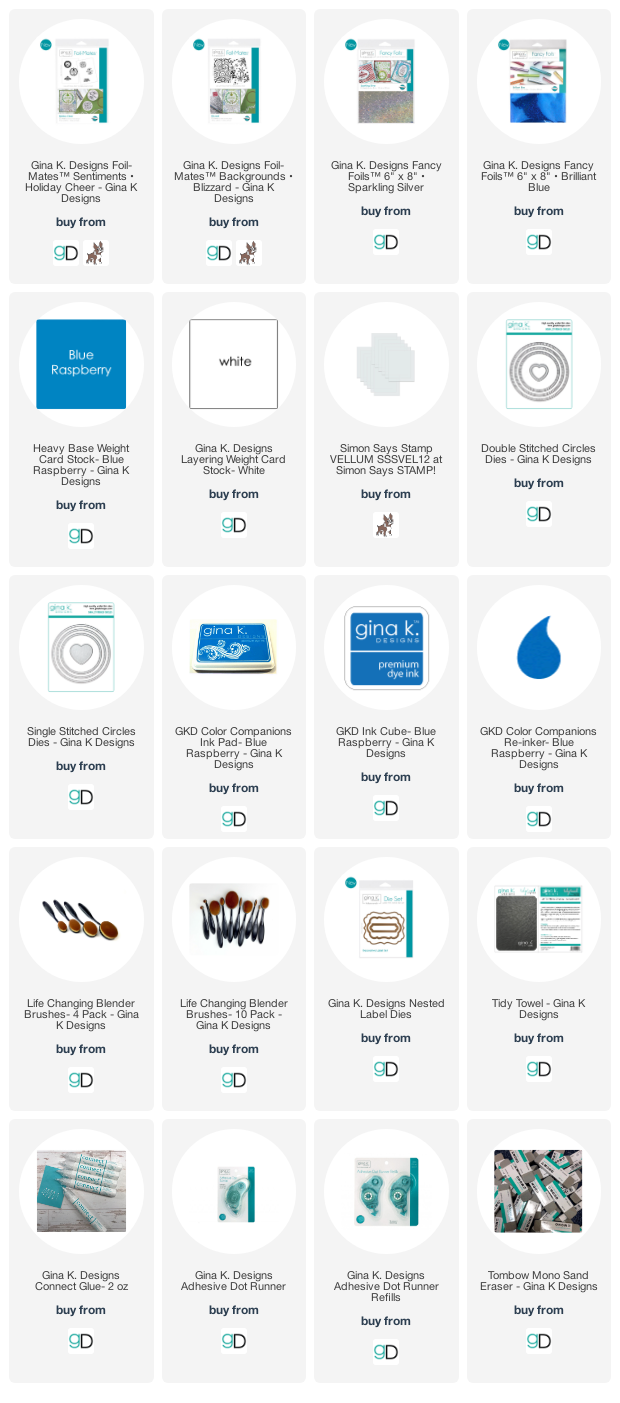
Here is my card for your inspiration. My card is an A2 card, I am using the Gina K. Foil Mates™ Holiday Cheer and Blizzard.  I used the Brillant Blue to foil the Blizzard Foil Mates™  and on the Holiday Cheer Foil Mates™  sentiment I used the Brillant Blue and Silver Sequins.


Thank you for stopping by, please come back again soon.

Supplies used: Some affiliate Links used at no additional cost. Thank you for your support!

Monday, July 27, 2020

Christmas in July with Joy Clair Designs - Christmas Cocoa


Hello everyone!

I am here with Joy Clair stamps and we are celebrating Christmas in July. Everything in the store is 20% off except last call, stencils and dies until July 28, use TEAMTINY20 at checkout.  One of my favorite type of card to make are Christmas cards, how about you?  I also love making coffee theme cards.  I am using the Joy Clair Design Christmas Cocoa stamp set.  This set is a large set 6x8, with lots of images and sentiments.  It comes in digital or clear stamp.  It's a great set to have in your stash.

Here is my card for your inspiration.


Here is how I created it:

My card is an A2 size card, I cut one top layer at 4 x 5 1/4, and adhered it to the base of my card.  I then die cut the rectangle layers, inked the inside and adhered it to the card.  I then stamped the images, cut them out with my scan and cut, and colored them with copics, I heat embossed the snowflake with white embossing powder.  I stamped the sentiment and adhered the images to my card.  I added some twine to the cup and added a rhinestone to the snowflake for some interest.


Here's a closer look at my card.

Thank you so much for stopping by, please be sure to sign up for Joy Clair Designs newsletters to receive notifications of new releases, sales and exclusive offers to subscribers. You can also follow Joy Clair Designs on Facebook Page, Joy Clair Stamp Projects Group Facebook Group, Color by Faith Bible Journaling Facebook Group, Instagram, Twitter, Pinterest.

Supplies used on the cards above, affiliate links used. Thank you for your support.

Friday, July 24, 2020

Hello Beautiful - Mermaid at Heart

Hello everyone!

I am here with Joy Clair Designs sharing a card I created using the Mermaid at Heart and the Whale Hello There stamp sets.  I had some much fun creating this card with the Mermaid tails from the Mermaid at Heart set, this is one of my favorites.


Here is how I created my card:

1.  My card is an A2 card (4 1/2 x 5 1//2),

2.  I die cut the background from a die in my stash, I inked the background with distress inks,

3.  I stamped the mermaid tails from the Mermaid at Heart and stamped the other elements from the Whale Hello There stamp sets.  I used my scan and cut to cut them out,

4.  I then colored all the elements with copics, I love the rich colors I used.  I then added all the elements where I wanted them on my card and used adhesive and foam squares.  I then stamped the sentiment from the Mermaid at Heart stamp set,

5.  To finish off my card, I added sequins randomly onto my card.


Here is another view of my card.

Thank you so much for stopping by, please be sure to sign up for Joy Clair Designs newsletters to receive notifications of new releases, sales and exclusive offers to subscribers. You can also follow Joy Clair Designs on Facebook Page, Joy Clair Stamp Projects Group Facebook Group, Color by Faith Bible Journaling Facebook Group, Instagram, Twitter, Pinterest.

Supplies used on the cards above, affiliate links used. Thank you for your support.

Thursday, July 23, 2020

The Stamping Village - We Stand With You!

Hello everyone!

I am so honored to be asked to design for The Stamping Village new stamp set called "We Stand By You"! This stamp set is all about injustices our nation have been facing. The Stamping Village is made up of 12 stamping companies, they are speaking up and speaking out for racial, social and economic injustices. I am so proud to have the privilege to be on the design team for Gina K. Designs.

The Stamping Village is committed to listening, learning, and change. As part of a pledge by The Stamping Village they are donating $10,000 towards racial justice, 100% net profits from every We Stand With You stamp set sold will be donated to the NAACP Legal Defense and Education Fund.

The Stamping Village is having an Instagram Hop, they will randomly chose four winners pulled from across ALL comments, who will each win three $50 gift certificates to The Stamping Village company websites, a prize valued at $150! All you have to do is leave a comment on everyone's Instagram posts between now and Sunday, August 2nd. They will randomly chose three winners pulled from ALL the comments. All winners will be announced at @thestampingvillage on Instagram on August 3rd. You can start the Instagram Hop @DIdlet.

Here are my cards for your inspiration:


The image and sentiment on this card is created by Gina K. Designs, I used the Gina K. Designs wreath builder to stamp the butterflies.  I used Gina K. inks to stamp the butterflies.  I added Gina K. Angel Aura sequins to the butterfly.  The hearts are by Avery Elle.


I'm using the Studio Katia rainbow image and sentiment, I randomly stamped the image and colored it with copics and added some 


This card, the hand images and sentiment is from Dare 2B Artzy.  I stamped the hands randomly, added some rainbow color stripes onto the panel die cut it with a stitched rectangle die and added the sentiment.


My last card the image is from Hero Arts and the sentiment is from Altenew.  I used Altenew Rainbow Washi tape to the background and cut it out with a stitched rectangle die.  I colored the image with copics, added the sentiment, cut it out with a stitched die and added it to my card.

Thank you so much for stopping by, I hope you have been inspired!

Supplies used on the cards above, affiliate links used. Thank you for your support.


Tuesday, July 21, 2020

Beautiful Cupcake

Hello everyone!

I am here with Crackerbox & Suzy Stamps featuring two of their rubber stamps, the lady is called Cupcake Lady and the sentiment is called Beautiful Cupcake.

My card is an A2 card, I cut a piece of plaid paper at 4 1/2 x 5 1/2 and adhered it to the base of my card.  I then die cut a piece of cardstock with a stitched rectangle from my stash, stamped the sentiment Beautiful Cupcake with black ink and adhered this to the card.  I stamped and  cut the Cupcake Lady with my scan and cut.  I colored her with copic markers and adhered her to the card with foam squares.  I hope you like my card, I enjoyed coloring her, her expression is everything! 


Another view of my card.


Here is the special for the month of July.  If you didn't know for the month of July if you share a card with the categories of Anniversary, Animals  or Food in the Crackerbox & Suzy Stamps Flaunt It If You Made It Facebook page you could win a $5 giftcard to use in the Crackerbox & Suzy Stamps Store.  Have fun creating.


Thank you so much for stopping by, please come back again soon.

Tuesday, July 14, 2020

Retro Rubber Challenge #139 - Buttons Buttons Buttons

Hello everyone!

I am here again with another fabulous Challenge with Retro Rubber Challenge Blog and it's All about Buttons, please make sure you have at least one button on your card.  I hope you will join in on the fun. Be sure to stop over on the Retro Rubber Challenge blog to get more inspiration, the design team has some wonderful creations!

The rules to play along with Retro Rubber Challenge is very simple, make sure the stamp you use on your project is at least one year or older. For more details on the rules, you can find them over on Retro Rubber Challenge blog.


Here is my card for your inspiration.  The set I am using is from Stampin Up called Sassy Salutations, it was released in July of 2013.


My card is an A2 card.  I cut the top panel at 4 x 5/  I cut the zig zags with a punch and added it to my card.  stamped the sentiment from the Stampin Up Sassy Salutations stamp set.  I finished the card off by adding the buttons.

Thanks again for stopping by, please don't forget to stop over at the Retro Rubber Challenge blog and join the fun and check out the beautiful projects the design team members have created.

Sunday, July 12, 2020

Crackerbox & Suzy Stamps - Sweet Thing

Hello everyone!

I am here with Crackerbox & Suzy Stamps sharing a card I created using Fruit Slice and Wedge which is a two piece set and the sentiment is called Sweet Thing.  The lemons are a great set, you can also color them to be oranges too.

Here is my card for your inspiration.
   

I cut a piece of cardstock at 3 1/2 x 5 and stamped the background with the whole lemon slice with yellow ink.  I then cut a piece of paper from my stash at 1/2 inch and adhered it to the panel.  I then added it to my card base.  I stamped the Fruit Slice and Wedge  and colored them with copics (Y04, 15 and 19).  I cut them out with my scan and cut.  I stamped the Sweet Thing sentiment with black ink and then placed the lemons on my card with adhesive and used foam tape on the half slice.  I had some lemon slice sequins in my stash and added them to my card.


Here is another look at my card.

The July special is:

Thank you so much for stopping by, I hope I have inspired you in some way. Be safe and healthy, please come back again soon!

Friday, July 10, 2020

Joy Clair Designs - Good Vibes

Hello everyone!

I am here with Joy Clair Designs sharing a card I created using the Good Vibes and Penguins Tropical Christmas stamp sets. Who is ready to go to the beach?  I would love to go hang out at the beach, but due to the circumstances, I am going to have to pass on the beach this year.  I'm in love making slimline cards these days.  Have you joined the trend of making slimline cards?  Here is my card for your inspiration.


I started my card by stamping and cutting all the elements I wanted to use on my card.  I used my scan and cut to cut the images.  I always like to cut my images before cutting them on my scan and cut.  I then colored them with copics.  I used a slimline card to cut the top panel, I used some masking tape to mask off the sand and water onto my card. I used distress inks to create it.  I used a cloud stencil to create the clouds.  I then added all the elements to my card using a tape runner and foam squares to adhere them down. 


Here is another view of my card.  Doesn't that water look inviting?  I hope you have been inspired.
 
Be sure to sign up for Joy Clair Designs newsletters to receive notifications of new releases, sales and exclusive offers to subscribers. You can also follow Joy Clair Designs on Facebook Page, Joy Clair Stamp Projects Group Facebook Group, Color by Faith Bible Journaling Facebook Group, InstagramTwitter, Pinterest.

Thursday, July 2, 2020

Crackerbox & Suzy Stamps - Forever & Always

Hello everyone!

I am here with Crackerbox & Suzy Stamps sharing a card  that can be used for a wedding or anniversary.  The rubber stamps I used are Bride and Groom and the sentiment is Forever and Always.  

If you have not joined the Crackerbox and Suzy Flaunt it if You Made it Facebook group please come join the fun.  There is a monthly cardmaking "theme" and July’s technique of the month is MASKING! There is a bonus if youu combine the technique of the month with a stamp from one of the sale categories, you get a 5.00 store credit towards you next purchase of amazing red rubber goodness!  

Here is my card for your inspiration.  


My card is an A2 top folding card. I stamped the Bride and Groom with black versafine ink, I then embossed it with clear embossing powder.  I then stamped the Forever and Always sentiment with the black versafine ink and embossed it also with clear embossing powder.  I then added clear rheinstones through the brides veil for dimension. 


Another view of the card.


The July special is:


Thank you so much for stopping by, I hope I have inspired you in some way. Be safe and healthy, please come back again soon!